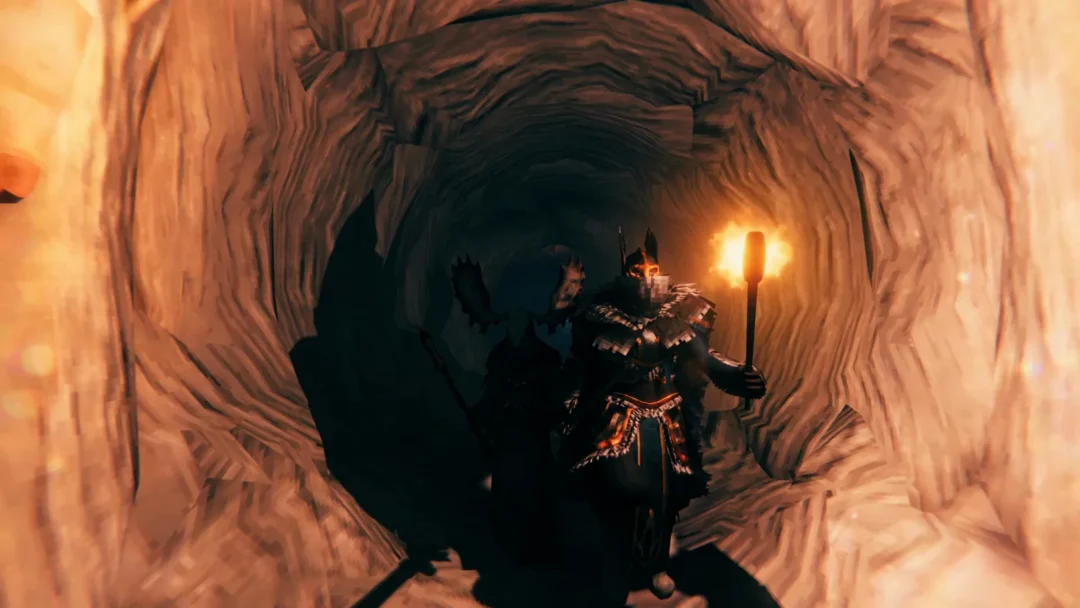
A high-investment Spiral Abyss showcase built around two custom-tuned rosters clears the whole of Floor 12 in Version 7.1 without ever losing momentum. One side runs a Nefer Lunar-Bloom lineup that piles on Dendro and Hydro to detonate huge reaction ticks, while the other runs a Lohen and Vodyanitsa “Hexerei” lineup leaning on Cryo, Pyro and Melt-style burst damage. Both halves finish their encounters in seconds and end the cycle with a perfect star count.
Quick answer: The run is a fully maxed, fan-concept demonstration that clears all three Floor 12 chambers for a perfect 9/9-star result — a Nefer Lunar-Bloom team on every first half and a Lohen/Vodyanitsa melt-vaporize team on every second half.
The two teams built for Floor 12
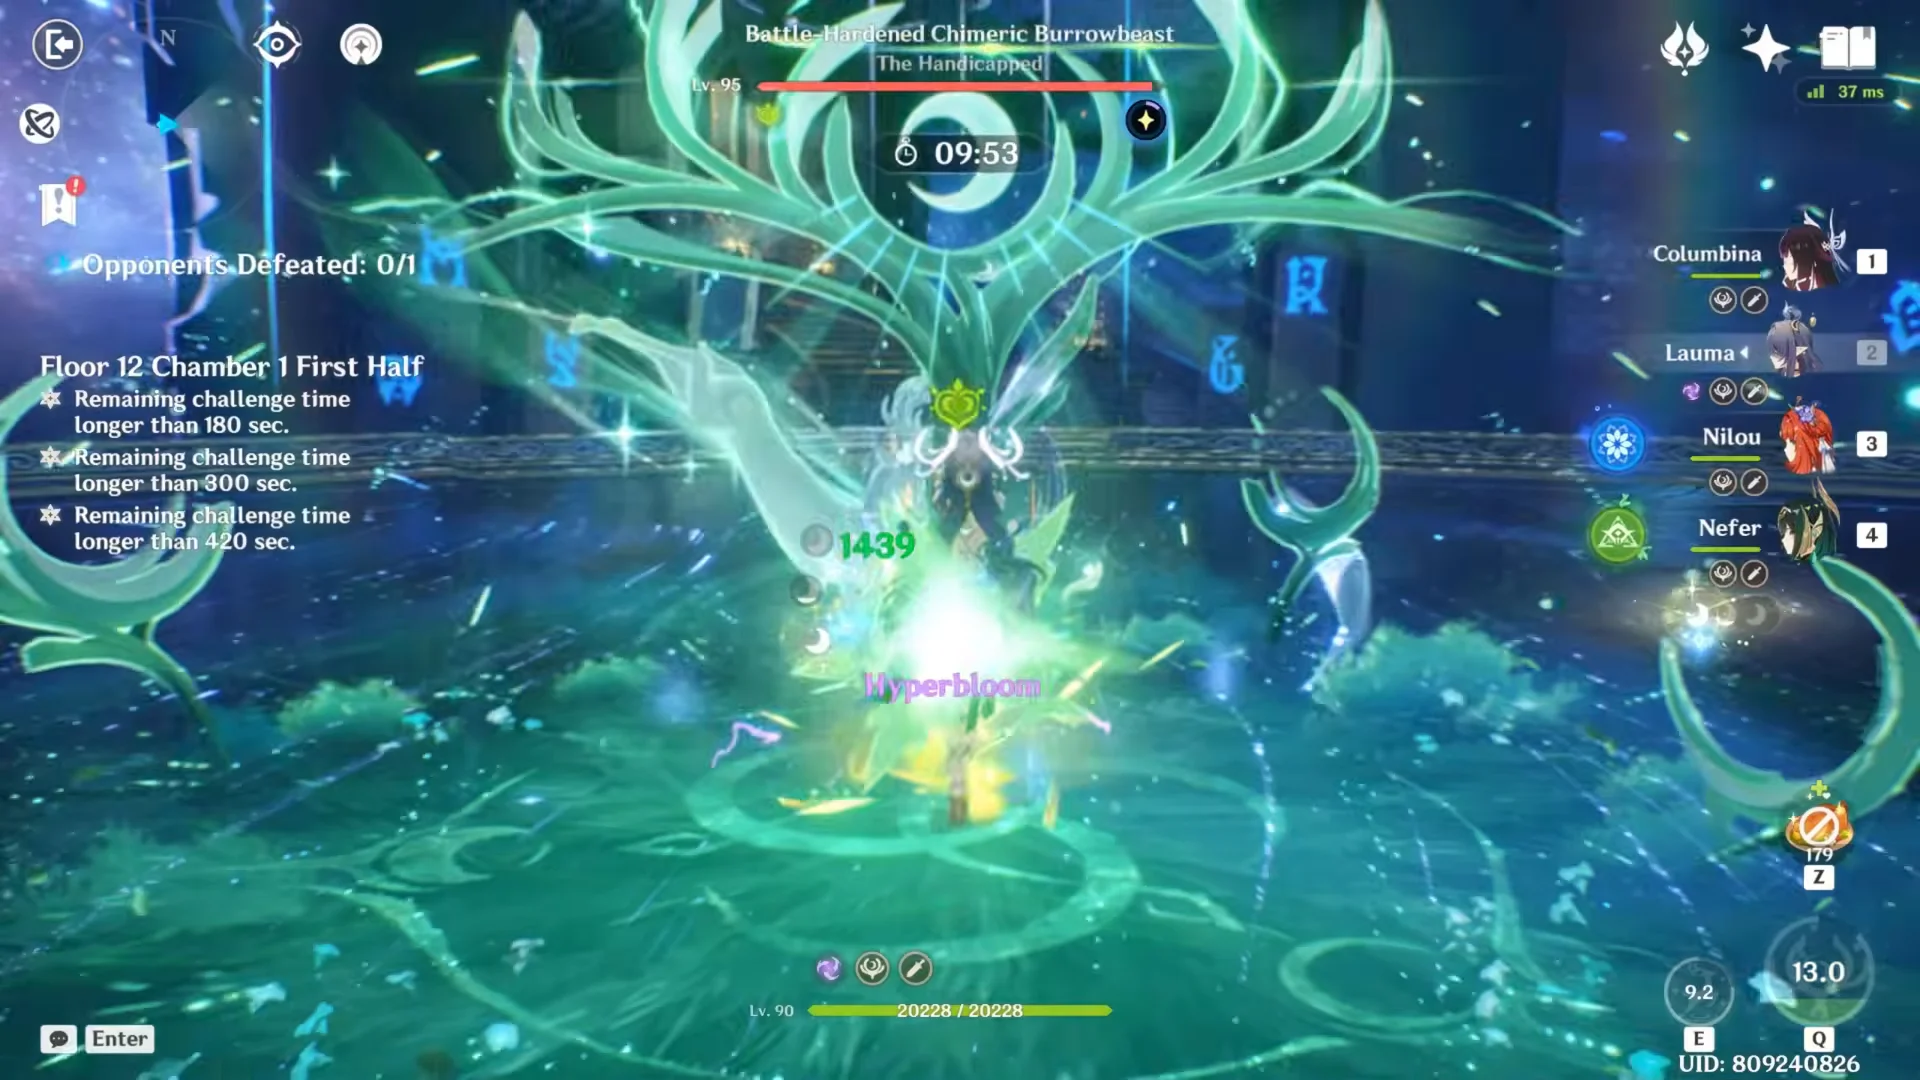
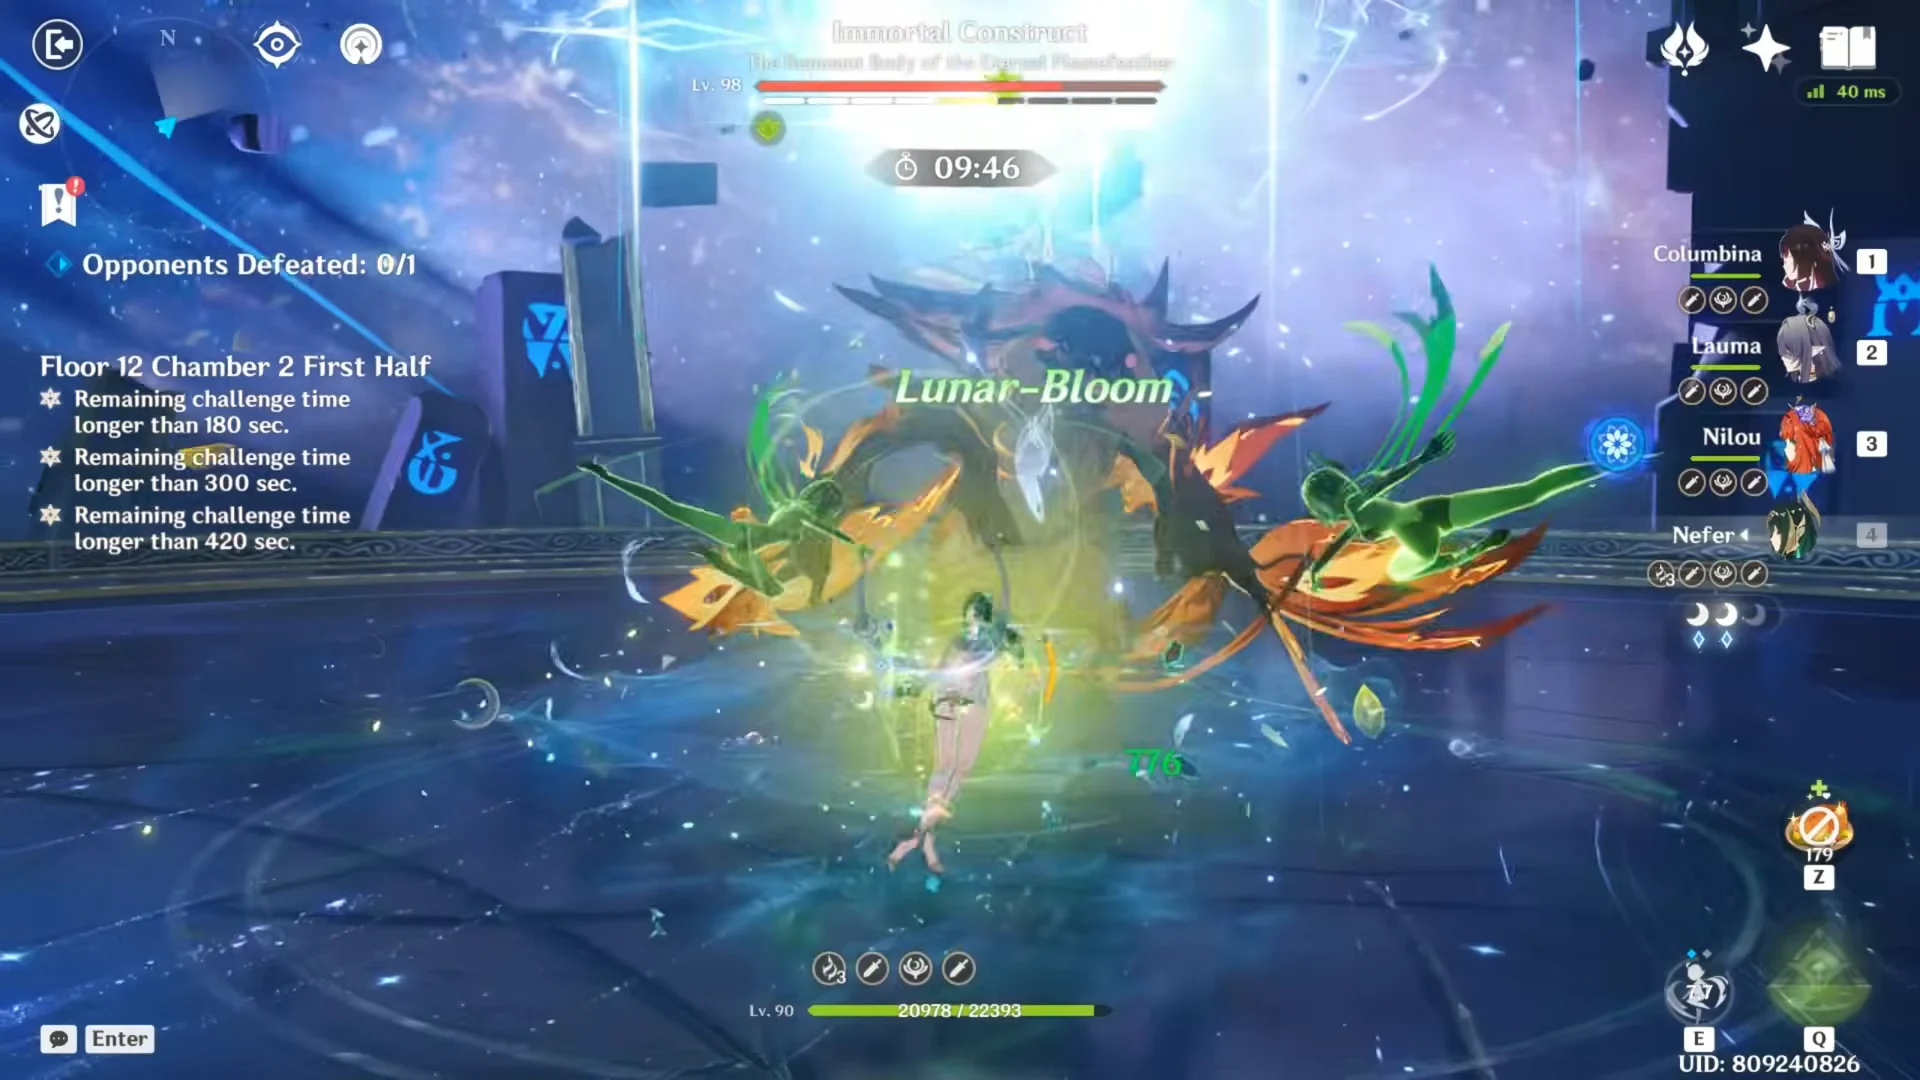
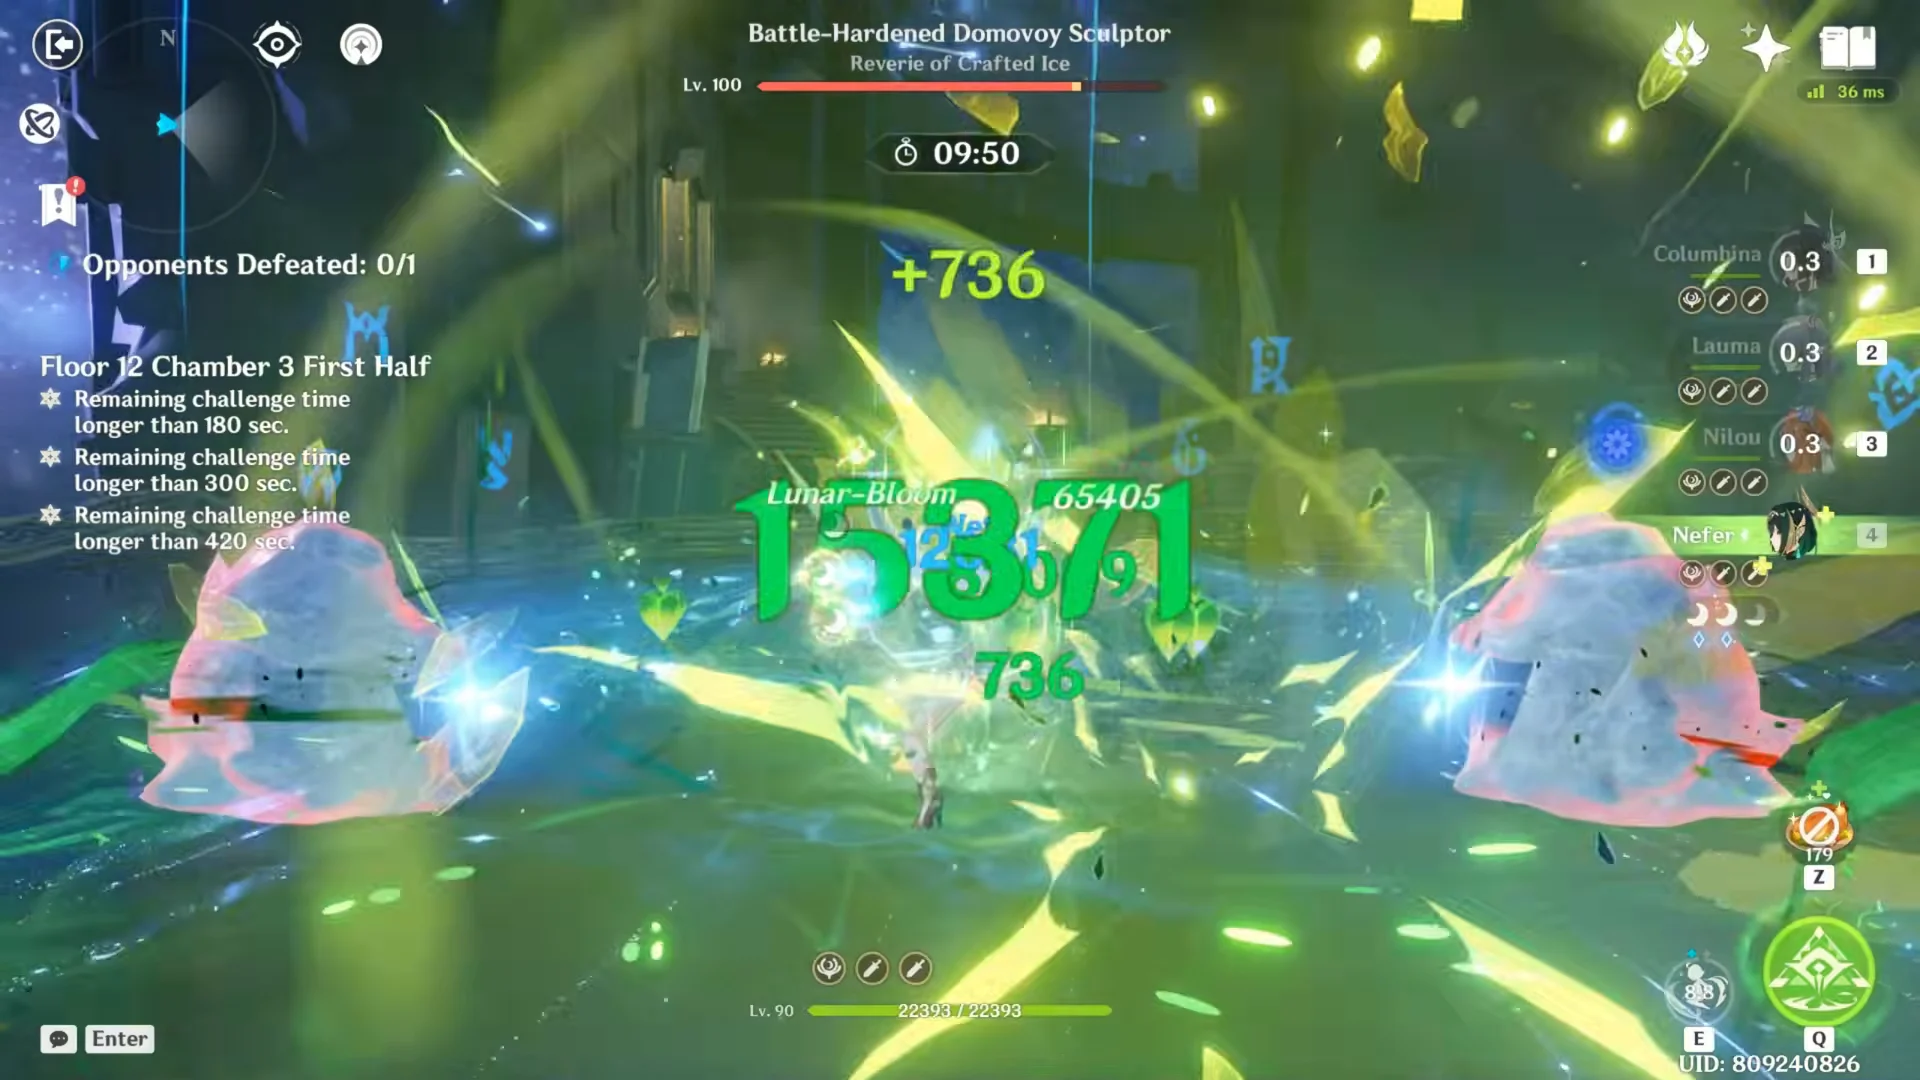
The first team pairs Columbina, Lauma, Nilou and Nefer. Its whole purpose is to keep Dendro and Hydro on the field so Lunar-Bloom reactions keep firing, and the reaction ticks in this run land above 350,000 and climb past 430,000. Nilou anchors the Bloom setup with a very large health pool, Lauma and Nefer supply the Dendro pressure and Elemental Mastery, and Columbina rounds out the reaction driving.
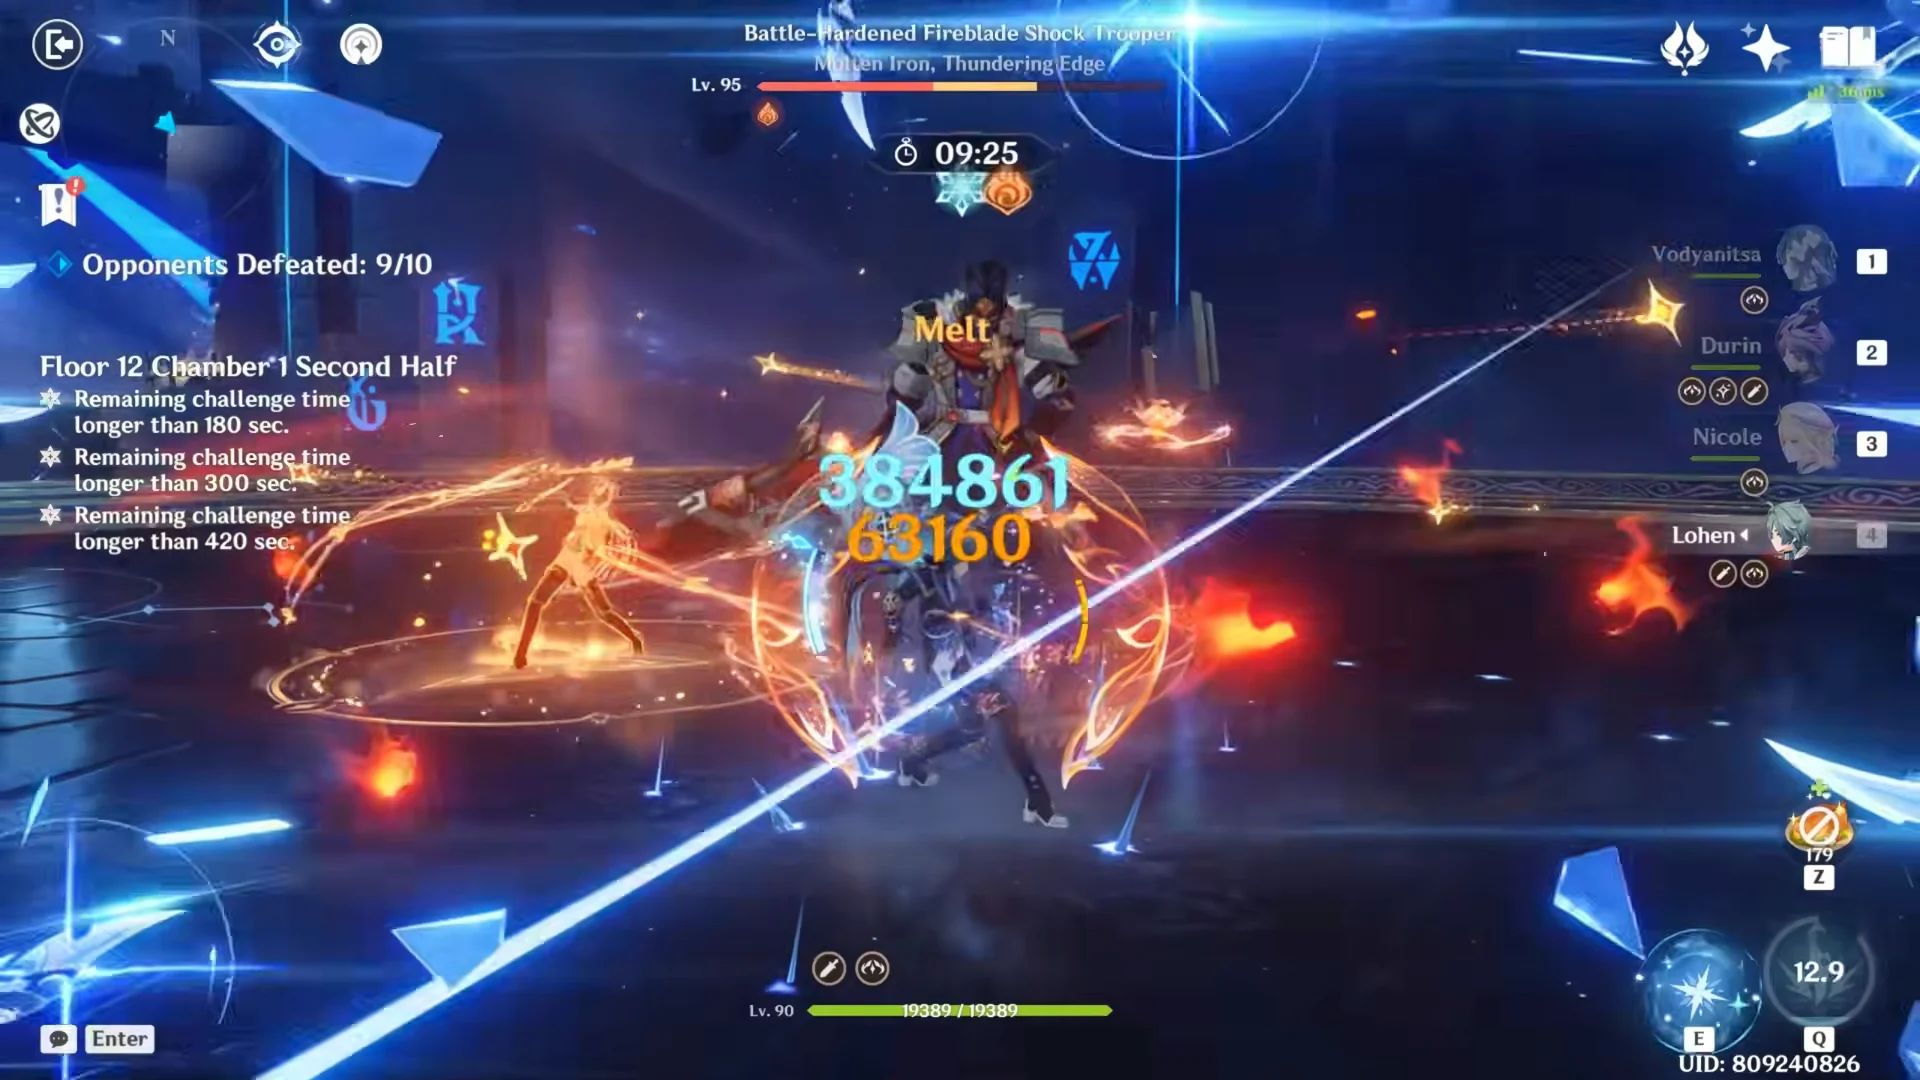
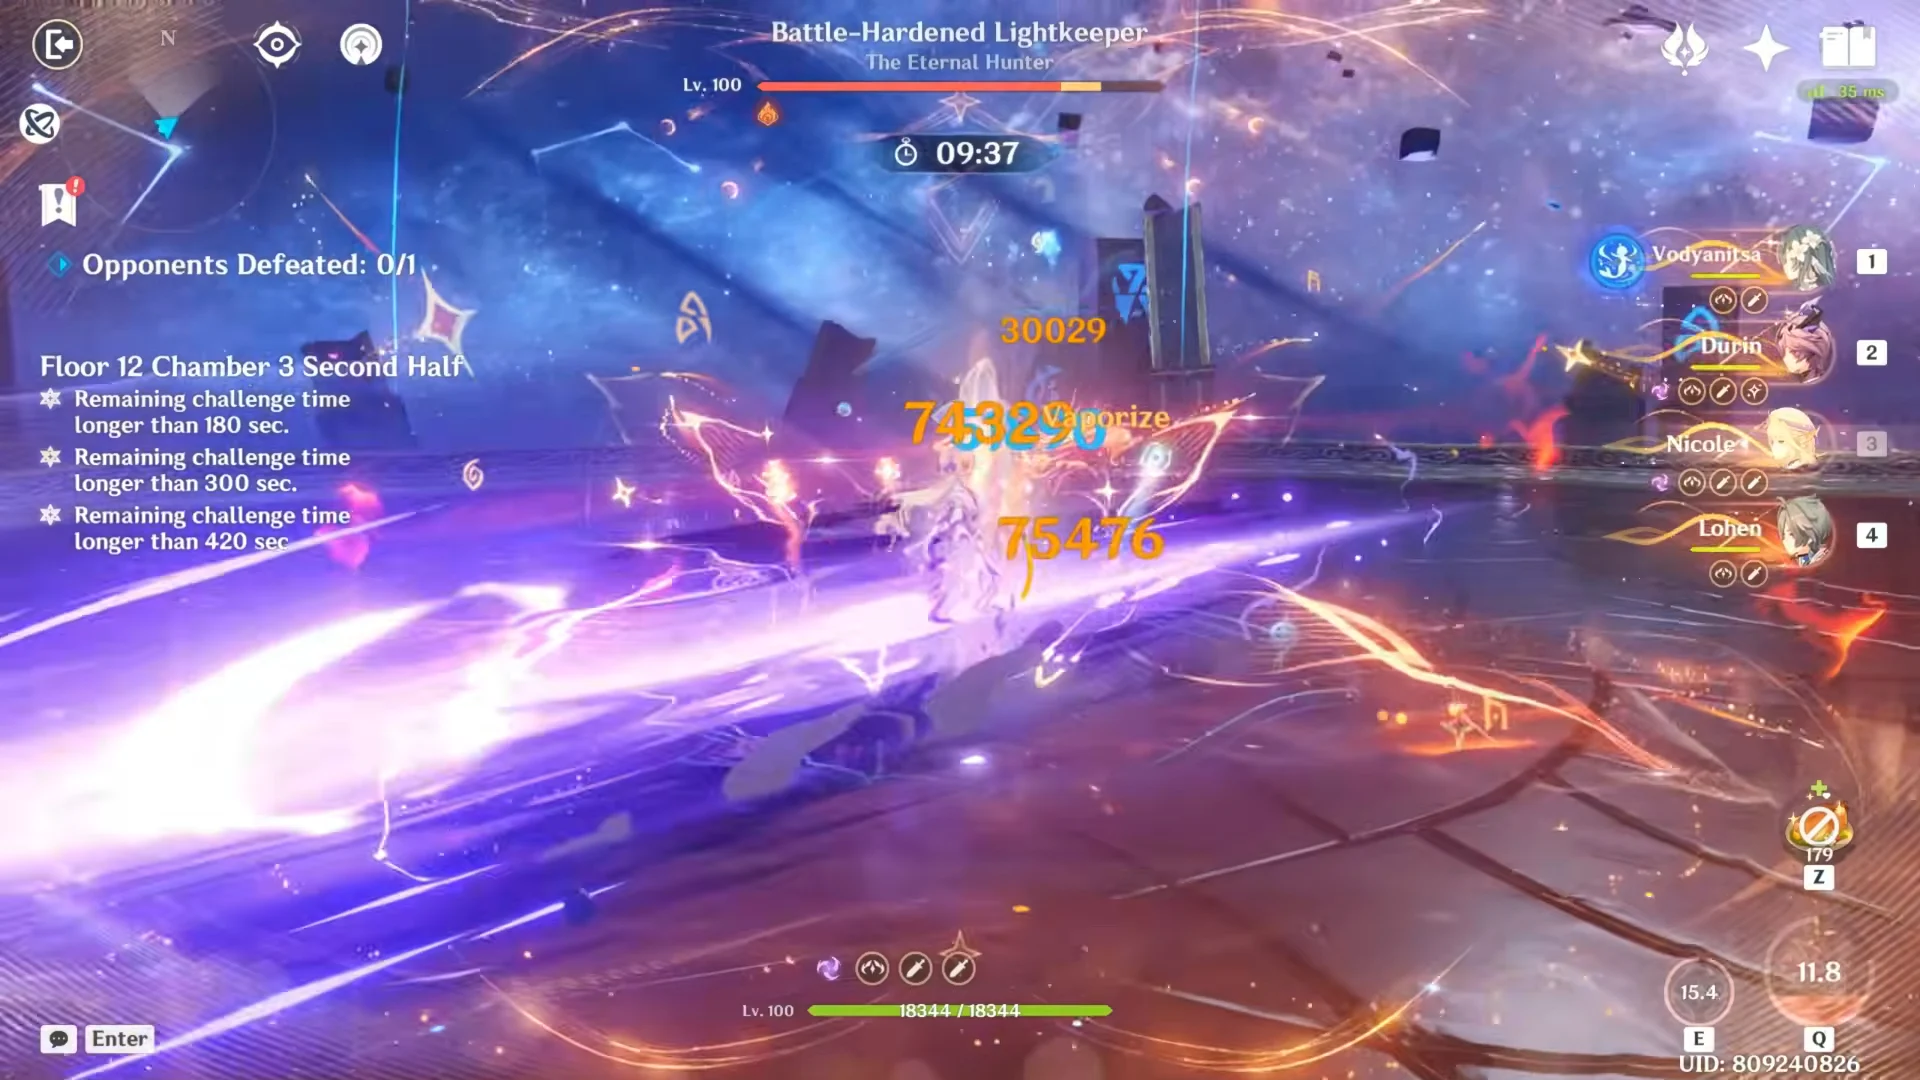
The second team fields Vodyanitsa, Durin, Nicole and Lohen. This side trades reaction stacking for raw amplified hits, chaining Melt and forward-Vaporize damage that reaches into the hundreds of thousands and tops 500,000 on its biggest swings. Vodyanitsa functions as the Hydro support here, stacking health to feed buffs and shred resistance while the Cryo and Pyro carries convert that into damage.
How the Floor 12 run plays out
Each chamber opens with a Benediction of the Abyss card. The buffs on offer include a flat CRIT Rate +8% and CRIT DMG +15%, a DEF +40% boost while a character sits above 50% HP, and Elemental Bursts restoring 30% HP. From there the two teams split the work: the Lunar-Bloom squad takes the first half and the Hexerei squad takes the second.
Chamber 1
The first half opens against the Battle-Hardened Chimeric Burrowbeast. Columbina, Lauma, Nilou and Nefer layer Dendro and Hydro to trigger Lunar-Bloom, and the boss drops almost immediately.
The second half swaps to Vodyanitsa, Durin, Nicole and Lohen, who cut through the wave that includes the Battle-Hardened Fireblade Shock Trooper. Both halves together earn the full three stars.
Chamber 2
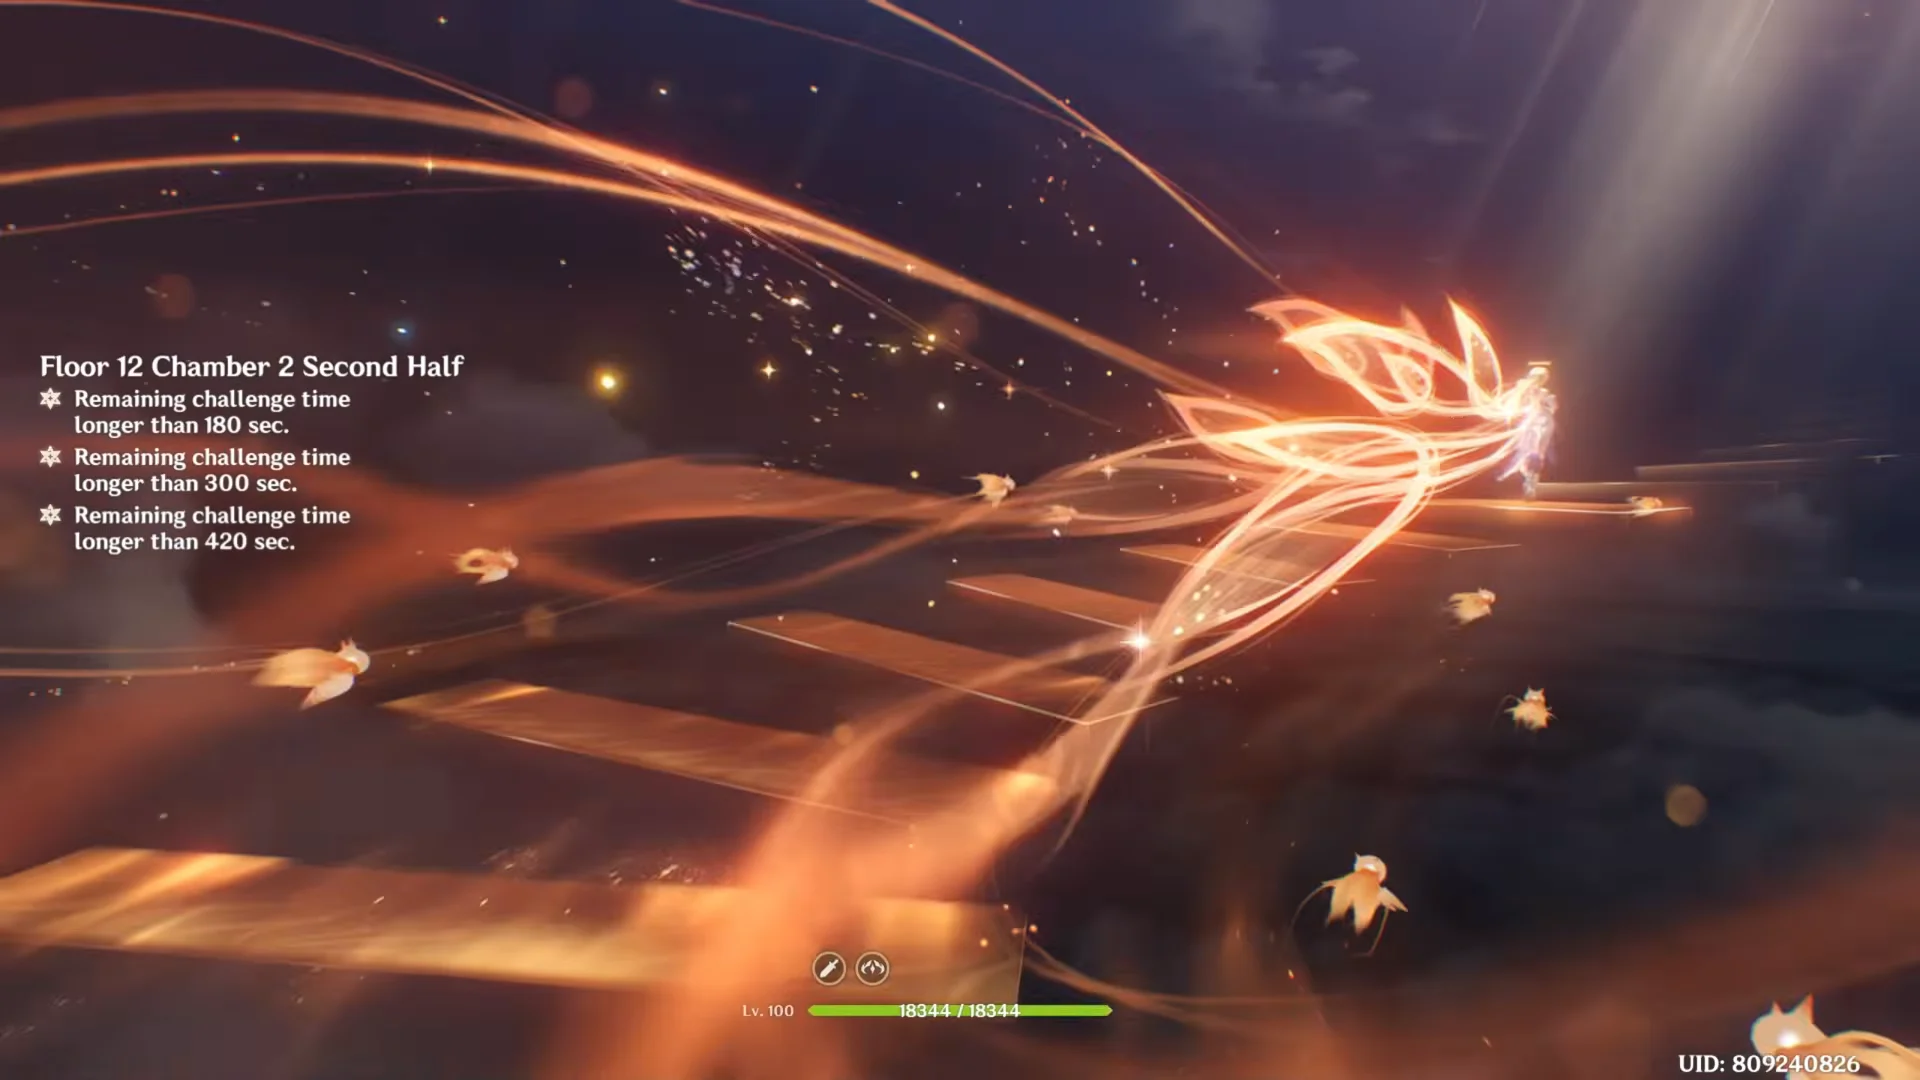
The first half faces the Immortal Construct, listed as The Remnant Body of the Eternal Flamefeather. This enemy can regenerate shields to stall a kill, but the Lunar-Bloom team stacks its buffs and burns it down before that becomes a problem.
The second half brings out the Lord of the Hidden Depths: Whisperer of Nightmares, a boss whose shield resists ordinary damage. The Hexerei team rotates bursts to break it and clears the chamber for three more stars.
Chamber 3
The final chamber’s first half is the Battle-Hardened Domovoy Sculptor, tied to a Reverie of Crafted Ice mechanic. The Lunar-Bloom team dismantles it quickly with its reaction damage.
The second half closes on the Battle-Hardened Lightkeeper, subtitled The Eternal Hunter. The Hexerei team finishes it off, sealing three stars and pushing the cycle to a full 9/9 across Floors 9, 10, 11 and 12. Every chamber ends with the top time threshold met, holding well past the 420-second mark that awards all three stars.
Nefer Lunar-Bloom team builds
| Character | Level | Weapon | Artifact set |
|---|---|---|---|
| Columbina | 100 (C6) | R5 Prototype Amber | Silken Moon’s Serenade |
| Lauma | 90 (C6) | R1 Nightweaver’s Looking Glass | Deepwood Memories |
| Nilou | 90 (C4) | R4 Key of Khaj-Nisut | Instructor |
| Nefer | 90 (C6) | R1 A Thousand Floating Dreams | Night of the Sky’s Unveiling |
Columbina is pushed to Level 100 with a heavy Energy Recharge profile, sitting near 224.8% ER alongside 74.3% CRIT Rate and 96.6% CRIT DMG, so her bursts come back fast.
Lauma is the Dendro backbone, carrying about 1,249 Elemental Mastery on Deepwood Memories to shred Dendro resistance and feed reactions. Nefer runs a crit-focused Elemental Mastery hybrid at roughly 890 EM with 62.9% CRIT Rate and 191.0% CRIT DMG, which is what drives those large Lunar-Bloom numbers.
Nilou is built around health rather than damage, sitting above 60,000 HP to power the Bloom-focused identity this team relies on.
Lohen Vodyanitsa Hexerei team builds
| Character | Level | Weapon | Artifact set |
|---|---|---|---|
| Vodyanitsa | 90 (C5) | R5 Hymn of the Maelstrom | Tenacity of the Millelith |
| Durin | 100 (C6) | R2 Athame Artis | Noblesse Oblige |
| Nicole | 100 (C6) | R5 Angelos’ Heptades | Celestial Gift |
| Lohen | 90 (C6) | R1 Disaster and Remorse | Day Carved from Rising Winds |
Vodyanitsa is a Hydro Catalyst support who scales her buffs and resistance shred off health, and this build lands almost exactly on the recommended target with about 65,000 HP. She pairs Hymn of the Maelstrom with Tenacity of the Millelith to keep the team’s damage bonuses maxed while healing and stripping Hydro and Cryo resistance.
Lohen is the Cryo carry here, tuned with a very high 205.0% CRIT DMG, 79.9% CRIT Rate and a 46.6% Cryo DMG Bonus, which feeds the Melt swings the team leans on. Durin backs that up at Level 100 with roughly 2,582 ATK and near-crit-capped stats, while Nicole pushes an aggressive 4,405 ATK profile on Celestial Gift.
Floor 12 in Version 7.1
Floor 12 is the final floor of the Spiral Abyss, and its Version 7.1 rotation is tuned around Moon-linked reactions. The Ley Line Disorder boosts Swirl DMG by 200% and Stellar Swirl DMG by 75% in the first half, then boosts Electro-Charged DMG by 200% and Lunar-Charged DMG by 75% in the second half. Enemies scale between Level 95 and Level 100.
This cycle also runs the Blessing of the Abyssal Moon called Ice-Surging Moon. When a character deals Swirl or Stellar Swirl damage, a shockwave hits the target for True DMG, and that effect can fire once every four seconds. A full 9-star clear of the abyss pays out 60,000 Mora and 200 Primogems, plus Domain Reliquary caskets.
The current Blessing of the Abyssal Moon setup resets on 2026/10/16 at 4:00 server time, at which point the floor’s blessing and enemy layout change over.
It’s worth treating this run as a display of maxed, custom-built characters rather than a repeatable template. The rosters include fully refined signature weapons, high constellations and characters pushed to Level 100, which is why every chamber falls in seconds. The takeaway is what each composition is designed to do — Lunar-Bloom reaction stacking on one side, amplified Cryo and Pyro burst damage on the other — and how cleanly that shape maps onto Floor 12’s Moon-focused rules.