Spiral Abyss Floor 12 in Version 7.1 is built around Snezhnaya’s Stellar reactions. The first half pushes Stellar-Swirl, the second half leans on Lunar-Charged and Electro-Charged, and the enemy level sits between 95 and 100. The current rotation resets on October 16, so the current chamber layout and blessing only run for a short window more.
Quick answer: Bring a Stellar-Swirl (Anemo or Cryo) team for the first half and a Lunar-Charged or Electro-Charged (Hydro or Electro) team for the second, then clear each chamber with more than 420 seconds left on the timer to earn all nine stars before the October 16 reset.
Leyline Disorder and the Ice-Surging Moon blessing
The two halves of Floor 12 reward completely different damage types this cycle. The Leyline Disorder inflates the reaction each side is designed around, which is why a single all-rounder team rarely covers both chambers cleanly.
| Half | Leyline Disorder |
|---|---|
| First half | Swirl DMG +200%, Stellar Swirl DMG +75% |
| Second half | Electro-Charged DMG +200%, Lunar-Charged DMG +75% |
On top of that, the Blessing of the Abyssal Moon this period is Ice-Surging Moon. Whenever a character deals Swirl or Stellar Swirl damage, a shockwave bursts at the target’s position and deals True DMG, which can trigger once every 4 seconds. That rewards the first-half Anemo cores even more and gives Stellar-Swirl teams a consistent extra tick of damage that ignores resistance.
First half: Stellar-Swirl and Stellar-Conduct enemies
The first-half chambers currently open with a Bandersnatch, follow with an Immortal Construct, and finish on Churin. Each one is a single, durable target that plays into Stellar-reaction cores rather than wide crowd clears. Because the enemies are broadly weak to Stellar-Glimmer damage, Stellar-Conduct remains a strong pick even if you ignore the Swirl Disorder entirely.
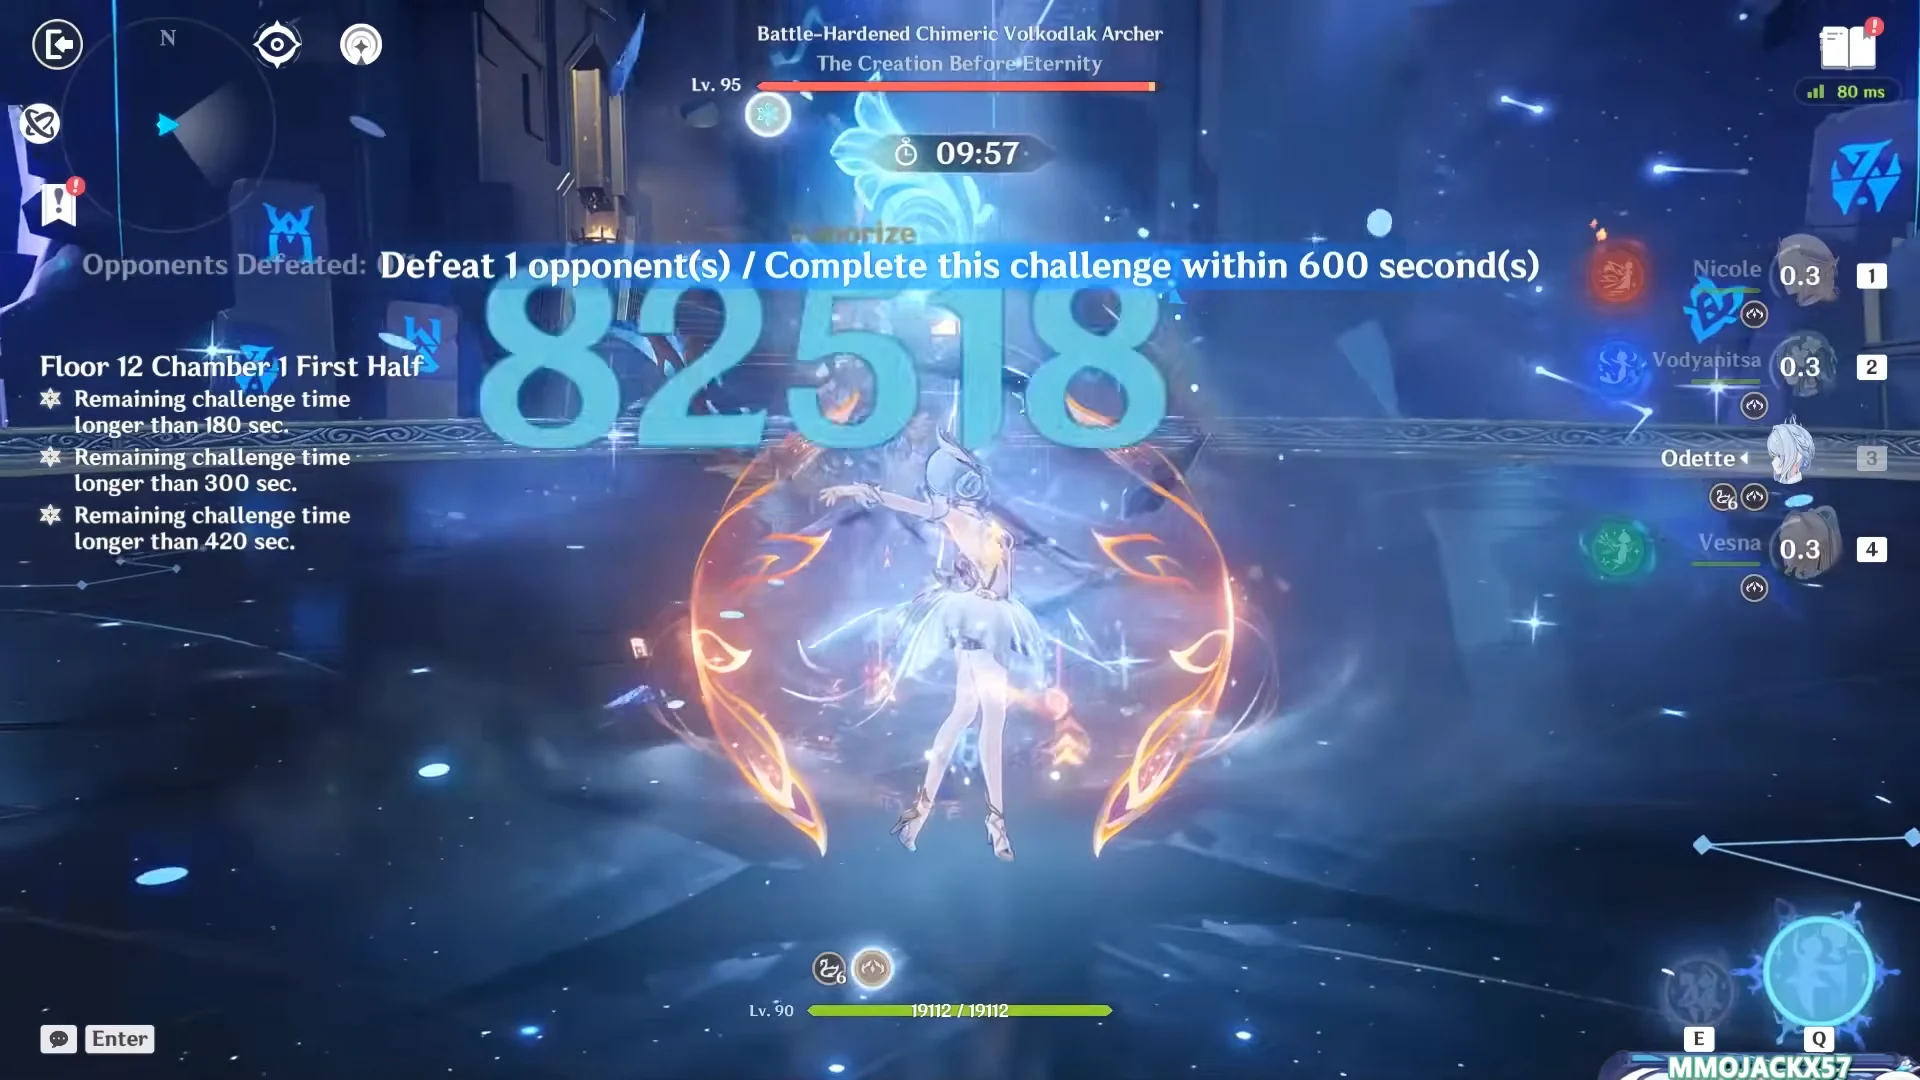
Each boss has a gimmick worth knowing. The Bandersnatch needs its Fury gauge filled to become vulnerable, which Electro attacks accelerate, so a Stellar-Swirl team’s Electro swirls fill it quickly. The Immortal Construct regenerates shields and must be shut down with Stellar-Glimmer damage before it stabilizes. Churin summons Jack Frost statues that can almost one-shot your active character, so ranged pressure and Stellar-Conduct trivialize it.
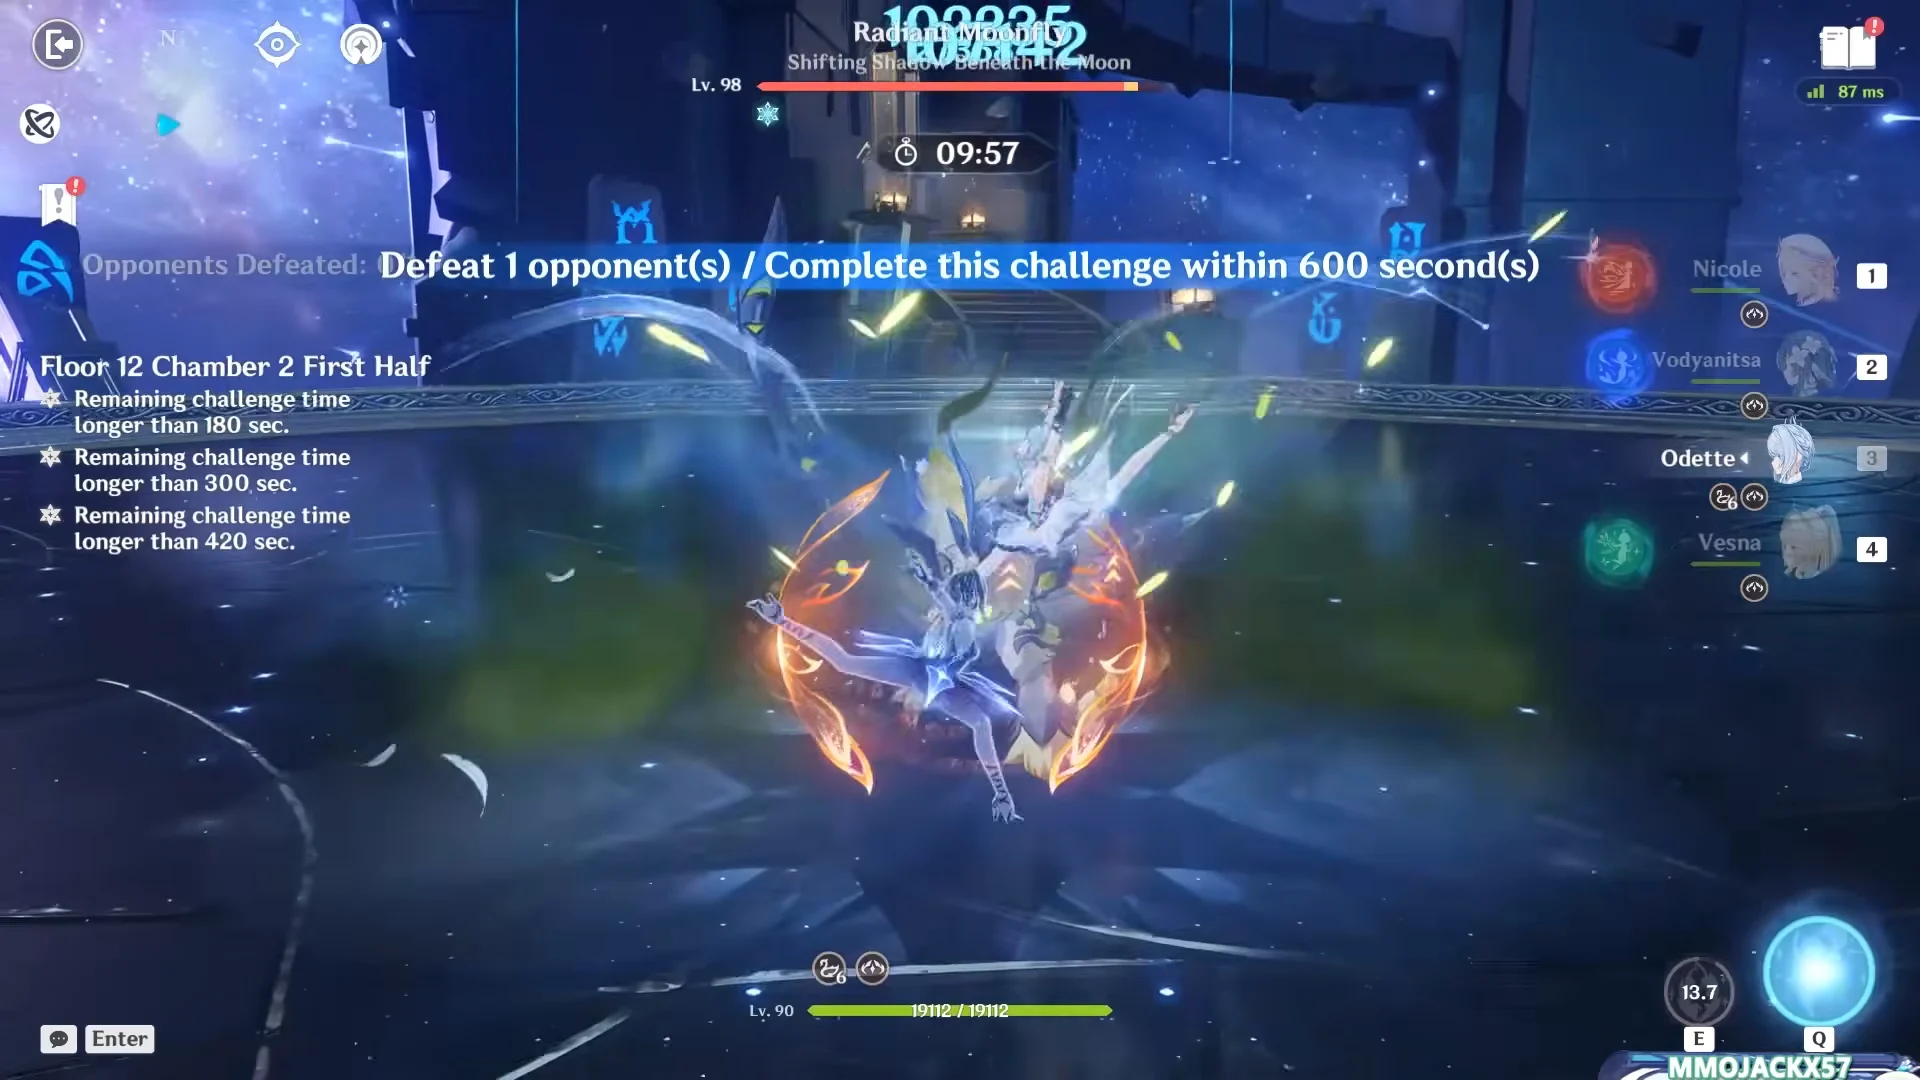
A clean Stellar-Swirl core pairs a dedicated Anemo driver with an off-field Cryo applicator and flexible supports. Vesna is the standout dedicated Stellar-Swirl DPS this version, highly mobile and strong in AoE, with Odette and the Cryo Traveler feeding her reactions. Mizuki at C2 reaches comparable output and stays free and accessible, while Faruzan and Vodyanitsa add Anemo resistance shred and extra buffs.
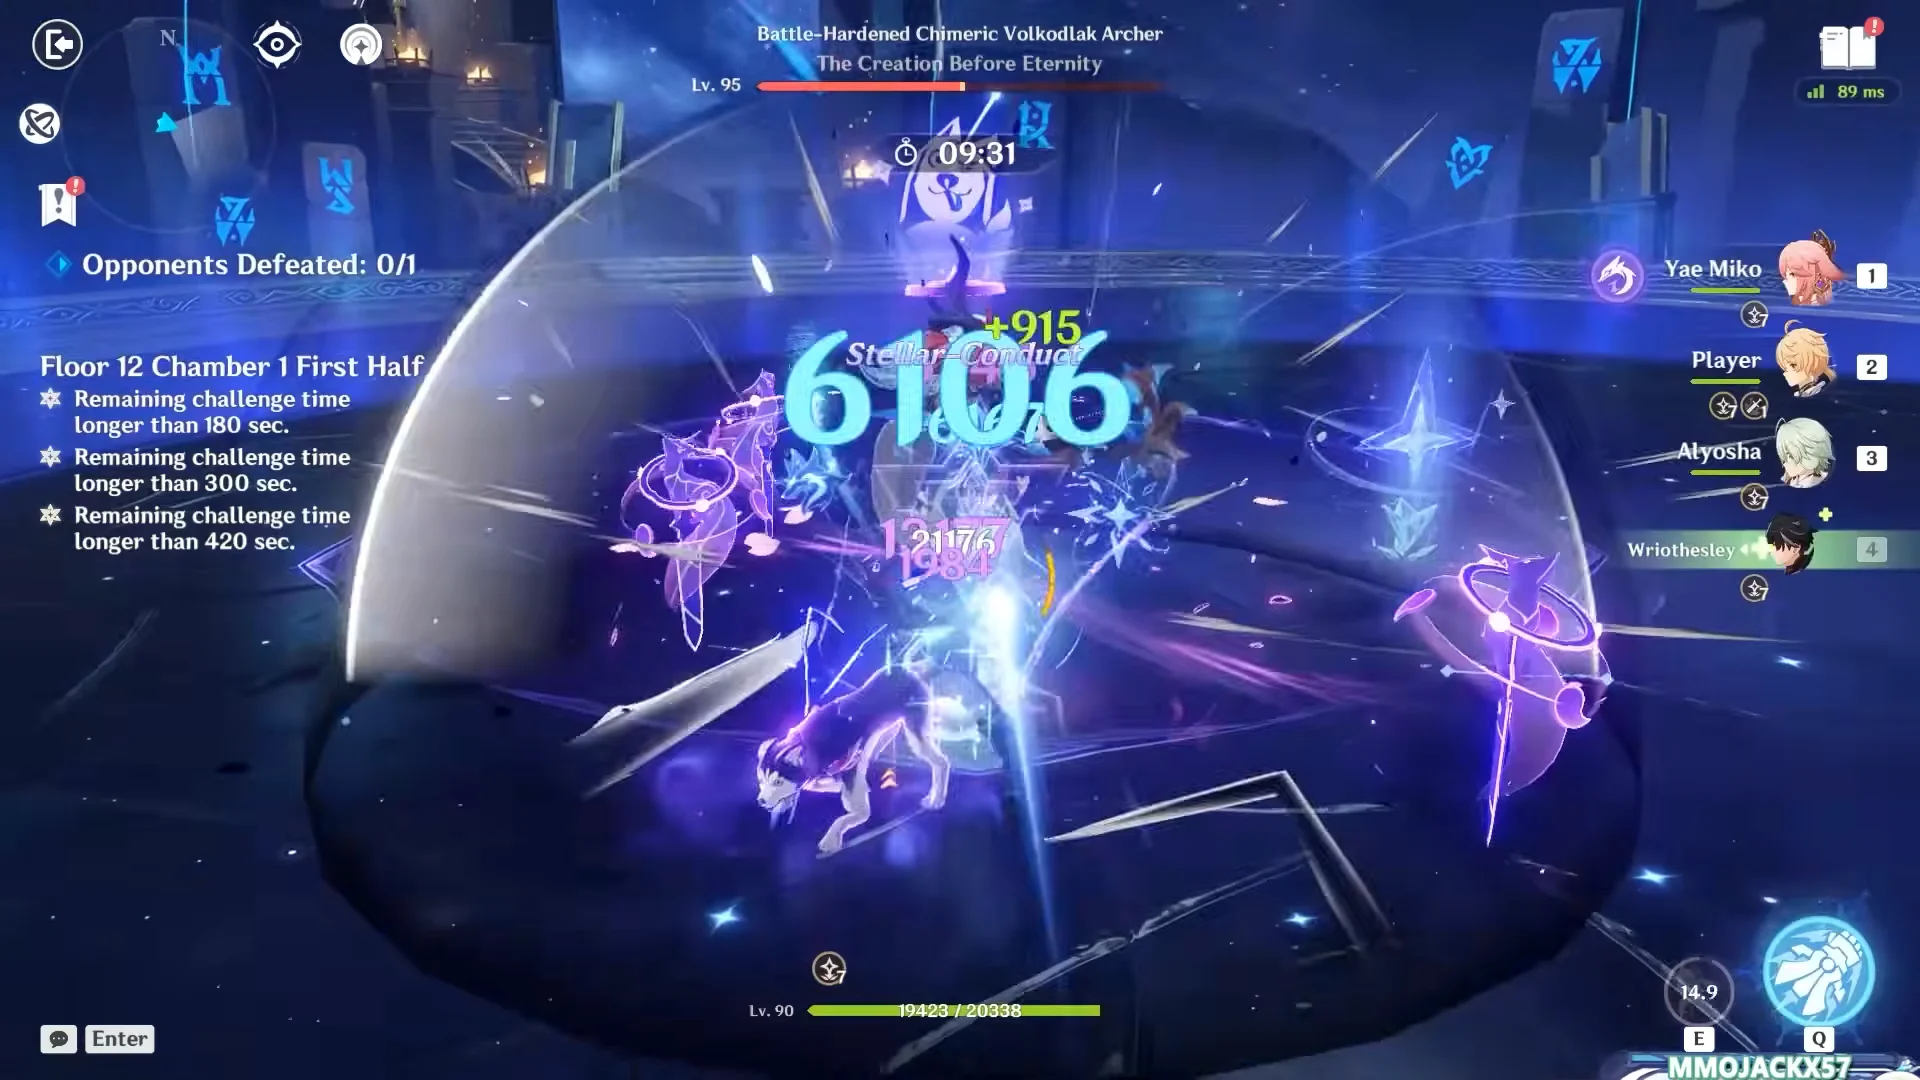
Wriothesley is built to lead a Stellar-Conduct team. With Polestar Field active, his N3, N5, and unique Charged Attack inflict Stellar-Conduct damage. One viable first-half lineup pairs him with Yae Miko for off-field Electro, the Cryo Traveler to form the Polestar Field, and Alyosha to aid the reaction. Switch him to the Disenchantment in Deep Shadow set: its 4-piece bonus boosts Superconduct damage by 80% and Stellar-Conduct damage by 40%, and grants 16% CRIT Rate against foes affected by either reaction.
Alyosha fills the 4-star Electro Polearm support role; his Burst, Hunter’s Advance, provides Electro from off field, an ATK boost, and healing. Engulfing Lightning is his best-in-slot weapon, while Noblesse Oblige boosts team ATK. Aim for 180–230% Energy Recharge to have his Burst ready each rotation. This side also has budget options, including a cost-3 clear built around the Cryo Traveler.
Second half: Lunar-Charged and Electro-Charged enemies
The second half shifts toward Lunar damage. Chamber 1 sends nine Wilderness Exiles before Raskolnikov spawns as the boss, and Raskolnikov’s self-regenerating shields are shut off by Lunar-Charged or Electro-Charged reactions. Set your units up on the ninth Exile so the reaction is ready the moment he appears.
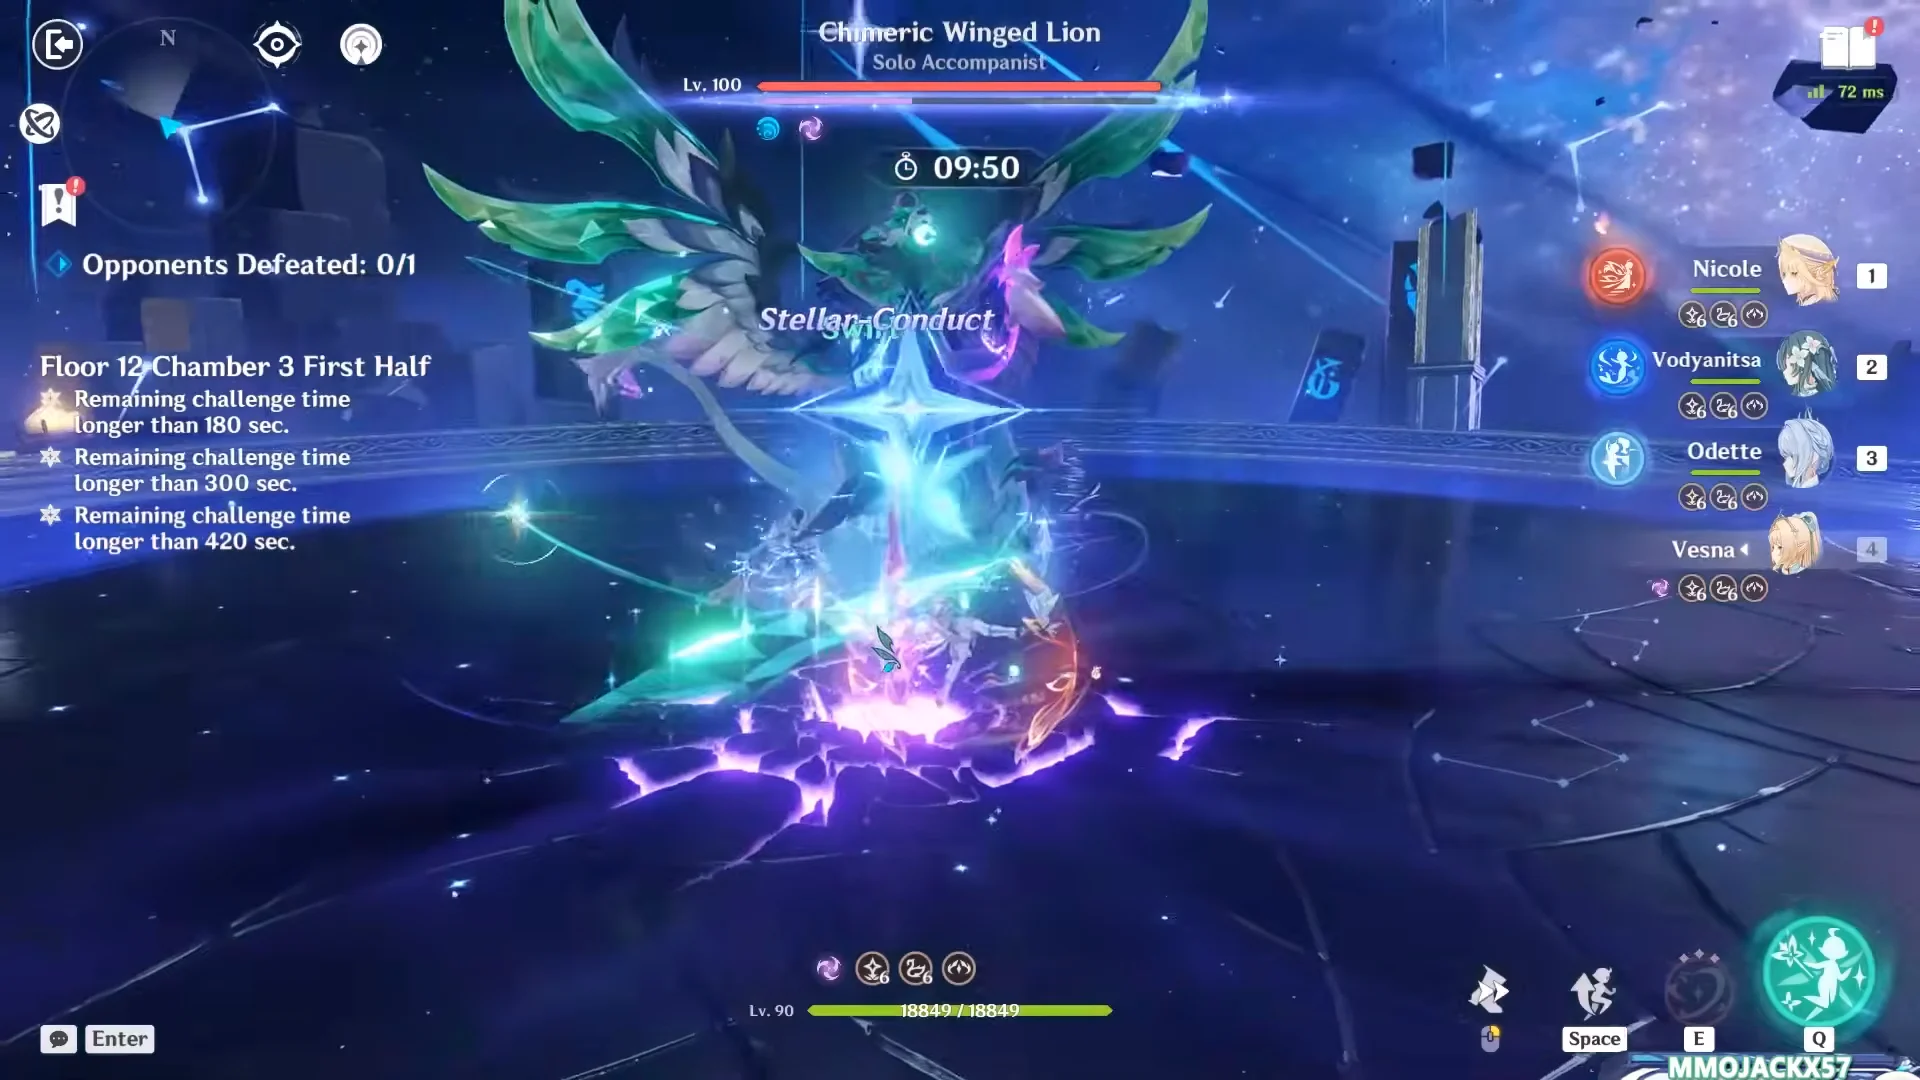
Chamber 2 opens with four Fishers of Hidden Depths that group up once a shield breaks, then the Lord of the Hidden Depths, Whisperer of Nightmares, whose shield specifically requires Lunar damage to destroy. Chamber 3 closes on Sigurd. Because the enemies are generally weak to Lunar damage, Lunar-Bloom and Lunar-Crystallize teams also work even without leaning on the Disorder.
Moonsign carries like Flins, Nefer, and Zibai pair naturally with Columbina, Lauma, and Linnea for this side. Freeze remains a viable alternative on specific bosses, and Vodyanitsa’s return as an HP-scaling Cryo and Hydro resistance shredder has pushed Skirk, Lohen, and Ayaka up a step by giving Freeze a second debuffer alongside Escoffier.
The invested carry teams on show
Two heavily built hypercarry teams have been demonstrated clearing every chamber with time to spare, one on each half. They show how far a fully invested roster can push past the baseline time marks.
Wriothesley Freeze first half
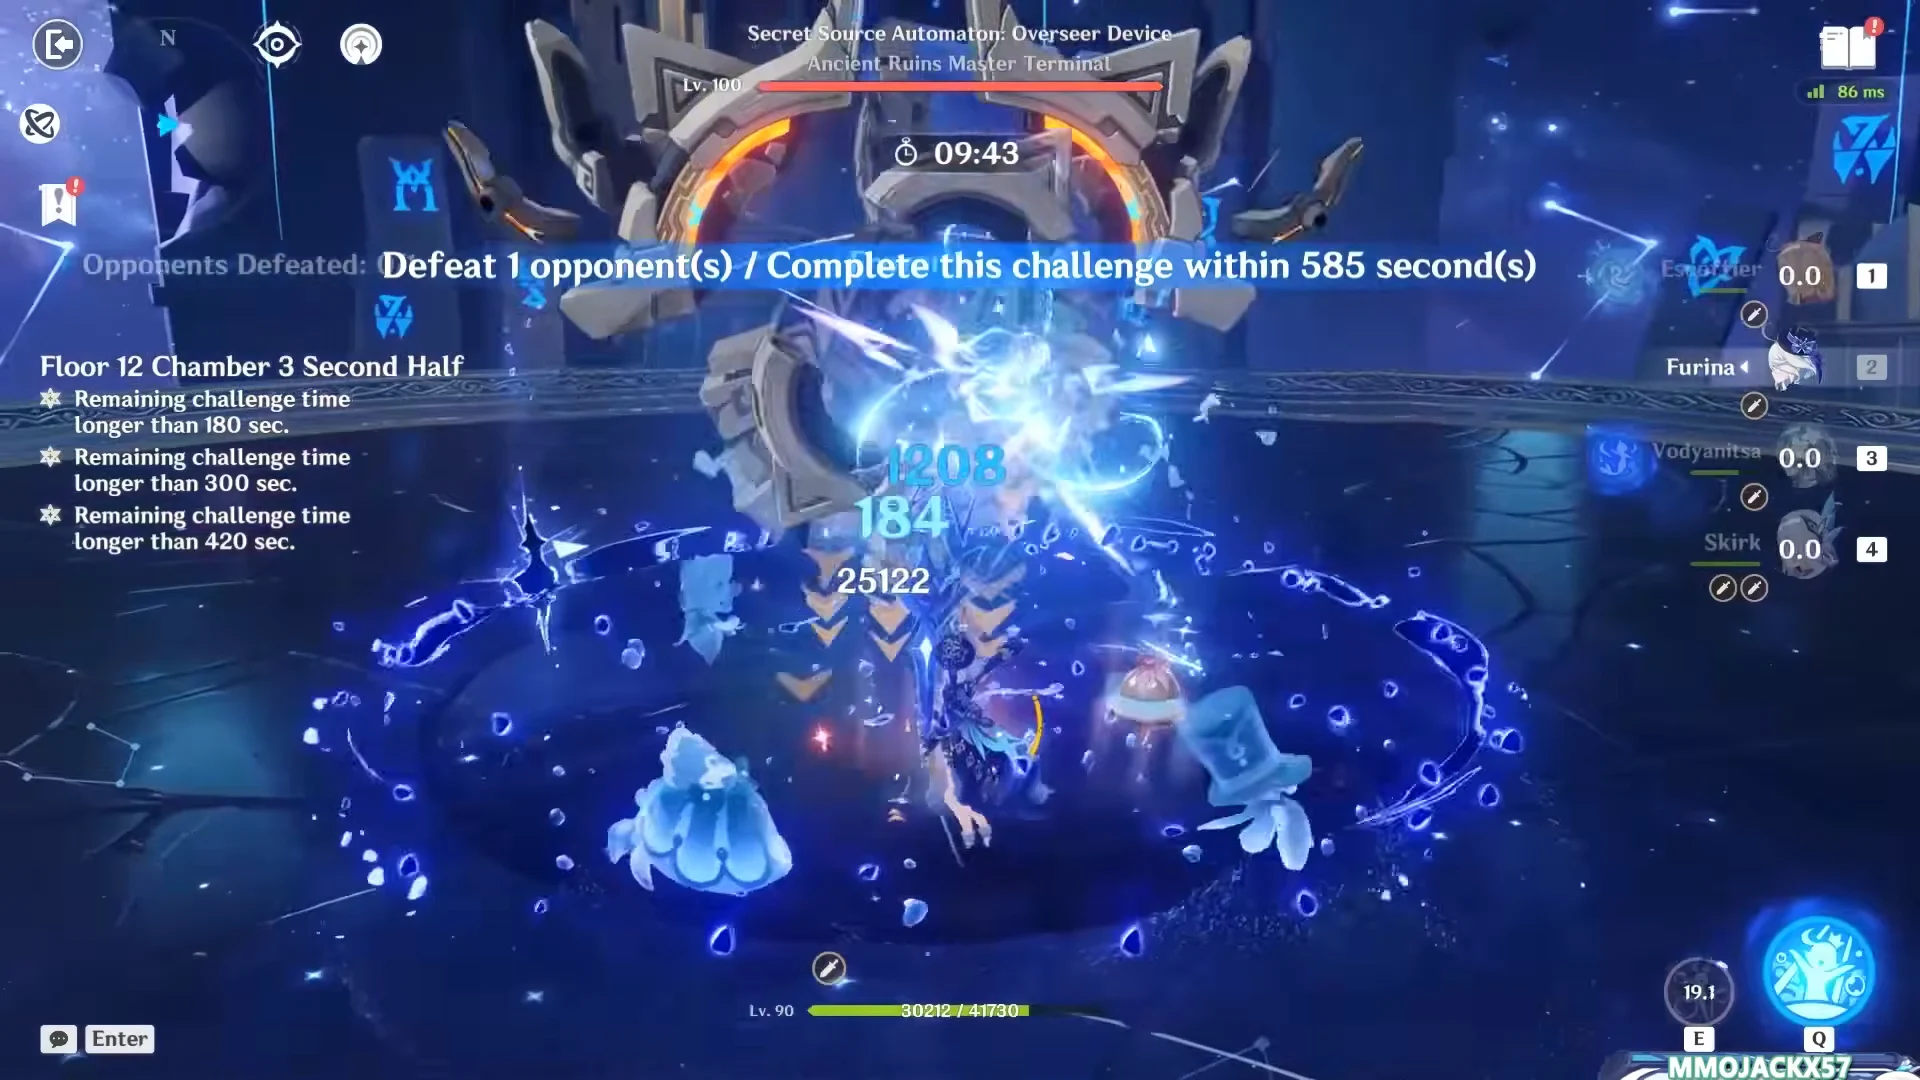
For Level 100, build Wriothesley’s Cryo Freeze team with two Hydro applicators and a Cryo resistance specialist. Furina buffs, heals, and creates the HP changes that power Wriothesley’s Marechaussee Hunter set; Escoffier deals Cryo damage from off field and reduces resistance; Vodyanitsa adds Hydro to keep enemies Frozen. He must remain above 60% HP to continue using enhanced attacks, so dependable healing helps maintain his Skill uptime at C0.
| Character | Weapon | Artifacts (4pc) |
|---|---|---|
| Furina | Favonius Sword | Tenacity of the Millelith |
| Escoffier | Symphonist of Scents | Scroll of the Hero of Cinder City |
| Vodyanitsa | Hymn of the Maelstrom | Song of Days Past |
| Wriothesley | Cashflow Supervision | Marechaussee Hunter |
Neuvillette second half
The second half goes to a Level 100 Neuvillette with Citlali for Cryo, Mavuika for off-field Pyro, and Sigewinne for Hydro and healing. That mix lets his charged attacks trigger both Freeze and Vaporize. Neuvillette carries a 46.6% Hydro damage bonus and roughly 48,150 HP to feed his charged-attack scaling, while Citlali’s 1,141 Elemental Mastery strengthens the reactions.
| Character | Weapon | Artifacts (4pc) |
|---|---|---|
| Sigewinne | Sacrificial Bow | Song of Days Past |
| Citlali | Starcaller’s Watch | Scroll of the Hero of Cinder City |
| Mavuika | A Thousand Blazing Suns | Golden Troupe |
| Neuvillette | Tome of the Eternal Flow | Marechaussee Hunter |
Damage output comparison
Both rotations were recorded on a live damage meter against a stationary Level 100 Ruin Guard. Wriothesley dominates his hypercarry lineup’s damage share at 84%; Escoffier contributes 8%, Furina 5%, and Vodyanitsa 2%. Neuvillette’s lineup distributes damage more evenly. Mavuika’s Pyro scores the biggest single hit, 806,074, even though the team’s overall DPS is lower.
| Team | Team DPS | Total damage | Duration |
|---|---|---|---|
| Wriothesley | 640,227 | 42,109,669 | 65.77s |
| Neuvillette | 385,633 | 24,167,608 | 62.67s |
Clear times, rewards, and confirming nine stars
Finish a chamber with over 180, 300, or 420 seconds left to earn its star. Meet all three time thresholds in every chamber to collect all nine stars on Floor 12. Choose a Benediction of the Abyss card before you enter each chamber to add buffs.
A full Floor 12 clear awards 60,000 Mora and 200 Primogems, along with one Tier I and two Tier II Domain Reliquaries. The Challenge Ended screen confirms you have reached the Spiral Abyss’s bottom; check that the floor summary lists Floor 12 at 9/9 and Floors 9, 10, and 11 at 9/9 as well.
The enemies in each chamber rotate between periods, so a given run may not match the current boss list, and the blessing and chamber layout change at the next reset on October 16.