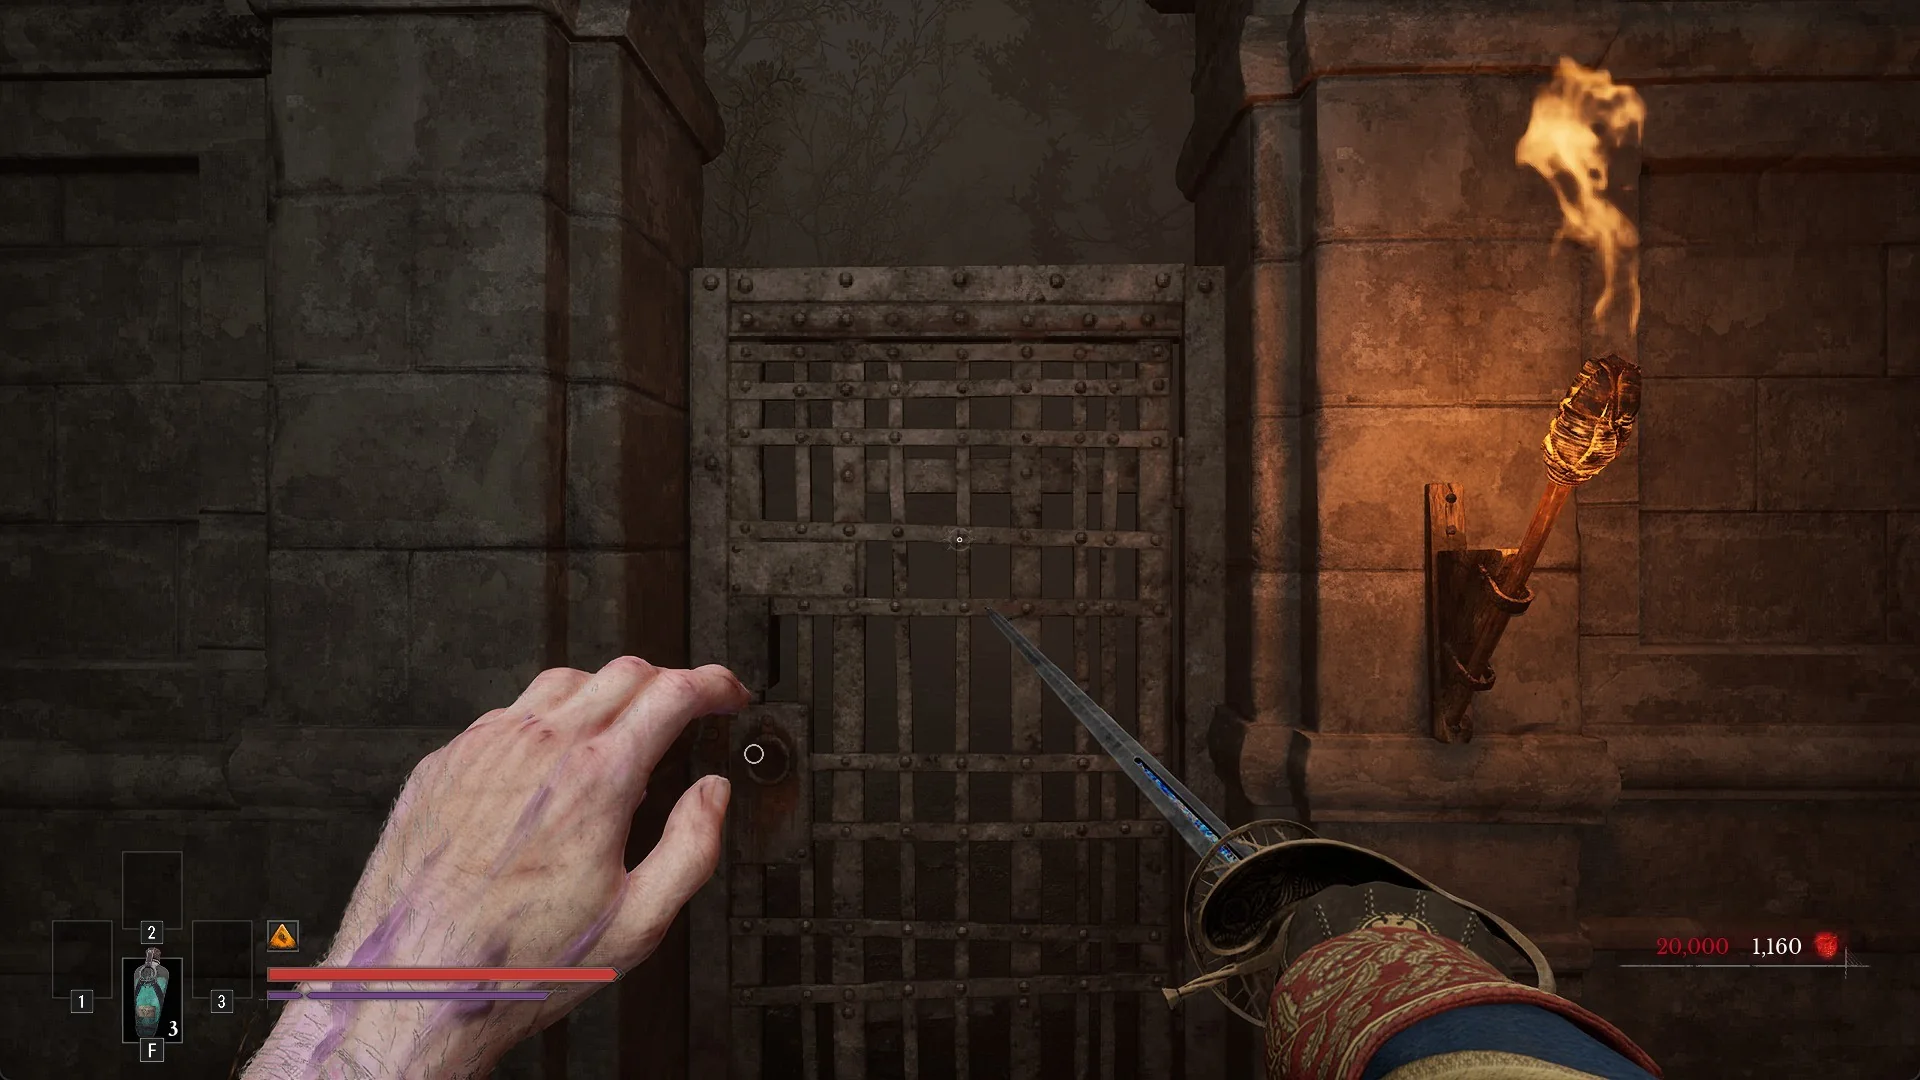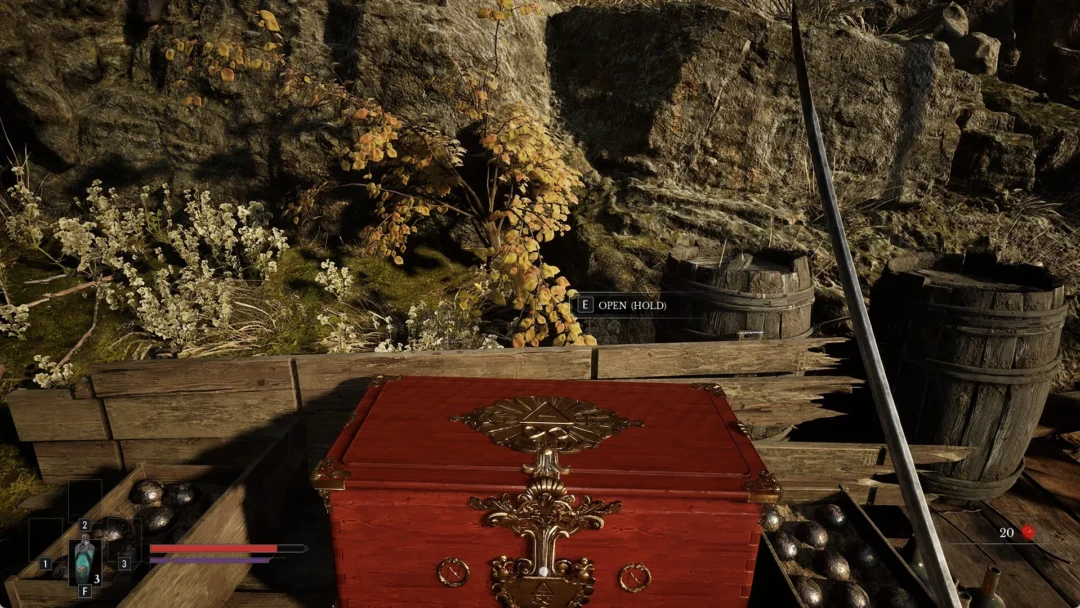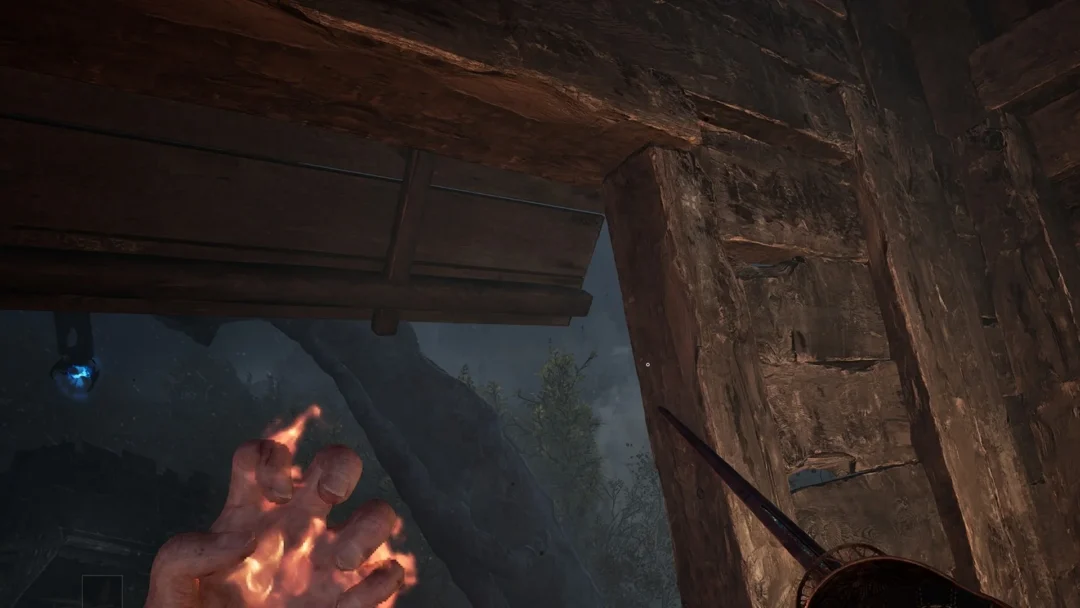
The Ghost challenge in the Against the Odds mission asks for one thing in 007 First Light: clear the Central Camp section without ever being spotted by an Arrowhead soldier. It is one of nine challenges tied to the opening Iceland mission, and completing every challenge unlocks the Iceland outfit for use in TacSim.
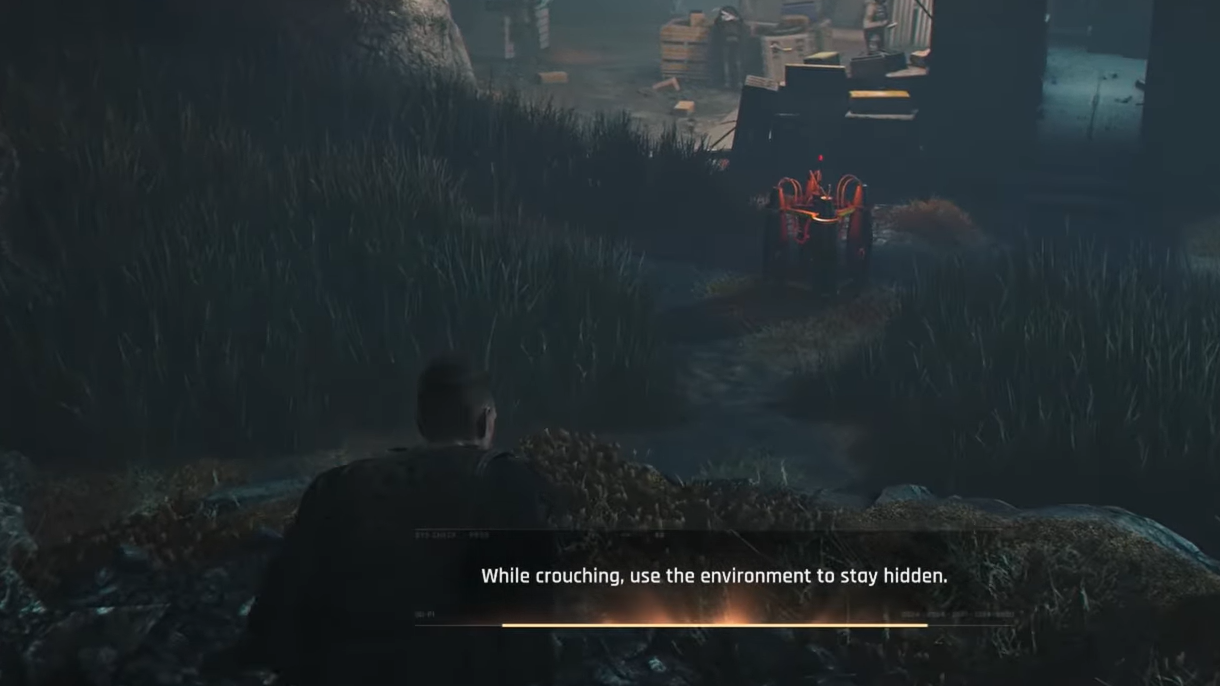
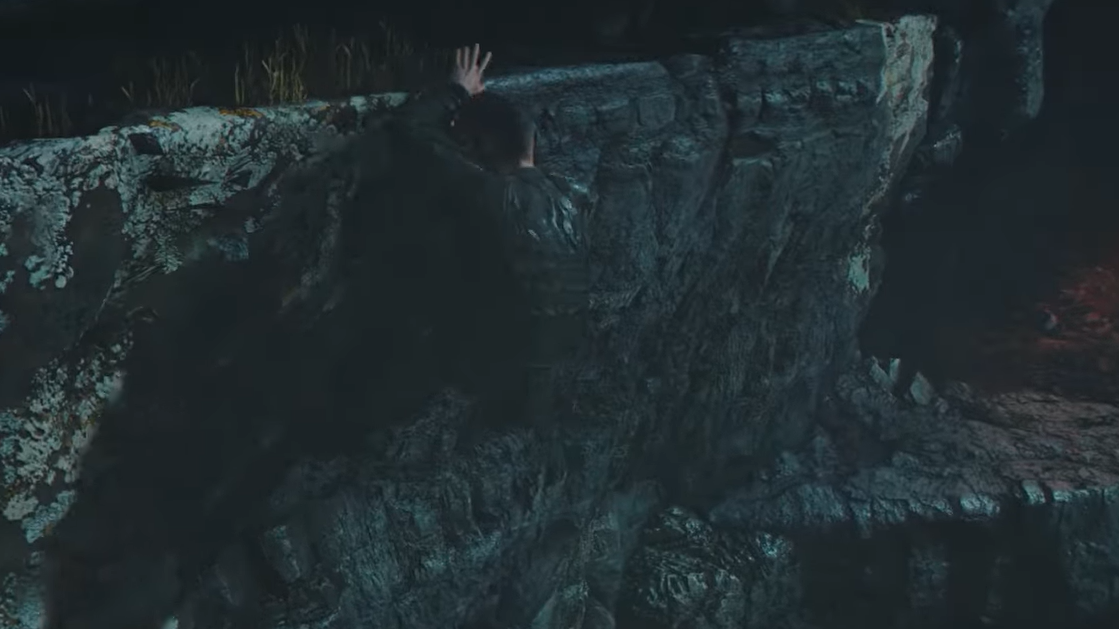
Quick answer: Move along the map edges through the tall grass and crevices, only take down the guards inside B4 and G9 from cover or above, then interact with the wires on the B4 roof to finish. If your suspicion meter ever triggers a full detection, restart the Central Camp checkpoint.
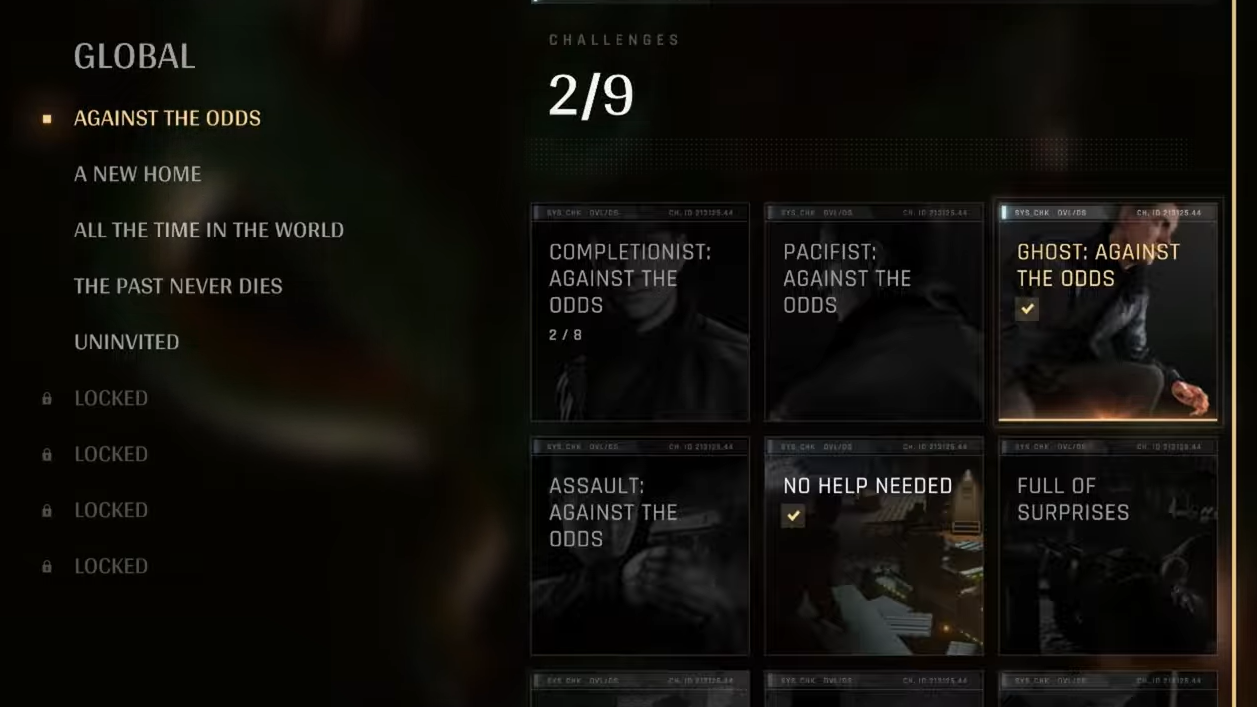
What the Ghost challenge requires in Against the Odds
Every challenge in Against the Odds takes place in the Central Camp, which is Checkpoint 6. If you are replaying to clean up challenges, jump straight to that checkpoint through Chapter Select rather than restarting the whole mission. The camp is patrolled by Arrowhead soldiers, and these enemies can drop you in a single hit, so staying out of sight protects both your run and your life.
Ghost cares only about detection. You can still perform takedowns and free the captives. The moment a guard fully spots you and the alarm state triggers, the challenge fails and you need to reload the checkpoint.
Ghost, Pacifist, and No Help Needed: the combined undetected route
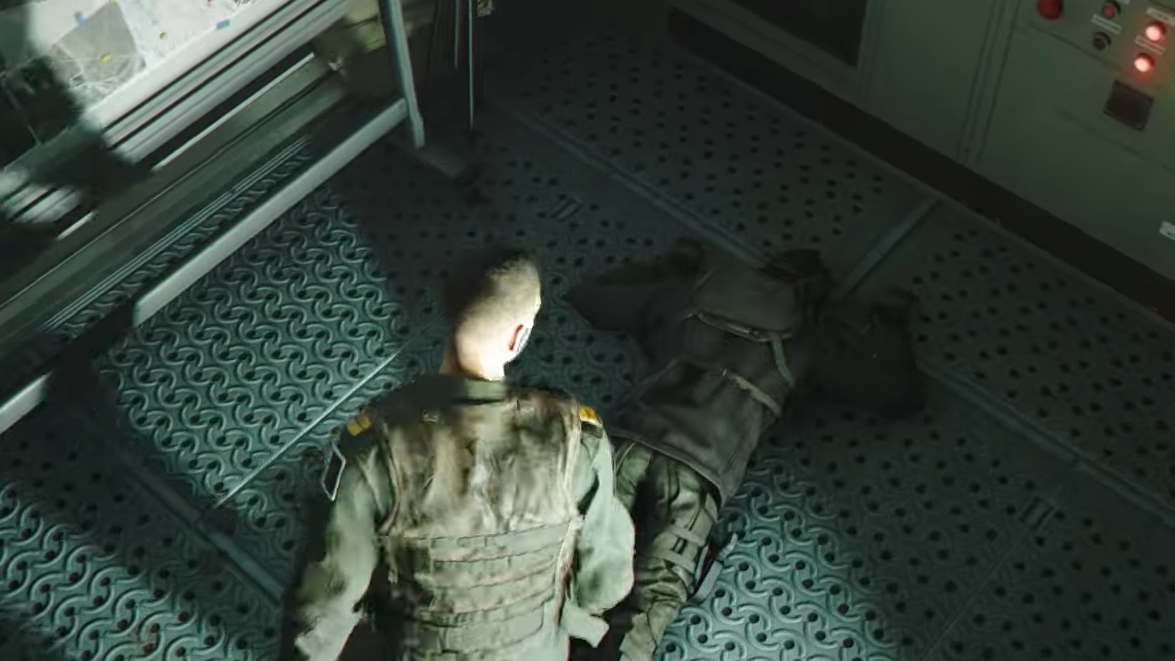
This single run satisfies all three challenges. The only two takedowns you perform are the guards inside B4 and G9. Do not touch the BT65 control station or the ATV at any point, since either one counts as a distraction and breaks No Help Needed.
How to know the Ghost challenge worked
Interacting with the wires on the B4 roof at the end of an undetected run triggers the challenge completion. Ghost, Pacifist, and No Help Needed all register together at that moment if you followed the route exactly and were never spotted. You will see the challenge unlock confirmation on screen as the escape sequence begins.
Why the Ghost run fails and how to fix it
Only a few mistakes will break a Ghost attempt. Each one is avoidable once you know the route.
| Problem | What it means | Fix |
|---|---|---|
| Full detection | A guard’s suspicion meter filled completely and the camp went on alert | Restart the Central Camp checkpoint and stick tighter to the grass and crevice cover |
| Extra takedown | You eliminated a soldier other than the B4 or G9 guards, breaking Pacifist | Restart and only engage the two hostage-room guards |
| Used a distraction | You activated the BT65 control station or sabotaged the ATV, breaking No Help Needed | Restart and avoid both interactables entirely on this run |
An alternative entry using the zipline
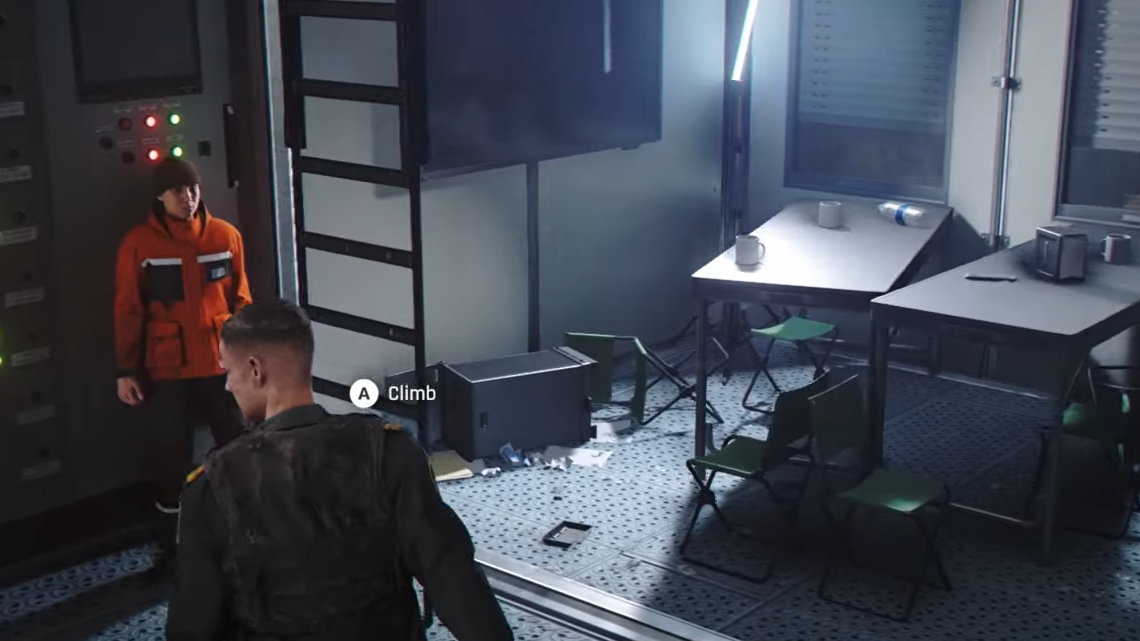
If you would rather reach G9 first, you can drop into the tall grass at the start and enter container F8 ahead of you. Climb the interior ladder to the roof, then climb the antenna to the very top and jump to ride the zipline down to a cliff overlooking G9. That zipline also clears the separate Scenic Route challenge in the same motion.
From the G9 rooftop, you drop through the hatch onto the guard below, free the captives, and then move to B4 to finish. The detection rules are identical either way, so pick whichever entry keeps you out of sight most reliably. The wire interaction on B4 is still what ends the run.