Glorybound is SphereX Studio’s Roblox gladiator game set in Ancient Rome. You start in a prison, fight your way through the Colosseum, and go back for longer runs as your character gets stronger. It runs on PC, mobile, tablet and console. Survival is the mode most new players start with. It is a round-based arena gauntlet you can play solo or in a squad of four, and it lasts up to 60 waves. A first run goes much better once you know what each round asks of you.
Quick answer: Attack with LMB, dash with Q, and block with your shield. Do what each round’s objective says, take a boon when the card screen appears, and hold E next to downed teammates to revive them.
What to bring into your first Glorybound run
Launch GloryBound on Roblox. Before your first trip into the arena, think about three things: your weapon, your gear, and whether you want company. Glorybound has four weapon styles.
- Sword and shield gives you a melee weapon plus a shield for blocking, which makes it the most forgiving way to learn the arena.
- Spear is a melee weapon with a longer reach.
- Bow is the ranged option.
- Berserker’s greataxe is the heavy two-handed weapon.
Outside the arena, your character gets stronger in two separate ways. You can train strength in the gym, and you can collect weapons and armor that range from Common to Mythic. Completing a matching armor set gives you a set bonus, so read each item’s description before you swap it out. A higher rarity label alone doesn’t guarantee a better piece.
Survival works both solo and with up to four players. A squad matters more than it sounds, because a teammate is the only way back on your feet once you go down. In solo play, a knockdown has no safety net.
Glorybound controls and the down-and-revive rule
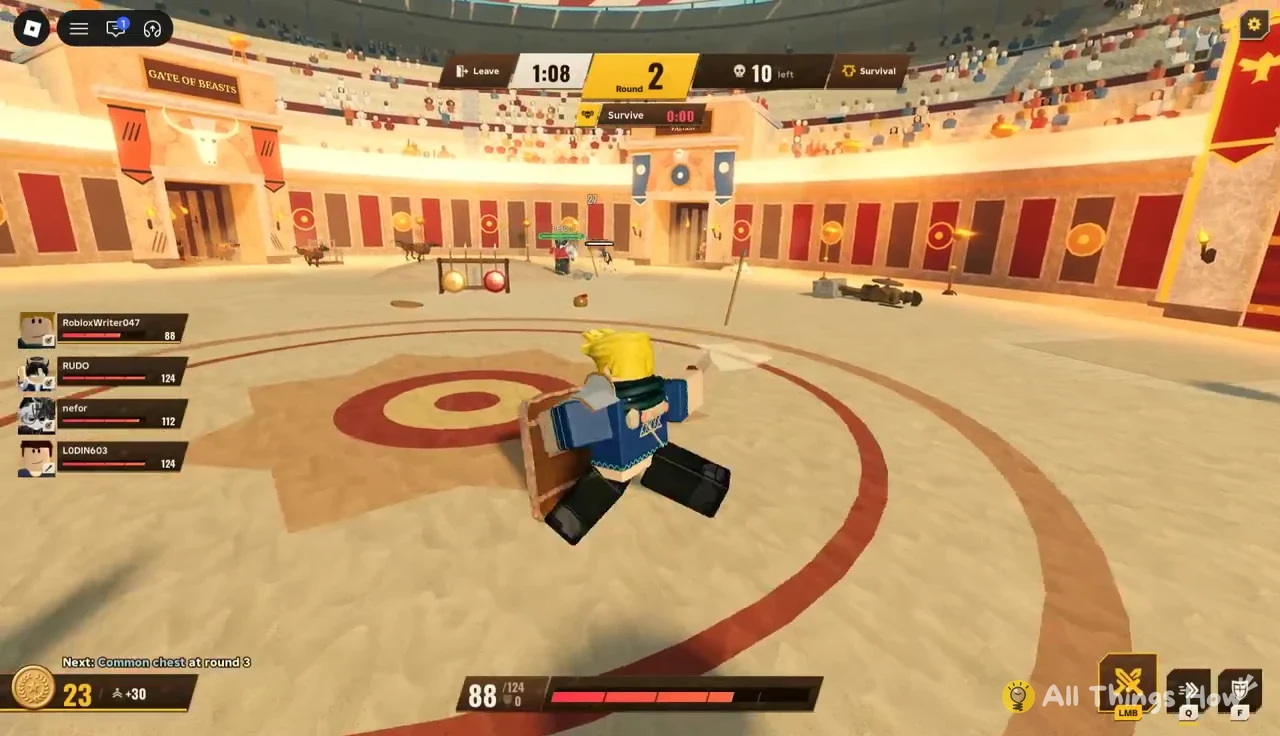
Combat uses only a few inputs. Click LMB for standard sword swings, and the on-screen control highlights while you attack. Press Q to dodge or dash out of danger. With the sword and shield, raise your shield to block incoming hits. Blocking also matters later on, because one of the boons only reduces damage after a block.
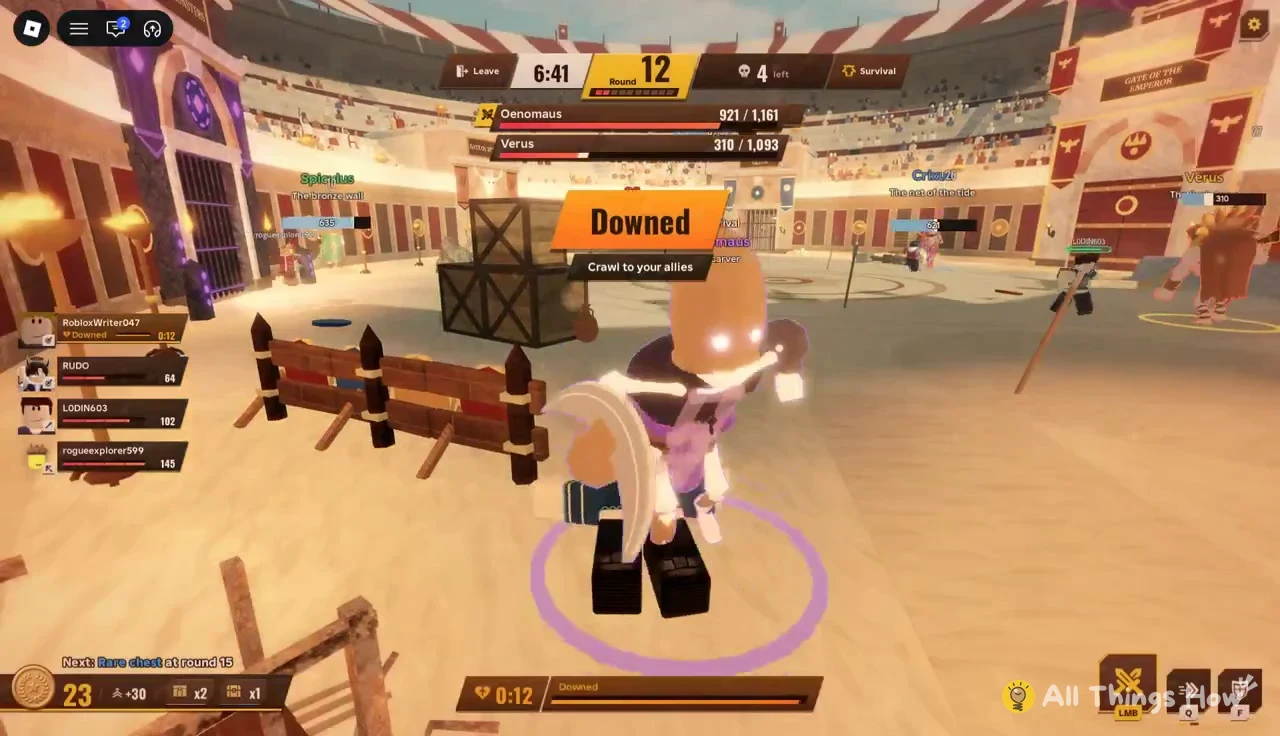
When your health hits zero, you don’t die right away. You enter a Downed state and the screen tells you to “Crawl to your allies.” You can still move slowly while downed, so crawl toward the nearest teammate instead of staying in the middle of a fight. Downed teammates are marked with red heart icons.
To revive someone, stand next to them and hold E. A “Reviving” progress bar fills up, and you have to finish before their bleedout timer runs out. If you take hits while reviving, the revive takes longer, so clear nearby enemies first when you can. The match ends in defeat once every gladiator in the squad is down at the same time.
How a Glorybound Survival run plays out
Every run follows the same loop. You fight a round, then you rest, sometimes you pick a boon or open a chest, and then the next round starts. Here is the sequence you’ll go through.
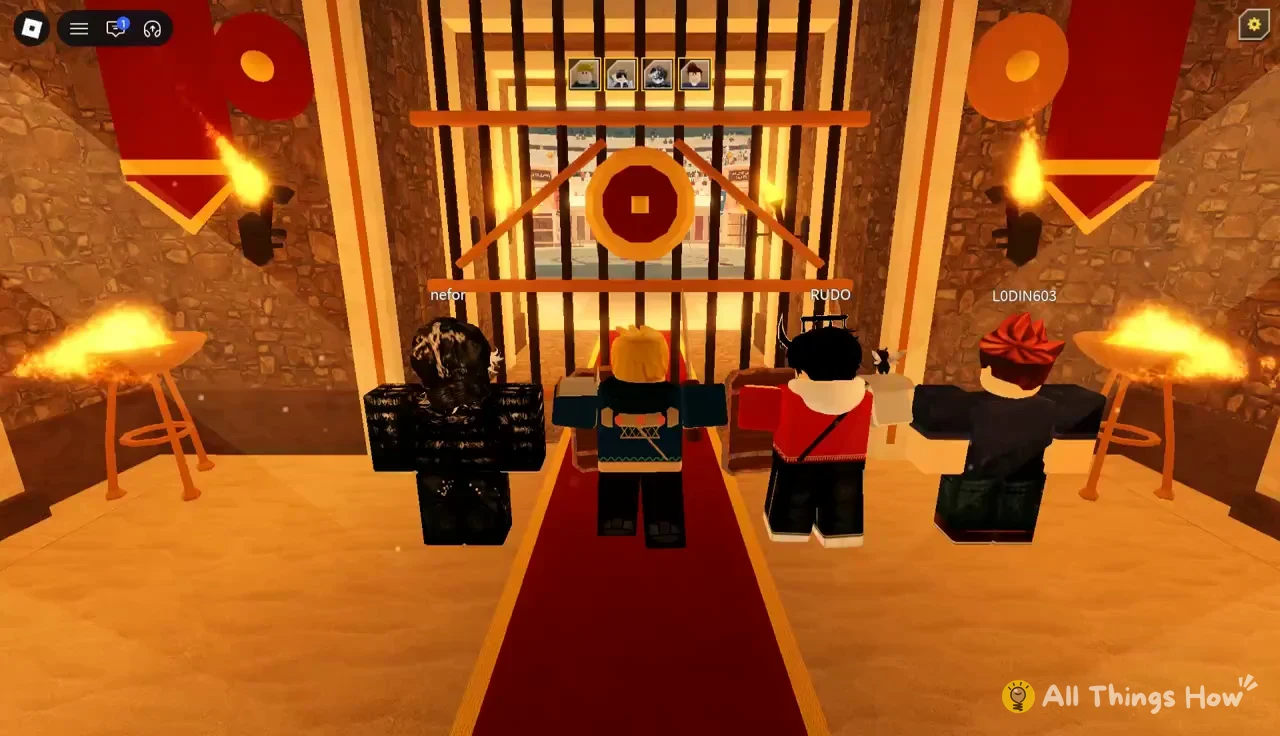
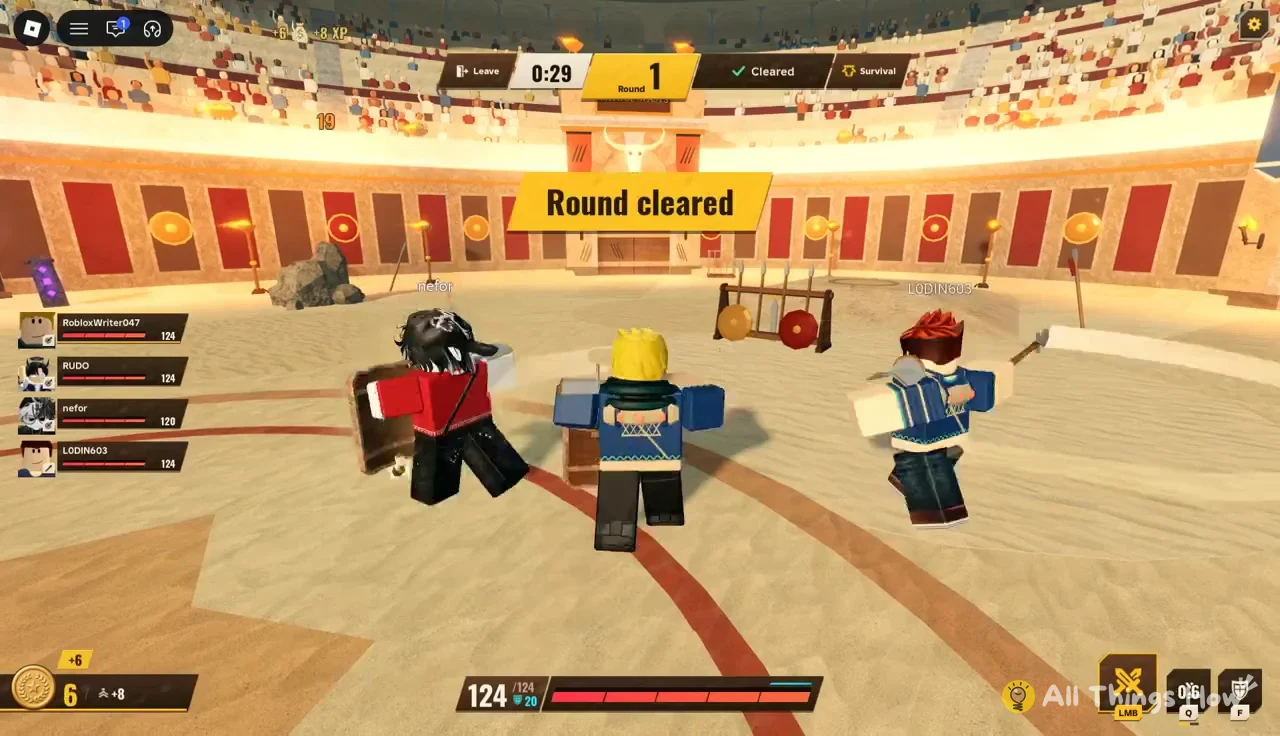
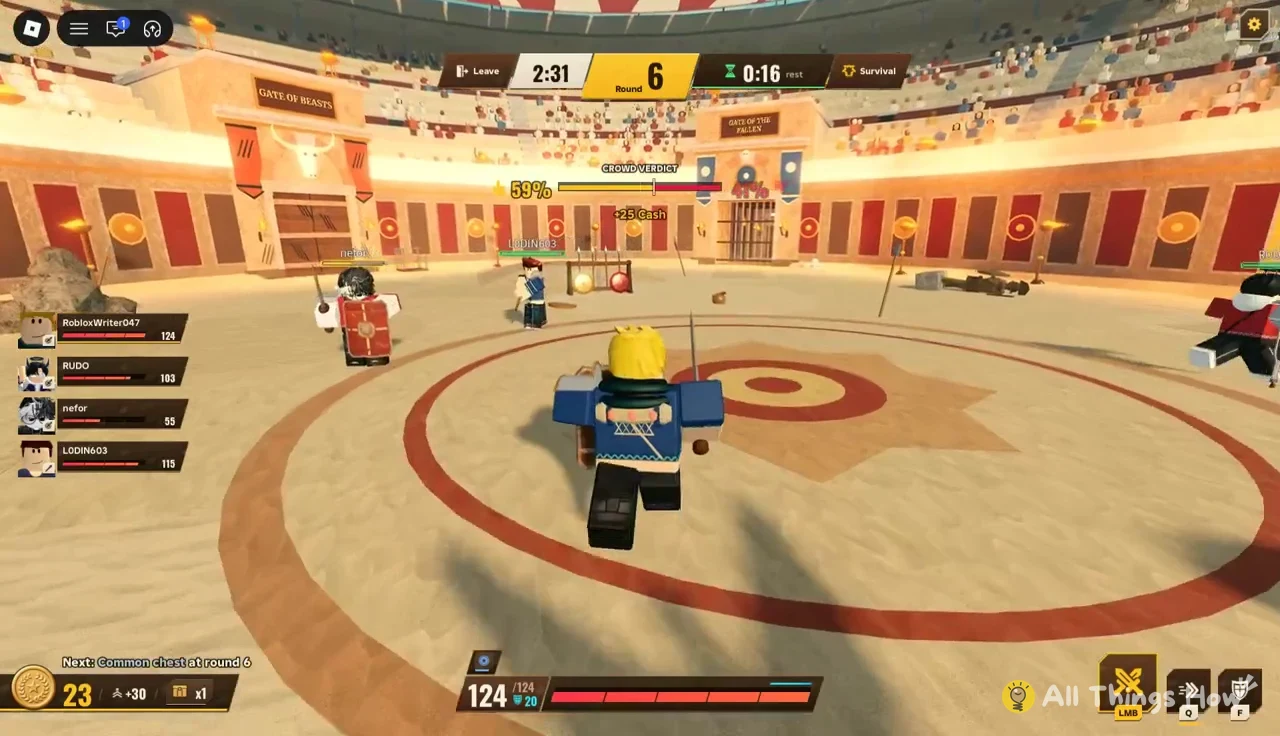
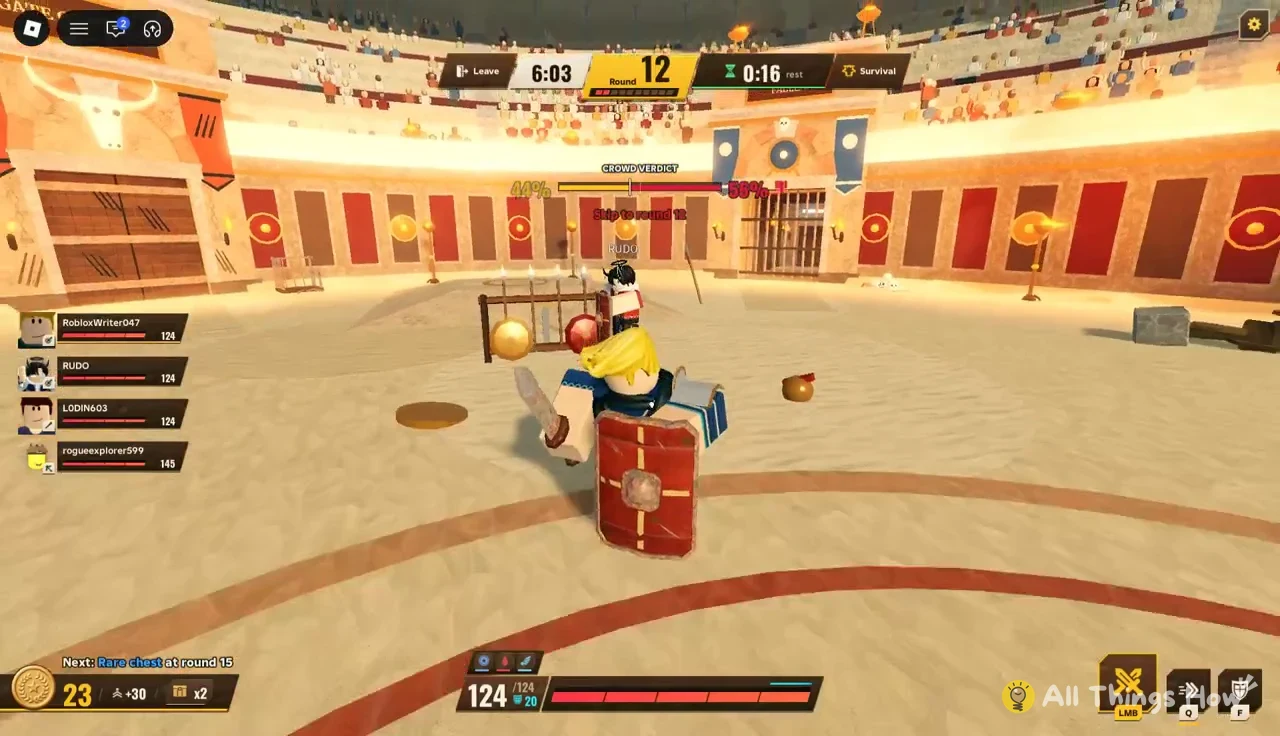
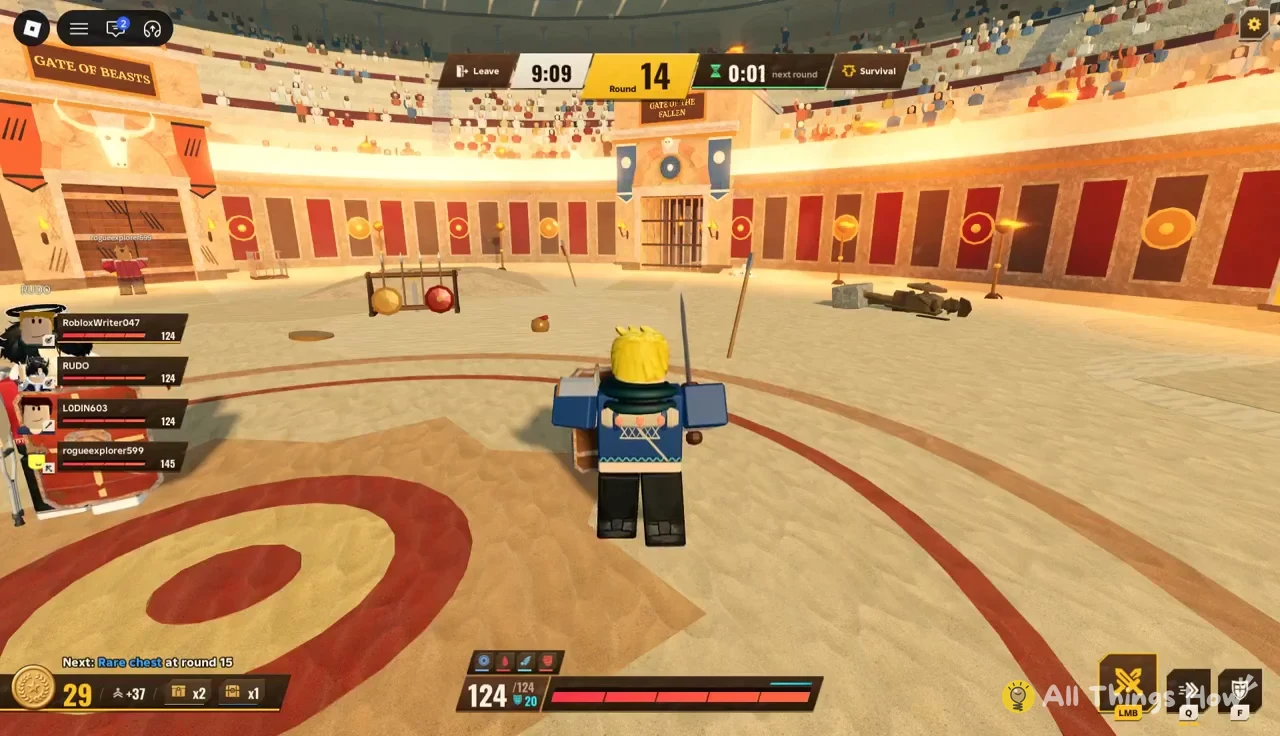
Levels come quickly. A single cleared challenge can push you to level 2, and the game shows “Level up” and “+1 skill point” when it happens.
Every Glorybound round objective and how to clear it
Each round has its own goal, shown at the top of the screen. Killing everything won’t clear every round, so read the objective before you charge in.
| Round type | On-screen goal | Clears when |
|---|---|---|
| Slaughter | Fight for your freedom | All enemies are dead |
| The horde | Survive 0:30 | Timer runs out |
| Treasure hunt | Grab the coin purses | All 14 purses collected |
| The emperor’s eye | Stay in the emperor’s eye | Meter reaches 100% |
| Push the chariot | Push to the gate | Chariot reaches the gate |
| Arrow storm | Survive the volleys 0:35 | Timer runs out |
| Rivals | Rivals 0 / 4 | All four rivals slain |
| Champion | Defeat the [boss] | Champion is killed |
Slaughter and The horde
Slaughter rounds are straightforward fights, and they get harder as the run goes on. Later Slaughter waves can include a regular War Lion with Undead Brutes and Undead Archers backing it up. Kill the lion first, because it’s the biggest threat, then clean up the slower undead.
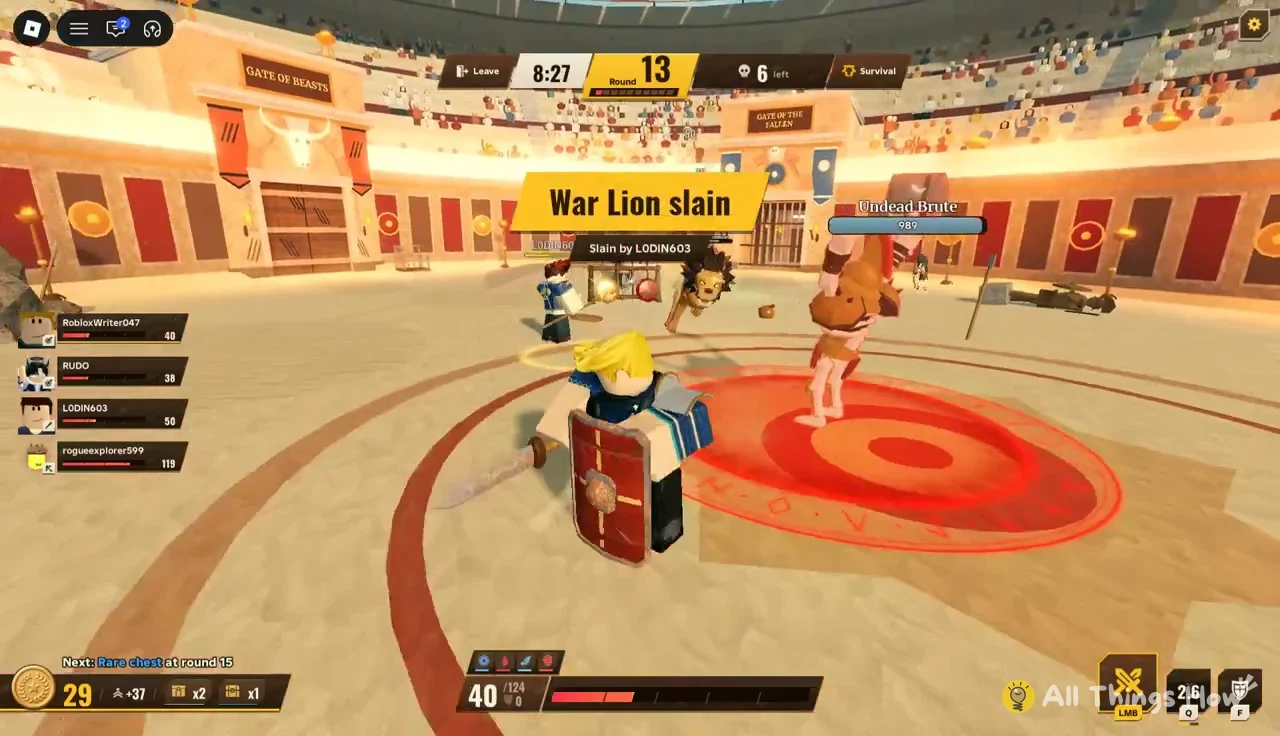
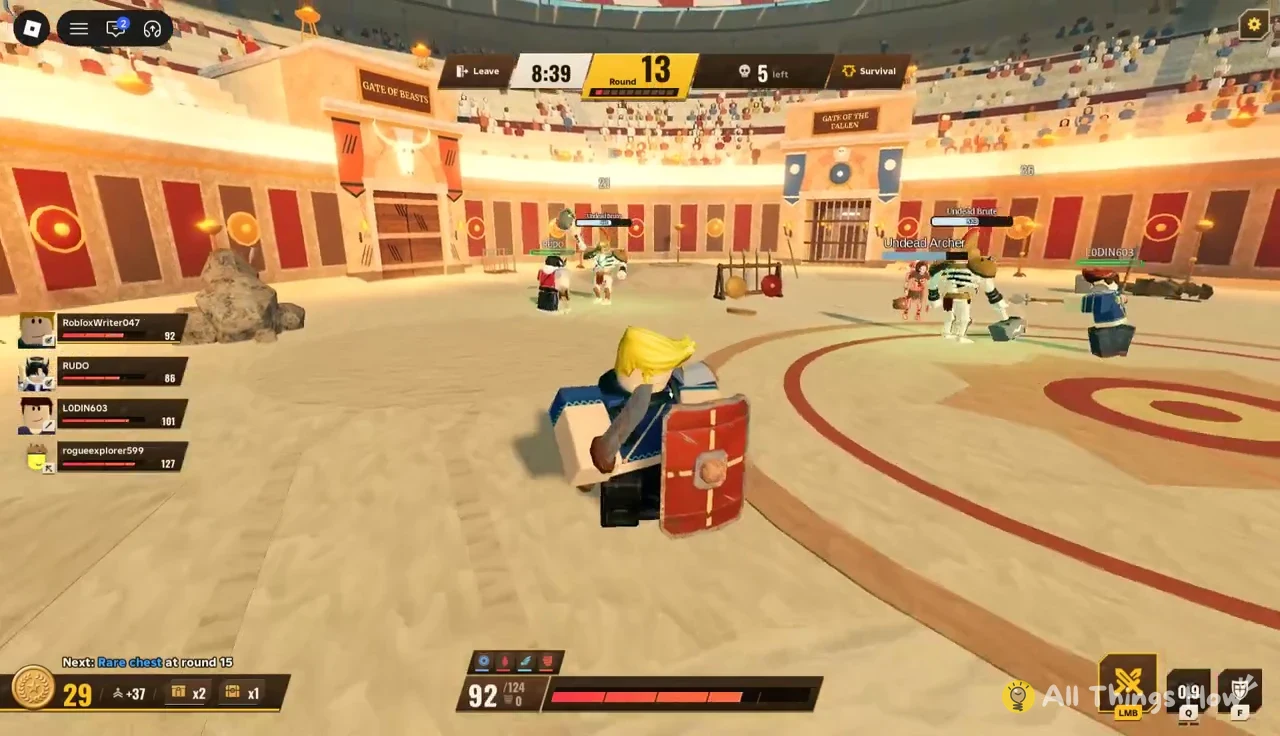
The horde is a survival timer. Fast War Dogs and Undead Legionaries keep coming until the clock runs out. You don’t need to kill all of them. Staying alive is enough, so block and dash more than you swing.
Treasure hunt
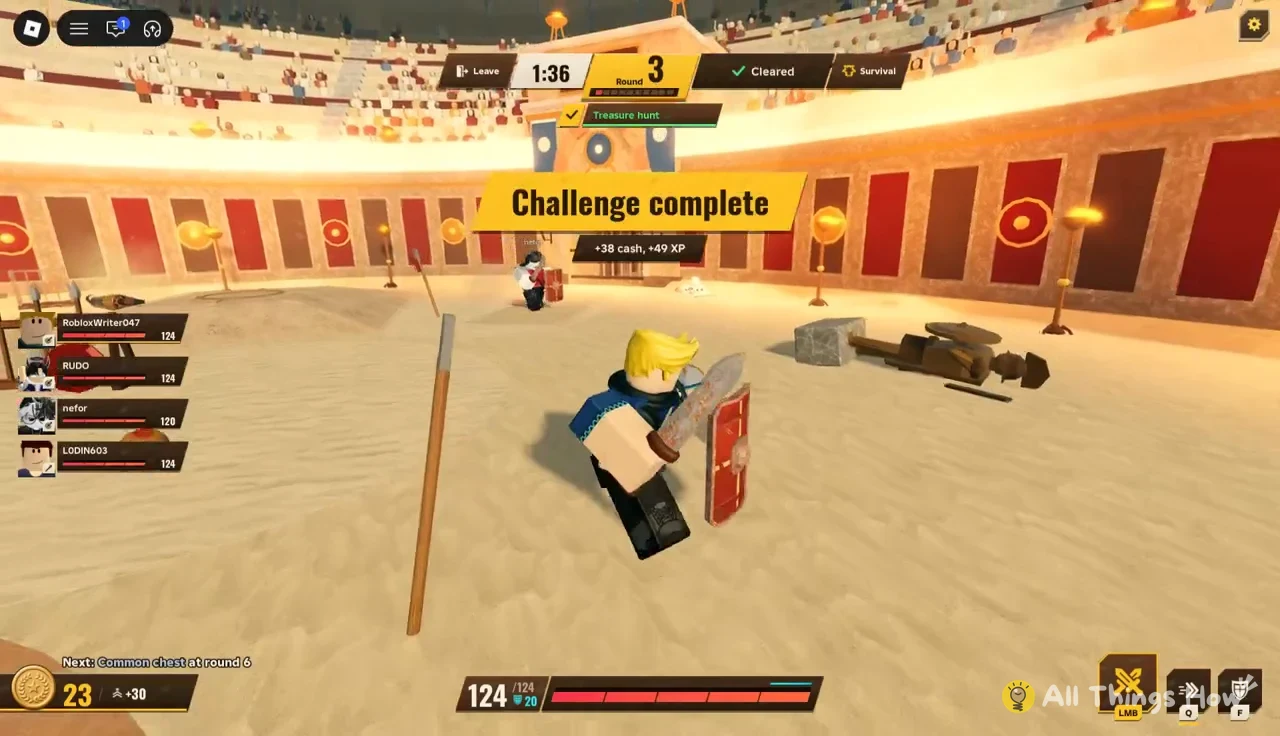
Gold coin purses are scattered across the arena floor, and the counter starts at 0 / 14. Enemies keep attacking while you collect. In a squad, split up and cover different parts of the arena so you’re not all running after the same purse.
The emperor’s eye
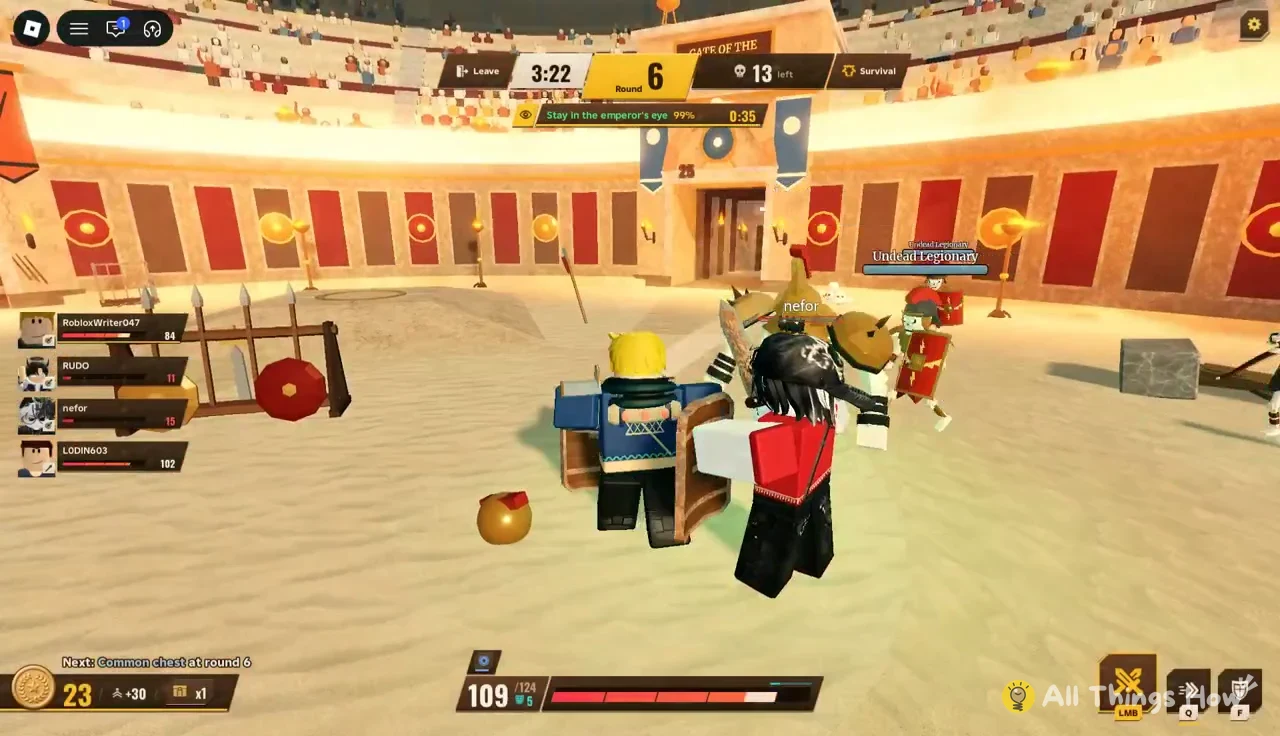
A golden circle marks the emperor’s eye, and it moves around the arena. Standing inside it fills a completion meter, and the round ends when the meter hits 100%. Armored Boars and Undead Brutes will try to push you out, so fight them from inside the circle instead of chasing them.
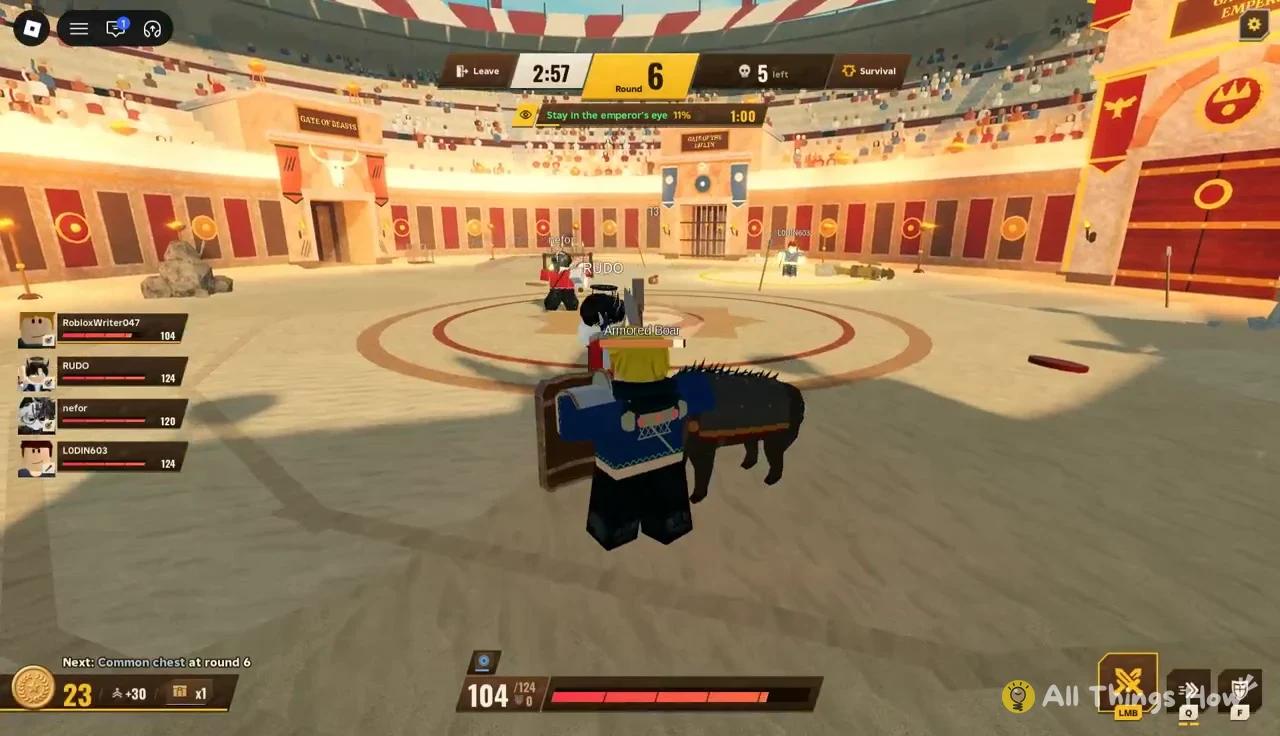
Undead Legionaries also join in. Whenever the circle moves, follow it first and finish fights second.
Push the chariot
A golden, treasure-loaded chariot only moves while players stand close to it. Yellow chevrons mark its path, and a counter shows how many meters are left to the gate. The first chariot round showed 47m, and a later one showed 53m. If everyone runs off to fight, the chariot stops.
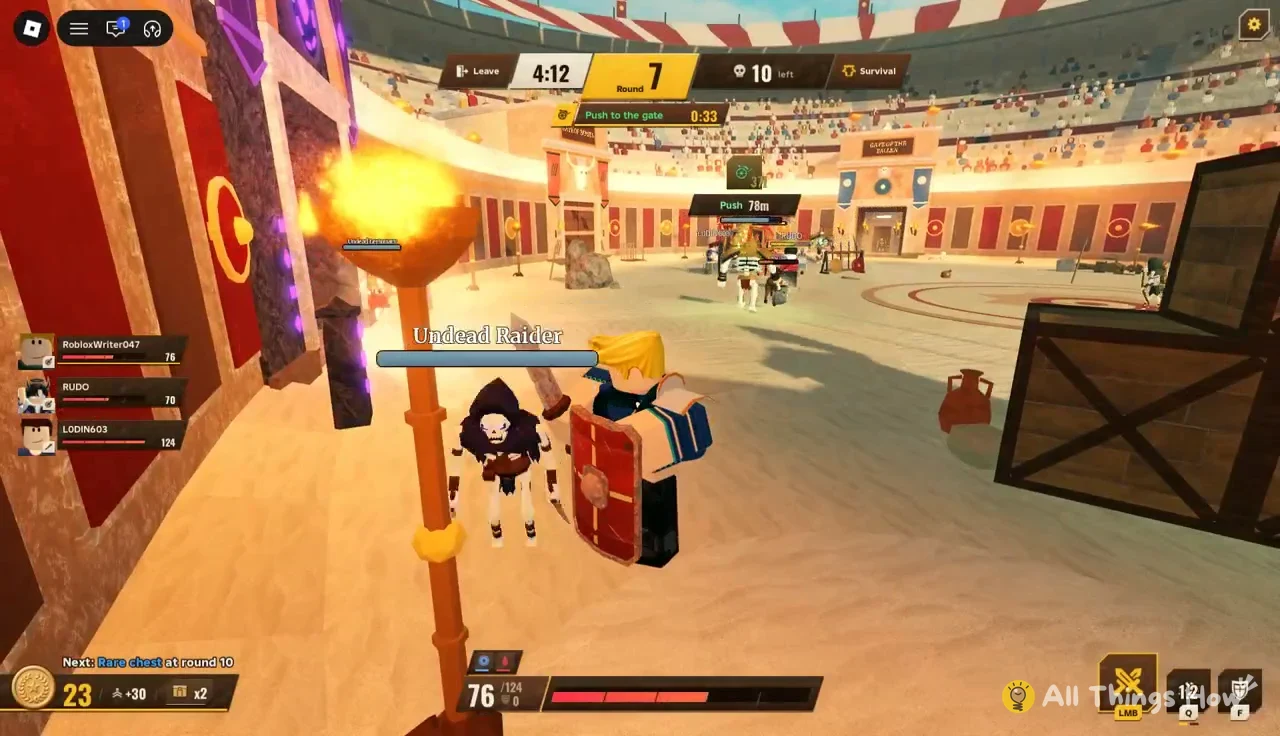
Later chariot rounds throw boars, dogs and legionaries at you at the same time. The safest plan is for one or two players to stay on the cart while the rest block enemies on its path.
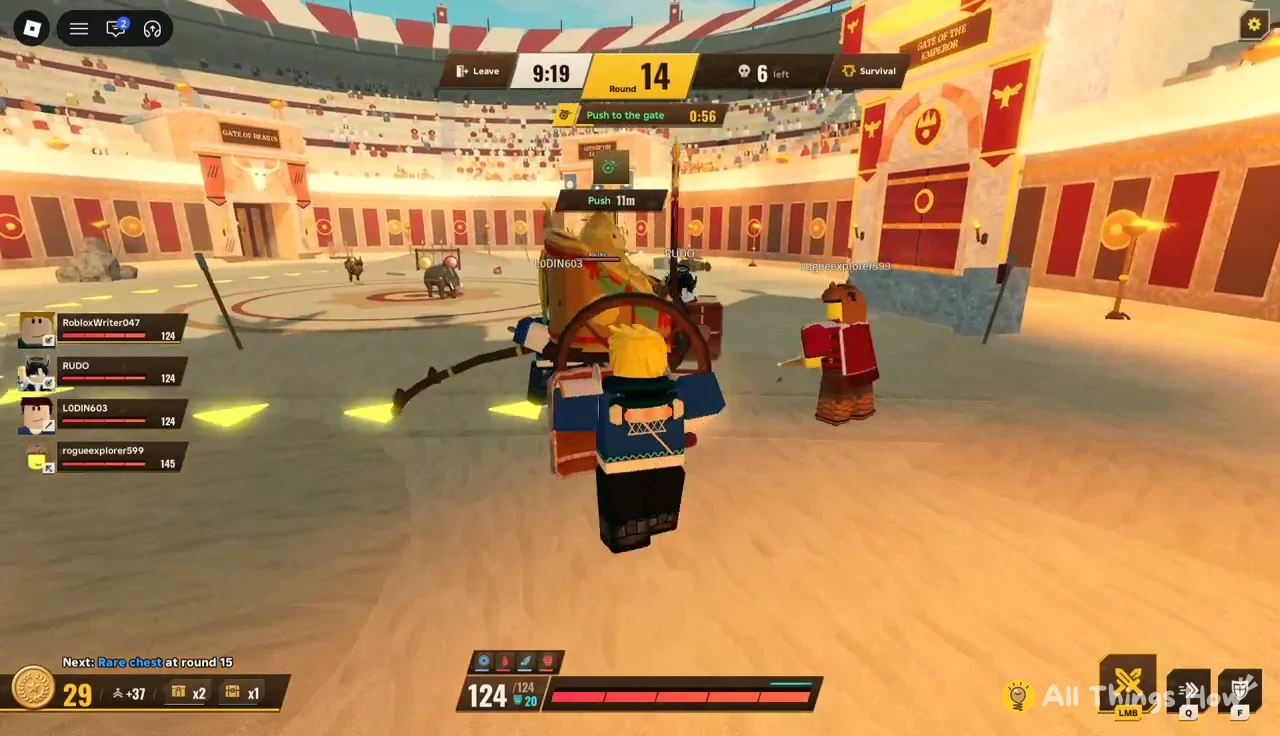
Chariot rounds pay out a treasure bonus on top of the usual reward. The Round 14 push paid +123 cash, +156 XP and +90 treasure.
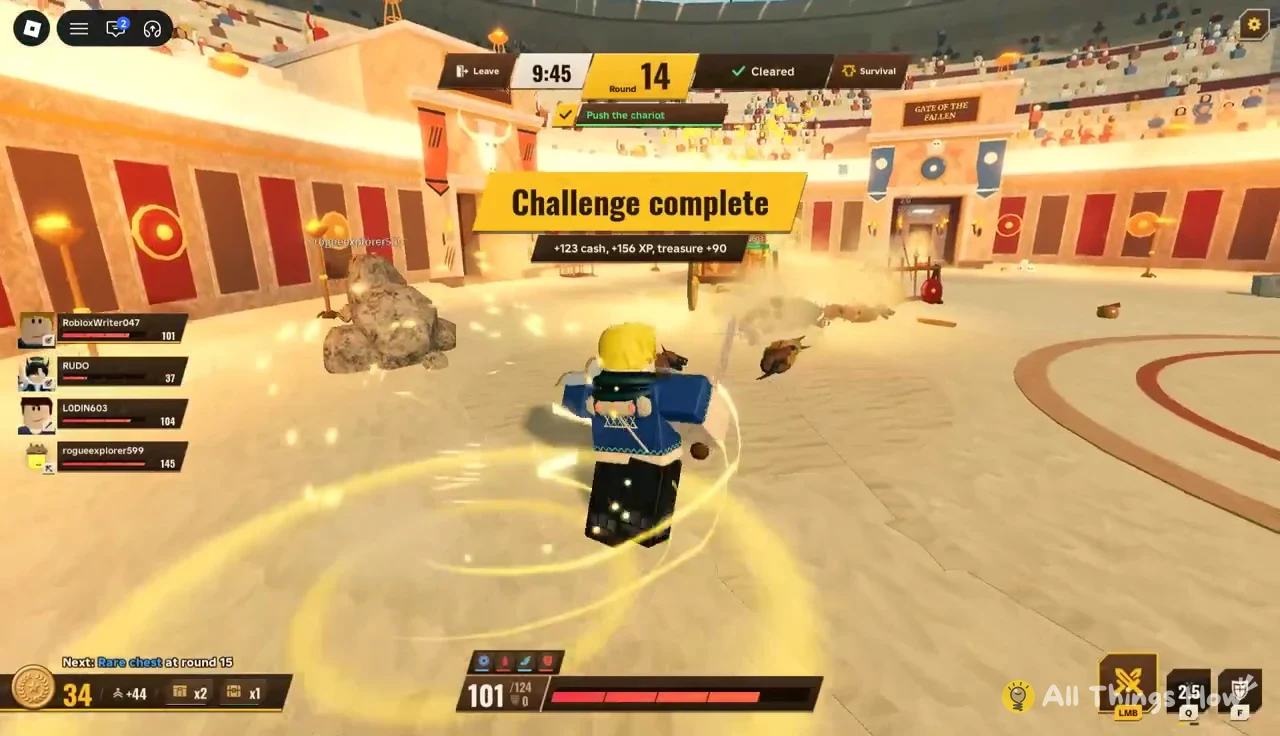
Arrow storm
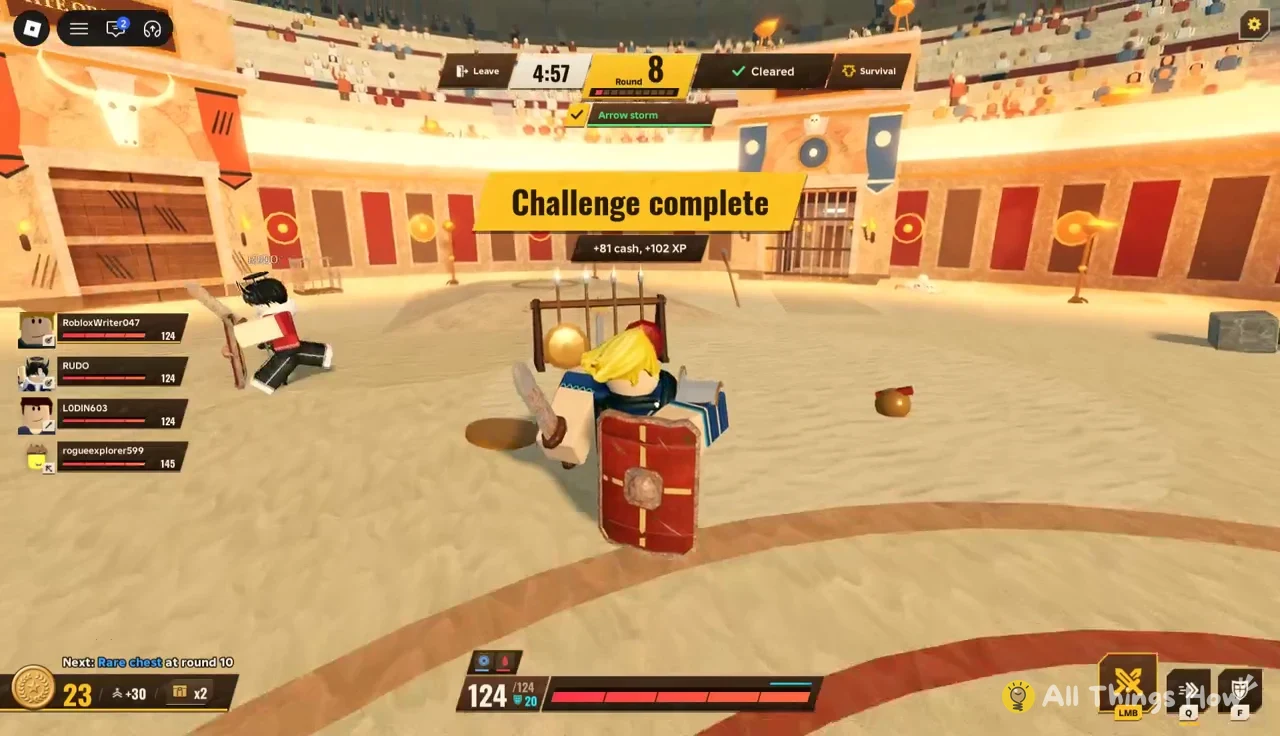
Red circles grow on the sand to show where the next arrows will land. Get out of every circle before it finishes growing, and use Q when you’re about to be caught. Undead Raiders and War Dogs attack during the volleys, so stay moving and don’t stand still to trade hits.
Glorybound champions and rivals
Champion rounds start with a short cutscene that introduces the boss and its title. Rival rounds bring in named gladiators. Both kinds of enemy have far more health than anything else in the run.
| Enemy | Title | HP |
|---|---|---|
| Champion War Lion | The king of beasts | 2,769 (2,899 in Round 15) |
| Champion Undead Brute | The brute of the pits | 2,200 (2,025 in Round 15) |
| Oenomaus | The carver | 1,161 |
| Verus | The lion’s bane | 1,093 |
| Spiculus | The bronze wall | 792 |
| Crixus | The net of the tide | 1,229 |
Champion War Lion
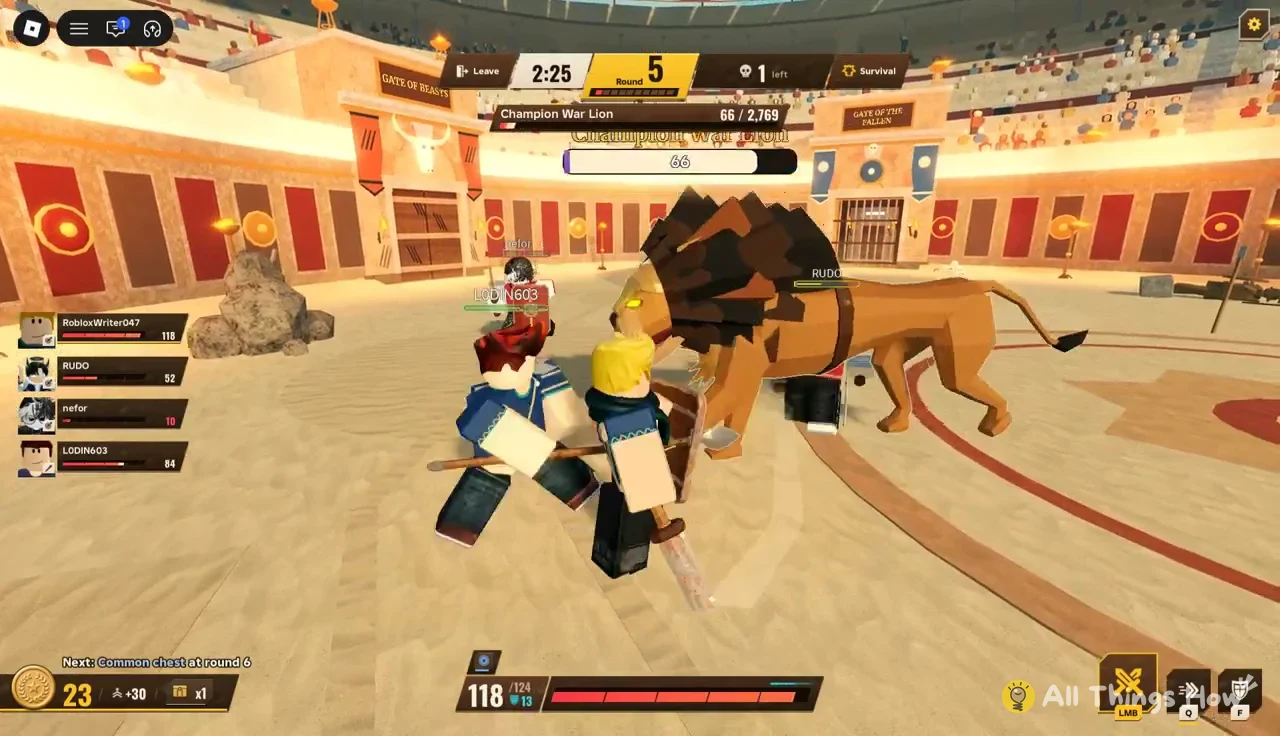
The first champion is a fast lion that brings other beasts with it. Its dashes and stomps are telegraphed with red markers on the ground. Dodge out of the red area, then go back in and attack. Killing it is worth +70 cash and +90 XP, and the rest timer and Crowd Verdict follow.
Champion Undead Brute
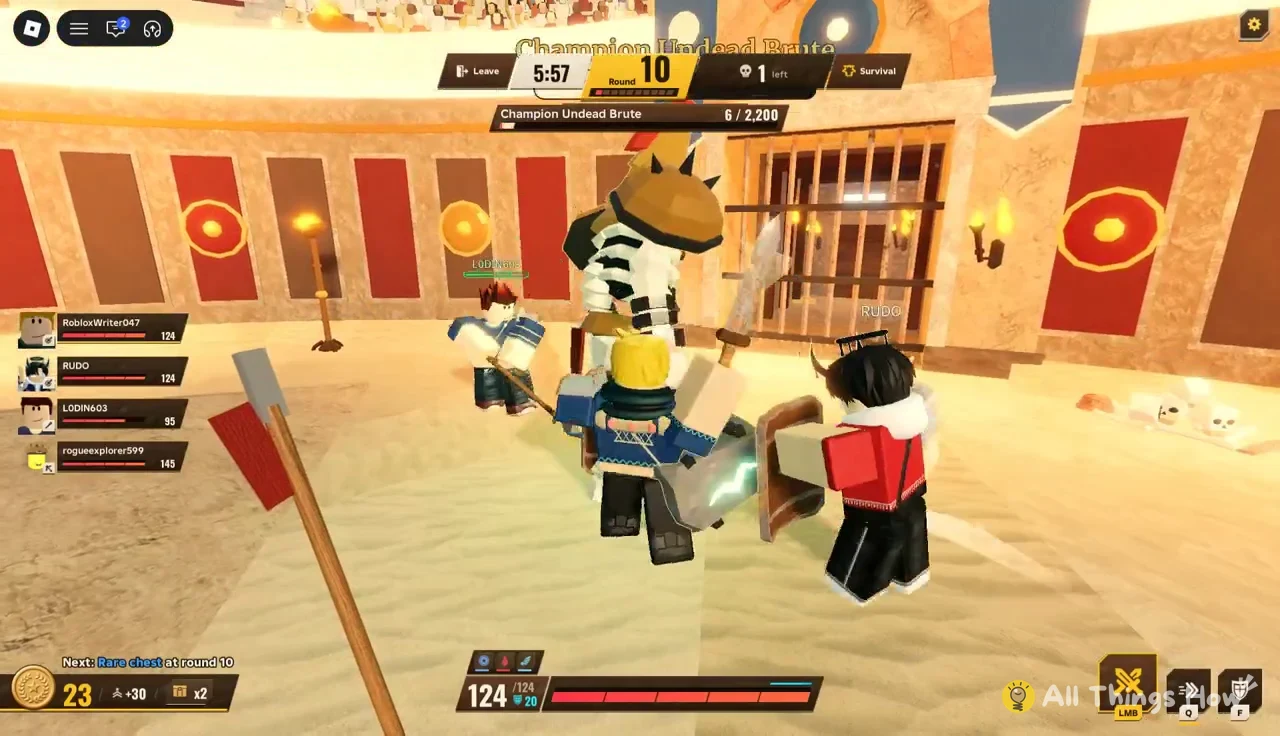
The Brute is a giant skeleton with a hammer. Its slams are marked with red areas on the ground. It’s slow, so attack it from behind while it recovers from a slam. Killing it is worth +110 cash and +140 XP, and it unlocks a Rare chest.
Rivals
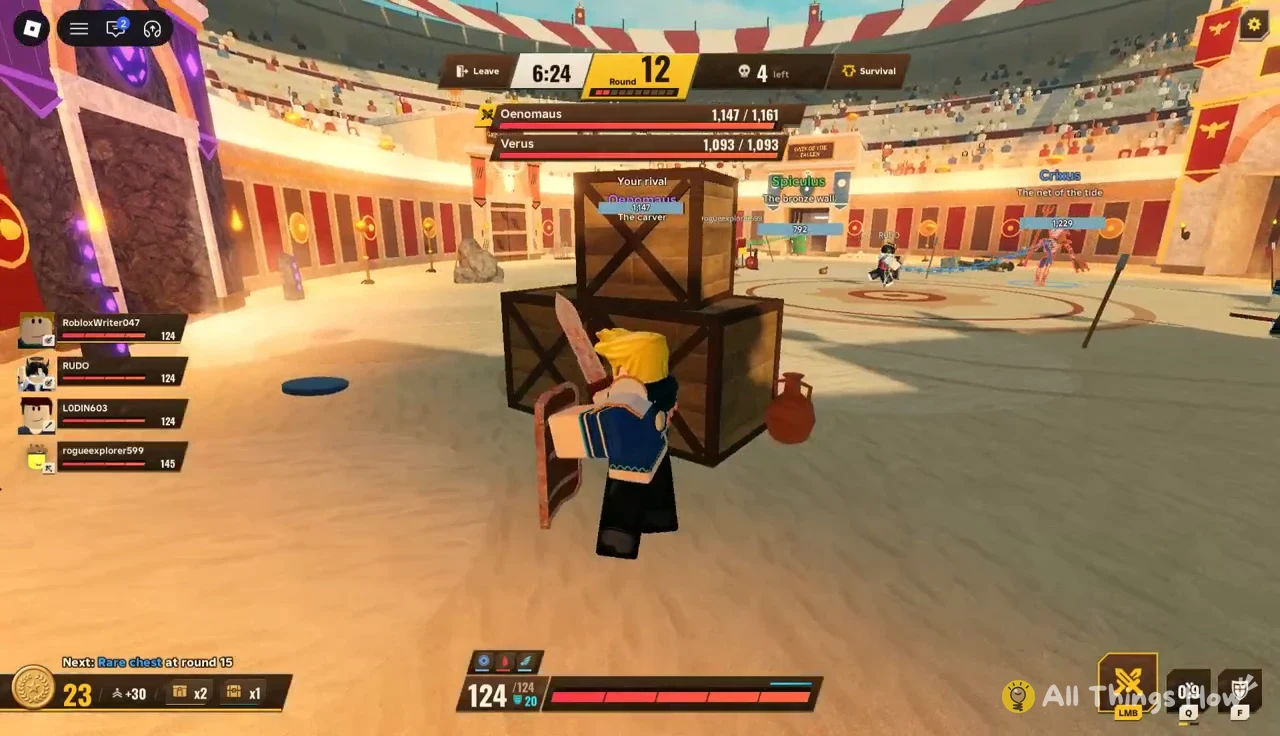
Four named gladiators enter the arena, and each one is linked to a player by a purple chain. The HUD shows who yours is, for example “Your rival: Oenomaus, The carver.” The counter starts at 0 / 4. Your rival will keep coming after you specifically, so plan your movement around it.
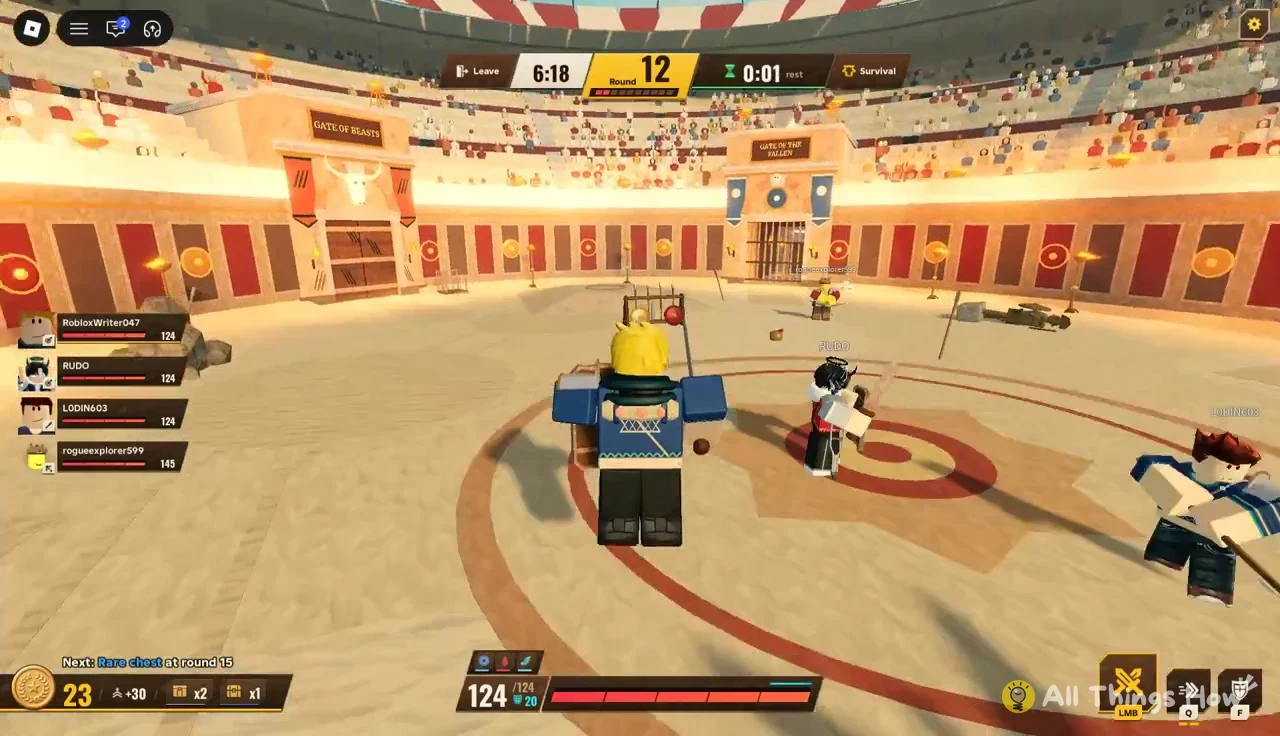
Rivals hit hard enough to knock you down. Wooden crates in the arena give you something to put between you and your rival when you need to break line of sight or wait for your shield. If you get downed, crawl toward a teammate instead of the nearest crate.
Each kill shows a banner such as “Crixus slain.” Once your own rival is dead, go help whichever teammate is still fighting theirs.
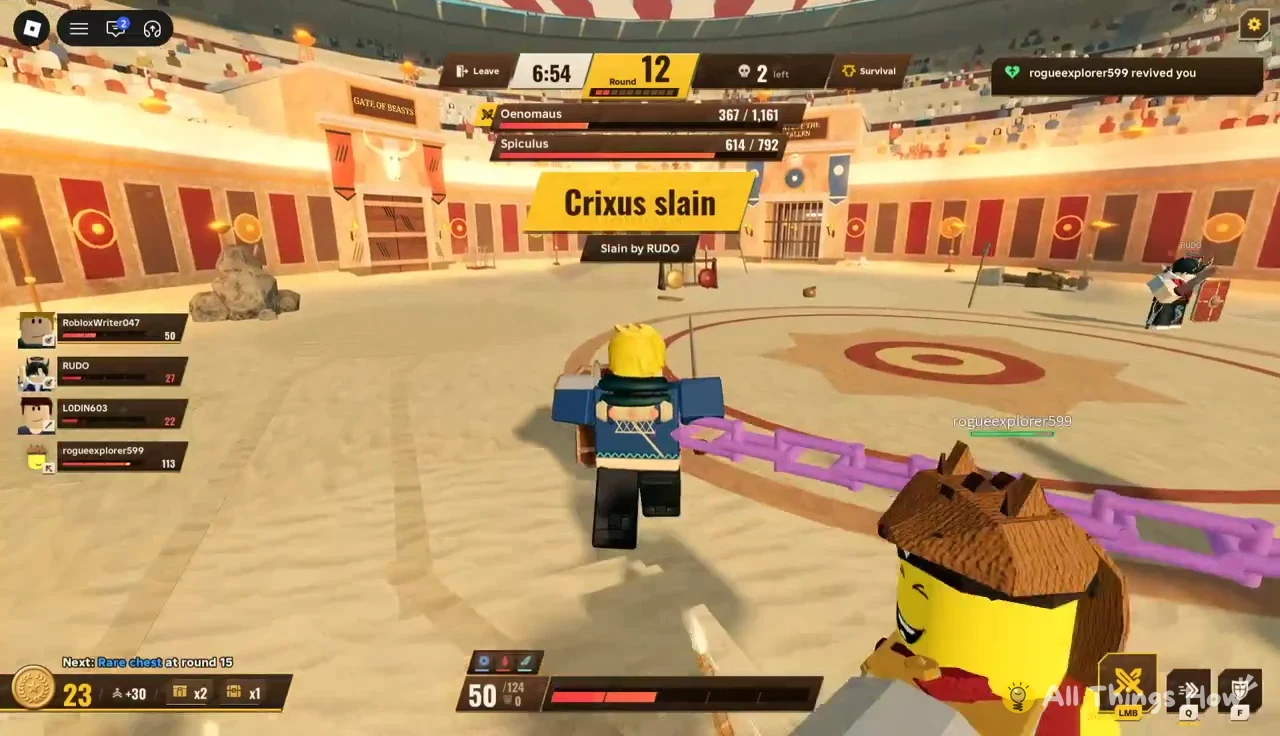
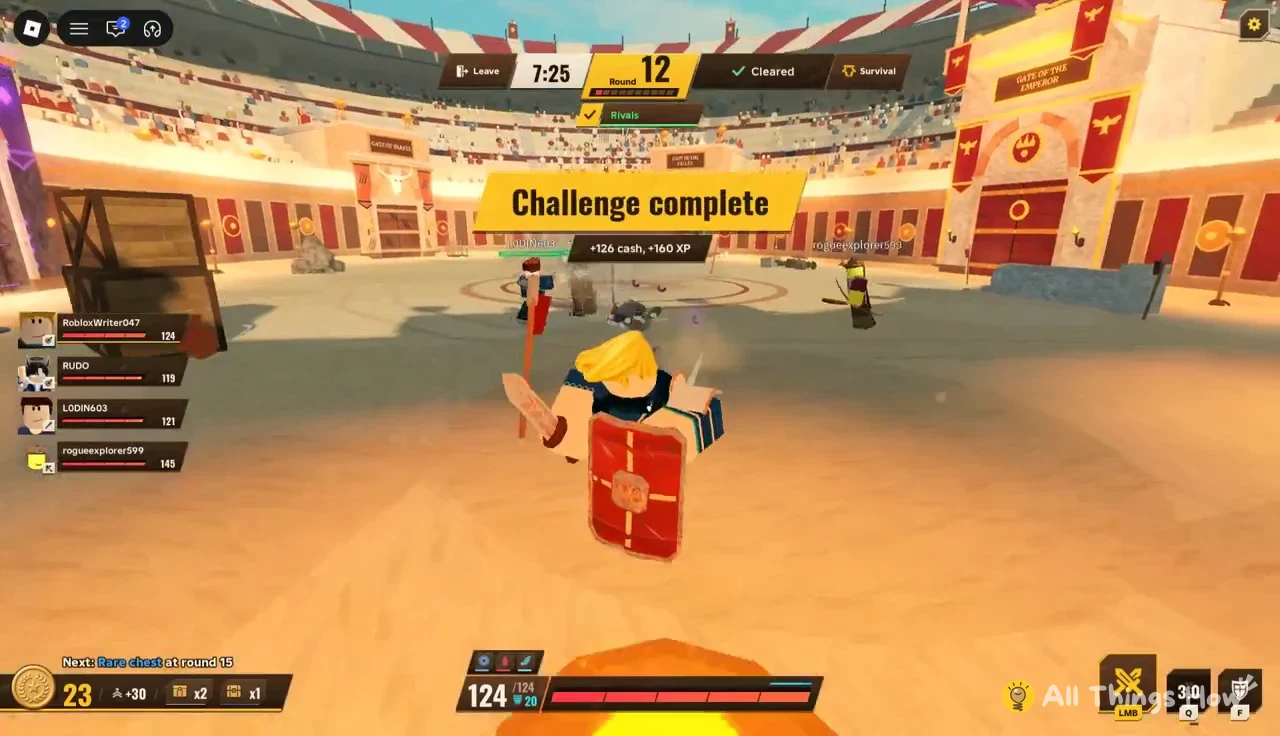
Clearing all four rivals in Round 12 paid +126 cash and +160 XP, and a boon pick came right after.
Round 15: Both champions at once
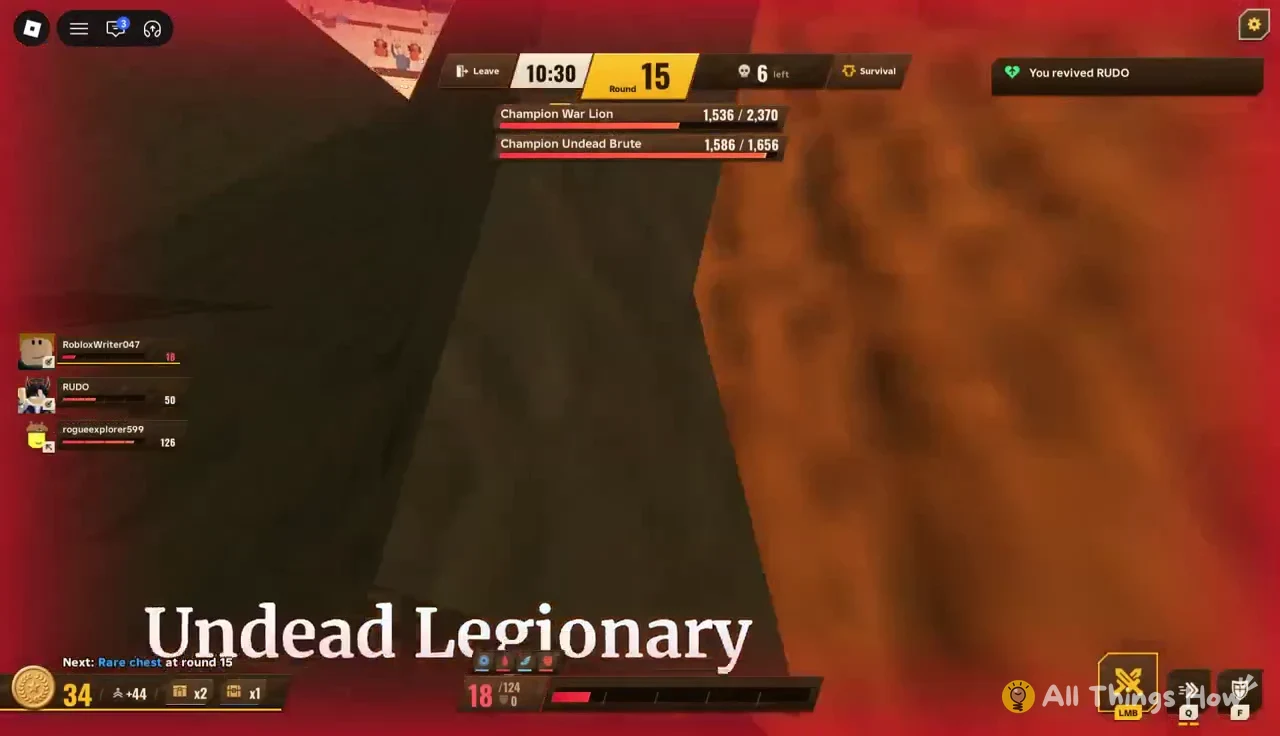
Round 15 sends the Champion War Lion and the Champion Undead Brute in together, with undead legionaries alongside them. Red warnings from both bosses overlap, and downs pile up quickly. Revive the closest teammate, then move away from the bosses before you attack again. A squad that wipes here ends with the “Defeat” screen.
After you revive someone in Round 15, both bosses can still reach you while you stand back up. Dash away first and fight second.
Glorybound boons: What each card does
Boon screens appear after rounds 3, 6, 9 and 12. Each screen shows three random cards ranging from Common to Epic, and you keep the one you choose until the match ends. Getting the same boon again adds a stack, up to the limit listed below.
| Boon | Effect | Rarity | Max stacks |
|---|---|---|---|
| Testudo | 25% less damage after blocks | Rare | 2 |
| Crowd’s Favor | +20% Cash this match | Rare | 2 |
| Minerva’s Aegis | +12% damage reduction | Rare | 2 |
| Juno’s Grace | Faster revives, stronger allies | Rare | 2 |
| Vulcan’s Brand | Your hits burn | Rare | 2 |
| Bloodthirst | Kills heal 2.5%, big foes more | Epic | 2 |
| Mercury’s Sandals | +10% speed, faster dash | Common | 2 |
| Medicus | Revive allies 35% faster | Common | 2 |
| Diana’s Eye | +8% crit chance | Common | 3 |
| Fury of Mars | +15% damage | Common | 3 |
For a first run, boons that keep you alive help more than raw damage. Bloodthirst heals you on every kill, capped at 4% per second, which makes it valuable in rounds full of weak enemies. Minerva’s Aegis reduces damage all the time, while Testudo only helps after you block. Squads should look for Medicus or Juno’s Grace, since the double-champion round is mostly about getting people back up. Mercury’s Sandals makes your dash faster, which helps in Arrow storm. Crowd’s Favor does nothing in combat and only increases your cash for that match.
Chests, cash and XP after a Glorybound run
Chests are tied to fixed rounds, and the HUD always shows the next one, for example “Next: Rare chest at round 10.” Clearing the listed round earns the chest.
| Round cleared | Chest earned |
|---|---|
| Round 3 | Common chest |
| Round 6 | Common chest |
| Round 10 | Rare chest |
| Round 15 | Rare chest |
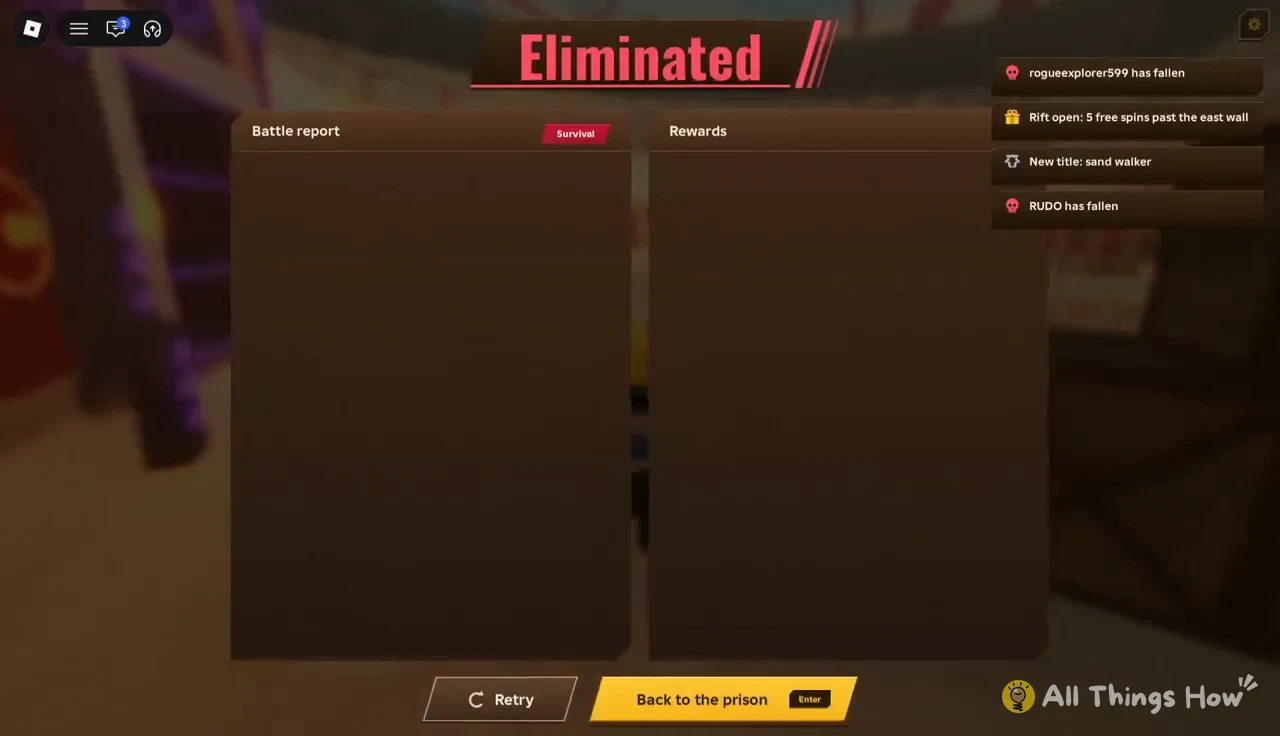
When the run ends, the Battle report screen shows your round reached, kills, damage dealt, damage taken, assists, revives and time. It also shows your total cash and XP. A defeat at Round 15 after 11 minutes still paid +1,727 cash and +1,724 XP and took the character to level 6 with +5 skill points. Chests you earned during the run are listed under “Kept in your vault,” and you keep them even if the squad loses.
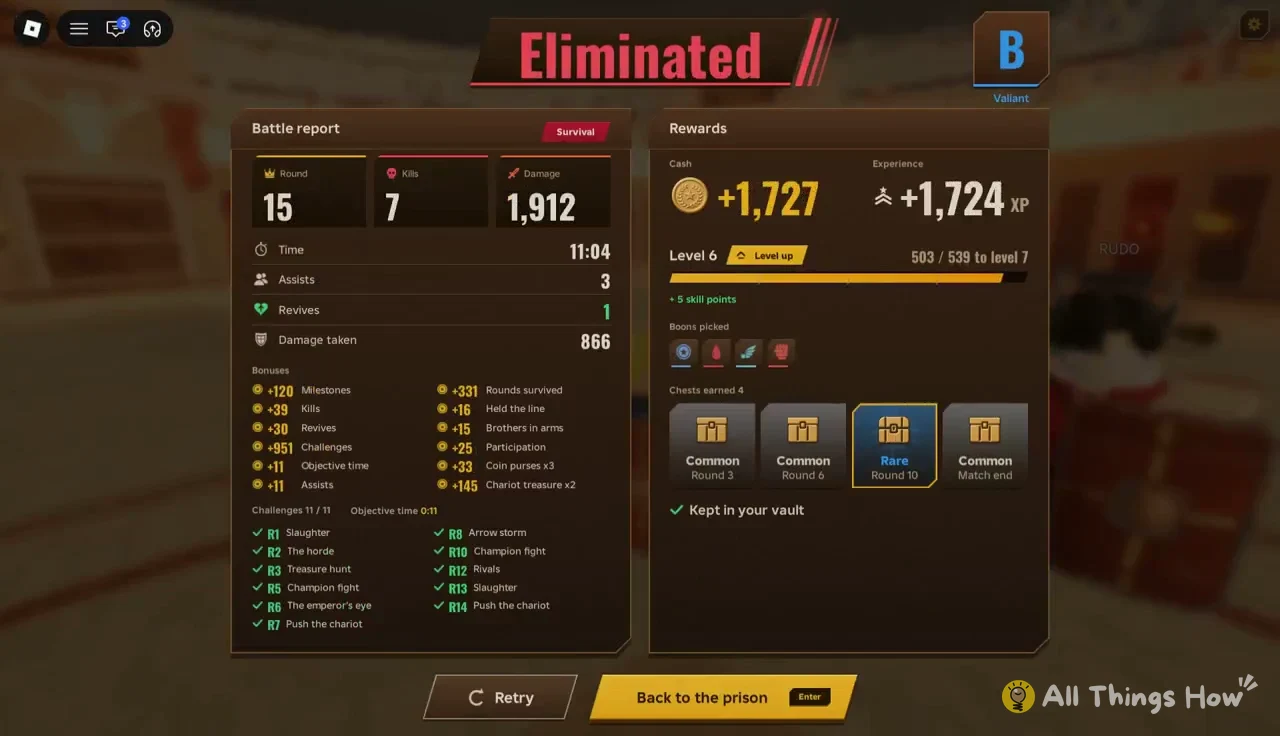
From the results screen, choose Retry to start another run right away, or “Back to the prison” to go back to the hub. Back in the hub you can open chests, spend skill points and train in the gym.
What opens up after your first Glorybound runs
Survival goes all the way to wave 60. Glorybound also has several other systems that matter once a Round 15 clear feels routine.
- Hardcore: the arena turns blood red at wave 21 and switches to Insane at wave 41.
- Trials: Fight Ignis and Glaucus individually, followed by the Hydra of Lerna; Janus is the final opponent.
- Weekly raid: Hydra of Lerna Extreme, played as a squad.
- Cerberus: a named boss that sits alongside the War Lion and Undead Brute.
- Crystal of Fortuna: Use it to randomly obtain blessings and secret powers.
- Titles and Rebirth: titles you earn show above your head, and rebirth leads to the Hall of Fame.
SphereX Studio posts reward codes in the game’s official Discord.