

Graveyard rating in Graveyard Keeper 2 is a running total, not a level you buy. Every plot contributes its own score, decorative structures add points on their own, and debris quietly subtracts. Hitting a rating of 10 early is mostly a matter of understanding one formula and stopping yourself from burying bodies badly.
Quick answer: Bury corpses with white skulls, strip their red skulls at the autopsy table, then add decorations up to the white skull cap. Two or three clean graves plus a couple of yard structures clear 10.
The burial rating formula
A single grave scores like this:
Grave Quality = min(Decor Score, Corpse White Skulls) - Red SkullsThe important word is min. Your decorations can never push a grave higher than the buried body’s white skull count. A marble fence worth +5 on a corpse with only 2 white skulls still yields +2. The reverse is equally true, so a pristine 4-white-skull body sitting under nothing but bare dirt scores nothing at all.
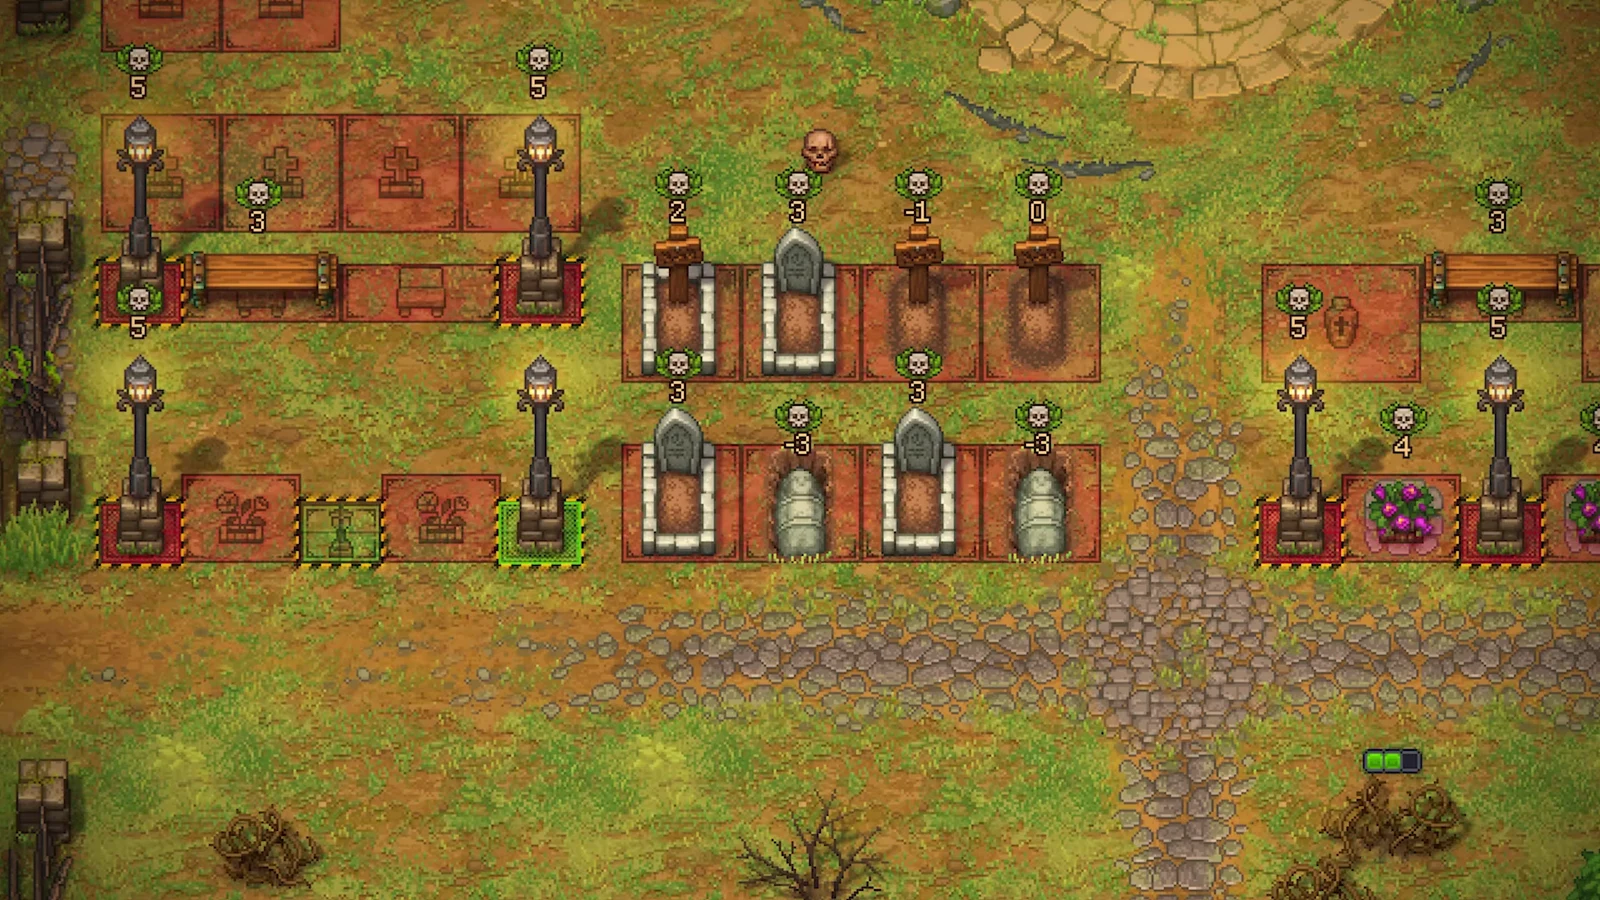
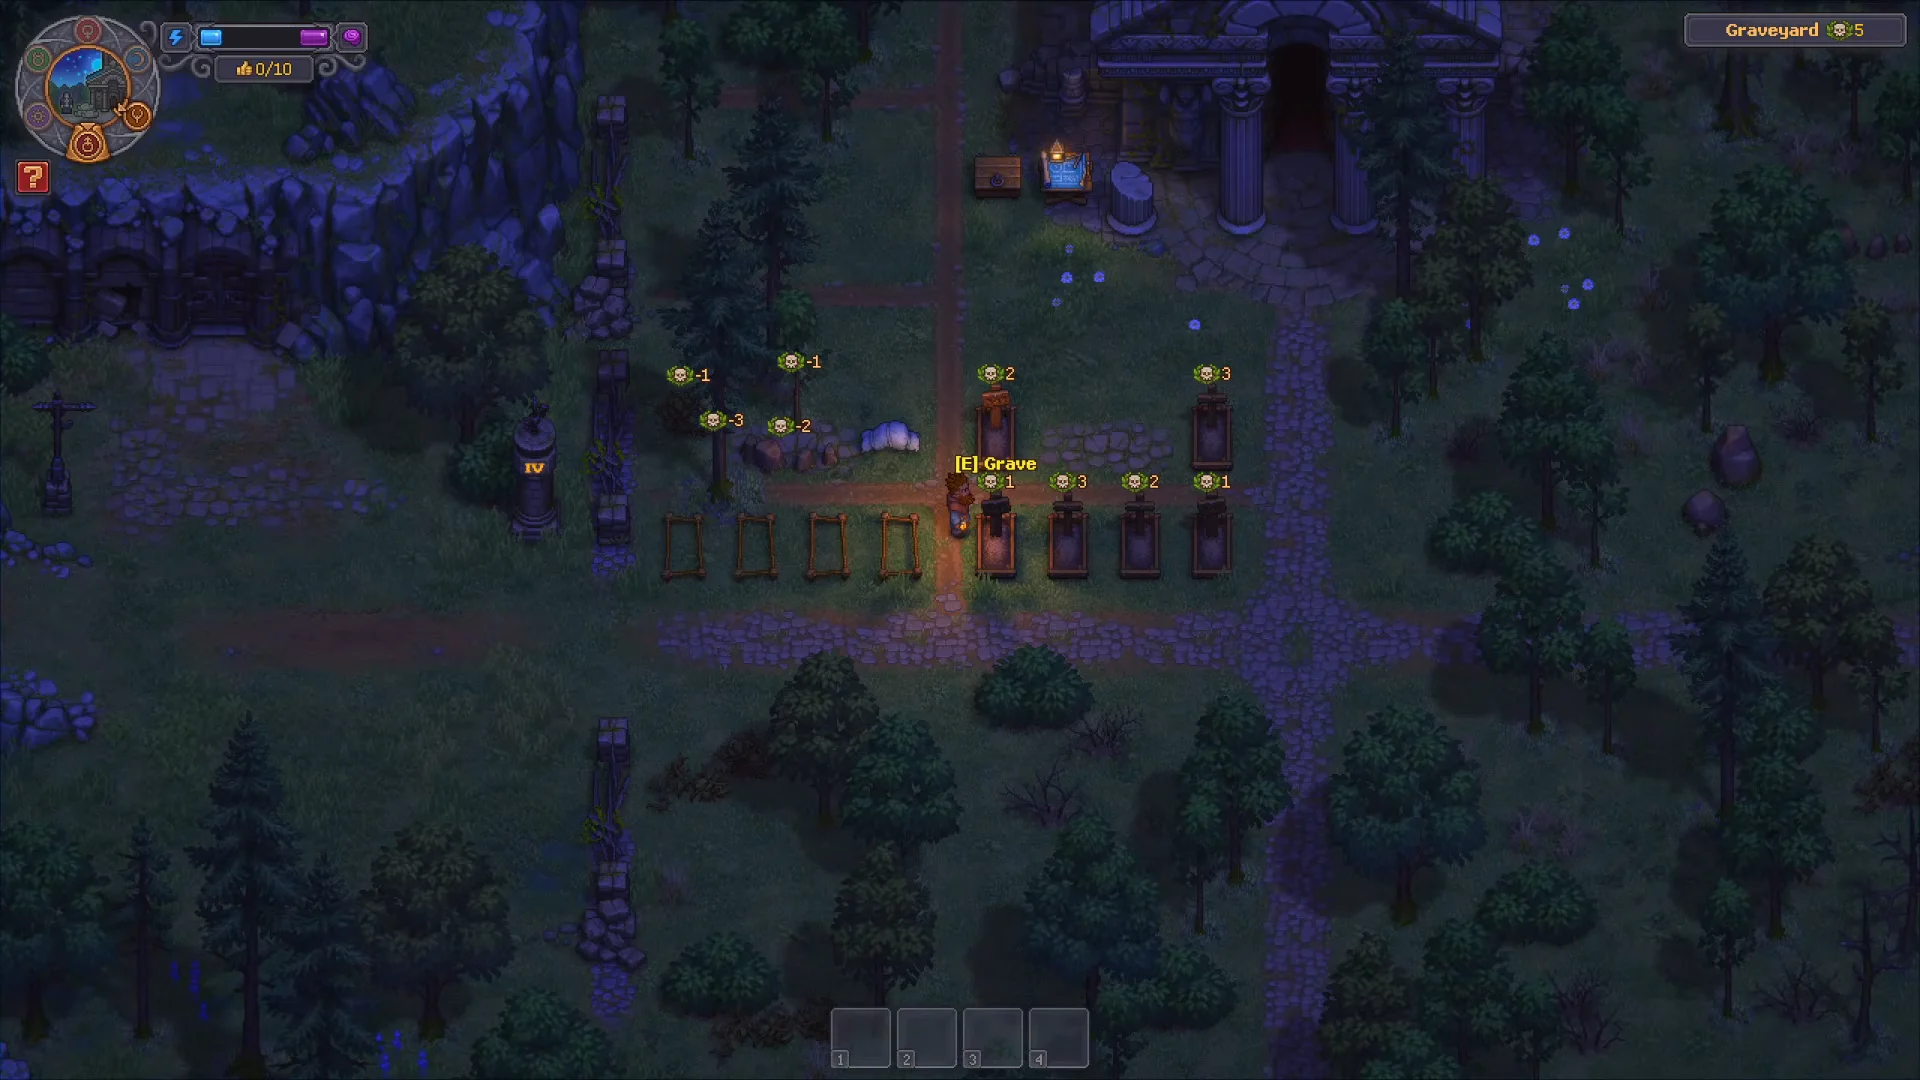
Red skulls then subtract from whatever is left. That is why a body can end up with a negative plot value, and why the yard shows markers like +6, +5, +3, 0, and -3 side by side once you start burying carelessly. Total cemetery score is the sum of every grave plus any standalone decorative structures you have placed.
Fix the corpse before you fix the grave
Every body that reaches the morgue arrives with a mix of red and white skulls. Red skulls are deductions. White skulls are headroom for decoration. The autopsy table is where you change that mix, and it is the single biggest lever on your rating.
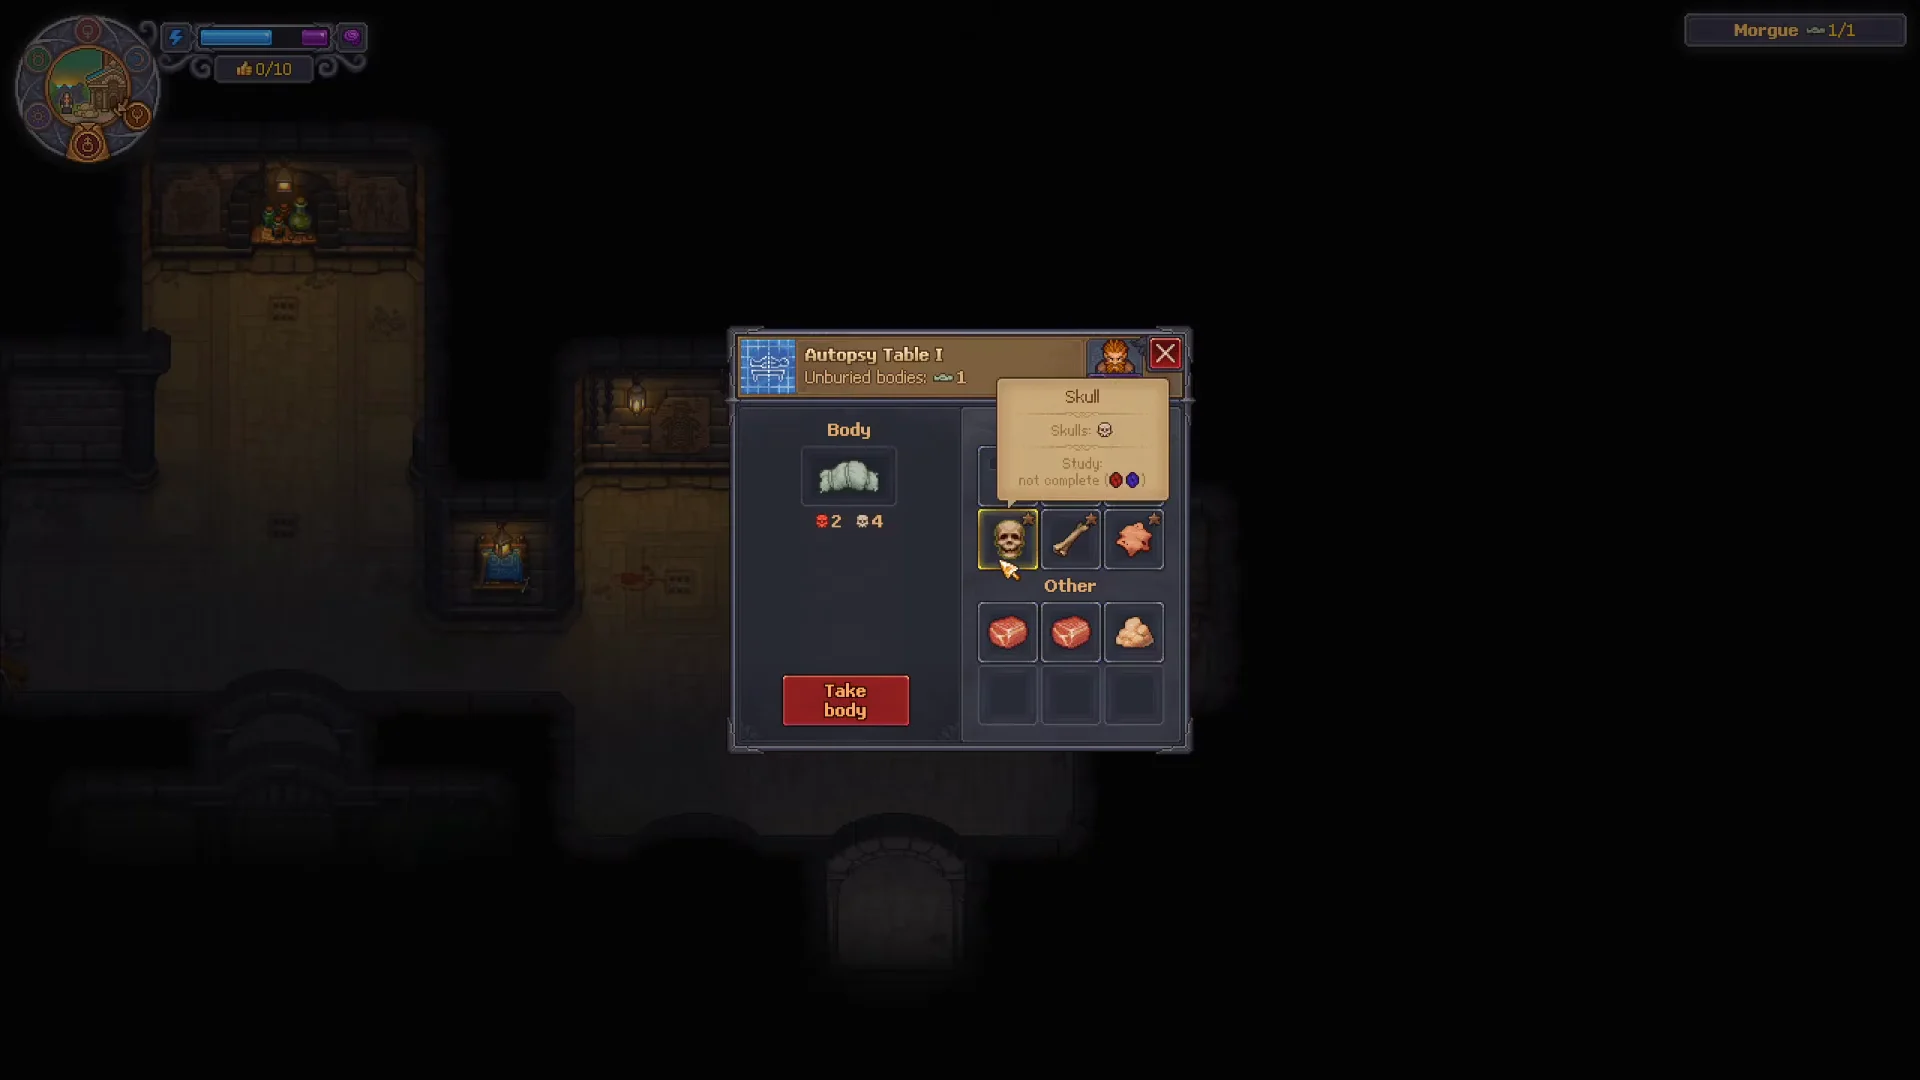
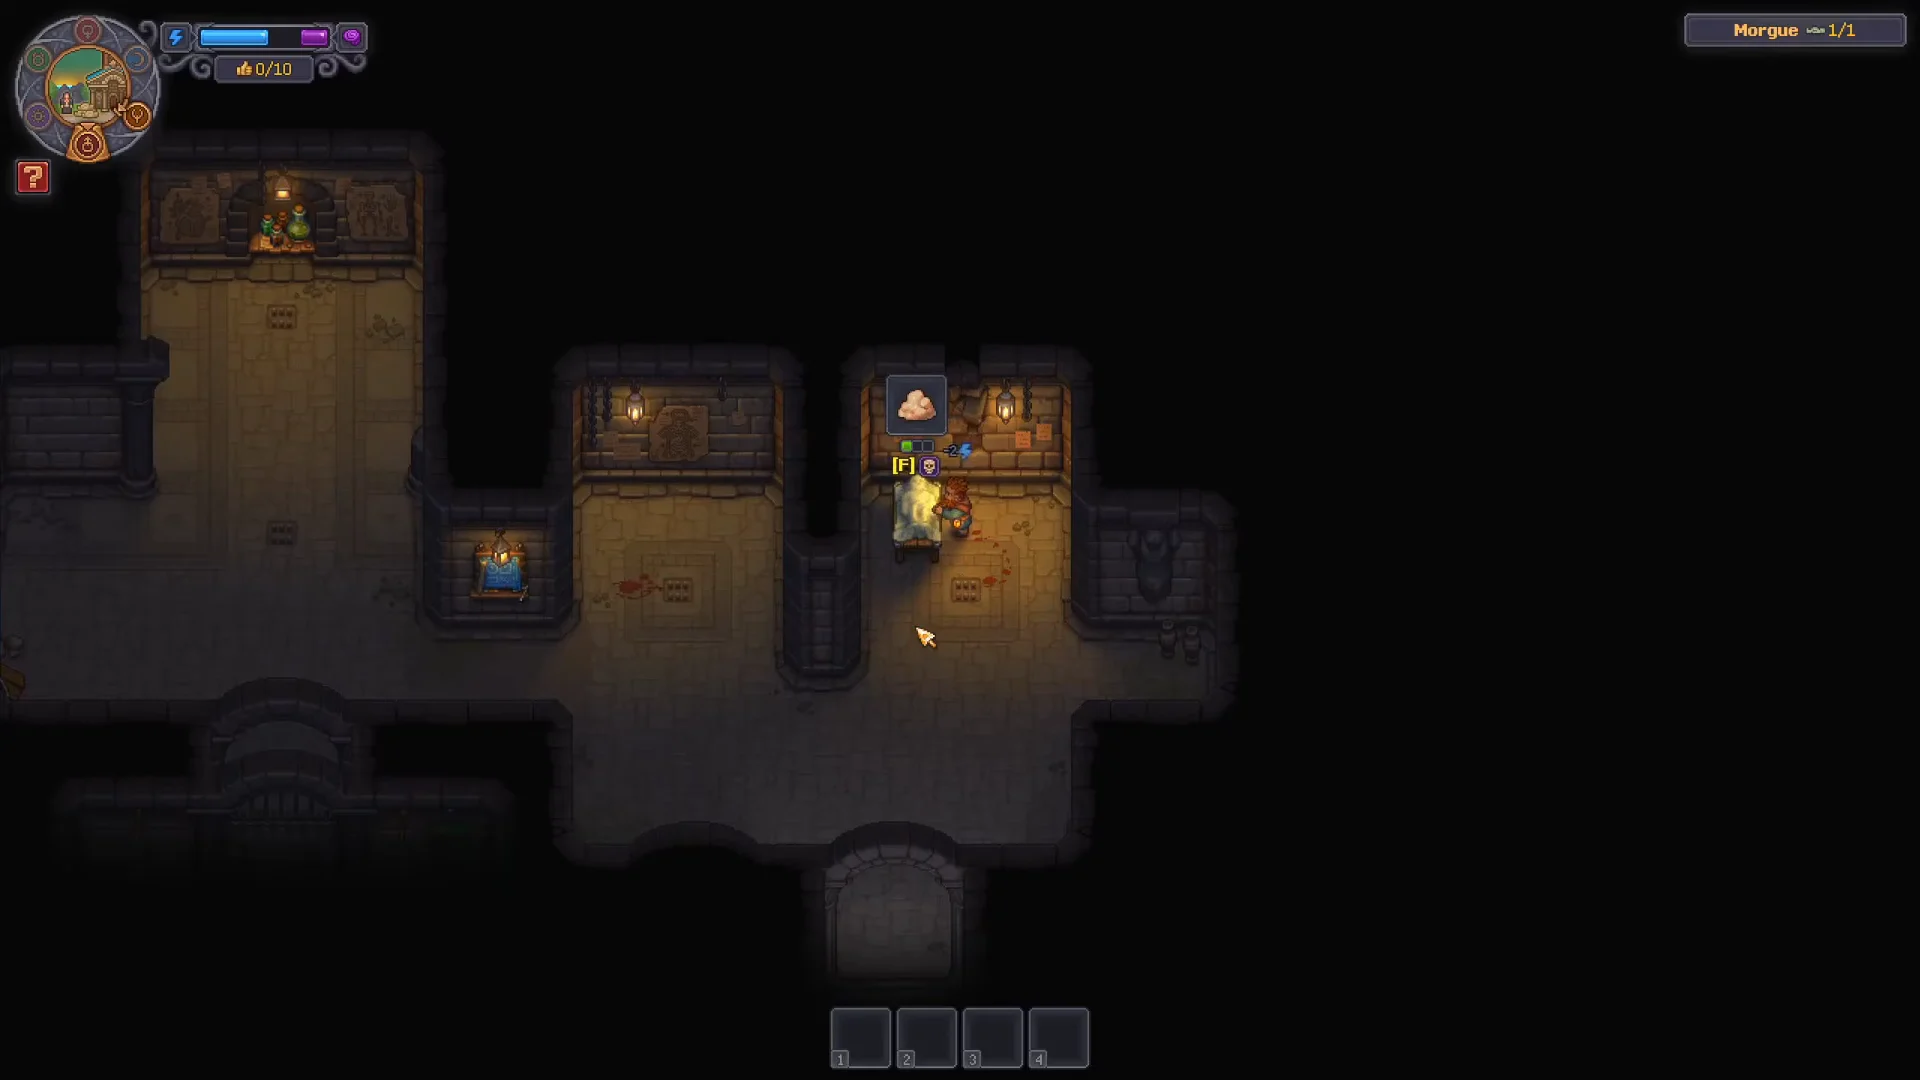
A corpse loaded with red skulls and barely any white ones is not worth the materials. Leave it unburied and route it elsewhere — corrupted bodies make better zombie labour than they do headstones.
Freshness is a hard deadline
Bodies decay while they sit above ground. Once a corpse falls below 90 percent freshness, its burial score takes a severe penalty no amount of decoration will repair. Buried bodies stop decaying entirely, so the clock only runs between delivery and the grave.
If a body has already slipped past that line, do not waste a plot on it:
- Burn it on a cremation pyre in the cemetery annex
- Dump it in the river if pyres are not unlocked yet, at a social cost
- Use it for zombie resurrection, where freshness matters far less
Expanding the yard and placing plots
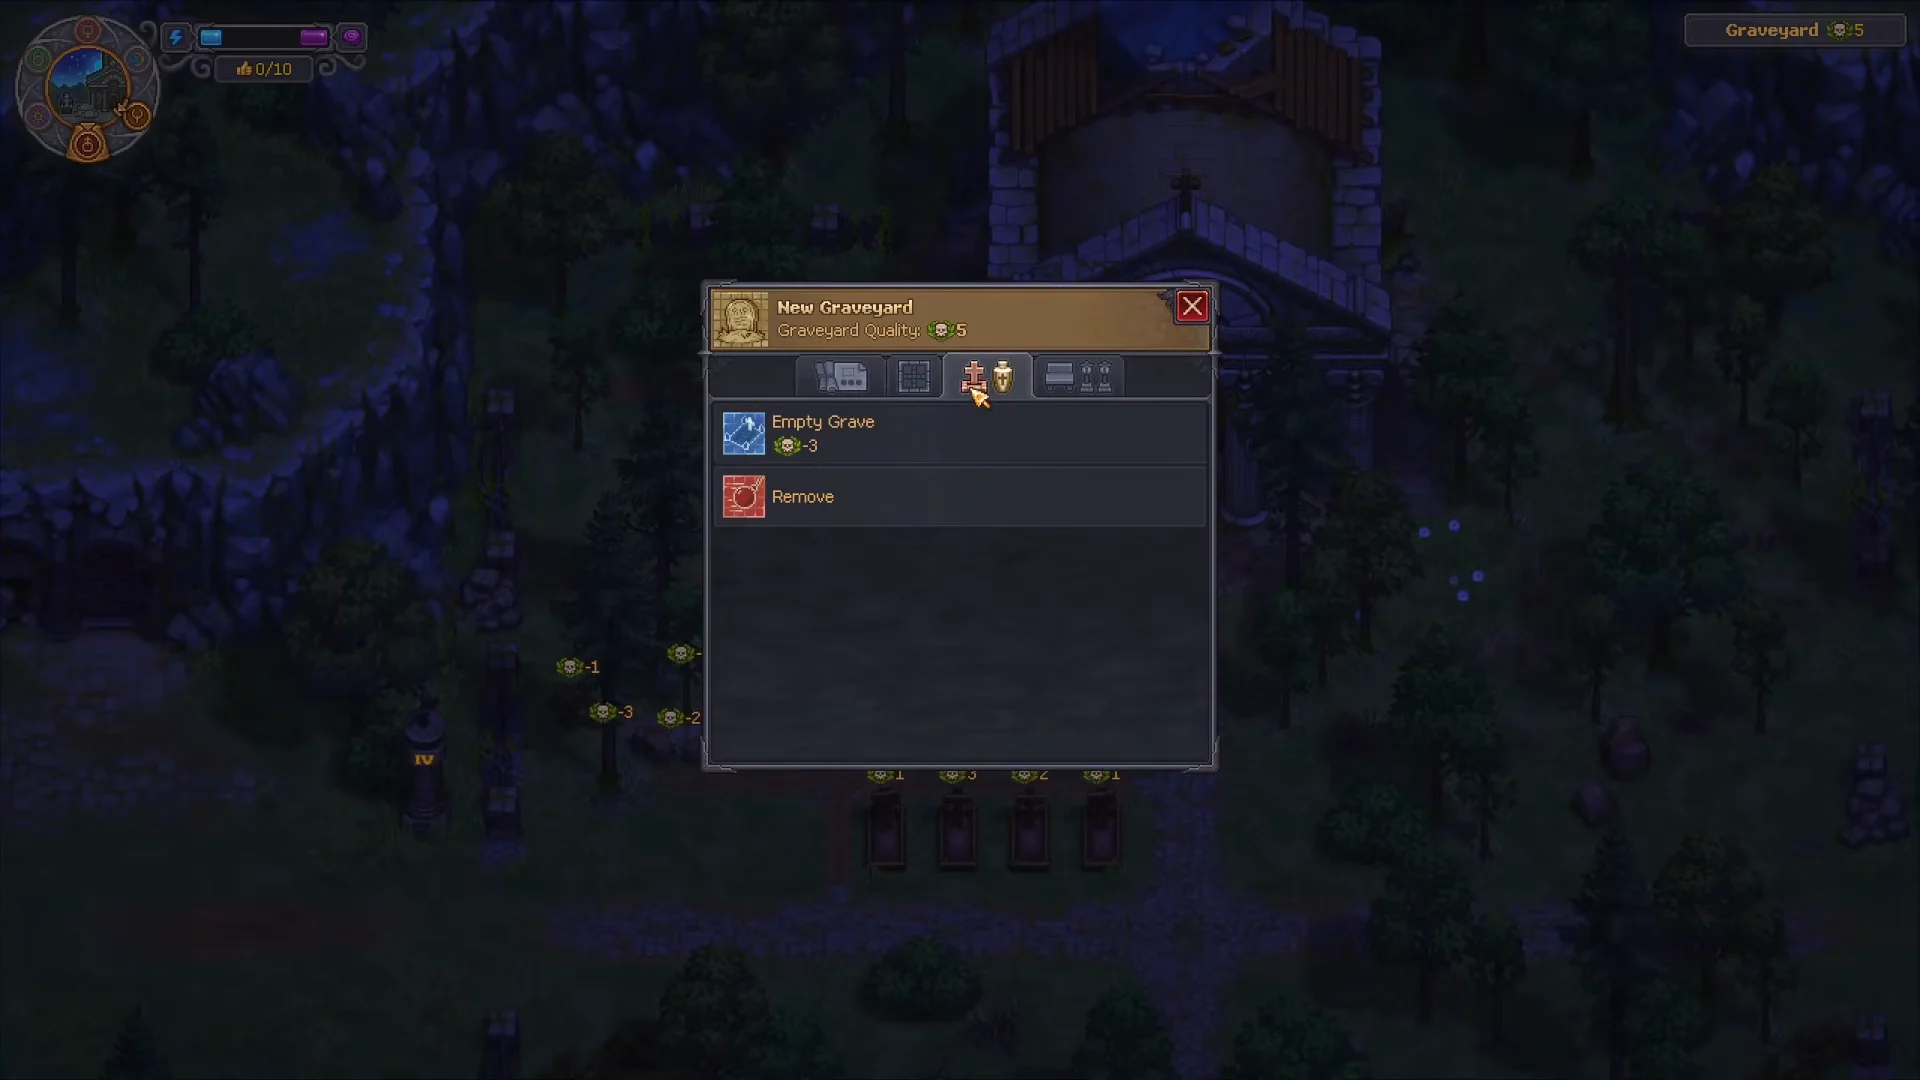
Space comes from the New Graveyard blueprint menu. The first expansion, Expand graveyard 1, costs 12 Stone, which is a short mining trip early on. Once the area is unlocked, open the build menu again and designate a grave area, then drop an Empty Grave plot inside it.
Carry a prepared corpse from the morgue southeast to the churchyard and bury it in the plot. The grave interface then shows the body’s skull count next to its decoration slots.
Matching decoration to the white skull cap
Each grave takes a marker and a fence. Early carpentry benches cover the basics, and the numbers are small enough to plan around exactly.
| Decoration | Cost | Decor points |
|---|---|---|
| Wooden Cross | 2 Wreaths | +2 |
| Wooden Fence | 1 Wreath | +1 |
Add them together and compare against the corpse. A Wooden Cross and a basic Wooden Fence give a combined decor score of 3, so a body with 4 white skulls still only pays out +3. You need an upgraded fence to collect that fourth point. Spending on a fancier marker for a 2-white-skull body is wasted material in the other direction.
Debris is the silent drain. Weeds, stumps, and fractured markers each cost -2 rating at the Bishop’s weekly review, which can erase two good graves without you touching anything.
Standalone structures for points without corpses
Some objects score on their own, with no skull cap involved at all. These are the fastest route to a rating of 10 because they do not depend on the quality of bodies arriving at your morgue.
- Stone Street Lanterns — +4 rating each
- Marble Flowerbeds — +6 rating each
- Stone Benches and Prayer Shrines — bonus points
Fill the perimeter walkway plots with these before agonising over individual graves. Exterior benches placed through the base building menu raise the overall yard score regardless of how many bodies are in the ground. Just leave yourself room to walk — modules compete with pathing for you and your zombies between the morgue and the church.
Replacing the bad graves you already dug
Early burials done before you understood the formula will sit there at 0 or negative forever unless you dig them out. Two routes exist.
If you want to move the body completely instead of swapping it, purchase Exhumation Permissions from the Church mailbox for 1 silver 75 copper; this unlocks with advanced embalming injections. Next, dig up the body, use the yard table to deconstruct the gravestone and fence, and dig a new plot in your chosen location.
How to confirm the rating went up
Every plot carries a visible skull marker floating above it, so the yard reads as a scoreboard. Walk the cemetery after a burial and check that the new grave shows a positive number rather than 0 or a minus. The Graveyard map chip also stamps a running skull tally in the corner.
Beyond 10, the thresholds that matter are +30 to consecrate Church Tier 2, +100 for Cathedral status, and +200 for the Aristocrat Citizen papers the Town Hall asks for. Rating also feeds your weekly sermon Faith yield and the Town Bishop’s approval, so the same cemetery work quietly funds the rest of the game.
Treat the morgue as a sorting station rather than an assembly line and the number climbs on its own. Clean bodies go to display graves, corrupted ones go to the zombie workforce, and spoiled ones never reach the churchyard at all.





