

Walking marble slabs and iron ore back from the quarry by hand is the slowest part of the mid-game in Graveyard Keeper. A Porter station fixes that permanently. Put one zombie inside, tick the goods you want moved, and it will shuttle materials from a remote site to your base for the rest of the save without any input from you.
Quick answer: Unlock Zombie Logistics, then build the station at the site for 8 Flitch, 4 Nails, and 2 Clean paper, pick up any zombie, and press E at the station to put it to work.
Porter station requirements and build cost
The blueprint is gated behind Zombie Logistics, the second green technology in the Anatomy and Alchemy tech tree. That whole branch of green tech only appears after you have found your first zombie, so finish the Snake questline and free the zombie north of the village first.
| Detail | Value |
|---|---|
| Technology | Zombie Logistics |
| Materials | 8× Flitch, 4× Nails, 2× Clean paper |
| Energy cost | None |
| Footprint | 3×4, not rotatable |
The station arrives fully assembled, so there is no second construction step and no energy drain. Clean paper is usually the bottleneck, since it needs the paper press rather than anything you can gather.
The vineyard blueprint also depends on the Inquisitor granting you the Witch Hill land. Until that happens, the station will not appear in the build menu there no matter what tech you have.
Where Porter stations go and what each one delivers
Not every site needs a build. The felling site by the giant tree and the crate factory already include a station, so all you have to do there is drop a zombie in. The mine, quarry, and vineyard are the ones you pay for.
| Site | Station | Delivers to |
|---|---|---|
| Felling site | Built in | Workyard |
| Crate factory cellar | Built in | Trade office |
| Cabin in the woods | You build it | Workyard |
| Quarry | You build it | Workyard |
| Vineyard | You build it | Cellar |
Destinations are fixed. You cannot redirect a porter, so a vineyard zombie always feeds the cellar under the house and a quarry zombie always feeds your main workyard.
The quarry is worth a special mention. Because a porter pulls from storage in list order, stone, marble, and iron slabs can clog a single run, which is why you are allowed to build up to three stations there, one feeding each slab type.
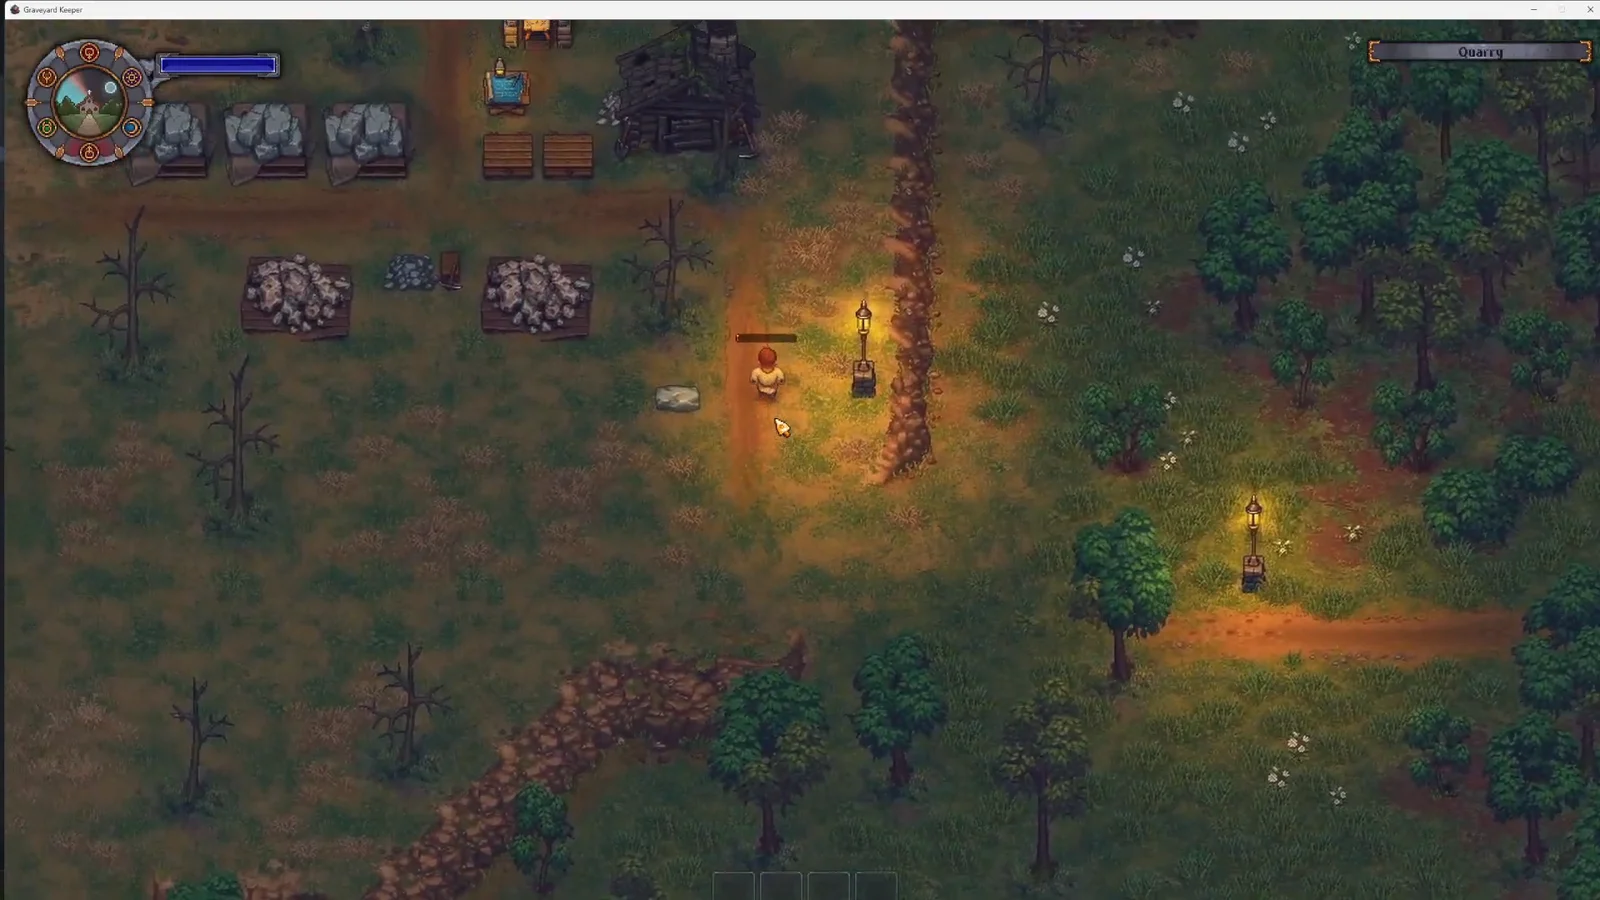
How to build a Porter station and assign a zombie
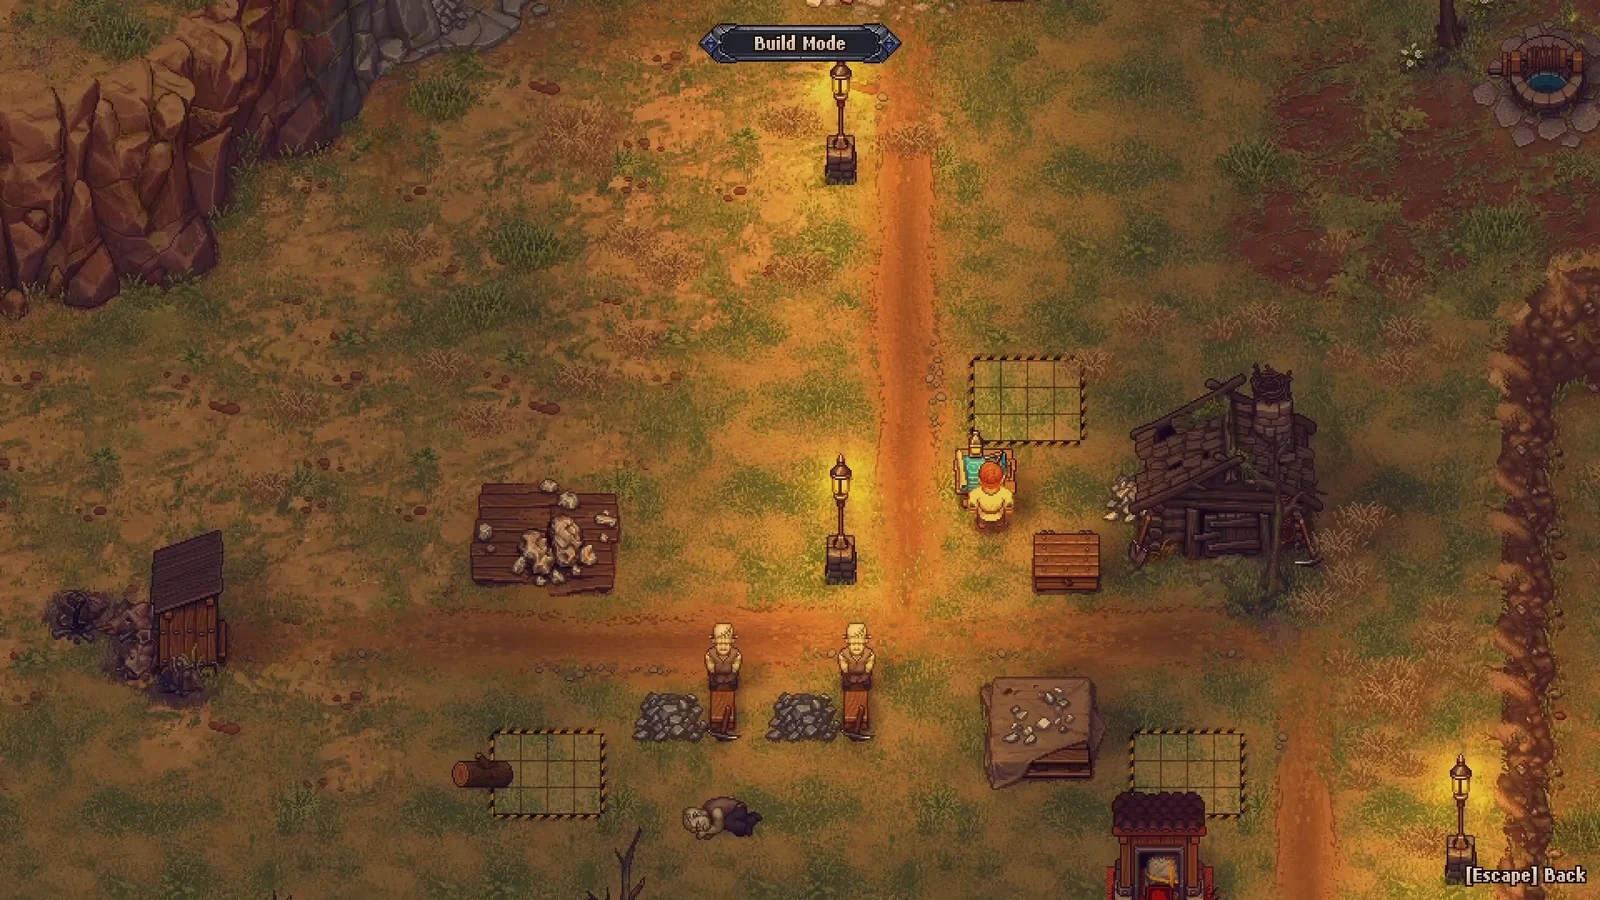
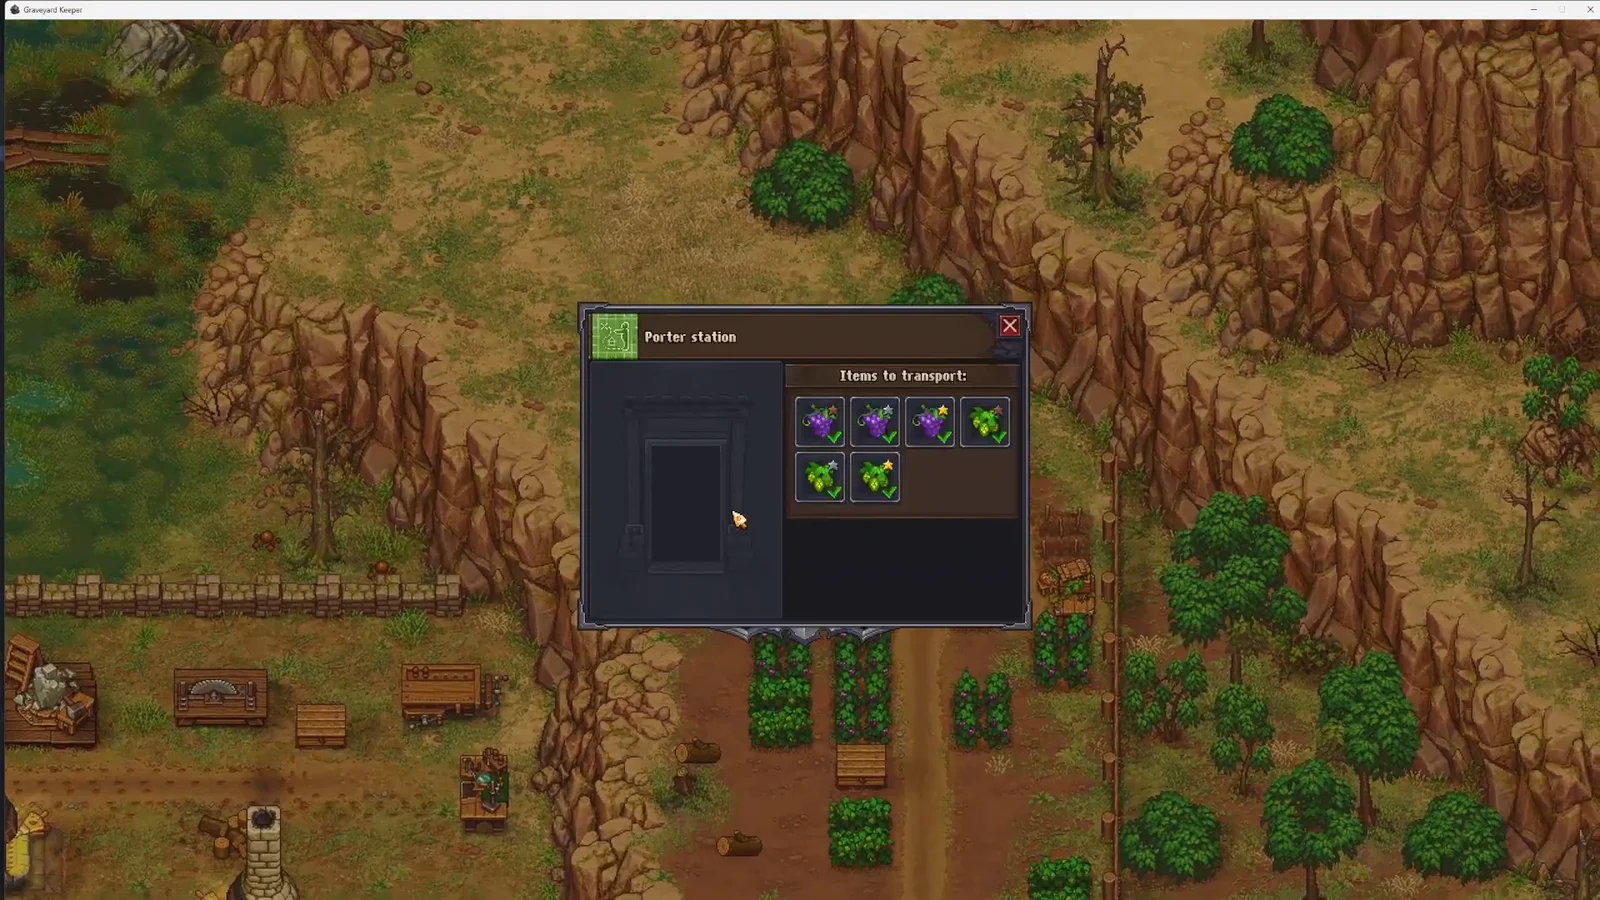
Storage you need at both ends
A porter only moves goods between containers. It never carries anything out of thin air and it never dumps items on the floor, which means both the source site and the destination need matching storage built.
- Stone and iron stockpiles for slab-type materials, both at the site and in your workyard.
- A trunk for the small stuff, such as coal, ore pieces, nuggets, and repair kits.
- Empty pallets at the trade office for crates coming out of the crate factory.
- Mining and woodcutting zombies to fill those containers in the first place.
Small items are only dropped into a trunk that already holds that type of item, so seed each destination trunk manually once. If there is no free space at the far end, the porter simply holds its load and waits until you clear room.
Carrying capacity and pickup order
Every zombie porter has the same ten inventory slots, half of what your character carries. White skulls change nothing about speed or load size for this job.
| Cargo | Per stack | Max per trip |
|---|---|---|
| Coal | 100 | 1,000 |
| Iron, stone, marble pieces | 30 | 300 |
| Gold, silver, repair kits | 10 | 100 |
| Slabs (any type) | 4 slots each | 2 |
Slabs are the expensive cargo. Two of them eat eight of the ten slots, leaving just two slots for small goods on that run. Porters also grab items from the top down, following both the order of items inside a trunk and the order the containers themselves appear in your storage list. That is why a stockpile sitting low in the list can be ignored for several trips while the zombie clears everything above it.
If the destination is already full of a material the porter is carrying, it can stall indefinitely holding that load. Uncheck the offending material at the station or reset the zombie to free it up.
How to check the Porter station is working
Once a crate lands on a pallet, or an item enters the linked stockpile or trunk, the porter starts moving. You will see a bearded zombie pulling a cart along the road between the site and your base, and the site’s map icon changes to indicate the worker is out on a run.
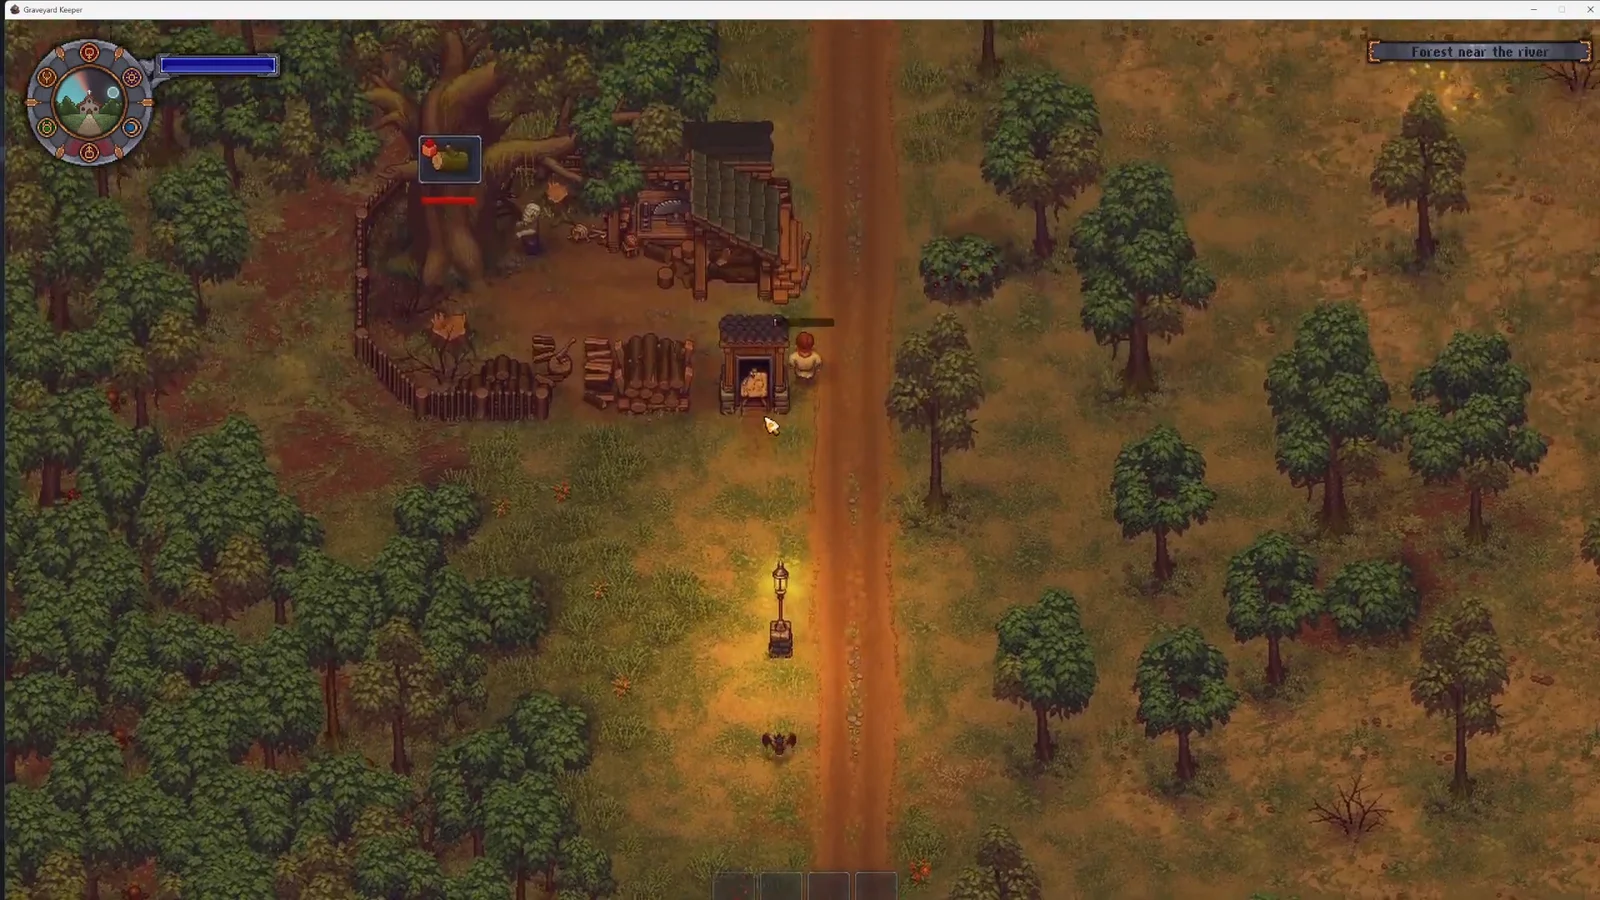
The definitive confirmation is materials appearing in your home stockpiles and trunks without you touching them. Give it a full in-game day, since the walk from the quarry or vineyard is long.
How to take a zombie off a Porter station
The clean method is to open the cargo list and uncheck everything. The zombie finishes its current run, returns to the station, and waits inside. Press E there and you can pick it up again with its cargo already delivered.
The fast method is to intercept it on the road. Stand in its path and press E to talk to it, and it will immediately drop everything it is carrying on the spot. Useful when a porter is stuck with a load you need right now, messier when it is hauling marble slabs halfway up a hill.
Once all three remote sites are staffed, the logistics chain runs itself. Mining zombies fill the stockpiles, porters walk the goods home, and the only thing left for you is deciding which materials stay checked in each cargo list.





