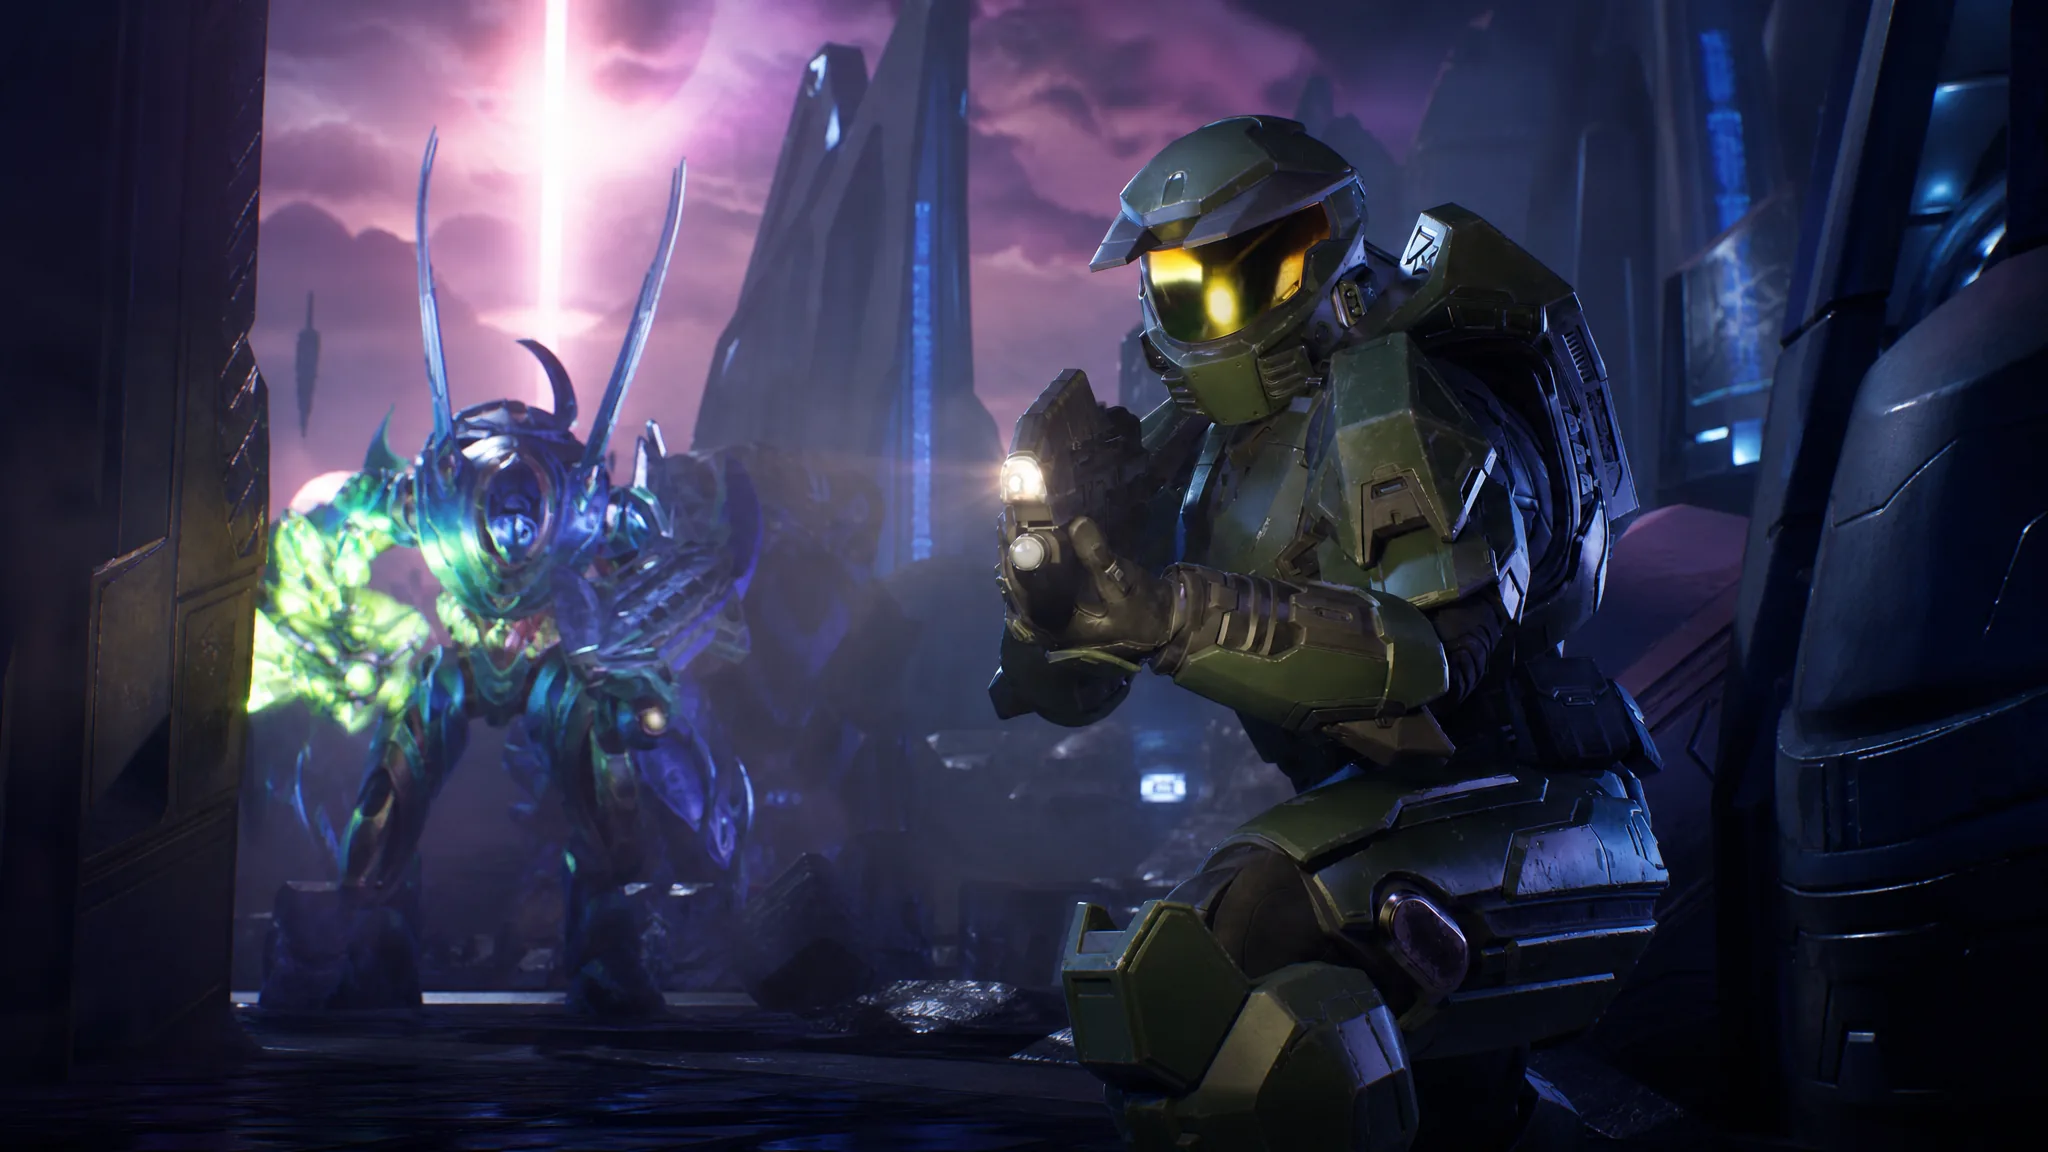
Halo Campaign Evolved is a ground-up remake built in Unreal Engine 5, and that engine change is why frame rates drop hard when the action gets busy. The lighting and global illumination systems are the heaviest part of the load, so the fastest way to a smooth, stutter-free run is to strip those back first and lean on upscaling for the rest. Here are the settings that keep frames high without turning the game into mush.
Quick answer: Switch Quality Preset to Custom, drop Global Illumination to Very Low and Lighting to Low, cap the frame rate at 60 FPS, turn Motion Blur off, and enable an upscaler (DLSS, FSR, or XeSS) at a performance-leaning quality level.
Graphics quality values for the smoothest run
The game exposes eight individual quality options, each with Low, Medium, High, and Ultra tiers. Some hardware also gets a Very Low tier. Setting the Quality Preset to Custom lets you tune each one instead of moving everything together. These values keep the game readable while pulling frames back up on systems near the minimum or medium spec.
| Graphics option | Set to |
|---|---|
| Quality Preset | Custom |
| Effects | Low |
| Geometric | Low |
| Global Illumination | Very Low |
| Lighting | Low |
| Texture | Medium |
| Reflections | Very Low |
| Atmospheric | Low |
| Post-Processing | Medium |
Texture at Medium keeps surfaces from looking flat without eating much performance, and Post-Processing at Medium preserves the visor and lens effects that give the game its Halo look. Everything else can sit low because those options add detail you rarely notice mid-fight.
The two settings that matter most
Global Illumination and Lighting drive the most expensive systems in the game. Global Illumination controls light bounce and indirect lighting, while Lighting handles shadow quality, distance, and count. Cutting these two alone recovers a large chunk of performance, so if you only change a couple of things, change these. You can leave the other options higher and still gain frames.
Note: lower settings on both of these also reduce input latency, which helps aiming feel tighter during heavier scenes.
Frame rate, display, and motion settings
A hard cap keeps frame delivery even. On systems closer to the minimum spec, a 60 FPS limit is the steady sweet spot. An uncapped (“None”) setting can introduce minor hitches, so avoid it unless your display and hardware comfortably support higher. If you have a fast monitor and the headroom, you can raise the cap to match its refresh rate.
| Setting | Set to |
|---|---|
| Frame Rate Limit | 60 FPS |
| VSync | Off (on only without G-Sync/FreeSync) |
| Display Resolution | Your monitor’s native |
| Resolution Scale | 100% |
| Screen Shake | Off |
| Motion Blur | Off |
Turn Motion Blur off. It muddies fast movement and adds nothing to responsiveness. Disabling VSync also lowers input latency, so keep it off if your monitor supports variable refresh through G-Sync or FreeSync. Leave the resolution at native with a 100% scale so upscaling handles the performance work instead of a soft base image.
Upscaling and advanced options
The game includes four upscalers. Pick the one that matches your GPU. Use DLSS on Nvidia cards, FSR on AMD cards, and XeSS on Intel Arc (available on the Steam version). TSR works on any hardware as a fallback.
The Upscaling Quality dropdown sets the internal render resolution. Lower values feed you more frames at the cost of sharpness, so lean toward the faster end when you need frames.
| Upscaling Quality | Internal resolution |
|---|---|
| Low | 33% |
| Medium | 50% |
| High | 59% |
| Ultra | 67% |
| Native | 100% |
Leave Async Compute on. It lets the GPU handle multiple workloads at once, which produces smoother, more consistent frames when the GPU is the limiting factor. Because performance here often leans on the CPU, test it both ways if you see no gain, but on for most GPU-bound scenes.
Keep Frame Generation off. It can add blur and artifacts, and it works best only when you already have a solid base frame rate. Treat it as a last resort if you still fall short of a smooth 60 after everything else.
If you are on TSR, the Upscaling Quality dropdown does nothing. Instead, use Resolution Scale (50% to 200%, in 10% steps) to set the internal resolution, and Minimum Frame Rate (30 to 240, in 30 FPS steps) to let the game drop internal resolution automatically during heavy moments. A minimum target near your realistic frame rate keeps image quality stable rather than swinging.
Where to change these settings
F1 on keyboard, the Menu button on an Xbox controller, or the Options button on a PlayStation controller. Then select Video.How to confirm it worked
Load into an outdoor area or a vehicle section, since those are the heaviest scenes in the campaign. If the frame rate holds steady at your cap with no visible hitching during explosions or busy firefights, the settings are doing their job. If frames still dip below your target, drop Texture and Post-Processing to Low next, then step the Upscaling Quality down one level. Adjust in that order until the counter stays flat.