Gaming Guide

Heroes 2: Monsters in Order of the Sinking Star – All Puzzle Solutions

Every solution for the 30 puzzles on the north world's monster screen, in the order you should clear them.

Every solution for the 30 puzzles on the north world’s monster screen, in the order you should clear them.

Image: Thekla, Inc.

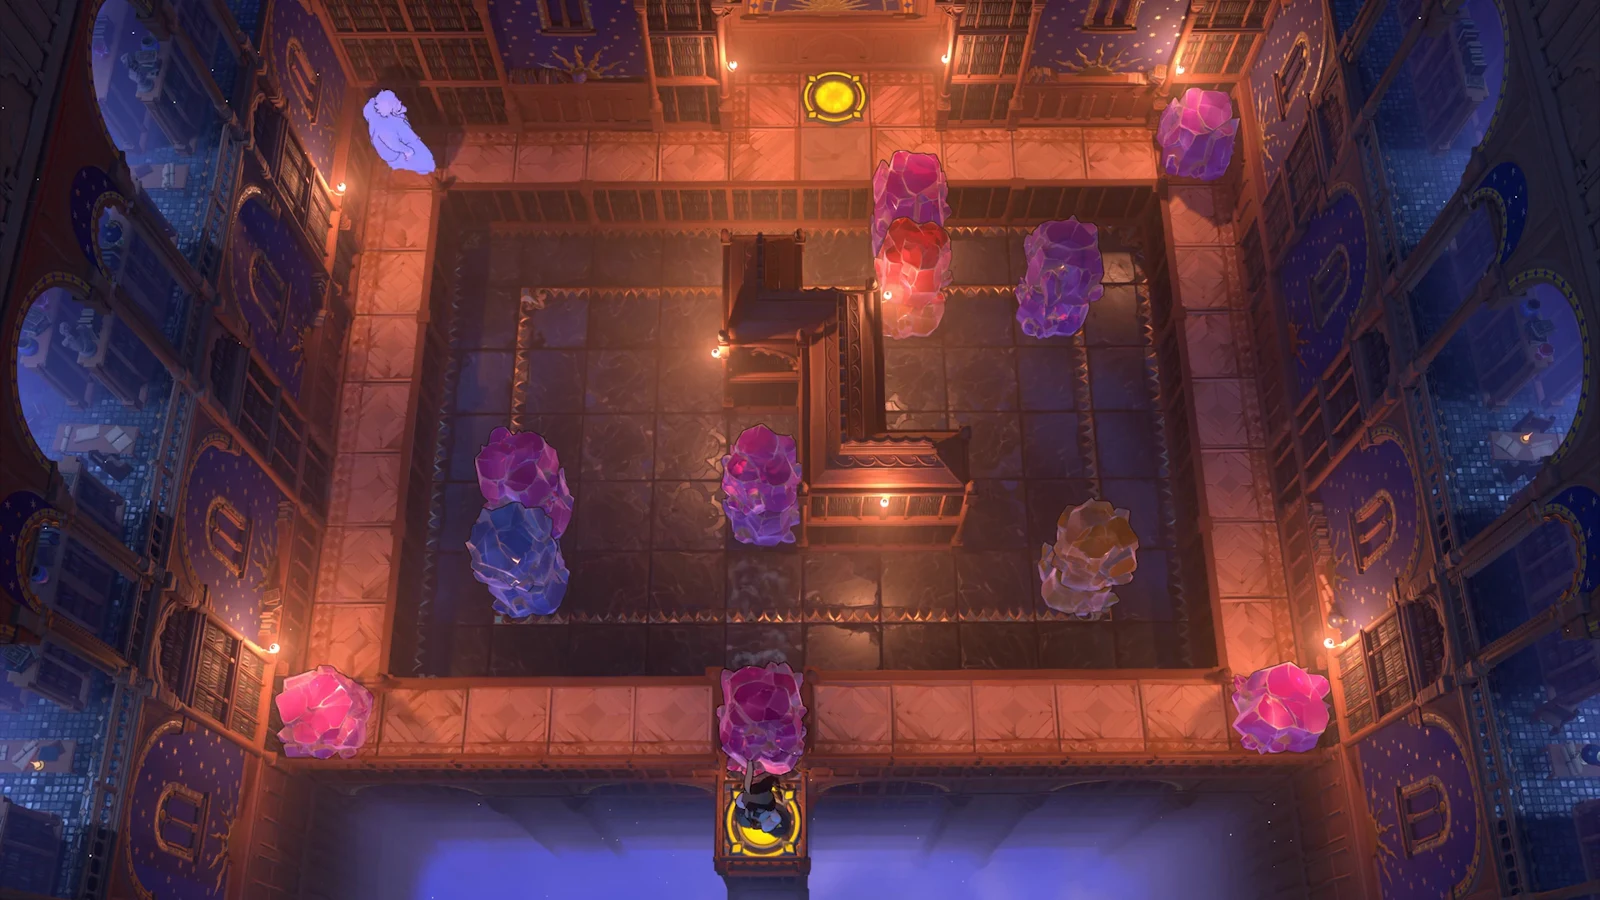
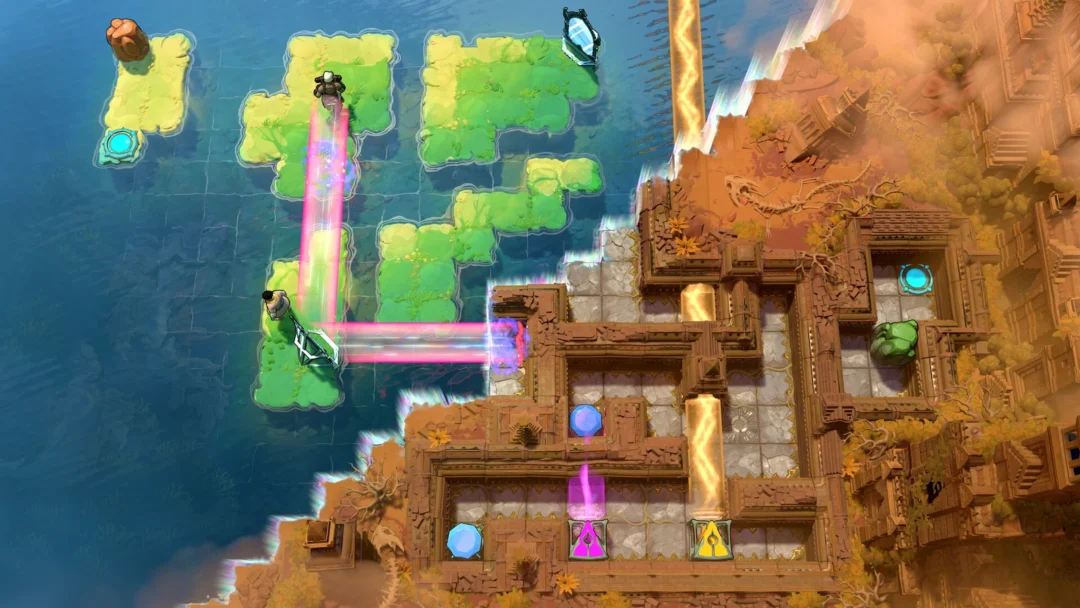
Heroes 2: Monsters is the third screen in the north world of Order of the Sinking Star, and it teaches you how monsters, crystals, and barriers interact across 30 puzzles. The screen is split into clusters, and each cluster unlocks part of the overworld path. Clear them in the right order and the exit in the top-right corner opens to Heroes 3: Bard, Druid.
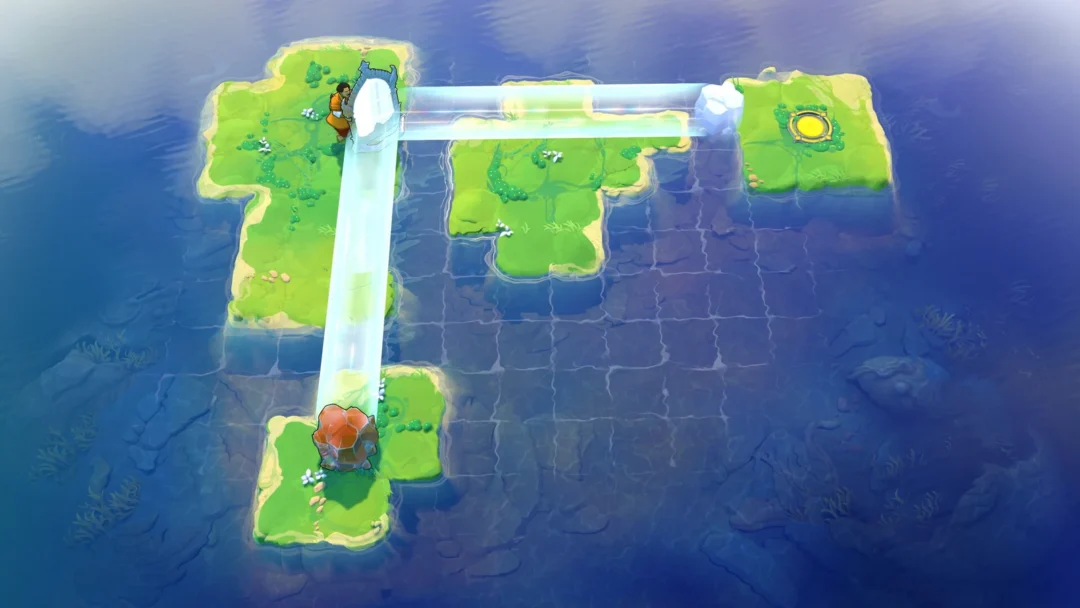
Quick answer: Solve the ten puzzle groups in sequence, beginning with the bottom-left series and ending with the top-right double, then pass through the opening in the top-right corner to advance.

Image credit: Arc Games, Gamirror Games via YouTube/@100% Guides

How to read the movement instructions

Every direction below follows the same shorthand. An unmodified direction such as “move left” means move exactly one square. A direction with a number, like “right x3,” means move that many squares. When a step says “all the way,” keep going in that direction until a wall or barrier stops you.

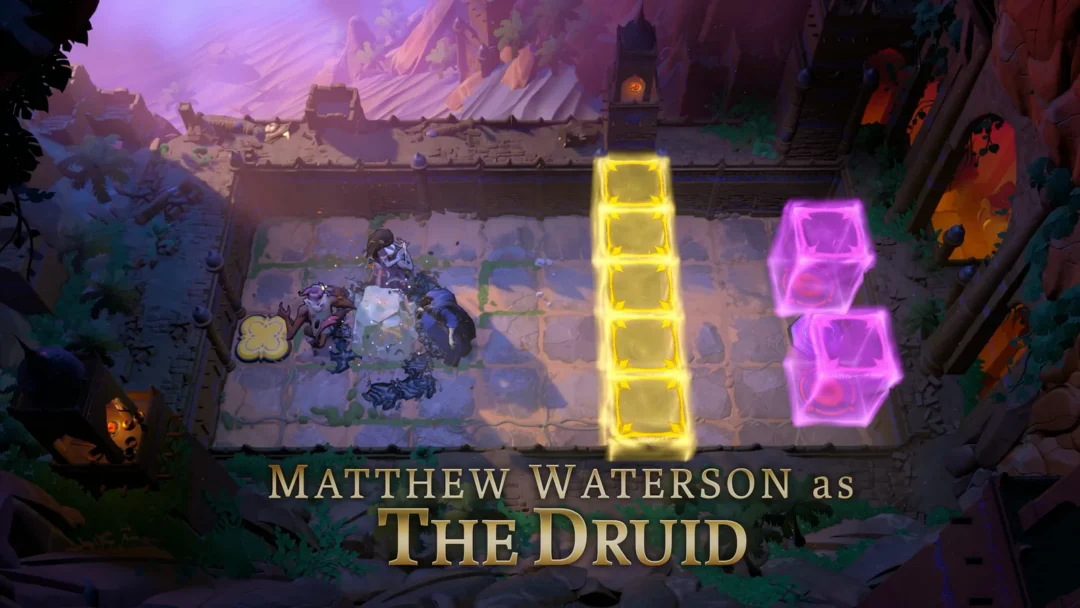
Colors refer to the active character: red pushes crystals, green pulls them, purple swaps places with crystals and monsters, and gold works alongside the others on cooperative puzzles. Monsters are destroyed by colliding them into each other, submerging them, or routing crystals into them.


Clear order for the whole screen

Work through the groups in this order. The overworld path opens in stages, so finishing one group is what gives you access to the next.

  • Bottom-left series (four puzzles)
  • Collect the map
  • Left series (five puzzles)
  • Top-middle series (three puzzles)
  • Top series (three puzzles)
  • Top-left series (three puzzles)
  • Top-right series (six puzzles)
  • Bottom-right series (three puzzles)
  • Far-right single (one puzzle)
  • Top-right double (two puzzles)
Image credit: Arc Games, Gamirror Games via YouTube/@100% Guides

Bottom-left series

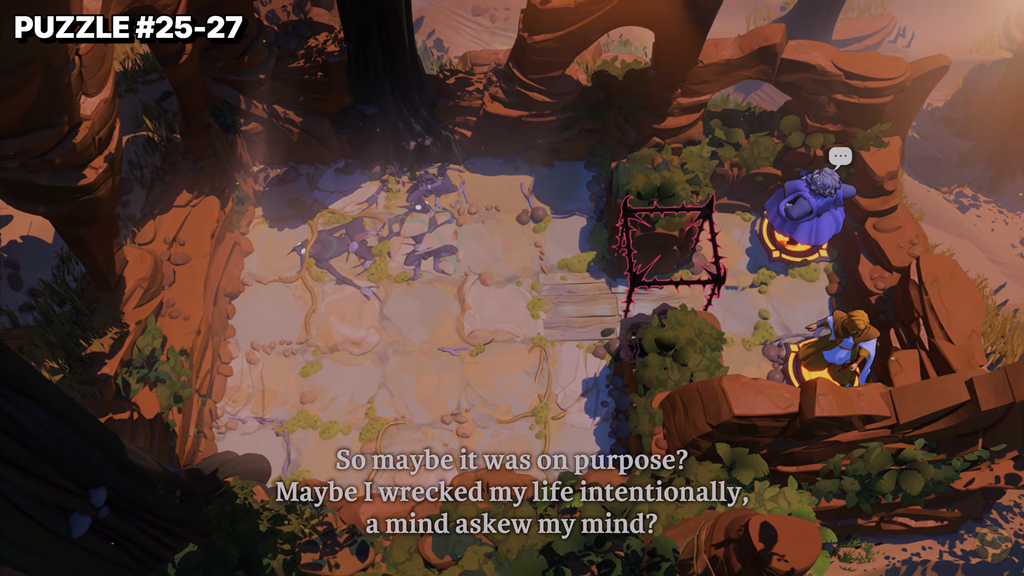
Puzzle 1

Guide red to the teleporter with this route: 3× right, 2× up, 5× right, 1× down, 1× right, 1× down, 1× right. No square along the way is next to a monster.

Puzzle 2

For red, follow this sequence: 1× down, 1× right, 1× down, 1× right, 3× down, 1× right, 1× down, 2× right, 1× up, 1× right, 2× up, 1× left, 3× up, 3× right, 1× down, 1× right, 3× down, 1× right, 2× down, 1× left. It leads to the teleporter while avoiding all squares beside monsters.

Puzzle 3

Shift green one space left to drag the crystal left by one square.
Take green 1× down, 2× right, 2× up, then 1× left to position her over the crystal. Pull upward 3×.
Take green 4× right, 4× down, 4× left, 2× up, 1× left, then 1× up to get beside the crystal on its left. Pull it left 4×.
Take green 3× up, 1× right, 1× up, 5× right, 4× down, 4× left, 1× down, then 1× left to get below the crystal. Pull downward 3×.
Take green 1× right, 3× down, 4× left, 4× up, then 2× right to get to the crystal’s left. Pull it left 2×. It will rest on the button, lowering the barrier.
Take green 4× down, 4× right, 3× up, 1× left, 5× up, 2× left, 1× up, 1× left, 1× up, 1× left, then 1× up to reach the teleporter without entering any monster-adjacent squares.

Puzzle 4

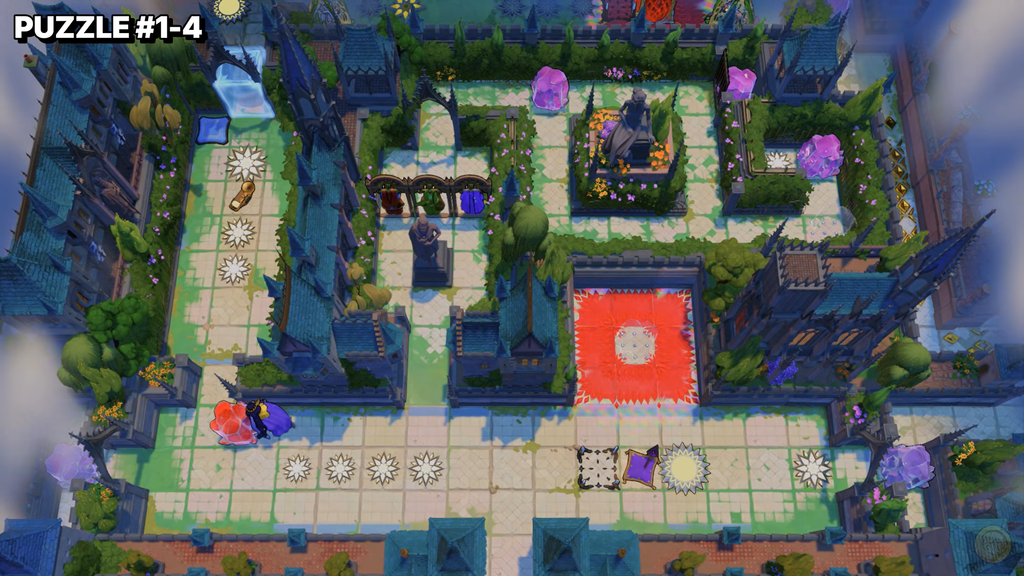
Guide purple along this route: 2× down, 2× right, 1× up, 2× right, 1× down, 2× right, 1× up, 1× right, 5× down, 4× left, 1× up, 1× left, 3× down, 1× right, 2× down, 6× right, then 1× up. The route reaches the teleporter without crossing a square beside a monster.

Image credit: Arc Games, Gamirror Games via YouTube/@100% Guides

Collecting the map

After completing the bottom-left series, monsters appear in the overworld. Collect the map before proceeding: 2× right, 1× down, 3× right, 5× up, 3× left, then 1× up.


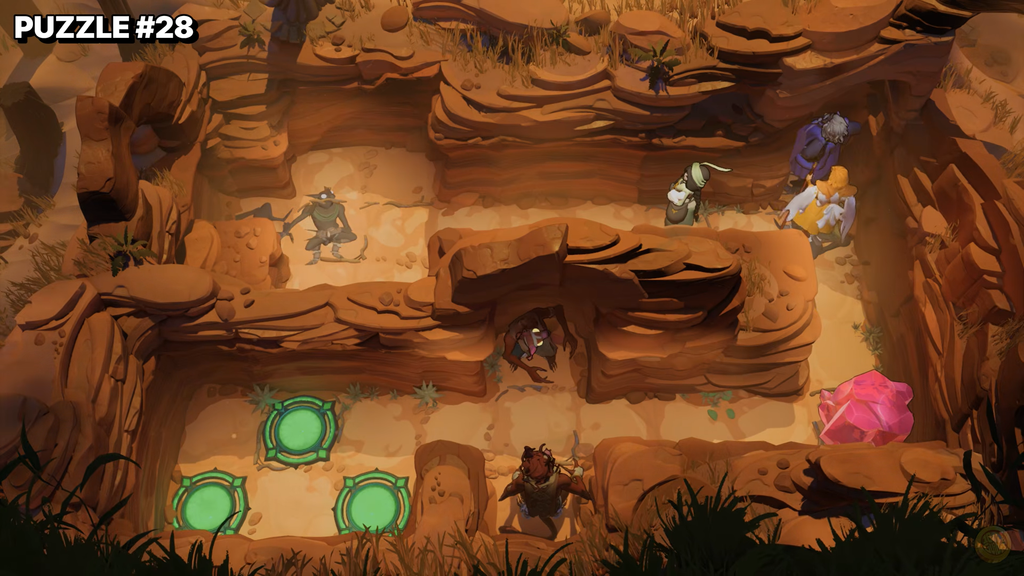
Left series

Puzzle 1

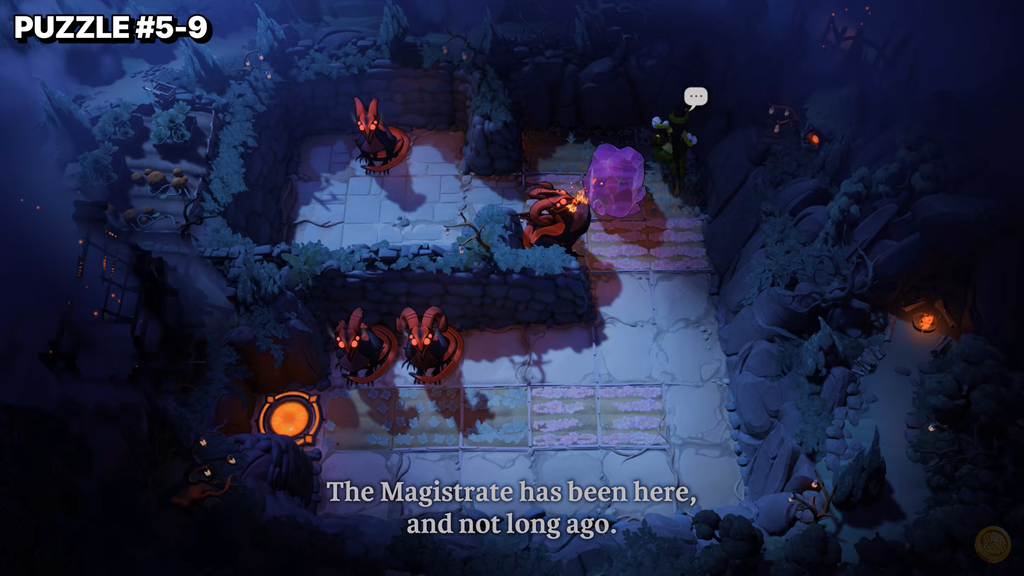
Push the crystal and the melee monster up so the ranged monster on the left destroys the melee monster.
Push the crystal up until it lines up with the left ranged monster, then push it left x5 so it also sits above the lower ranged monster.
Head diagonally up-left to the teleporter.

Puzzle 2

Zigzag down the screen, staying out of the ranged monsters’ lines of fire.
Lower the bottom monster x1, follow by lowering the middle monster x1, and finish with the top monster x1.
Circle behind the top monster, then head left to the teleporter.

Puzzle 3

Draw the first monster leftward until the crystal stops it.
Go around to the crystal’s right, then drag it as far right as possible.
Pull the second monster up until the crystal blocks it, then pull the crystal all the way down.
Drag the third monster right until the crystal halts it. Shift the crystal left 2×, then pull the fourth monster right into the crystal.
Go down and left to the teleporter.

Puzzle 4

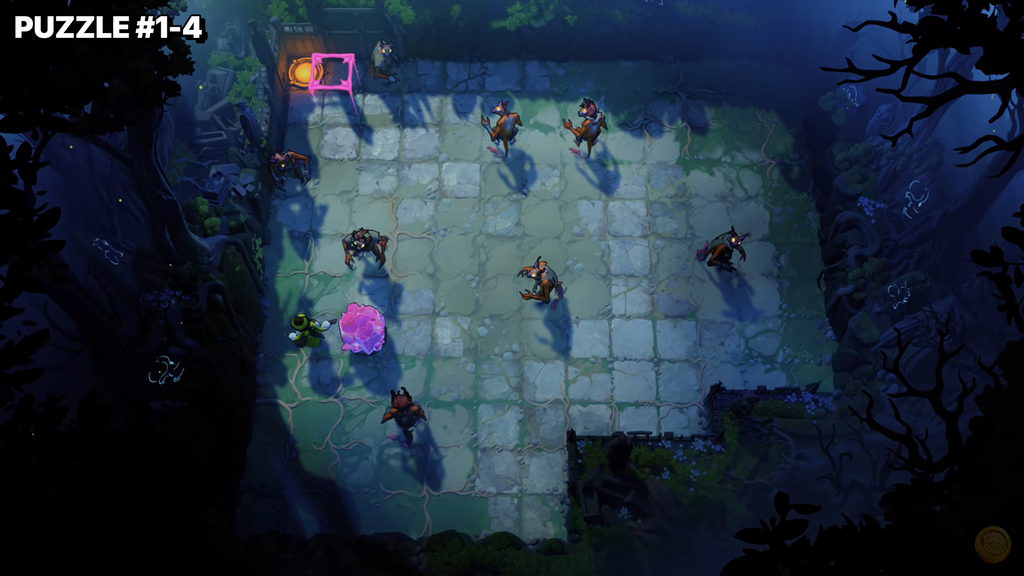
Pull the first monster left so the block stops it, then pull it right so it sits below the crystal.
Drag the crystal rightward to make the two monsters eliminate one another.
Shift the crystal left x1, raise it all the way into the puzzle’s top half, then slide it left x2.
Pull the third monster above the crystal and the fourth monster below it, then pull the crystal right so they destroy each other.
Go to the teleporter.

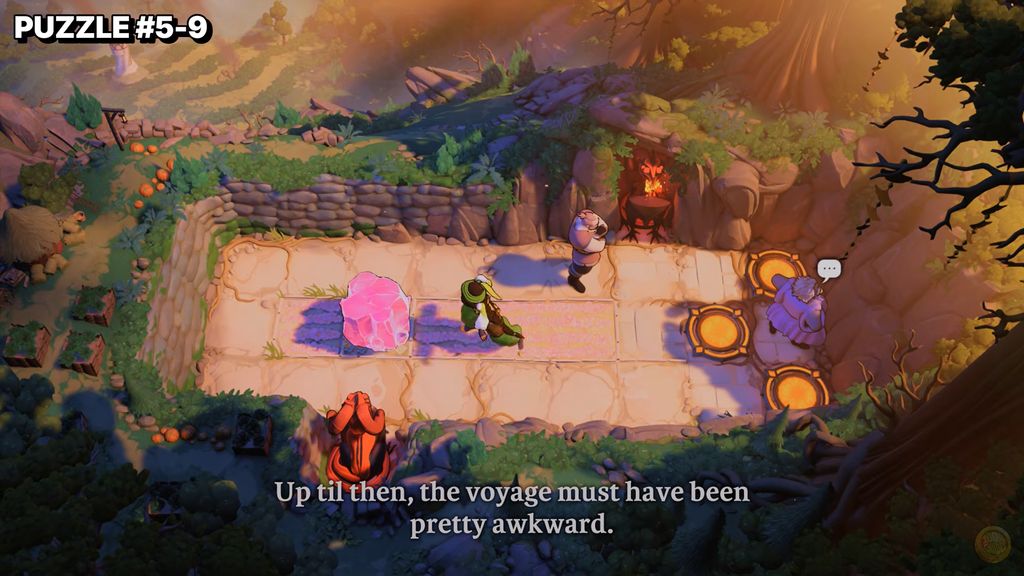
Puzzle 5

Shift purple 1× right and 1× up to position him beside green on her right. Press right to exchange purple’s position with the crystal.
Have red shove the crystal one square right to stop the first monster.
Have green drag the crystal right 2×, then switch to red and shove it right 2× to stop the second monster.
Place each of the three characters on a teleporter.
Image credit: Arc Games, Gamirror Games via YouTube/@100% Guides

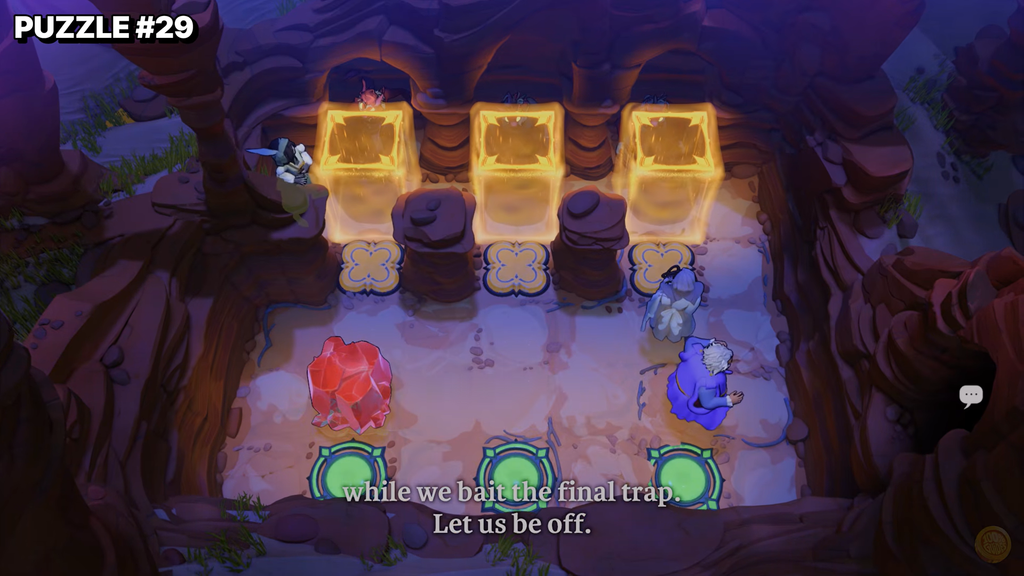
Top-middle series

Puzzle 1

Nudge each crystal left once, then move the right-hand crystal upward one square to position it beside the monster on its right.
Move the right crystal together with the monster 3× left. After that, shift the bottom crystal 3× left so it ends up beneath the monster.
Lift the bottom crystal and monster 3× upward, then move the right crystal up 3× to place it on the monster’s right.
Push the right crystal and monster all the way left, then push the remaining crystal on top of the monster.
Send the crystal above the monster straight down to make the monsters eliminate one another and clear the pink barrier. Head to the teleporter.

Puzzle 2

Shift the left crystal 1× down and 2× right, positioning it beneath the right monster.
Move the right crystal upward, then carry it all the way left to pin the right monster against the wall.
Push the remaining crystal above the monster, then push all the way down so the monsters destroy each other and the pink barrier clears. Go to the teleporter.

Puzzle 3

Push the bottom crystal right x1.
Place the right crystal over the right monster, then send both all the way down.
Lower the first crystal until it is beside the monster on its right, then shift it left 2×.
Set the second crystal on the top monster and send it all the way down, causing all three monsters to eliminate one another. Head to the teleporter.
Image credit: Arc Games, Gamirror Games via YouTube/@100% Guides

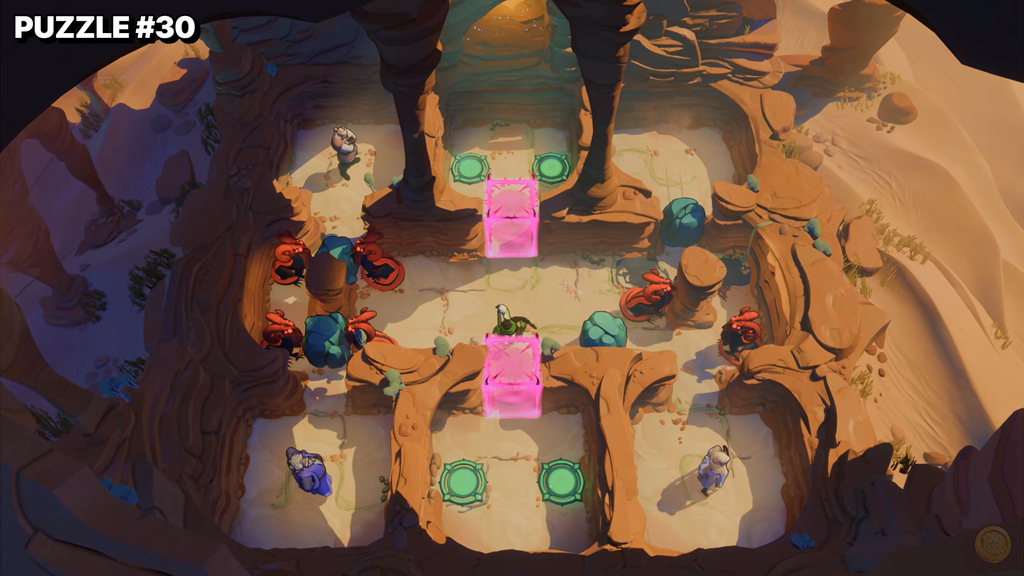
Top series

Puzzle 1

Shift the crystal left once, then raise it 2×.
Go left, down x2, left, up so you stand directly below the left monster.
Drag the left monster down 2×, right 3×, then up once to position it beside the crystal on its right.
Pull the right monster left x3, down so it sits on the crystal’s left side.
Step right, then down to draw the crystal downward and make the monsters eliminate one another. Head to the teleporter.

Puzzle 2

Push the left monster up x2 into the top-left corner.
Push the top crystal right x4.
Slide the bottom crystal beneath the right monster, then push it upward 3×.
Shove the right crystal, with the monster, 4× to the left.
Shift the other crystal left until it is beneath the melee monster, then push it up to make the two monsters eliminate one another. Head to the teleporter.

Puzzle 3

Move left, up, then press right to swap with the top crystal. Stand on the top button and press down to set the crystal on it.
Go down 3×, right 3×, then press up to exchange places with the monster. Travel left 3× and down 2× onto the bottom-left button; press right to place the monster on that button.
Move right, up, then press left to swap with the bottom crystal. Move down, right x2 and press up to place the crystal on the bottom-right button.
Step onto the square vacated by the yellow barrier. Enter left, down, right, up, left to position the monster where the barrier was.
Head left to bring back the yellow barrier; it destroys the monster and clears the pink barrier. Proceed to the teleporter.
Image credit: Arc Games, Gamirror Games via YouTube/@100% Guides

Top-left series

Puzzle 1

Reach the top-left corner, then shove the ranged monster downward to destroy the top melee monster.
Push the ranged monster down again to destroy the left melee monster, then once more so it sits left of the left crystal.
Push the right crystal to the melee monster’s right side, then push left x4.
Send the ranged monster upward, causing the monsters to destroy one another. Then head to the teleporter.

Puzzle 2

Travel upward x7 and press left to trade places with the top monster. Continue down, then press right to exchange places with the middle monster.
Descend x2, cross right x5, then press left to trade places with the left monster.
Head down, right x5, down x3, then right x3; press up to exchange places with the right monster.
Travel left, down, then right, and press down to switch places with the bottom monster.
Go left x3, up x4, right, down and press up to swap with the top monster. Then go left x3, down x4, left x2 and press up to swap with the top monster again.
Move up to the button, then press down to switch places with the monster beneath you. Walk down to the teleporter.

Puzzle 3

Send red onto the blue button to clear the way.
Have green tug the crystal left, down x2, then move her left to clear the space. Switch to red and move the crystal down x2.
With red, shove the ranged monster down and leave it three squares above the crystal. Then use green to draw the crystal upward, taking out the right-most melee monster.
Use red to drive green and the crystal down, then steer red up and left to clear the area. As green, travel left, up, across to the far right, then down, and pull the ranged monster upward.
Have green draw the crystal all the way up, then switch to red and push it onto the blue button. Take both characters to the teleporters.
Image credit: Arc Games, Gamirror Games via YouTube/@100% Guides

Top-right series

Puzzle 1

Walk straight to the teleporter. There is nothing to manipulate here.

Puzzle 2

Guide gold to the corridor’s right edge. Exchange purple into gold’s spot and put him on a teleporter; then place gold on the remaining teleporter.

Puzzle 3

Move gold left, down x3 and right.
Move red right, down x4 so he sits between the monster and gold, protected by gold. Use red to push gold all the way right.
Send gold upward and red right. With red, shove yellow upward; then move gold right.
Move red up, then push gold all the way right. Move gold down to the left teleporter and red down to the right teleporter.

Puzzle 4

Take gold right x2 and down. Then have red shove him, along with the monster beneath him, downward.
Shift red left to clear the way, then guide gold upward. Have red drive gold and the monster on his right to the right.
Have red shove the crystal and the monster underneath it downward x2.
Place red in the bottom-left corner, with gold immediately on his right. Then use red to send gold to the far right.
Put gold on the crystal’s right and red just beyond gold. Use red to shove both gold and the crystal left x2, then move red upward to clear the way.
Position gold to the left of the crystal, with red on gold’s left. Have red push gold and the crystal right, then drive the crystal downward.
Repeat the bottom-left-corner routine to bring red and gold back to the bottom-right corner, then move them onto the teleporters.

Puzzle 5

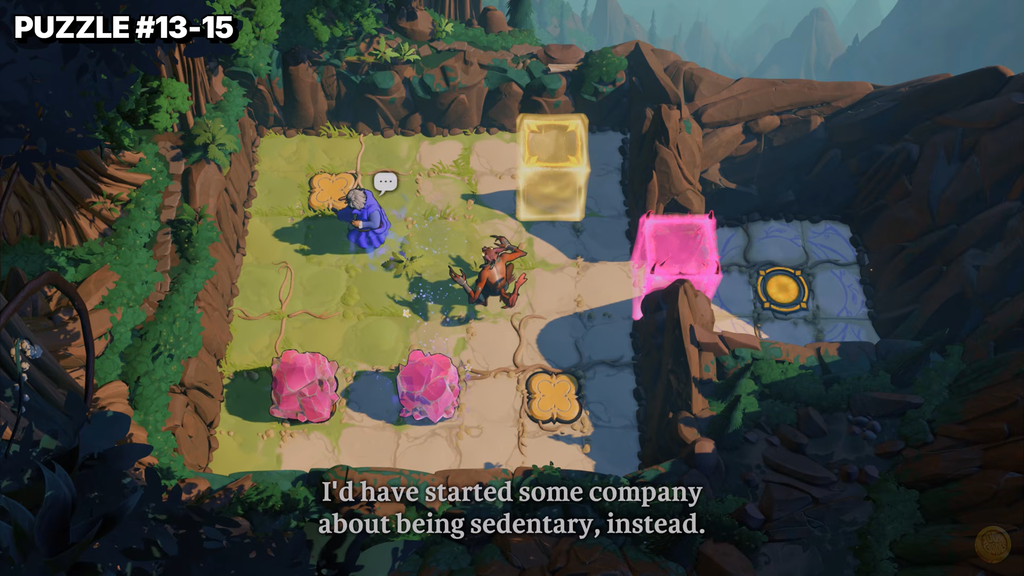
Move gold down, then use green to pull the top crystal onto the top button.
Place green left of the top crystal, then send gold down. Guide green straight down, keeping to the bottom crystal’s left, and move yellow down afterward.
With green, draw the bottom crystal onto its button. Position green on the crystal’s left, then send gold upward.
Take green to the teleporter on the left, then send gold to the one at the bottom.

Puzzle 6

Move gold upward, then position green on his right. Use green to draw gold to the far-right end.
Put green beneath gold and pull downward x5. Shift gold to green’s right, then have green drag gold all the way left.
Move green and gold downward, then draw them fully left. Send gold upward and left; take green right, then up x2.
Send gold right, then have green pull to the top. Head to the teleporters.
Image credit: Arc Games, Gamirror Games via YouTube/@100% Guides

Bottom-right series

Puzzle 1

Take control of purple and enter this sequence to make the monsters destroy each other: left x3, up x2, left, down, right x2, up, left, down, right x2, up, right, down, left, up, right, down x2, left, up, left, up, left, down x2, right x2, down, left, up, left, up, right, down, left, up, right x2, down x3, left x2, up, right.
With purple, continue: up, left, down, right x2, up x2, left, down, right, up.
Take control of gold and move him right to the top teleporter.
Take control of purple and press down then right to reach the bottom teleporter.

Puzzle 2

Move gold up x2. Move purple up, right x3 and press up to swap positions with gold.
Press left to swap with the top-left monster, making the top monsters destroy each other.
Move gold down x3. Move purple right x2, down x3, right, then press down to swap with gold.
Press left to swap with the bottom-left monster, making the bottom monsters destroy each other. Move gold and purple to the teleporters.

Puzzle 3

Move gold up x2. Take control of purple and press right x2 to put the monster in the top-middle.
Move gold down, right x4. With purple, press down x2 to bring the bottom-right monster up.
Move gold left, down x4, left. With purple, press left x2 to put the monster in the bottom-middle.
Move gold up x2, left x2. Move purple up x2 and press right to swap with gold, then press down to swap with the bottom monster.
Move gold up, right. Move purple left and press up to swap with gold. Move gold right x2, up x3, left.
With purple, press right x2 to make the monsters destroy each other, then go to the teleporters.
Image credit: Arc Games, Gamirror Games via YouTube/@100% Guides

Far-right single

Move purple left. Move gold left, down. Take control of purple and press up, right to make two monsters destroy each other.
Move green and purple all the way left. Move gold below the top-right monster. Use green to pull purple all the way right, then with purple press right x2 to sit below the top-right monster and press down to destroy the pair.
Use the alcove in the top-left corner to reshuffle the characters so green reaches the crystal, then drag the crystal all the way right.
Move green all the way up. Move purple into the bottom-right corner and press left to swap with the crystal. Use green to pull the crystal all the way up.
Move purple right and press up to swap with the crystal. Move purple all the way left and use green to pull the crystal all the way up.
With purple, press right to swap with the crystal, then press up to swap with green. Move green all the way down and left x3, and move purple all the way back up.
Put gold directly right of green and use green to pull gold over to the teleporters. Move purple all the way down and press left to swap with gold.
Move gold into the teleporter area and place all three characters on the three teleporters.
Image credit: Arc Games, Gamirror Games via YouTube/@100% Guides

Top-right double

Before the two puzzles here open up, block the ranged monster in the overworld with the red crystal so you can walk through to the top-right area.

Puzzle 1

Move purple up, right x2, up, then press down to put the crystal on the middle button.
Put gold on the left button and purple on the right button, then move green right x2. Move purple down to the middle teleporter and press up to swap with the crystal.
Move gold down x2, right x2. Take control of purple and press down to swap with gold.
Move purple right x2, down, then press left to swap with the crystal. Move purple left, up x2, right x3, up, then press down to put the crystal on the right button.
Move purple to the left button, then move green right x2. Move purple down to the bottom-right teleporter and press up to swap with the crystal.
Move gold on top of the crystal. Take control of purple and press down to swap with gold. Move purple to the bottom-left teleporter and press right to swap with the crystal.
Move purple right, up, left x5, up x2 and press down to put the crystal on the left button. Move purple to the middle button, then send green to a teleporter and the others to the remaining teleporters.
Image credit: Arc Games, Gamirror Games via YouTube/@100% Guides

Puzzle 2

Move green down and pull the rock all the way up, making the top two monsters destroy each other.
Move green right, down x2, left, down x2 so she stands above the stone pillar below her alcove. Move green left, down above a monster, then up to pull it up.
Move green left, down x2, right to the left of a rock and monster. Move green left x2 to pull the rock, then up, right to get above the rock and pull up so the right monster destroys the left one.
Move green right x3, down above the right monster, then up to pull it up, freeing gold. Move green left x7, down, left under a monster, then pull it down.
Move green right x3 to pull a rock, then up x2 out of the way. Move gold x3, left x4, up, left x2, down, left so he sits between the moved rock and a monster on the left.
Move purple up x3 to the left of gold, then press left, up to warp a monster down and destroy another. With purple, press right to swap with the rock on your right, then move green down and purple right x5, down x2 to clear red’s exit.
Move gold right so he is no longer beneath a monster, then use red to push that monster down, destroying two monsters. Push the other two monsters down so they destroy each other. Move all four characters onto the teleporters.

With all 30 puzzles cleared, the opening in the top-right corner of the screen becomes passable, and you can head through it to reach Heroes 3: Bard, Druid.