

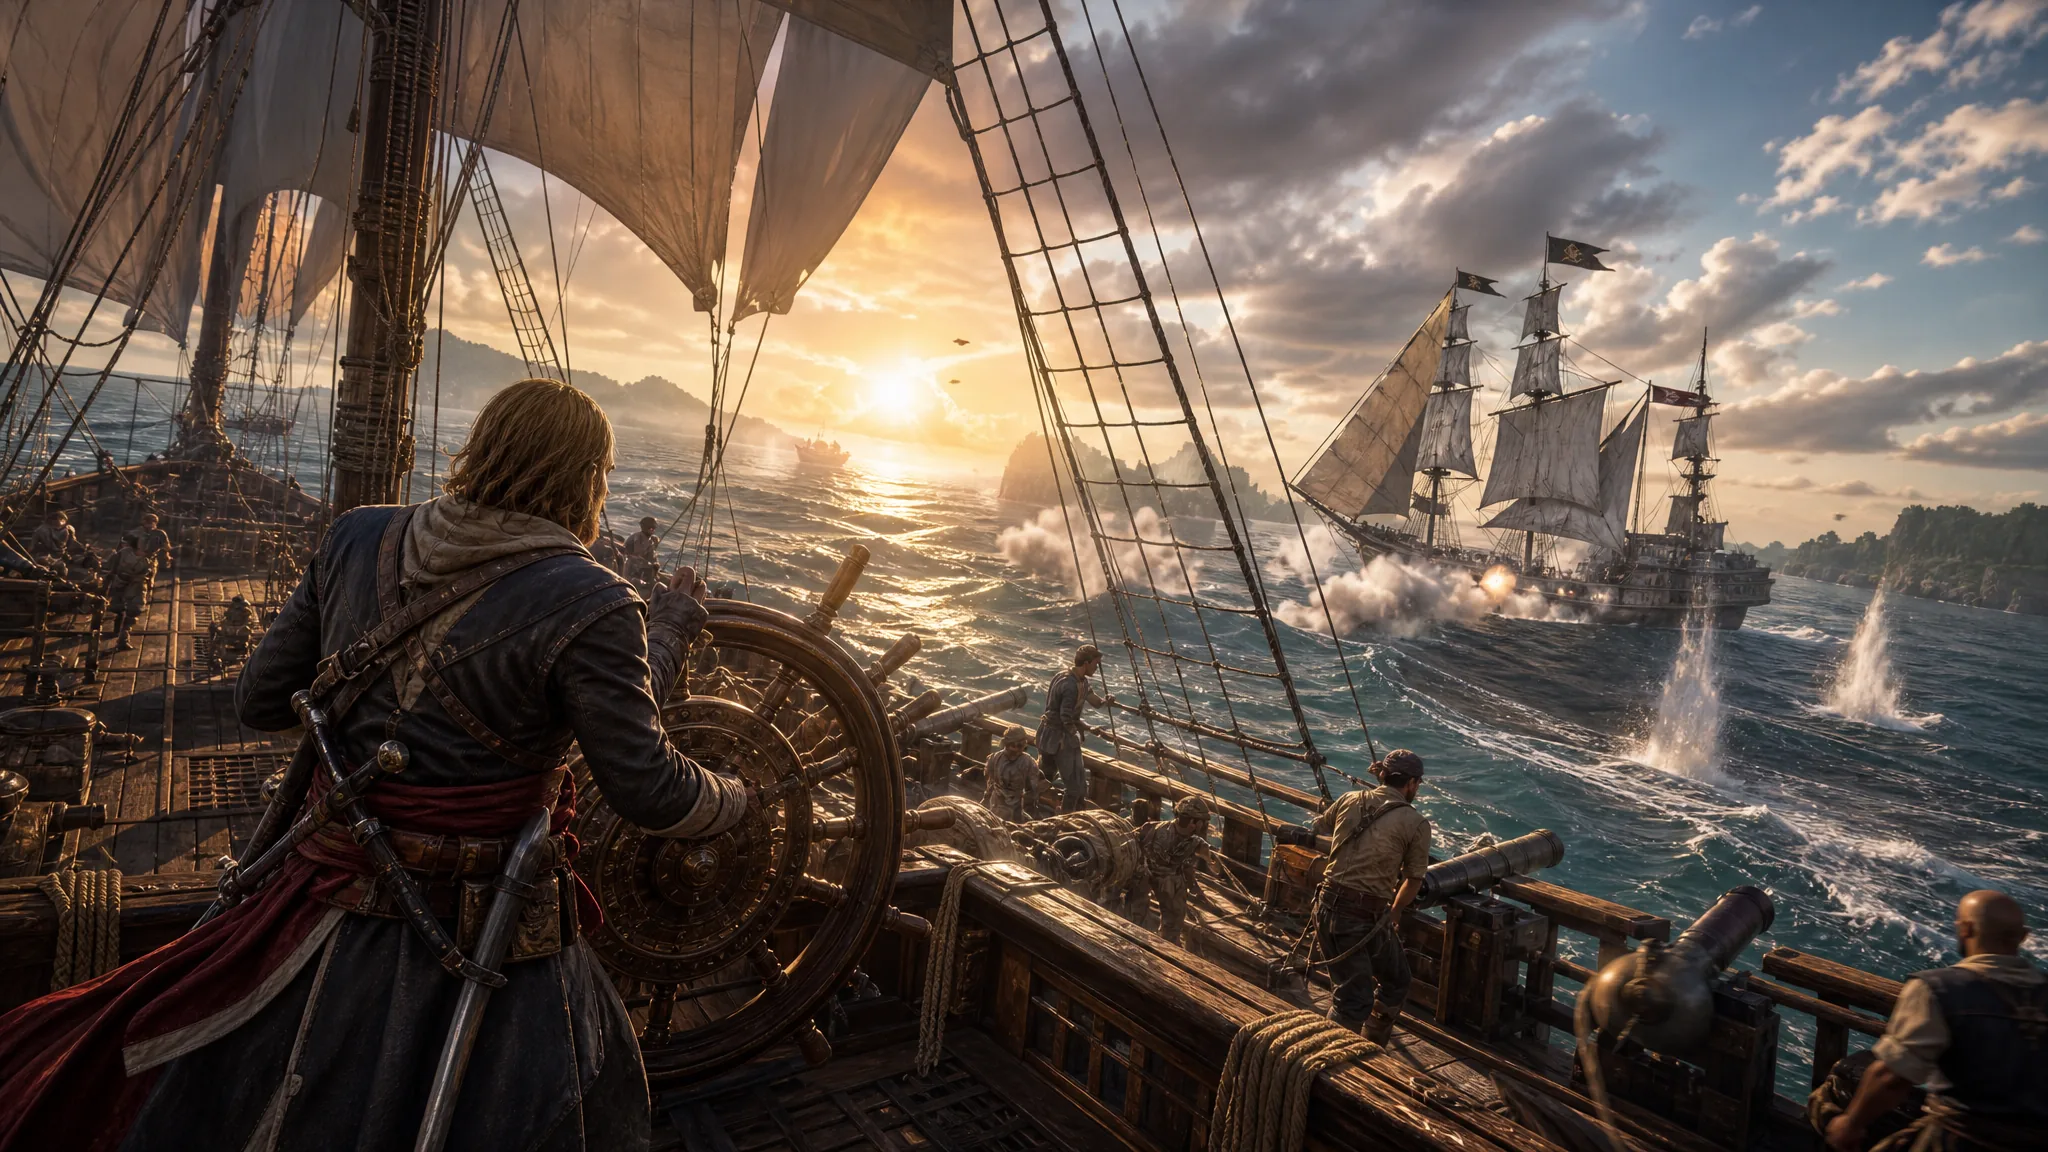
Sea battles are a constant in Assassin’s Creed Black Flag Resynced, and the Jackdaw lives or dies by how well you juggle steering, cannon fire, and the weather at the same time. Once you understand what each part of the ship does, fights stop being chaotic and start rewarding you with resources, repairs, and passive income.
Quick answer: Steer with the left stick, aim the camera with the right stick, and fire with R2. The side of the ship you aim from decides which weapon fires, and boarding an enemy vessel always gives more resources than sinking it.
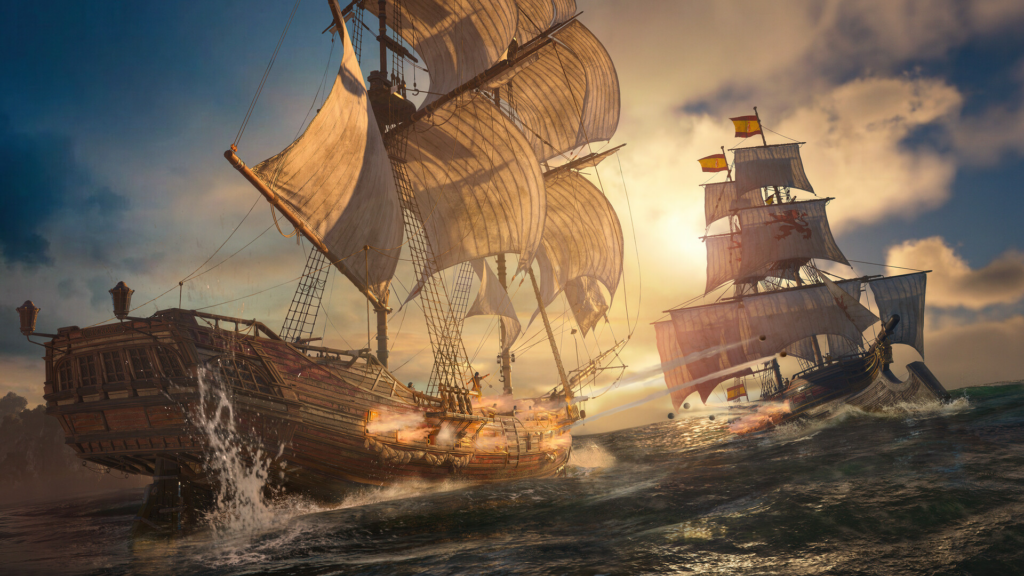
Steering, sails, and firing cannons
Speed is controlled by two sail settings. Half-sail keeps the Jackdaw slow and precise, which is what you want when docking or pulling away from a harbor. Full-sail is for open-water travel and for circling hostile ships during a fight.
Once combat starts, you can’t leave the wheel or fast-travel out of it. You either commit to the fight or sail away. While fighting, you steer with the left stick, pan the camera around the ship with the right stick, and press R2 to fire on a target. Which direction you’re aiming from determines the weapon your crew uses.
| Firing direction | Weapon and effect |
|---|---|
| Forward | Long-range Chain Shot for hitting ships or forts from a distance. Good for opening a fight, but low initial damage. |
| Backward | Two Fire Barrels dropped behind you. They can explode on a chasing ship, or you can detonate them with R1 under a pursuer. |
| Sides | Broadside Cannons fire multiple explosives at once. Your main damage source, especially after you unlock fiery ammunition. |
| Weak points | Firing exposes red weak points. Hit them with the Swivel Gun using R1 to trigger explosions that quickly drop enemy HP. |
You can also ram a ship head-on. Line up your approach and press L1 + R1 to dash into it for damage, but watch your own hull condition before you do. Prioritize upgrading the Broadside Cannons, since the sides carry most of your firepower, and don’t ignore weak points when they appear.
When a weapon has a secondary firing mode, such as the fiery broadside cannons unlocked early in the main story, press Triangle on PlayStation or Y on Xbox to switch between modes.
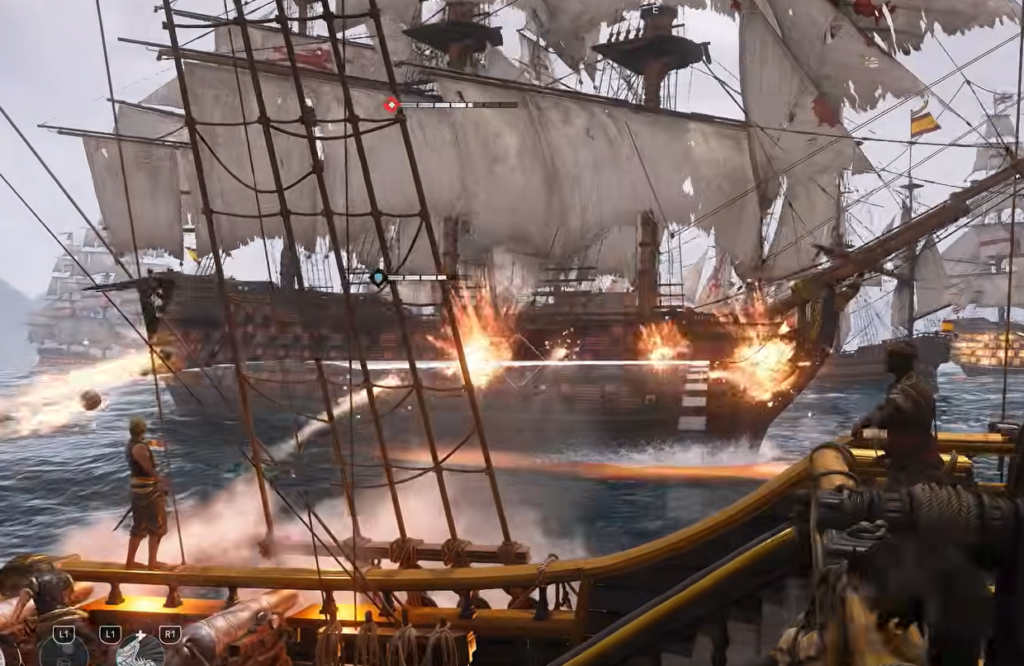
Bracing for damage and surviving storms
Defense comes down to timing. Press Square on PlayStation or X on Xbox to have your crew brace and take cover from incoming fire. Watch for enemy projectiles and brace before they land, because reducing damage keeps you in the fight longer.
The weather is often more dangerous than any enemy ship. Storms darken the environment, making it hard to spot ships or terrain, and travel sails are disabled while it’s stormy. Tornadoes can destroy the Jackdaw outright, so avoid their path completely. When rogue waves roll in, face them head-on to take the least damage. Fighting during a storm means battling ships and the weather at once, which is best avoided when you can, though the Caribbean doesn’t always give you that choice.
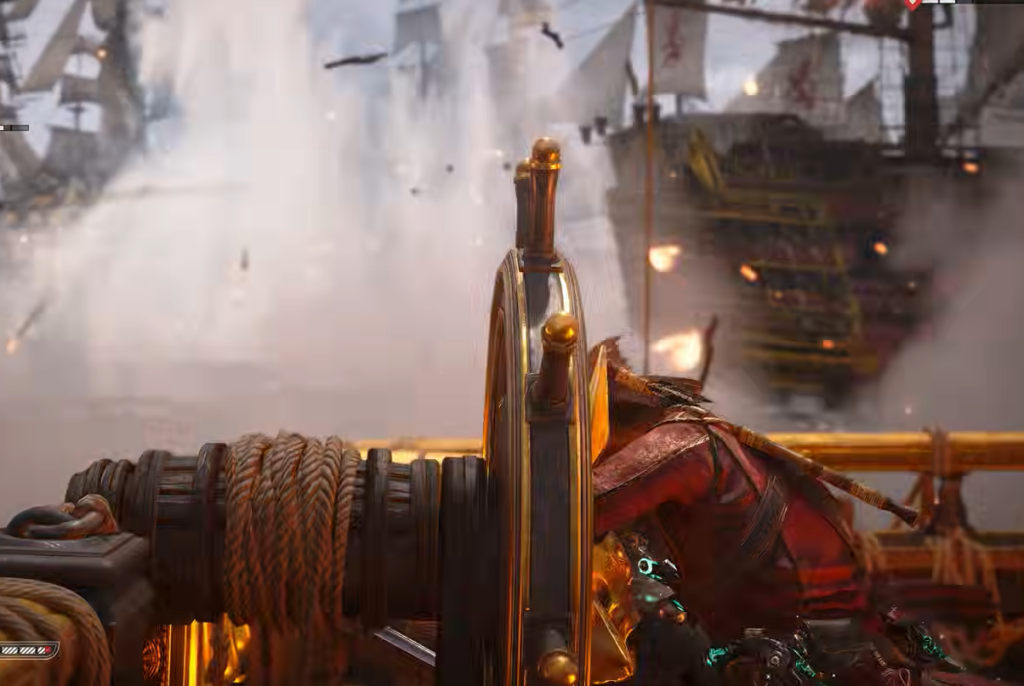
Board or sink: which pays more
Before you attack, use the Spyglass to mark a ship and see the resources it carries. Boarding a marked ship gives you everything on board, while sinking it hands over only a portion of those resources. That difference makes boarding the more rewarding option almost every time, even if you have to clear the enemy crew first.
Successfully boarding also lets you claim the ship, and you’re given three choices for what to do with it.
| Option | Result |
|---|---|
| Repair the Jackdaw | Uses the captured ship’s materials to fix your own, so you skip paying a Harbourmaster. |
| Lower Wanted Level | Reduces your Wanted Level so you can keep sailing without heavy pursuit. |
| Send ship to Kenway’s Fleet | Adds the vessel to Kenway’s Fleet for passive income. |
Not every ship is worth the extra effort. Smaller vessels, especially ones traveling as part of a fleet, are often fine to sink so you can focus on boarding the bigger, more profitable targets.
Sea Shanties between fights
Between battles, your crew can sing Sea Shanties. They don’t affect combat, but they raise morale while you sail. Press up on the D-Pad to start a shanty, press right to cycle through the ones you know, and hold right to stop. New Sea Shanties are scattered across the map as collectibles if you want to expand the crew’s repertoire.
Get comfortable with the firing directions and the brace timing first, then let boarding drive your loot runs. Once those habits are second nature, the storms become the only thing left to respect out on the open water.





