There are multiple ways to add a border in Google Docs. You can use a Table, Draw a border, or even use an image frames around the document.
There are multiple ways to add a border in Google Docs. You can use a Table, Draw a border, or even use an image frames around the document.
by Kazim Ali Alvi
While Google Docs doesn’t include a built-in feature for adding borders, incorporating borders can enhance the professional look and organization of your documents. There are several effective methods to add borders, such as inserting a table, using the drawing tool, or adding an image as a border.
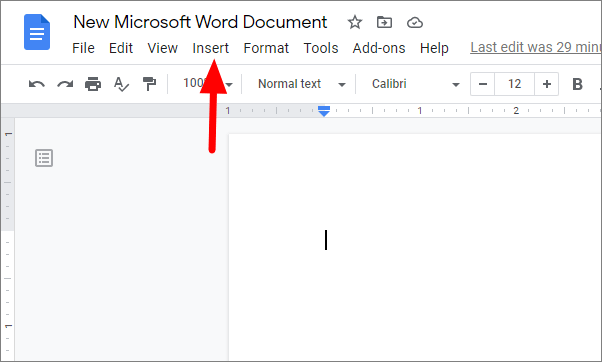
Insert a Table to Create a Border
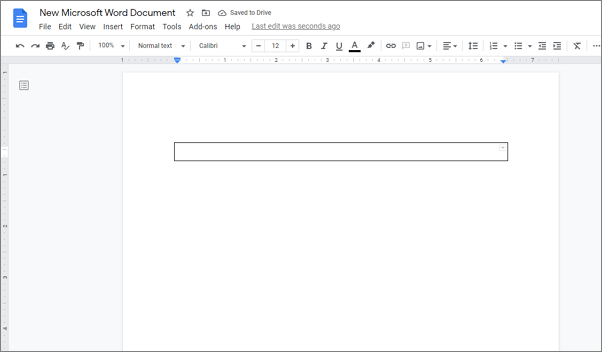
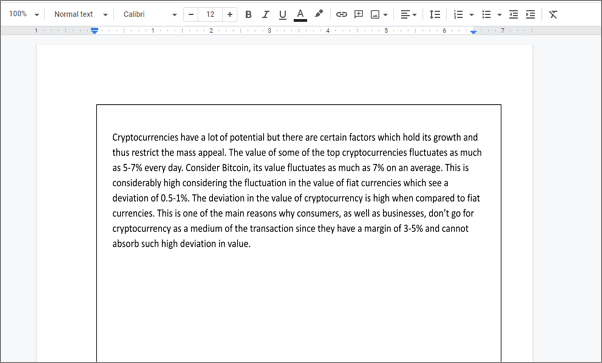
Using a single-cell table is one of the easiest ways to add a border in Google Docs. This method allows for straightforward editing of the text within the bordered area.
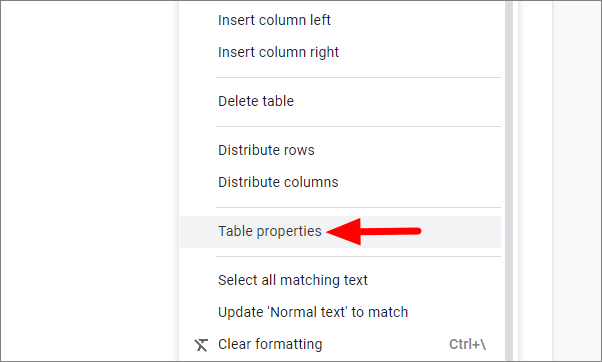
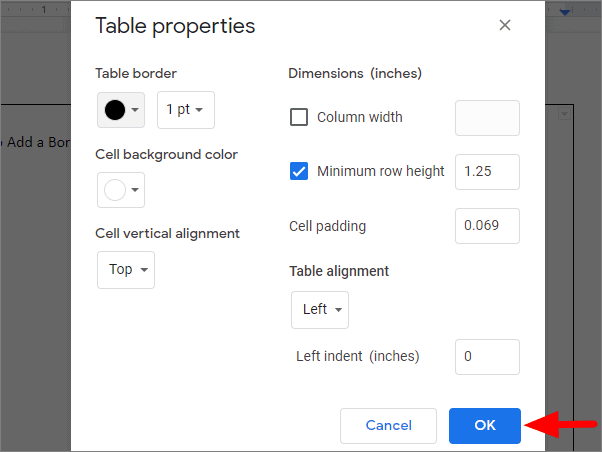
In the Table properties sidebar, you can adjust the border color, thickness, and background color to suit your preferences. After making changes, click OK to apply them.
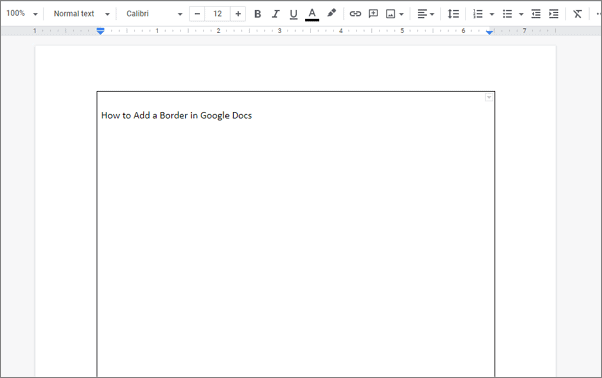
This method is advantageous because it allows for easy editing of text within the bordered area, saving time and effort.
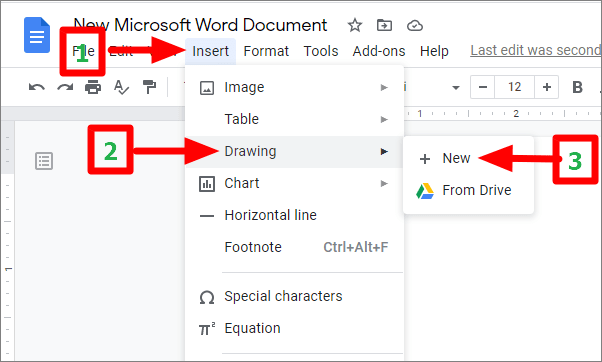
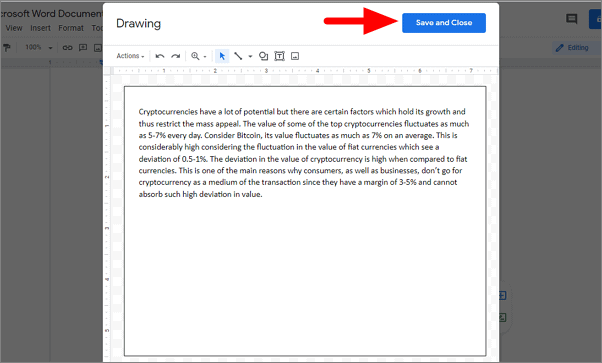
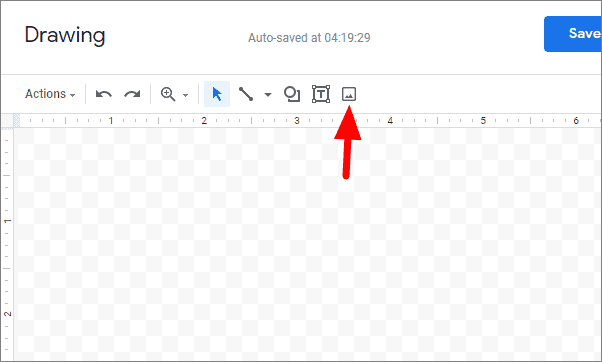
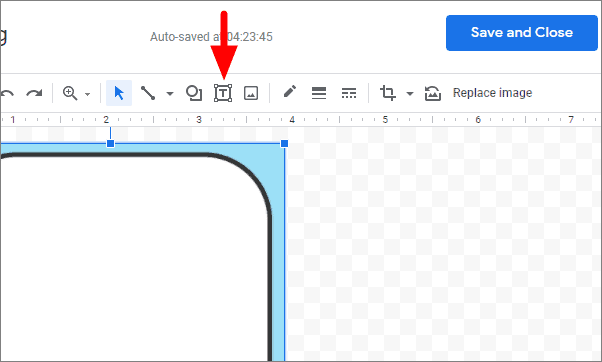
Use the Drawing Tool to Add a Border
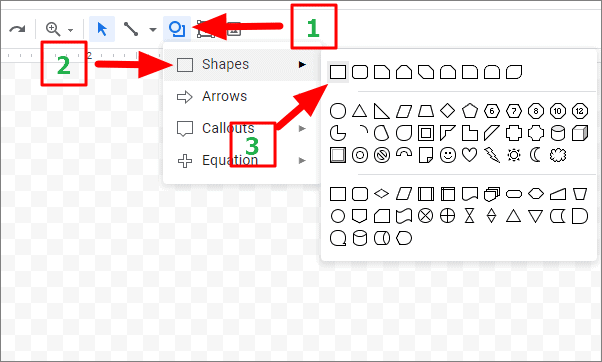
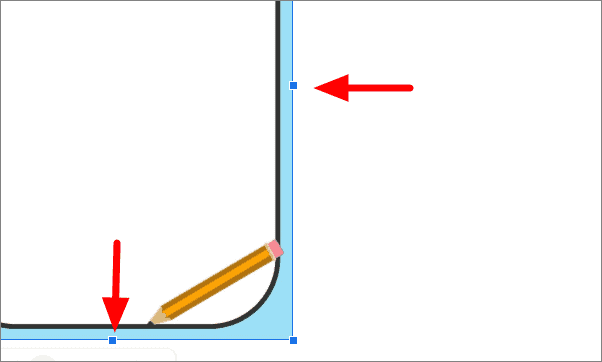
The drawing tool in Google Docs provides another way to add a border. This method lets you create borders of various shapes but requires more steps when editing text.
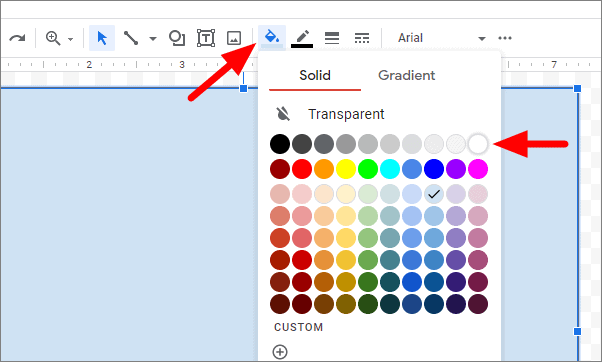
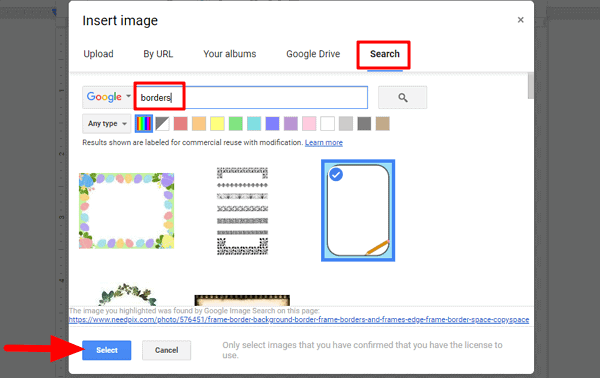
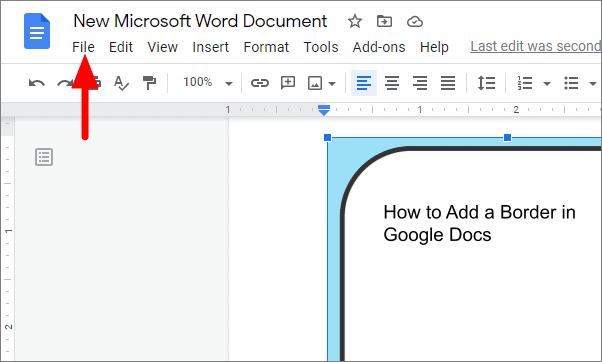
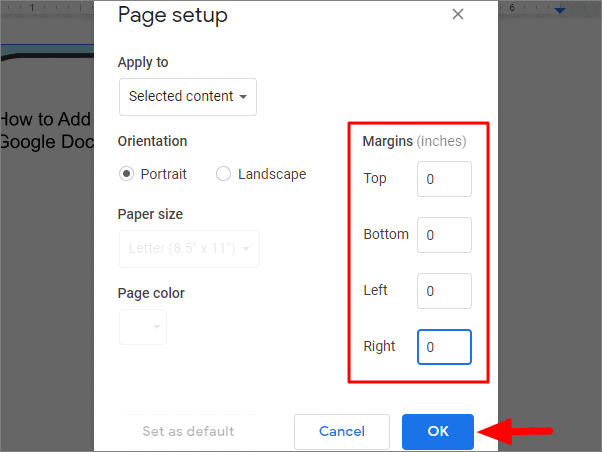
Resize the image by clicking and dragging the corners so it fits the entire page without any margins.
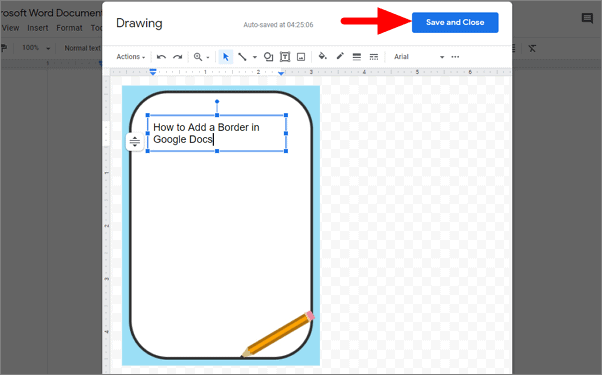
This method lets you add decorative borders to your document, enhancing its visual appeal. You can choose different border styles by selecting various images.
Adding borders in Google Docs can make your documents look more organized and professional. Whether you use a table, drawing, or image, these methods provide effective ways to include borders in your documents.