
Newspaper layouts depend on columns to present articles and images in a structured, readable format. Google Docs includes built-in features and templates for arranging text in columns, making it possible to mimic professional newspaper designs for school assignments, community newsletters, or business reports. Setting up columns in Google Docs streamlines the reading experience and gives your document a polished, publication-ready appearance.
Using Google Docs’ Built-In Columns Feature
Step 1: Open your document in Google Docs and highlight the text you want to format into columns. If you want the entire document in columns, press Ctrl+A (or Cmd+A on Mac) to select all text.

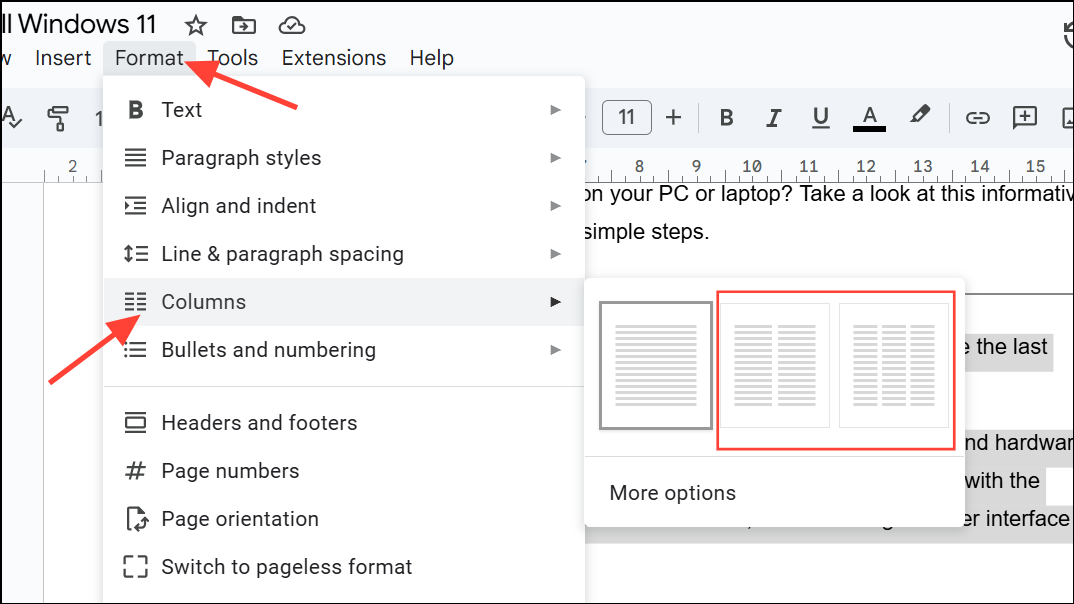
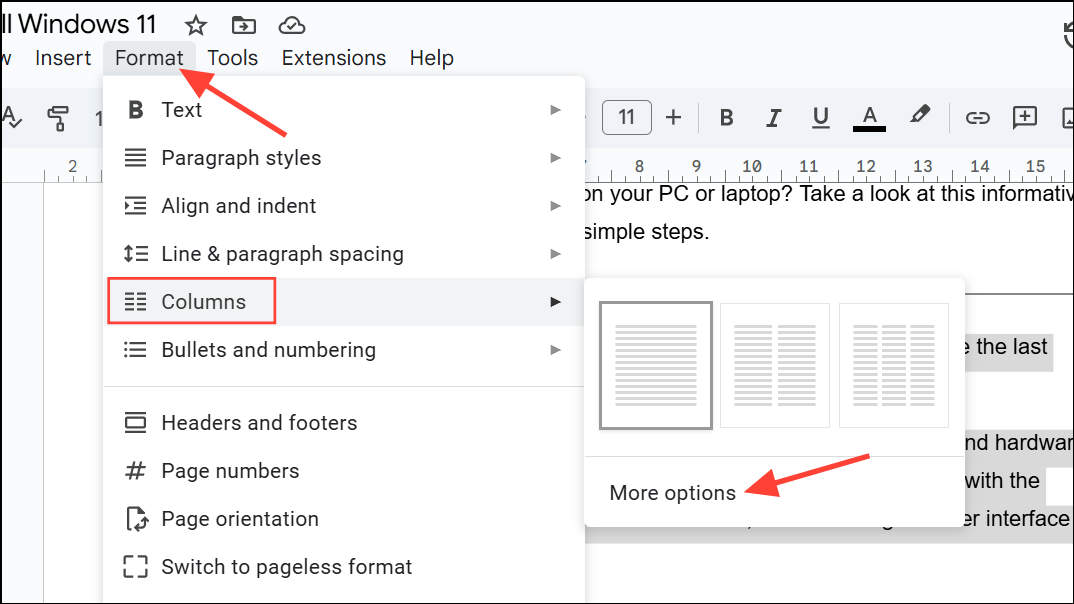
Step 2: Click on the Format menu at the top of the screen. Hover over the Columns option. You’ll see icons for one, two, or three columns. Select the desired column layout (typically two or three columns for a newspaper effect).
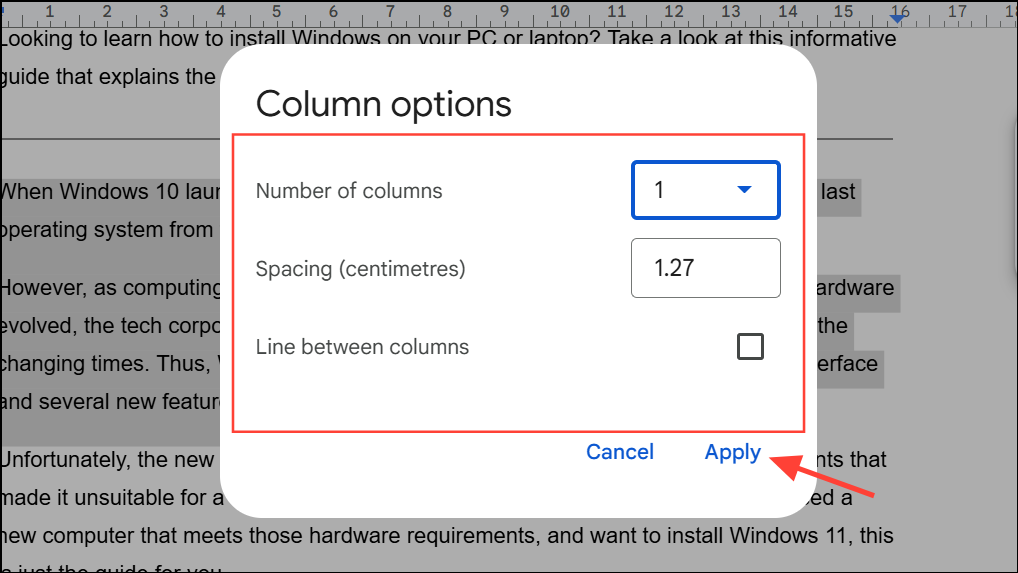
Step 3: For more control over the layout, click More options at the bottom of the Columns submenu. Here, you can adjust the number of columns, spacing (the gap between columns), and whether to add a vertical line between columns. After setting your preferences, click Apply to update the document.
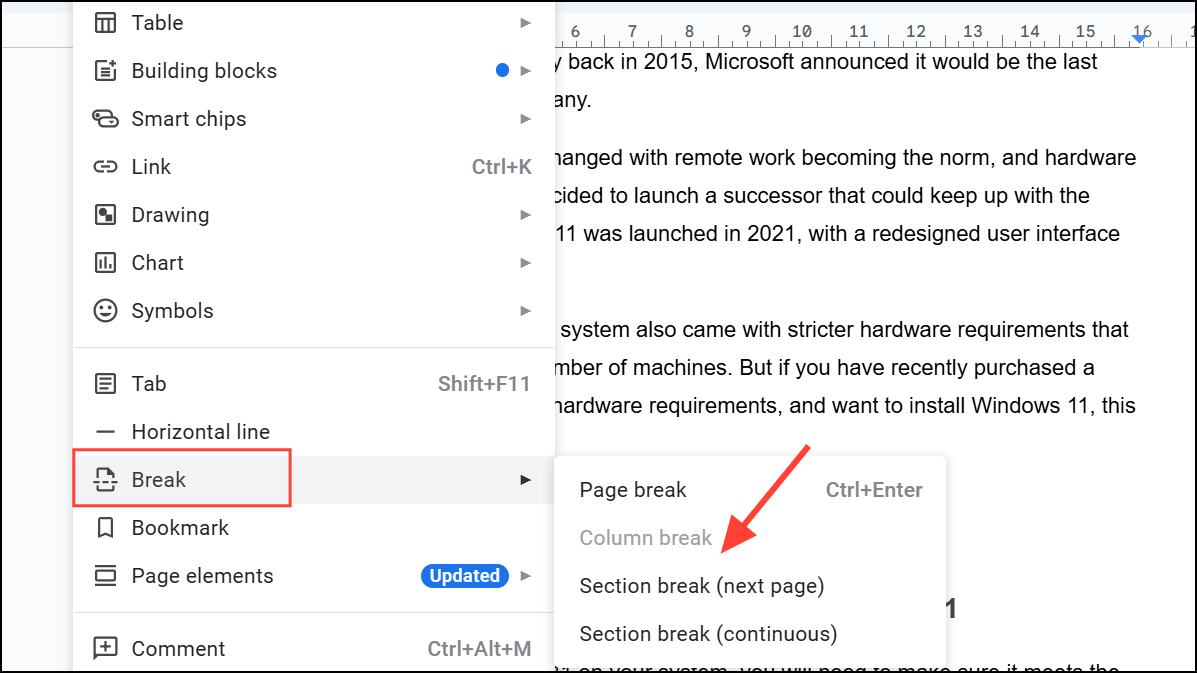
Step 4: To apply columns to just a section of your document, insert section breaks before and after the text you want in columns. Go to Insert > Break > Section break (next page) or Section break (continuous) as needed. Then format only that section into columns.
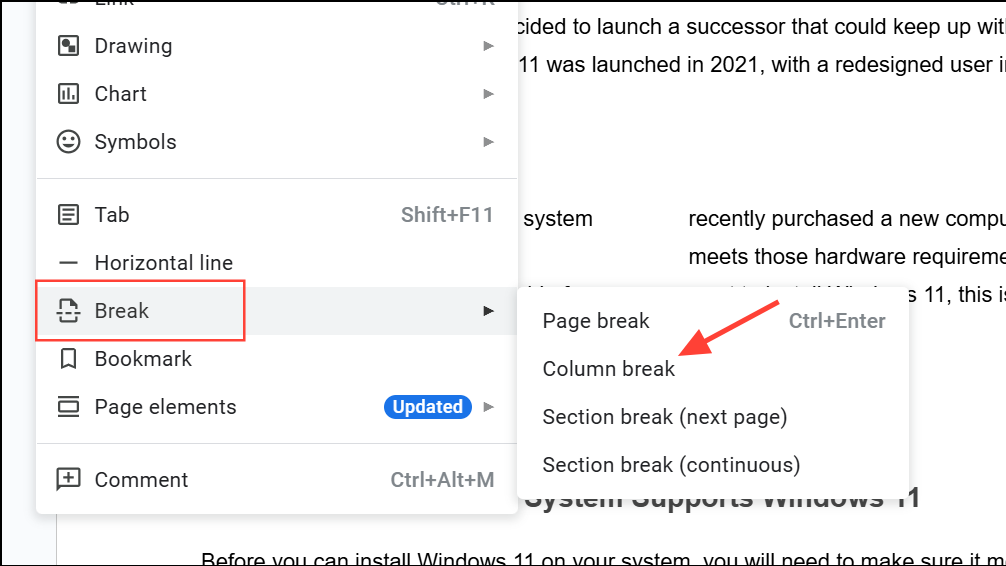
Step 5: To start text at the top of a new column, place your cursor where you want the break, then go to Insert > Break > Column break. This forces the next text to begin in the next column, similar to how articles continue on a new column in printed newspapers.
Customizing and Refining Column Layouts
After applying columns, you can further organize your document for a true newspaper look:
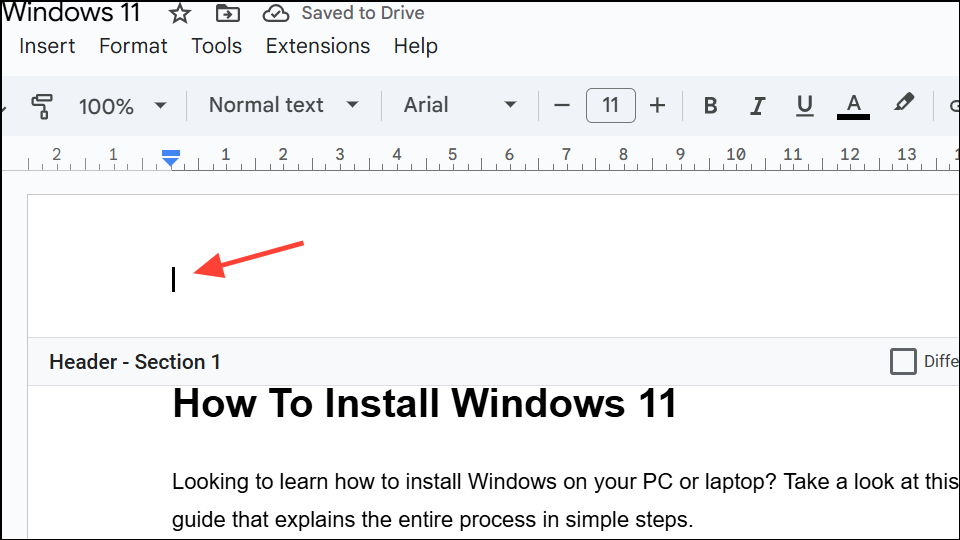
- Headers and Titles: Double-click at the top of the page to add a header. Use bold, large fonts for your newspaper name or edition title.
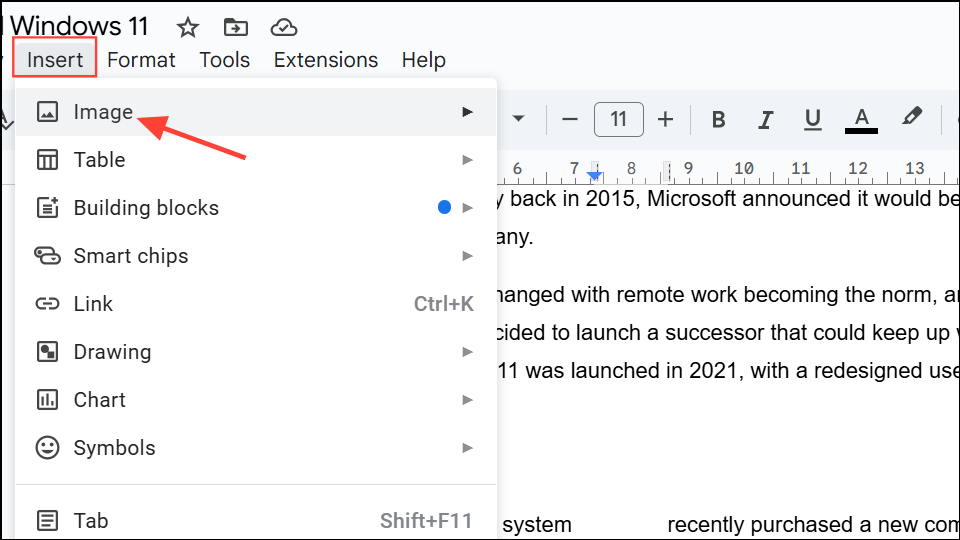
- Images: To insert images, go to Insert > Image and choose your source. Drag and resize images as needed. Images placed between columns will automatically adjust to the column width.
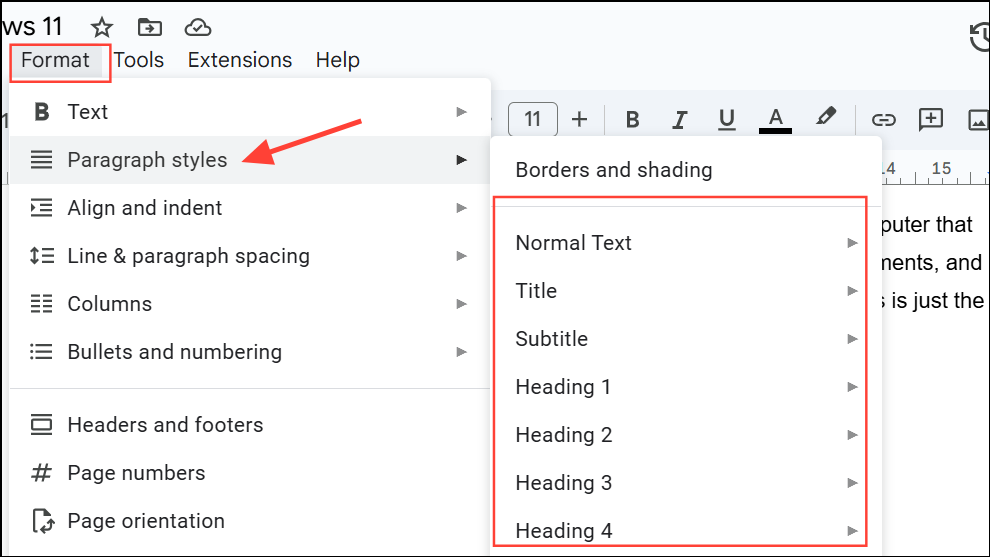
- Section Headings: Use Format > Paragraph styles to apply consistent heading sizes for article titles and section breaks.
- Spacing Adjustments: For fine-tuning, return to Format > Columns > More options to change spacing or add lines between columns for a more traditional print effect.
These adjustments help your document closely replicate the organization and flow of a real newspaper, improving readability and visual appeal.
Alternative Method: Using Tables for Column Control
For specialized layouts or when you need columns with different widths, inserting a table can provide more granular control than the standard columns feature. This is especially useful if you want to ensure consistent appearance across devices, including tablets and mobile.
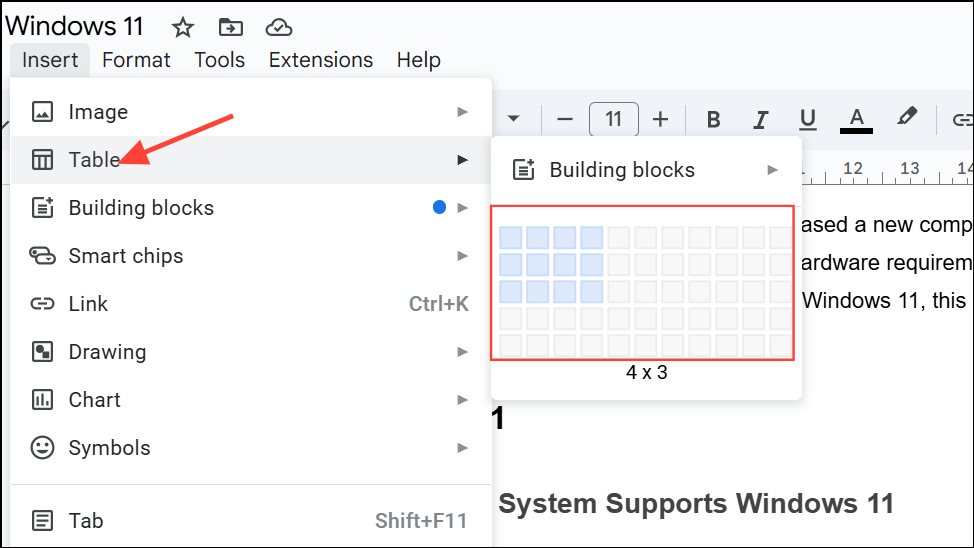
Step 1: Go to Insert > Table and choose the number of columns (typically two or three) and one row.
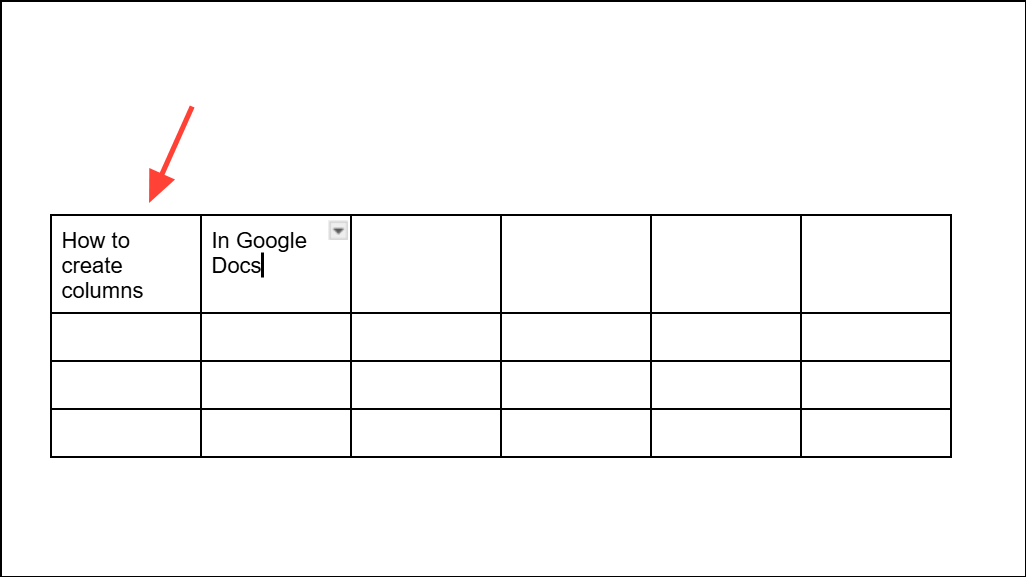
Step 2: Enter your text or images into each cell. You can adjust the width of each column by dragging the cell borders, allowing for custom column sizes not available in the standard columns tool.
Step 3: To remove visible table borders, right-click inside the table, select Table properties, then set the border color to white or the border width to zero.
This table-based approach is ideal for documents that need precise column alignment, such as side-by-side comparisons or layouts where column content should not flow automatically from one column to the next.
Using Newspaper Templates for Quick Results
Ready-made newspaper templates for Google Docs are available online and can save significant setup time. These templates come with preset columns, headers, and placeholders for articles and images. To use a template:
- Download a free newspaper template in Google Docs format from reputable template sites.
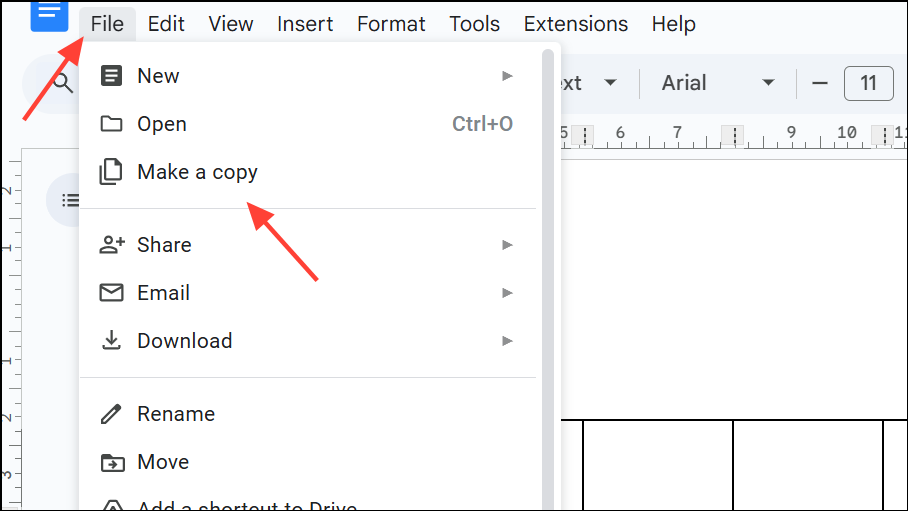
- Open the template in your Google Drive and select File > Make a copy to edit your own version.
- Replace sample text and images with your content. Templates often include stylized fonts, section titles, and preconfigured column spacing for an authentic newspaper appearance.
This approach is ideal for users who want a professional look without building a layout from scratch or for projects with tight deadlines.
Tips for Mobile and Multi-Device Compatibility
Column formatting in Google Docs is most reliable on desktop browsers. On mobile devices, columns may display as a single block of text or with limited formatting due to screen size constraints. For best results, finalize your layout on a desktop and preview your document on different devices before sharing or printing.
If you need consistent side-by-side formatting across all devices, using a table (with hidden borders) instead of the built-in columns feature may provide more predictable results.
Arranging content into columns in Google Docs improves document organization and gives your work a polished, newspaper-like structure. Whether you use the built-in columns feature, a table, or a template, these methods help you quickly create readable, professional layouts for any project.