
Quick Settings are tiles in the Action Center that let you quickly access and control various settings and tasks on Windows 11. Making changes via the Action Center helps save a lot of time, that would have otherwise been spent navigating through the system settings.
The Action Center has been completely redesigned on Windows 11. Earlier you could access both the Notifications and the Action Center at once from the System Tray, but they are placed separately in Windows 11. The Wi-Fi, Sound, and Battery icons together form the Action Center icon.
The Action Center panel offers enhanced accessibility on Windows 11. For instance, you can switch Wi-Fi networks from the Quick Settings without having to navigate to the Wi-Fi settings. Microsoft has worked on the animations as well and made considerable improvements.
Now, let’s see what all actions can be performed and the various customizations available.
Adding or Removing Quick Settings
Are all the Quick Settings listed in the Action Center relevant to you? Do you find a particular toggle missing? Here’s how you can add or remove quick settings in Windows 11.
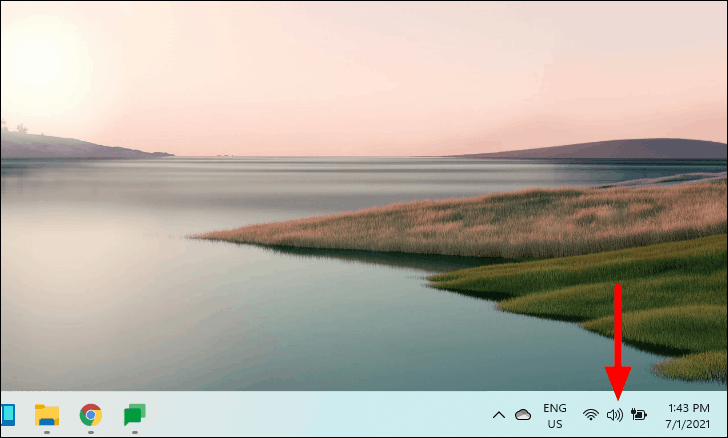
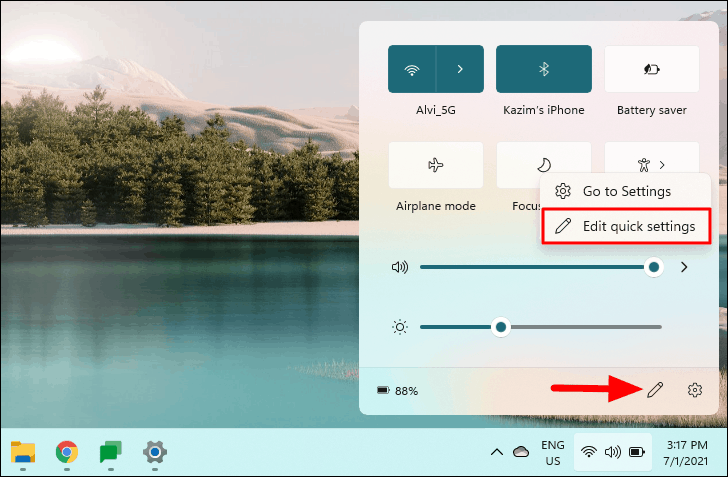
To add or remove a Quick Setting, you first need to launch the Action Center. Either click on the ‘Action Center’ icon on the Taskbar or press WINDOWS + A to launch it.
To add a quick setting, click on the ‘Edit quick settings’ icon at the bottom or right-click on any of them, and select ‘Edit quick settings’.

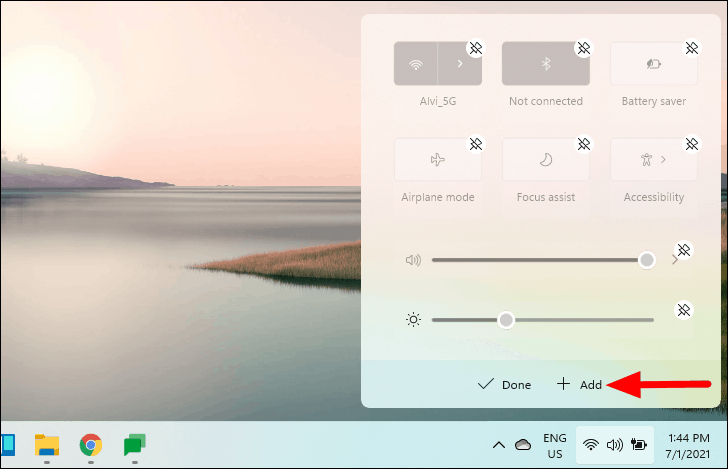
Next, click on the ‘Add’ option at the bottom.
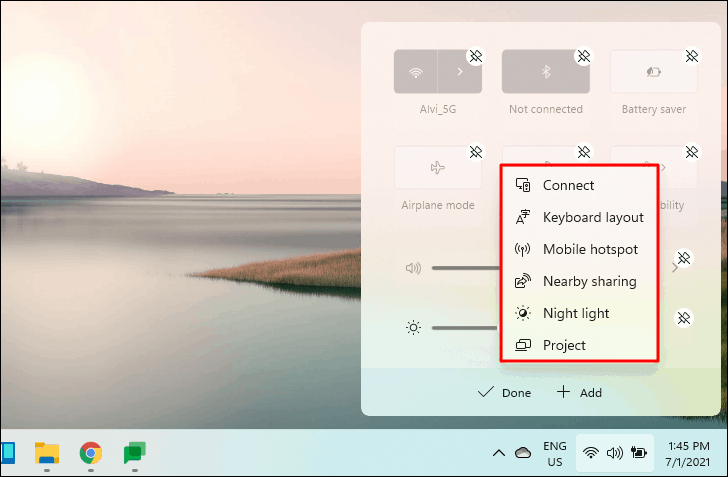
A list of all available Quick Settings will appear. Select the one that you want to add to the Action Center. The ones that you select will instantly appear in the Action Center.
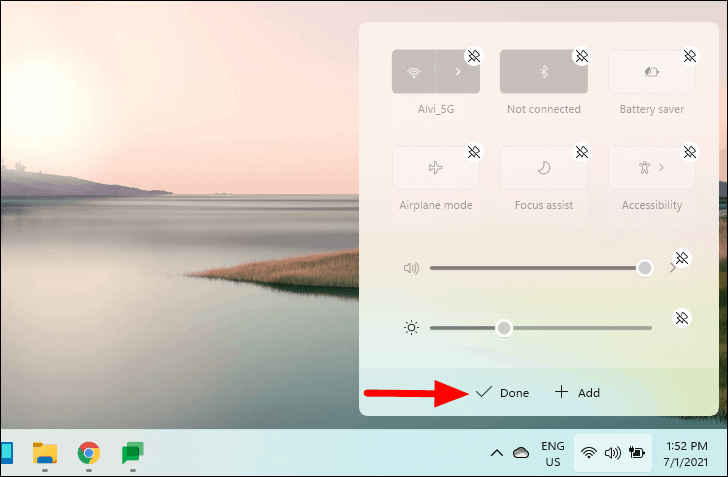
After you have added the required Quick setting, click on ‘Done’ at the bottom to save the changes.
That’s how you add a Quick Setting to the Action Center. But, how about removing them?
To remove a quick setting, again right-click on any of the tiles, and then select ‘Edit quick settings’ from the menu or simply click on the ‘Edit quick settings’ icon at the bottom.
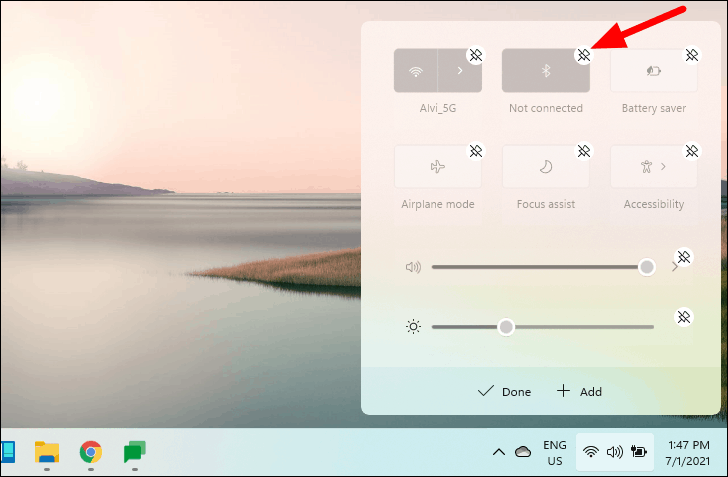
Next, click on the ‘Unpin’ icon at the top-right corner of any quick setting to remove it.
After you have removed the required quick setting, click on ‘Done’ at the bottom.
Any Quick Settings you have removed can be added back anytime by clicking on the ‘Add’ option and then selecting them from the list.
Rearrange Quick Settings
To rearrange the Quick Settings, click on the ‘Edit quick settings’ icon at the bottom of the panel, or right-click on any of the tiles and select ‘Edit quick settings’ from the context menu.

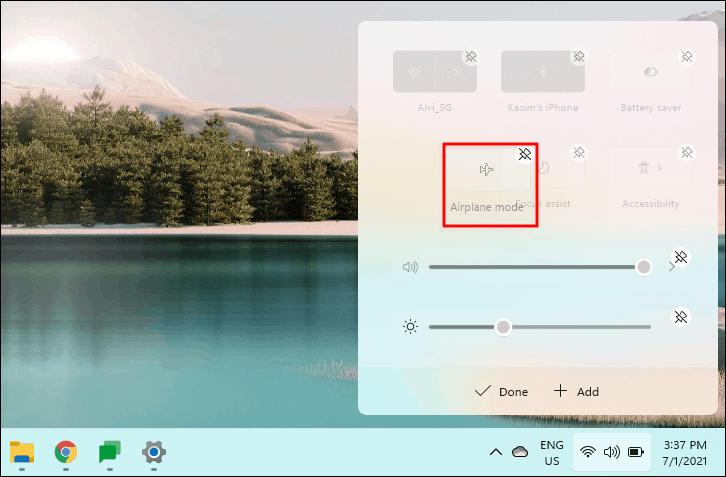
Now, drag and drop the required quick setting at the desired position. It will simply swap places with the other quick setting, the one positioned where you dropped it.
Once you are done rearranging, click on ‘Done’ at the bottom.
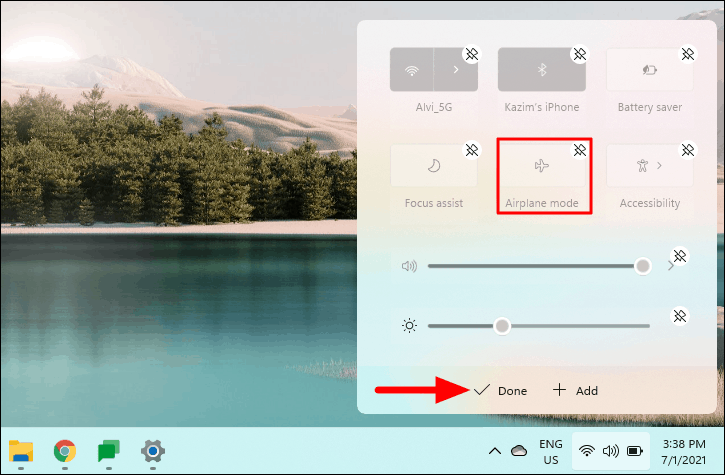
Now, you have the Quick Settings rearranged in the desired order.
Troubleshooting Action Center Issues
Many a time, the Action Center becomes inaccessible. Sometimes, the Action Center wouldn’t respond when you try to launch it. If you encounter this or any other issue, the Quick Settings wouldn’t be accessible.
Listed below are some of the most effective fixes for issues pertaining to Action Center. Execute them in the sequence that they are mentioned for a quick resolution.
1. Restart the Computer
When you first encounter an error in accessing the Action Center, you must first reboot the computer. When you reboot the system, the OS reloads which might fix the trivial issues that could be preventing the Action Center from loading.
After the system restarts, check if you are able to access the Action Center. In case the error persists, move to the next fix.
2. Restart Windows Explorer
The Action Center present in the Taskbar which itself is part of the Windows/File Explorer. Restarting the Windows Explorer will relaunch the Taskbar, and might fix the error. This fix has worked for a lot of users.
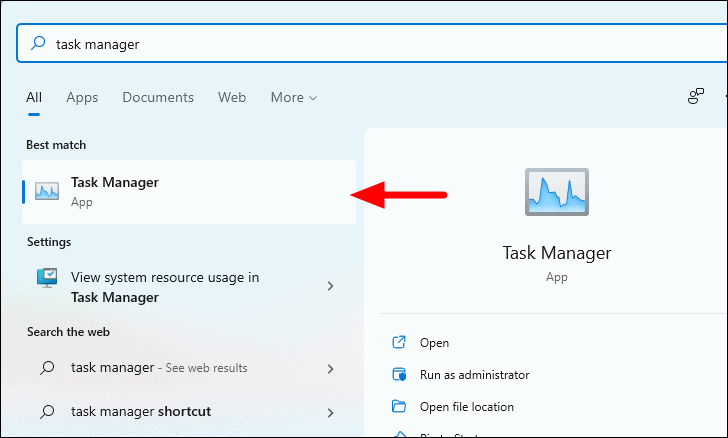
To restart Windows Explorer, press the WINDOWS key to launch the ‘Start Menu’, search for ‘Task Manager’, and then click on the relevant search result to launch the app.
Next, locate the ‘Windows Explorer’ option in the ‘Processes’ tab, right-click on it, and select ‘End task’ from the context menu.
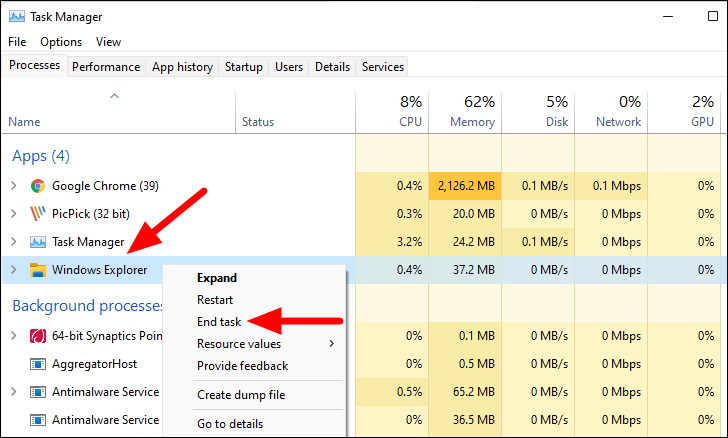
After the ‘Windows Explorer’ process stops, you might notice the Taskbar disappear along with a few other changes. It’s all a part of the process.
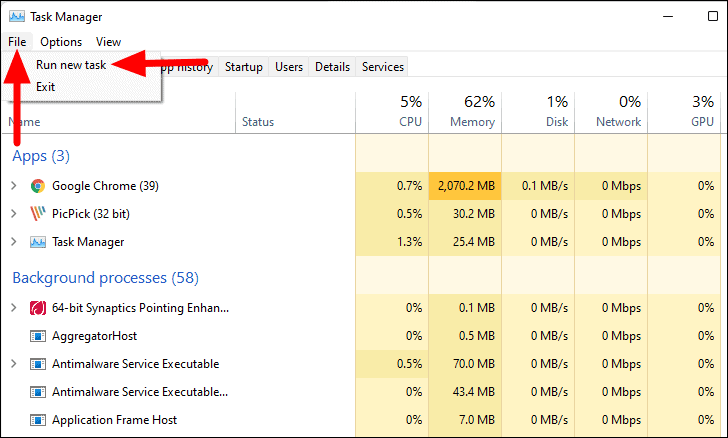
Next, click on the ‘File’ menu at the top-right corner, and select ‘Run new task’ from the drop-down menu.
The ‘Create new task’ box will launch. Enter explorer.exe in the text box and then click on the ‘OK’ at the bottom.
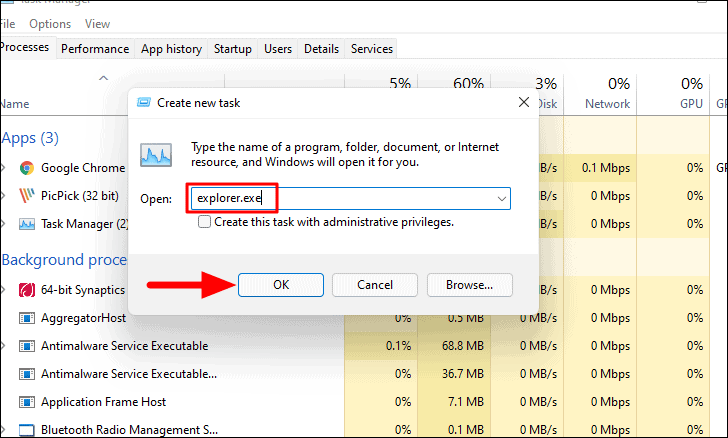
The Windows Explorer process will now restart and the Taskbar will reappear. Now check if you are able to access the Action Center.
3. Re-register Action Center with PowerShell
If the Action Center is corrupted due to any reason, you wouldn’t be able to access it. In this case, it’s best to re-register it with PowerShell.
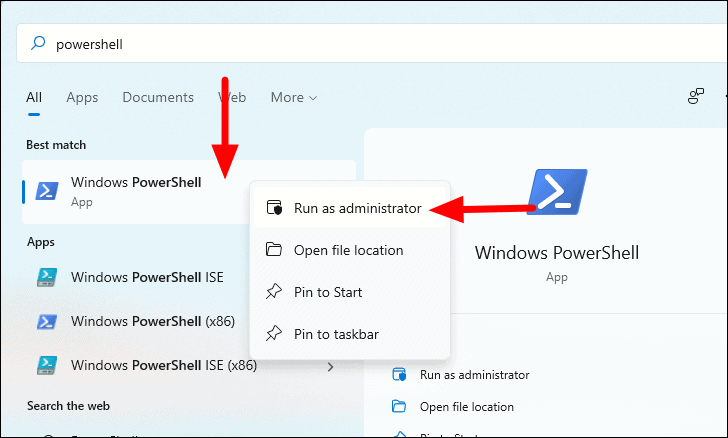
To re-register Action Center, press the WINDOWS key to launch the ‘Start Menu’, search for ‘PowerShell’, right-click on the relevant search result and select ‘Run as administrator’ from the context menu. Click ‘Yes’ on the confirmation box that pops up.
Next, enter the following command in PowerShell and press ENTER to execute it.
Get-AppxPackage | % { Add-AppxPackage -DisableDevelopmentMode -Register “$($_.InstallLocation)\AppxManifest.xml” -verbose }
Wait for the process to complete and then restart the system to check if the error is fixed. If not, move to the next method.
4. Run Disk Cleanup
If you are running low on storage, a lot of features and processes might be affected including the Action Center. In this case, it’s recommended that you run ‘Disk Cleanup’ to clear up some storage space by deleting the temporary files.
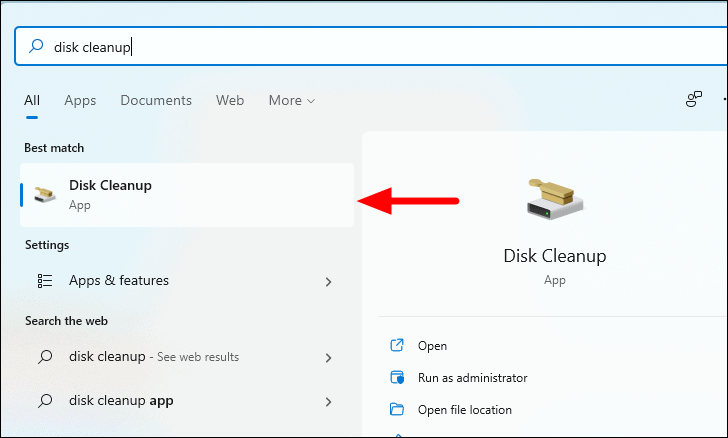
To run the Disk Cleanup app, search for it in the ‘Start Menu’, and then launch the app by clicking on the relevant search result.
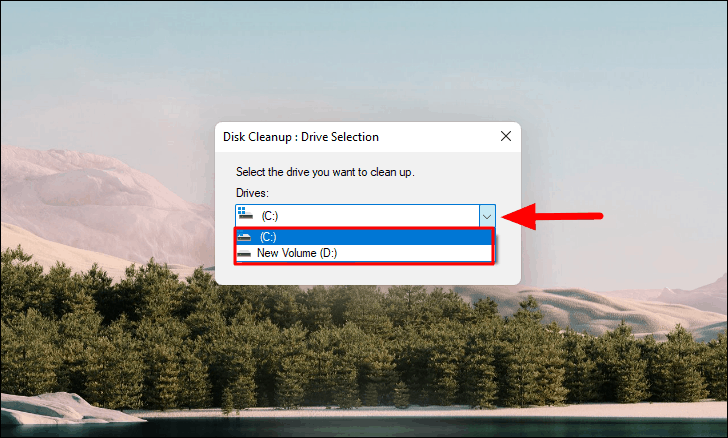
Next, click on the drop-down menu under ‘Drives’ and select the one that you want to clean.
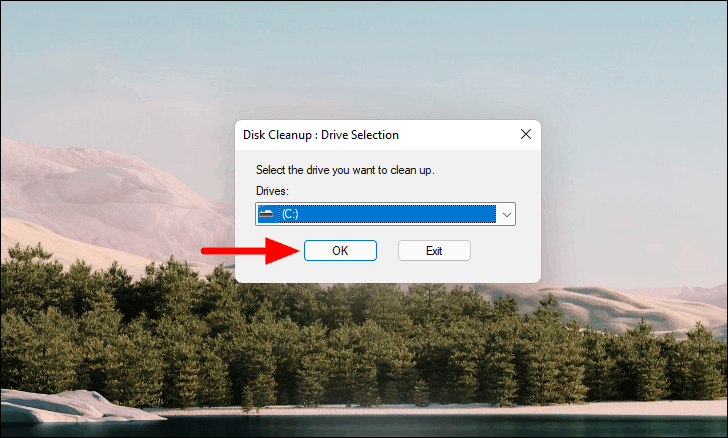
Now, click on ‘OK’ at the bottom and it will scan the selected drive.
Next, tick the checkboxes for the types of files you want to delete under the ‘Files to delete’ section. Once you have selected the required files, click on ‘OK’ at the bottom to delete them.
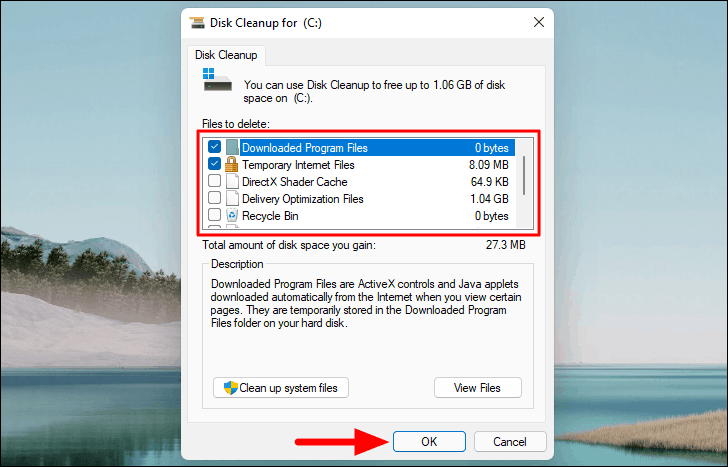
After the files are deleted, the ‘Disk Cleanup’ window will close. Now, restart the computer and check if you can access the Action Center.
5. Run SFC Scan
The next troubleshooting method is to run the SFC (System File Checker) scan. It scans the system files and fixes any corrupted files, if found, which might be leading to the error.
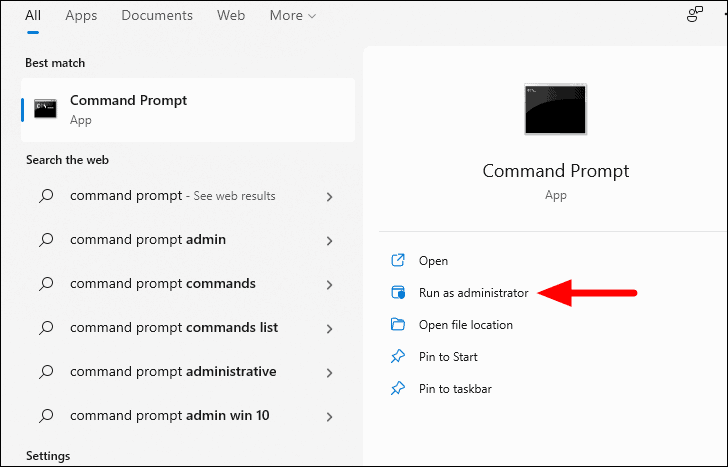
To run the SFC scan, search for ‘Command Prompt’ in the ‘Start Menu’, and click on the ‘Run as administrator’ option on the right to launch the elevated Command Prompt. Click ‘Yes’ on the confirmation box that pops up.
Next, type or paste the following command and then press ENTER to execute it.
sfc /scannow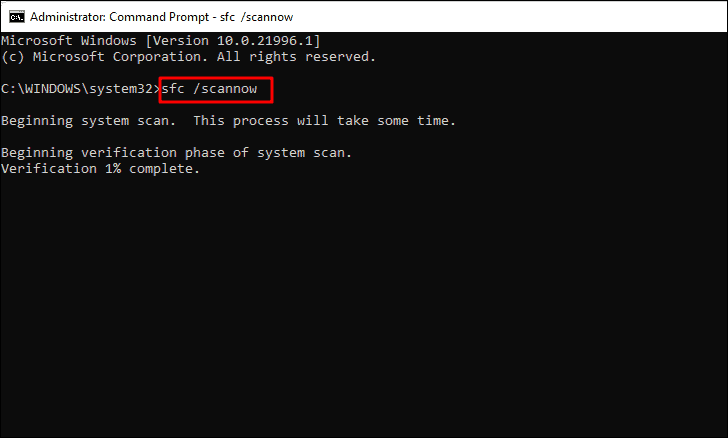
The scan will start right away and take a couple of minutes. Once it’s complete, close the Command Prompt window and restart the system. After it restarts, the Action Center error should be fixed.
That’s all there’s about adding, removing, or rearranging Quick Settings in Action Center as well as the various fixes in case you encounter an error accessing it. Now onwards, you wouldn’t have to launch settings everytime and can quickly make changes via the Action Center.


Member discussion