
Any Spotify playlist you create will automatically appear on your profile. You can choose to hide it or make it go public. But by default, the playlist is seen on your profile. A user’s profile gives a basic understanding of the person. On Spotify, the profile also gives a sneak peek into the person’s taste in music and their personality.
Almost every Spotify user follows different playlists distinct from the ones created by the user. These playlists are a part of our libraries. Apart from revealing your home playlists, Spotify also has an option to display playlists that aren’t yours, on your profile. This way you can showcase other works of art, aside from your own. Here’s how you can add playlists to your profile on your phone and your computer.
Adding Spotify Playlists to Your Profile on Your PC
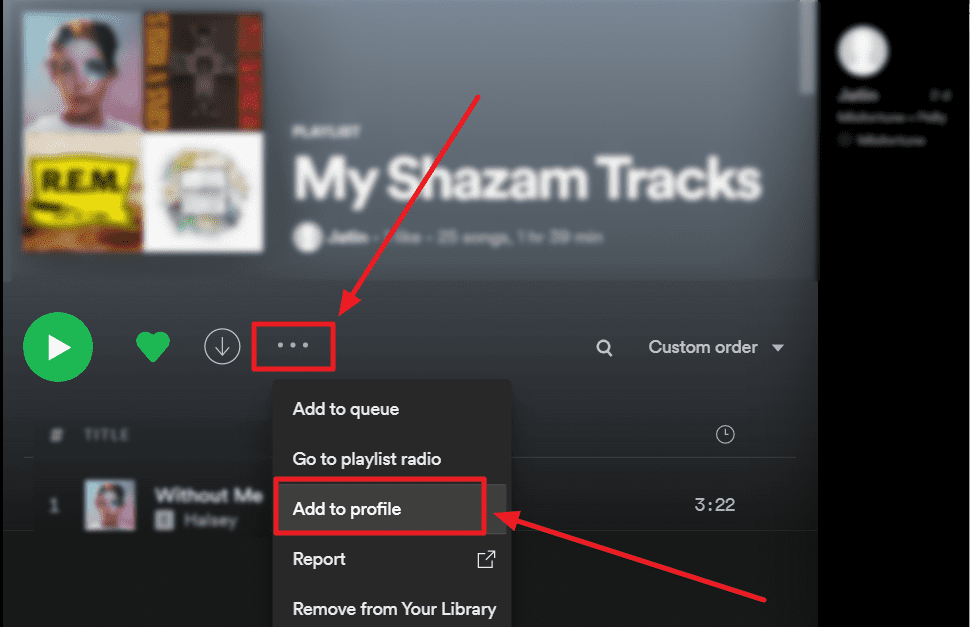
Launch Spotify and select the playlist you wish to display on your profile. If it’s on your library you can simply double-finger tap the playlist to pop the drop-down menu. Select the ‘Add to profile’ option from this menu.

If you’re adding a playlist that isn’t from your library, then, first open the playlist. Click the ellipsis icon (three horizontal dots) below the playlist’s cover image and select ‘Add to profile’.
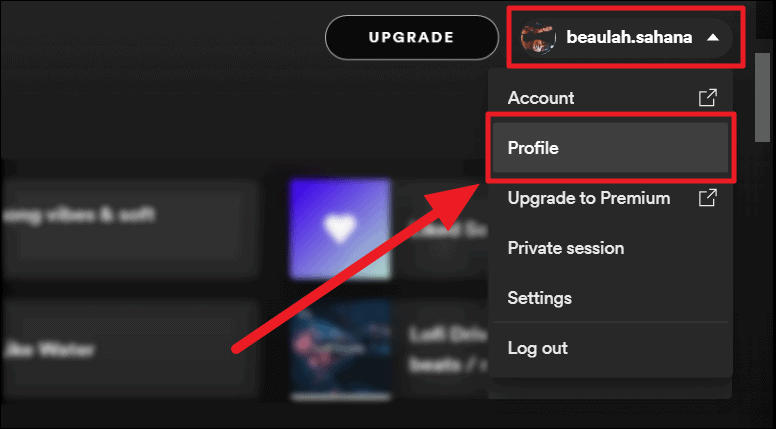
The chosen playlists will now be on public display on your profile. To check, click your profile’s username and select ‘Profile’ from the menu.
Scroll through your profile page to the ‘Public Playlists’ section. Hit the ‘See all’ button adjacent to the title.
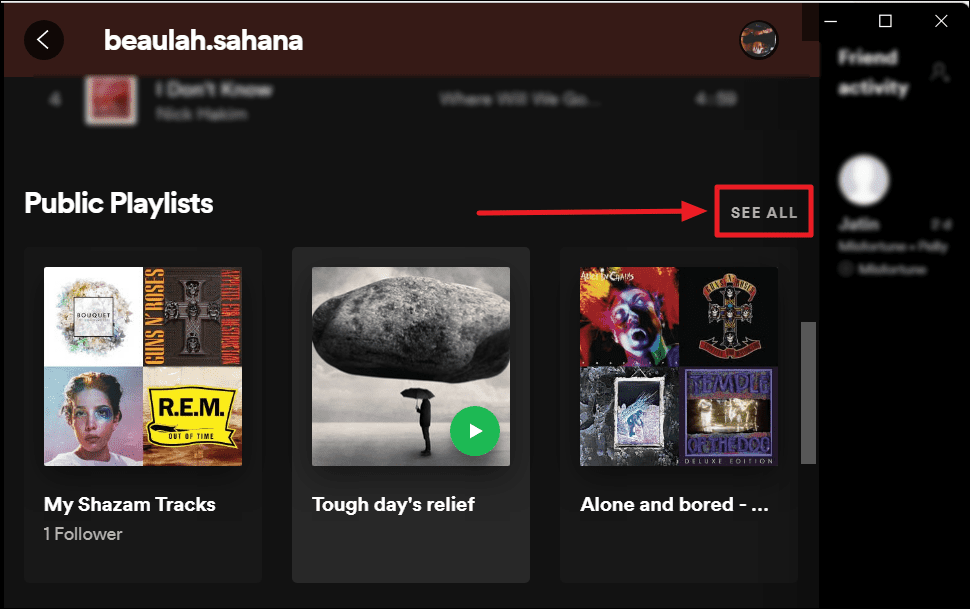
You will now have a full view of all the playlists on your profile.
Remove a playlist from your profile, and thereby from public view. You can either do this from the ‘Public Playlists’ page or from the individual playlist’s page.
To do it from the ‘Public Playlists’ page, double-finger tap or right-click on the playlist you want to remove and select ‘Remove from playlist’ from the drop-down menu.

You can also remove a playlist from your profile outside the ‘Public Playlists’ page, provided you remember the name of the playlist or have it around. Find the playlist and ope it. Now click the ellipsis icon (three horizontal dots) below the cover image of the playlist. Then, select ‘Remove from profile’ from the menu.
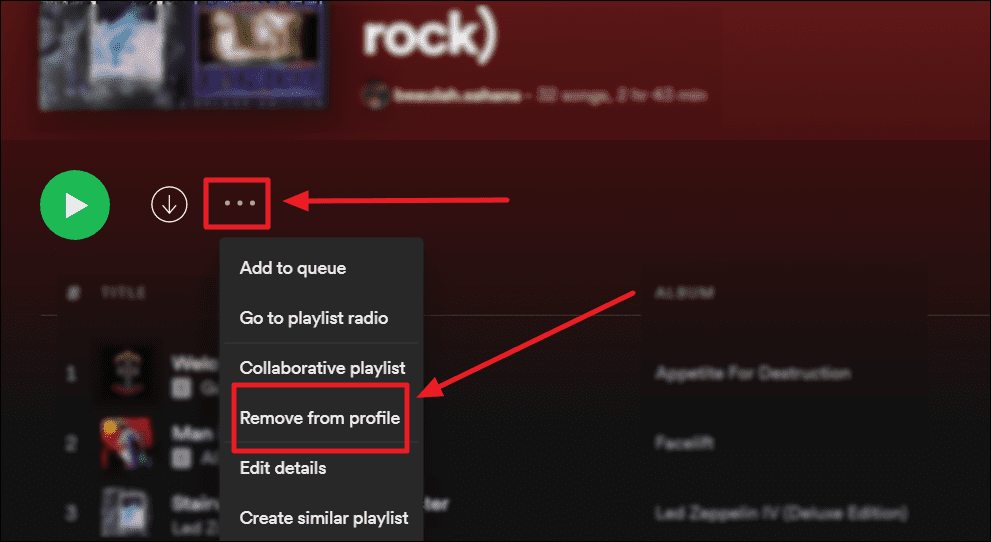
The playlist will be out of your profile in seconds.
Adding Playlists to Your Profile in Spotify Mobile App
The only condition to add playlists to your profile from your phone is that they need to be in your library. Which means, they need to be followed or liked in other words.
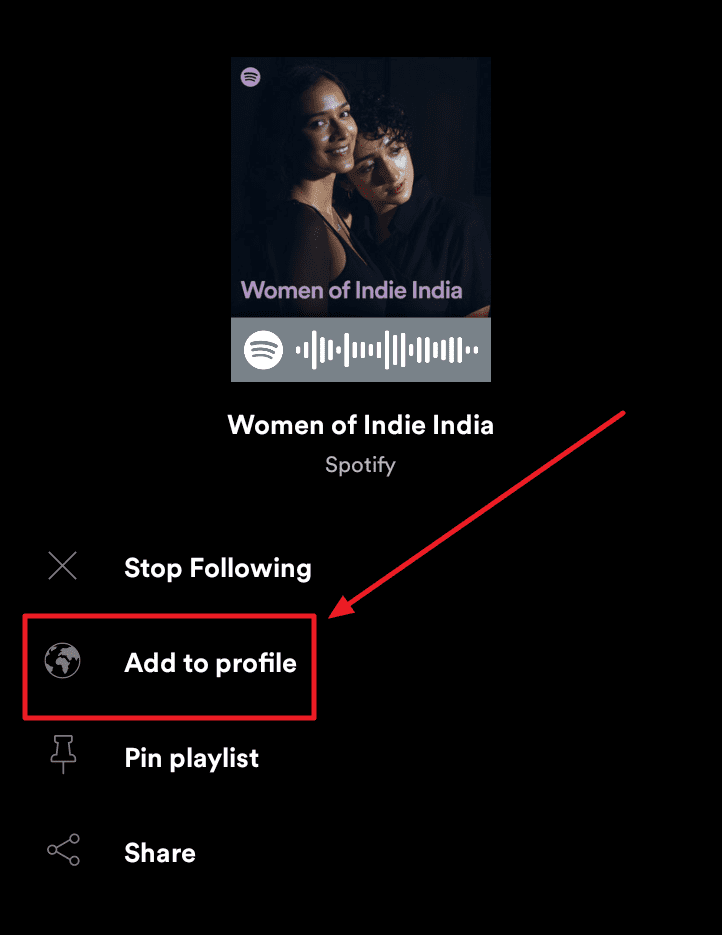
So, before adding playlists to your profile, be sure to hit the heart below the playlist’s cover image. Then, tap the ellipsis icon (three vertical dots) next to the heart (the now green like button).

Now, select ‘Add to profile’ in the menu that pops next.
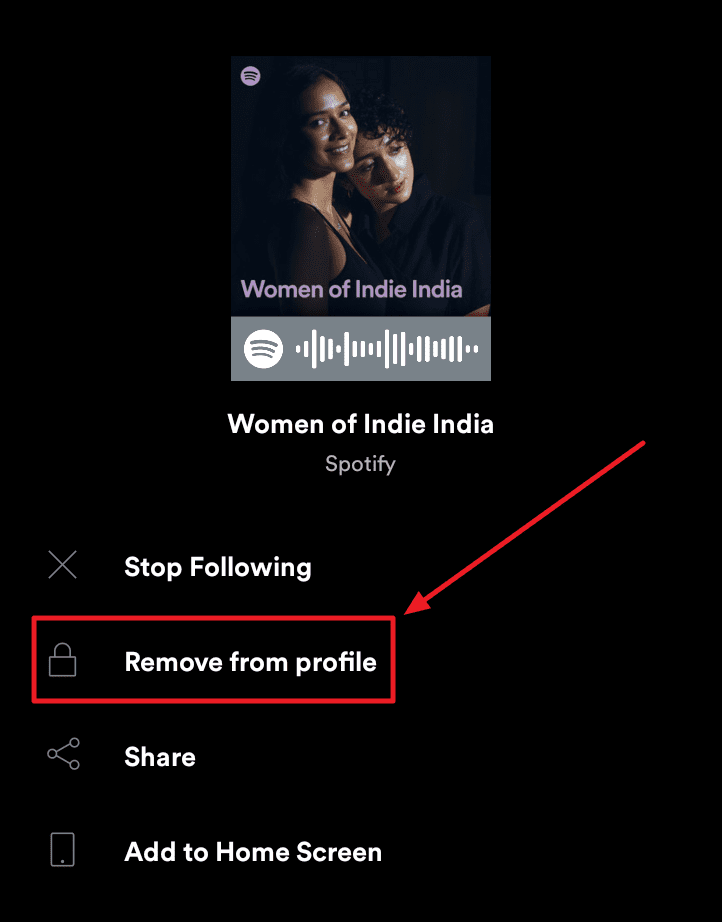
The playlist will instantly be displayed on your profile as a public playlist. If you change your mind, you can remove the playlist from your profile on this menu itself. The ‘Add to profile’ will now be ‘Remove from profile’. Tap this option to remove it.
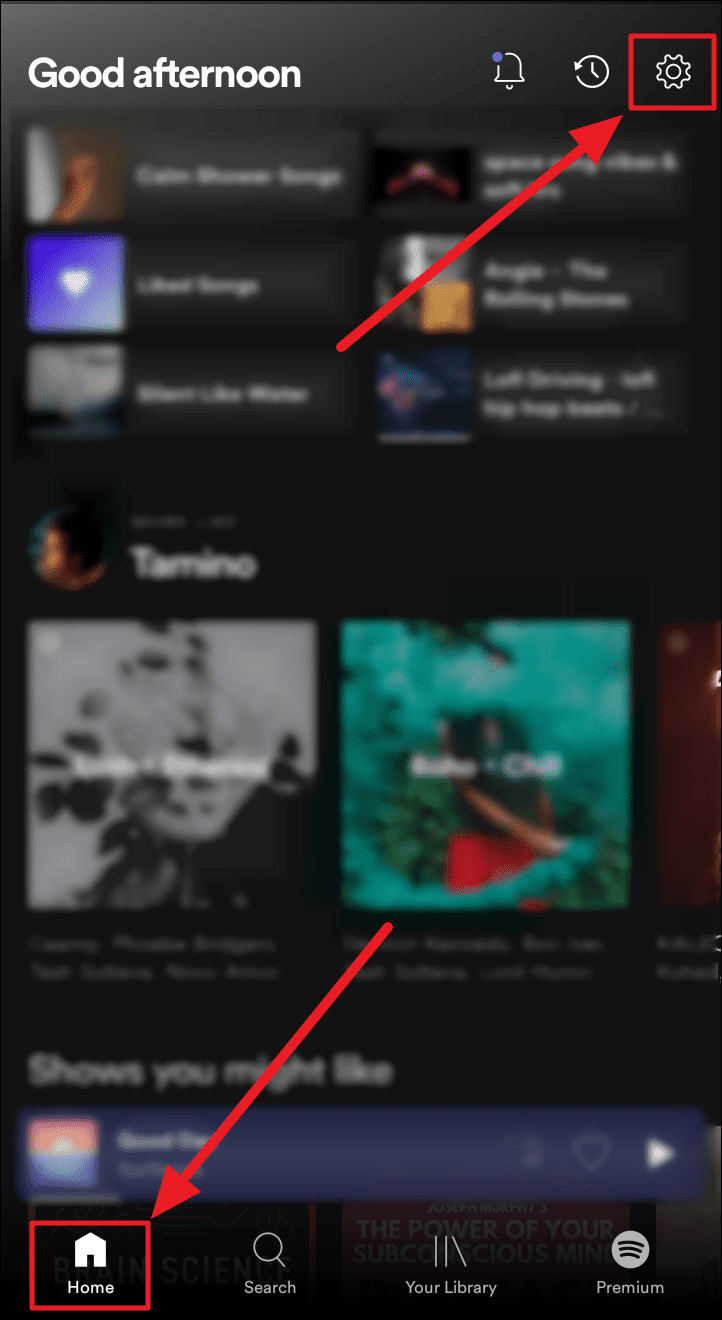
To view your profile with the recently added playlists, go back to the homepage (Home icon) and tap the ‘Settings’ button (gear icon) to the top right corner of the screen.
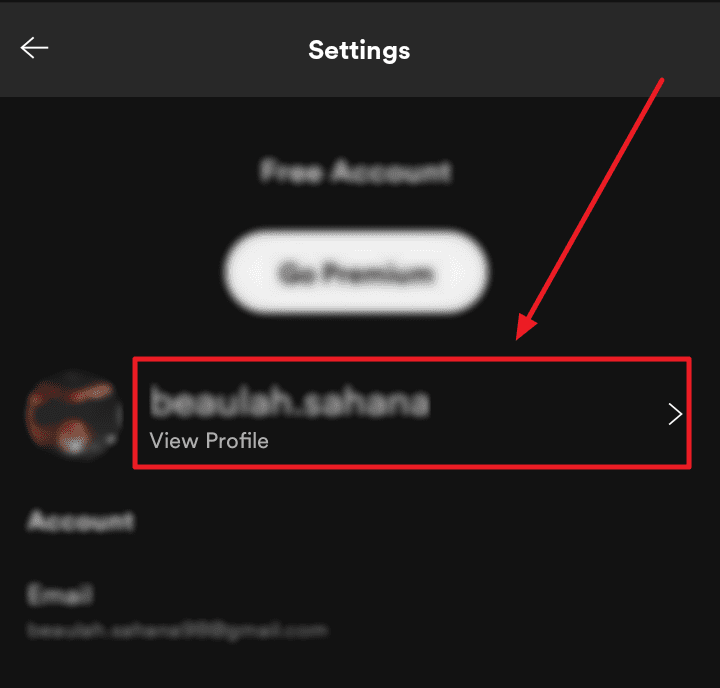
On the ‘settings’ screen, tap anywhere in the ‘View Profile’ space.
Scroll a little on your profile to find the ‘Playlists’ section. If you have over 3 playlists, you wouldn’t see them all here. Instead, tap the ‘See all’ button at the bottom of this section.

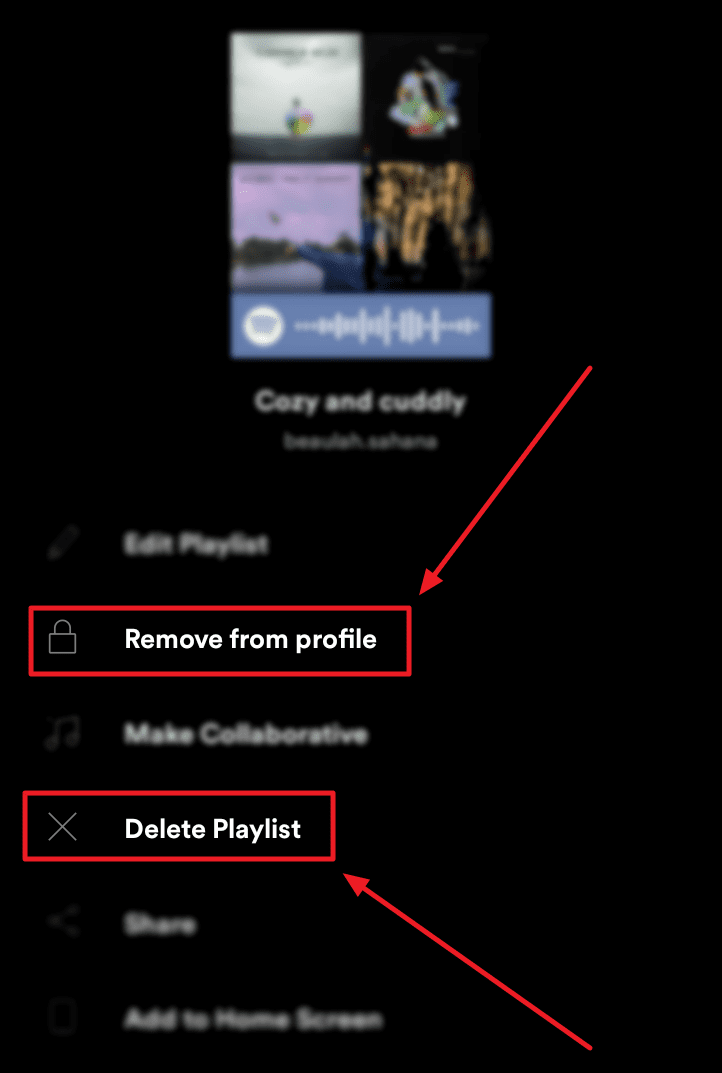
You can now see all your playlists. Long tap on the playlist you want to remove. Then, hit the ‘Remove from playlist’ option from the menu. If you want to delete the playlist entirely both from your profile and from your library, tap the ‘Delete from playlist’ option.
If you chose to delete a playlist, you will receive a UAC prompt. Select ‘Delete’.
And that’s about it! We hope you add some kickass playlists to you profile. Go on, show off your taste in music a little and hopefully, you will make similar connections.


