Microsoft Power Automate is a powerful tool designed to automate repetitive tasks by creating automated workflows, known as “flows.” With Power Automate, you can connect various applications and services to perform routine tasks automatically, saving you valuable time and reducing the chance of human error. Common tasks such as file backups, email notifications, and data synchronization can be fully automated, allowing you to focus on more strategic activities.
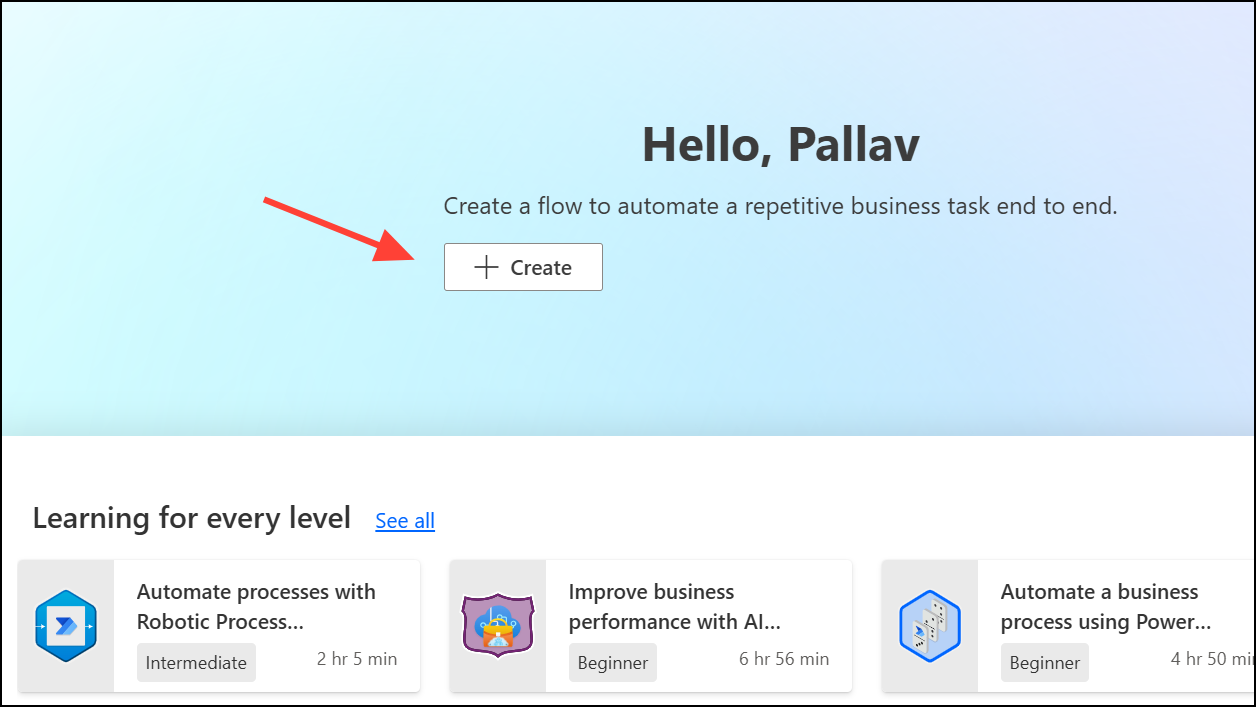
What is Power Automate?
Power Automate, previously known as Microsoft Flow, is a cloud-based platform that helps users automate processes across multiple applications and services. It uses connectors and APIs to create workflows that perform specific actions when triggered by predefined events. A workflow in Power Automate consists of two main components: a trigger and one or more actions. A trigger initiates the workflow, such as receiving an email or adding a file to a folder, and actions are tasks executed after the trigger.
Power Automate offers a free plan that includes standard connectors like OneDrive, Google Drive, Microsoft To Do, and SharePoint. Premium connectors, AI features, and advanced functionalities like process mining require a paid subscription starting from $15 per user per month. You can check out other pricing details on the official Power Automate pricing page.
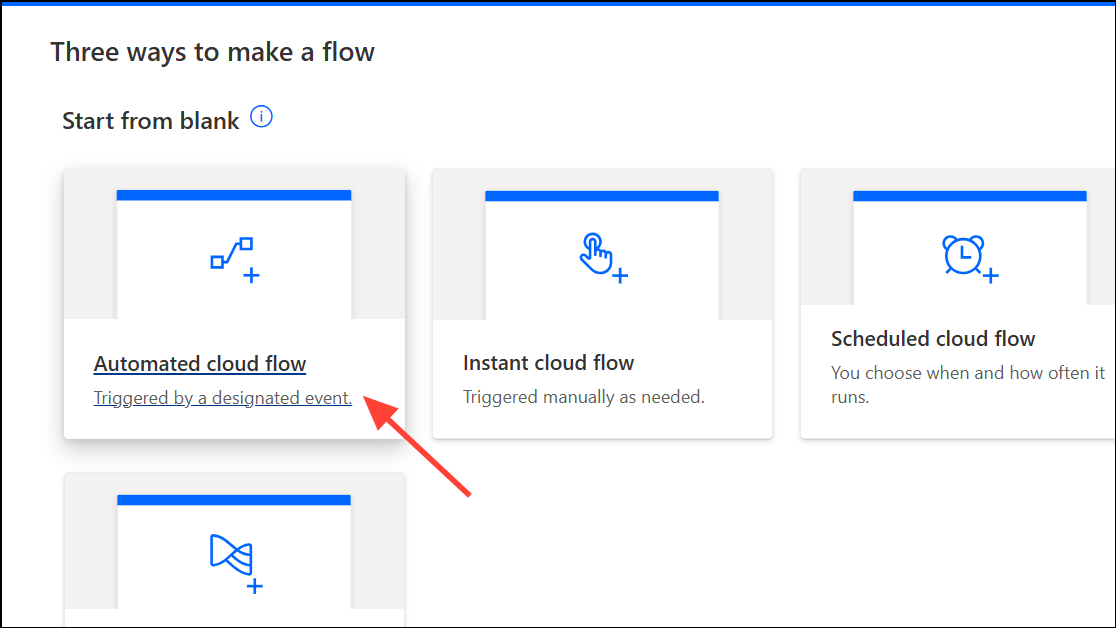
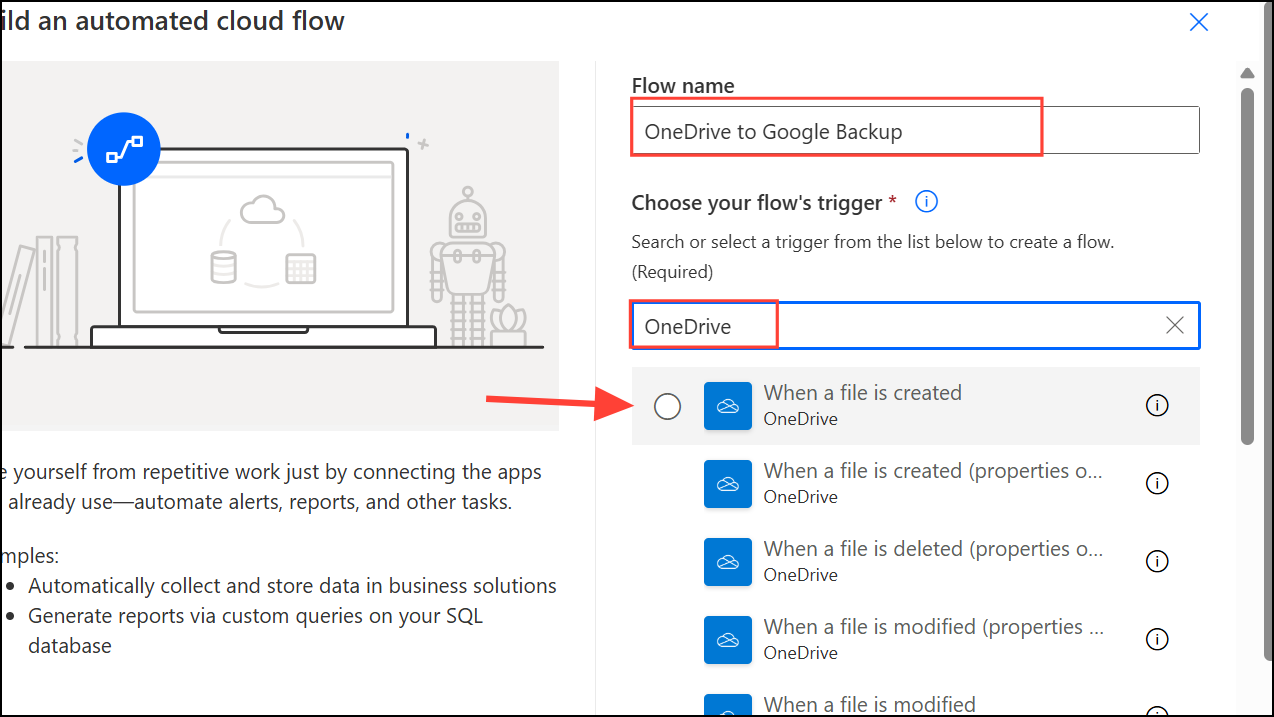
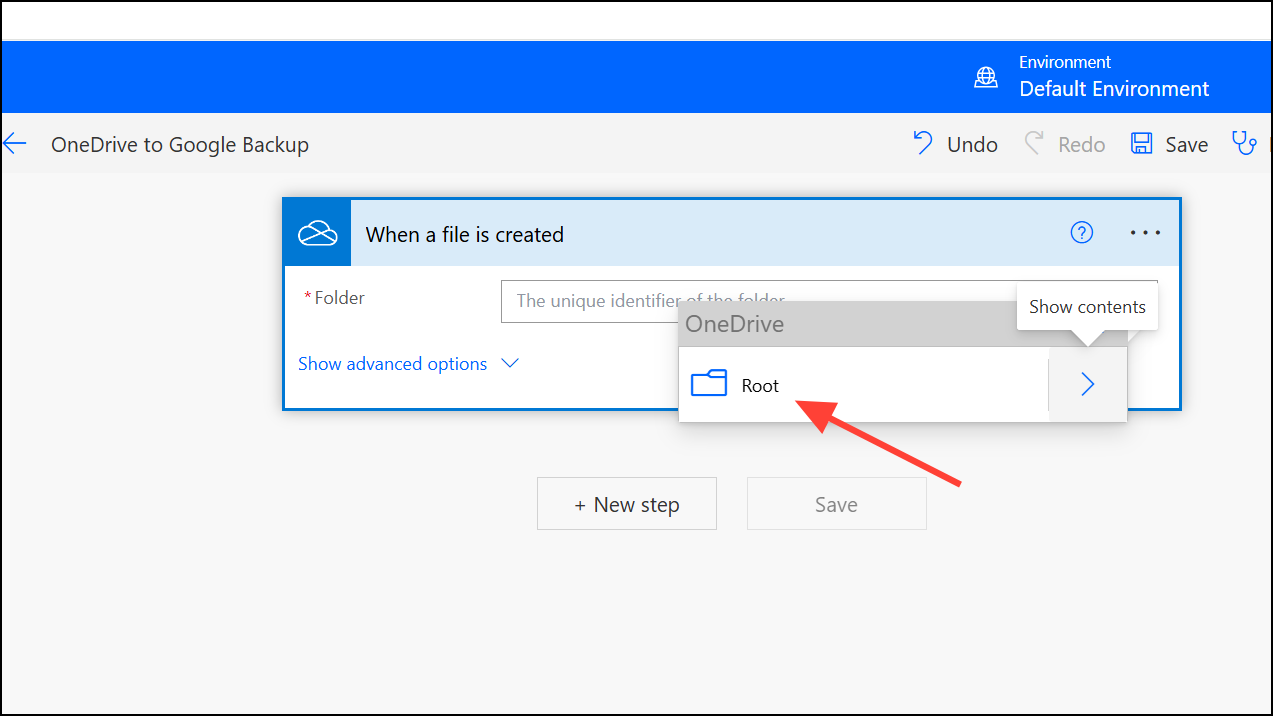
How to Create an Automated Cloud Flow Using Power Automate
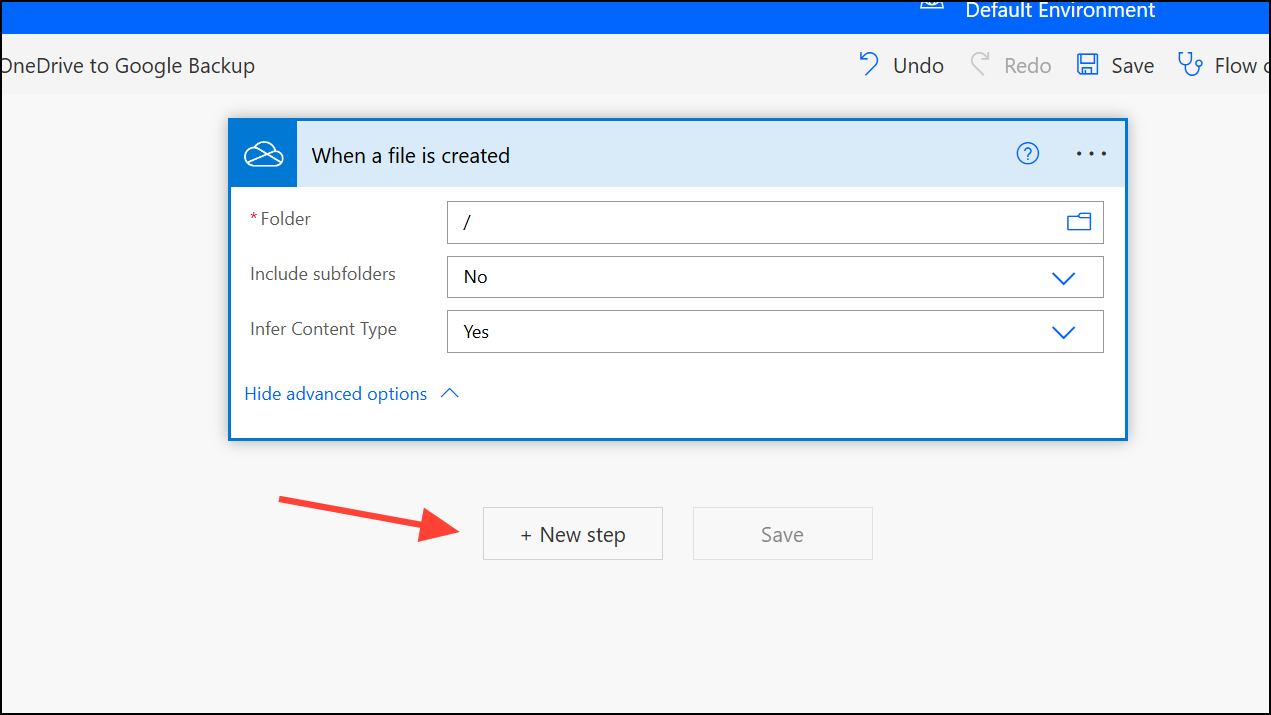
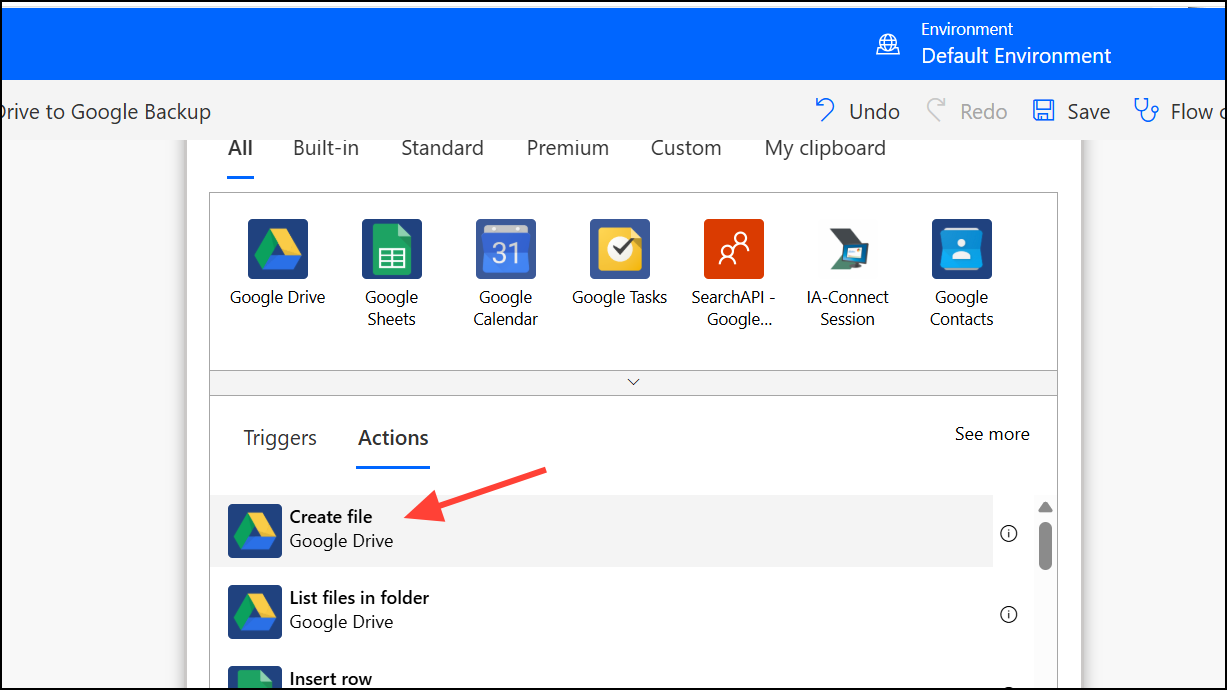
Automated cloud flows trigger automatically when specific events occur. For example, you might want to automatically backup files from OneDrive to Google Drive whenever new files are added. Here’s how to set this up:
If you no longer need a flow, disable it by clicking the three-dot icon next to the flow and selecting “Turn Off.”
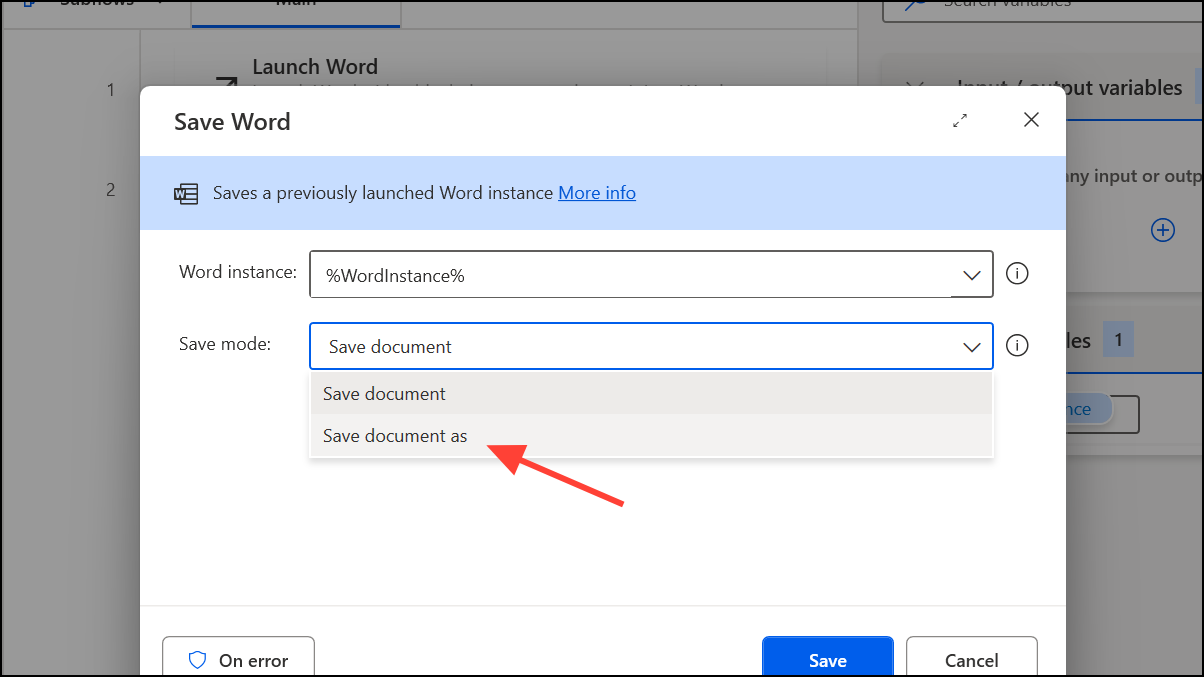
Automating Desktop Tasks with Power Automate for Desktop
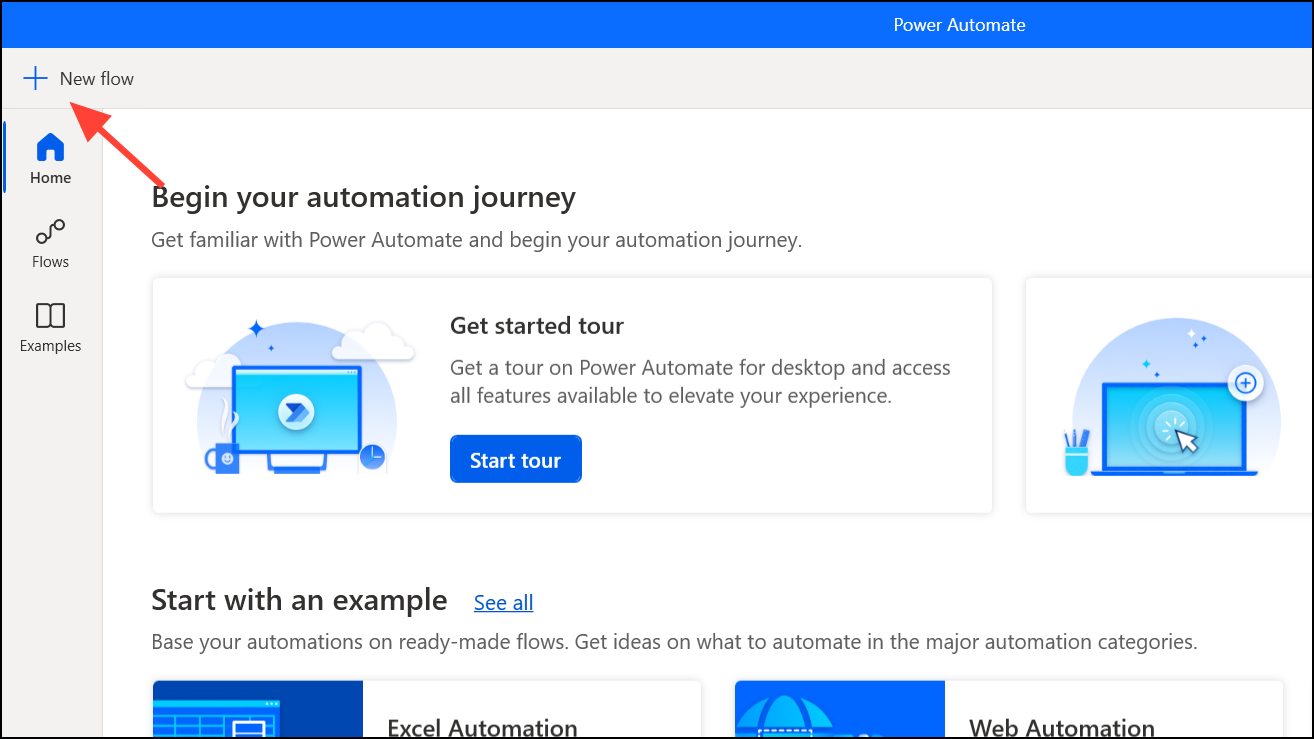
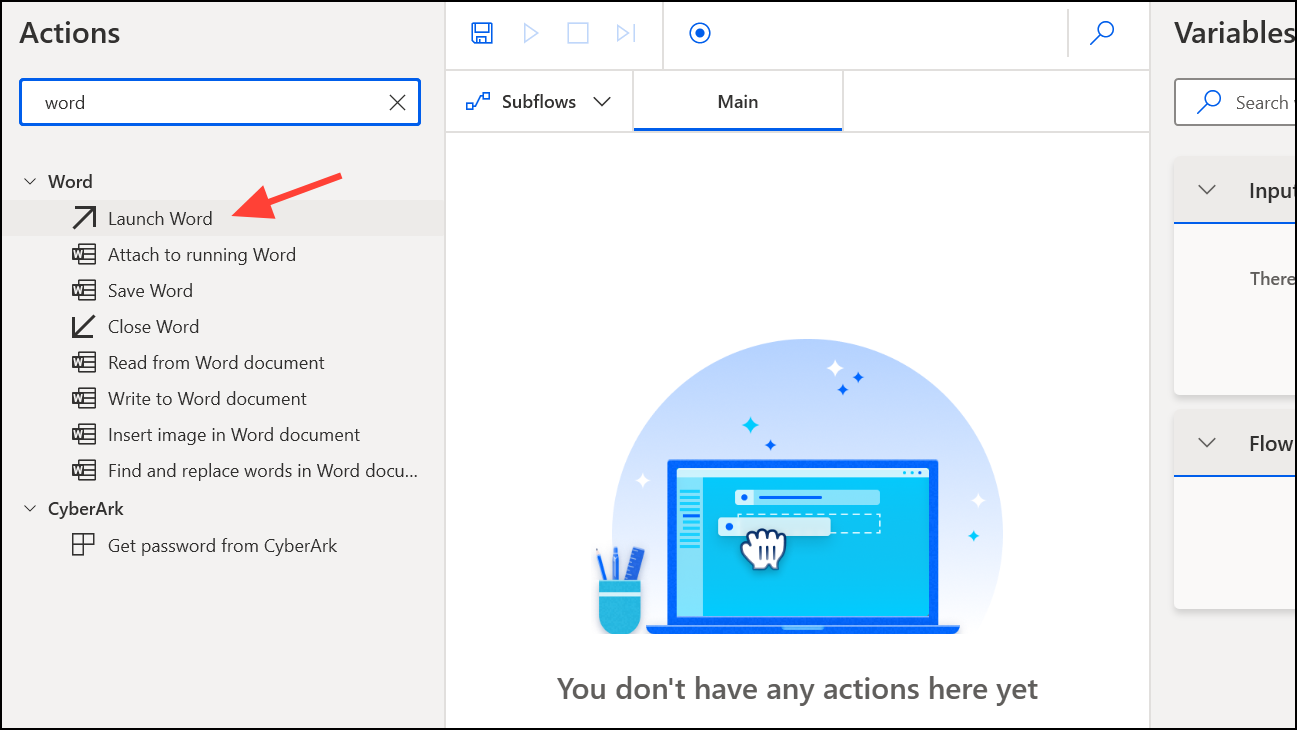
Power Automate for Desktop is a separate application that automates tasks directly on your Windows desktop. Tasks like file management, data extraction, or document processing can be automated easily. Here’s a simple example of converting a Word document to PDF and moving it to OneDrive:
For scheduling desktop flows, use Task Scheduler, a built-in Windows tool, to automate the execution at specific intervals.
Real-World Examples of Tasks You Can Automate
Here are some practical tasks you can automate using Power Automate:
- Sending automatic email reminders for task deadlines.
- Generating and distributing periodic reports.
- Creating automatic backups of important files.
- Managing customer support tickets and inquiries.
- Automating inventory updates across platforms.
- Streamlining employee onboarding processes.
- Automating lead tracking and management in sales processes.
These examples illustrate the versatility of Power Automate in various professional scenarios, helping you cut down on repetitive manual work and freeing up your schedule for more critical tasks.
With Power Automate, you can significantly simplify your workflow, reduce errors, and reclaim valuable time for more important work. Give it a try today and see how much easier your daily tasks can become.