The taskbar in Windows 11 provides quick access to your frequently used apps and files through pinned items. Backing up these pinned items is beneficial when switching computers or setting up a new user profile, allowing you to maintain your workflow without interruption.
Create a batch file to automatically backup and restore pinned items
Creating a batch file simplifies the process of backing up and restoring your taskbar’s pinned items. This method is efficient and user-friendly, making it easy to transfer your pinned configuration to another Windows 11 machine.
Notepad. Click on the Notepad app from the search results to launch it.
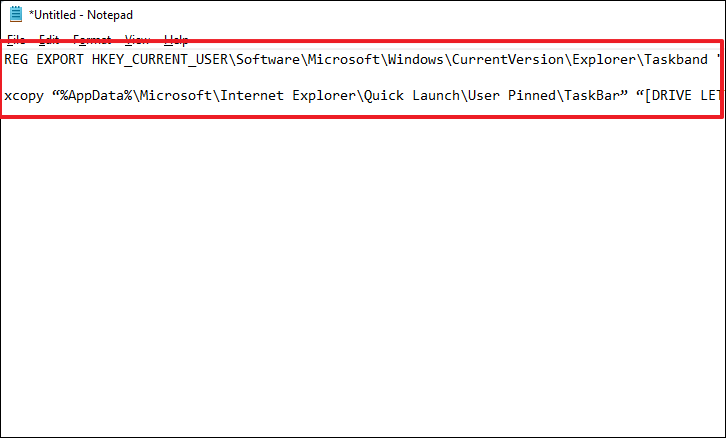
REG EXPORT HKEY_CURRENT_USER\Software\Microsoft\Windows\CurrentVersion\Explorer\Taskband "[DRIVE LETTER:\FOLDER NAME\FILE NAME.reg]"

xcopy "%AppData%\Microsoft\Internet Explorer\Quick Launch\User Pinned\TaskBar" "[DRIVE LETTER:\FOLDER NAME\]" /E /C /H /R /K /Y
Note: Replace the placeholders in the code with the actual paths where you want to save the backup files. For example, the directory might look like "E:\Taskbar Backup\Pinned Items.reg".
.bat. Then, set the Save as type option to All files, and click Save.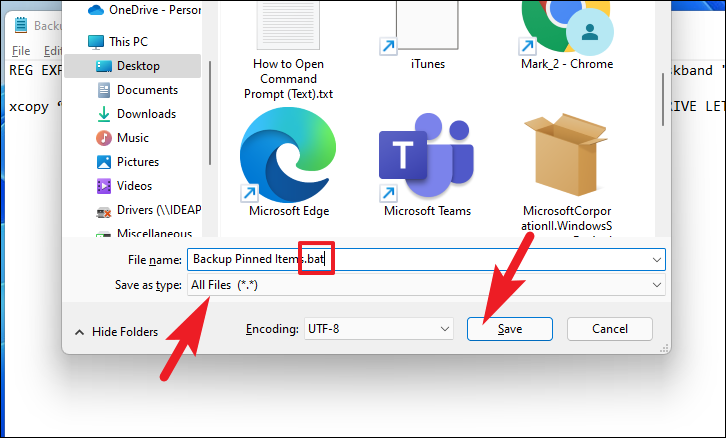
.bat file you saved, right-click on it, and select Run as administrator from the context menu.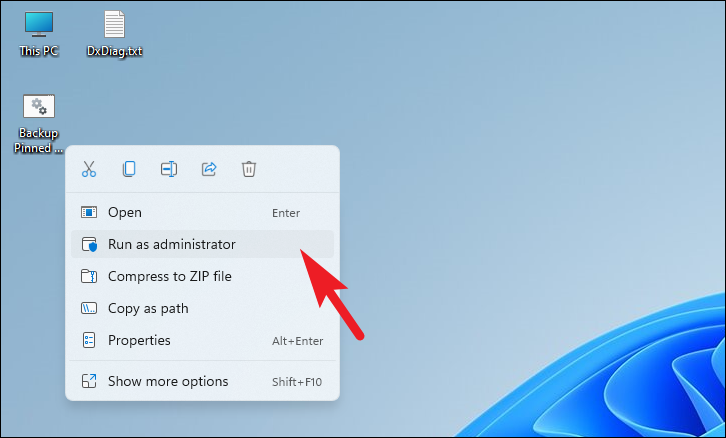
Yes to allow the batch file to run with administrative privileges. Provide administrator credentials if necessary.
The backup of your taskbar’s pinned items is now complete. The backup files will be located in the directory you specified in the batch file.
Creating a batch file to restore pinned items

REGEDIT /S "[DRIVE LETTER:\FOLDER NAME\FILE NAME.reg]"

xcopy "[DRIVE LETTER:\FOLDER NAME\]" "%AppData%\Microsoft\Internet Explorer\Quick Launch\User Pinned\TaskBar" /E /C /H /R /K /Y
Note: Remember to replace the placeholders in the code with the actual directory where your backup files are located. For example, the directory might look like "E:\Taskbar Backup\Pinned Items.reg".
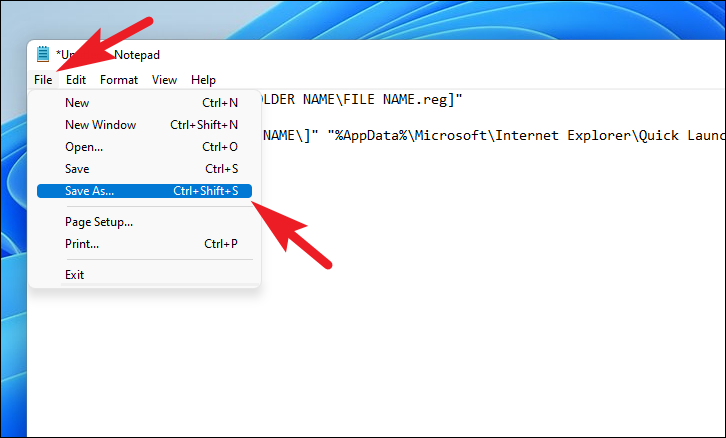
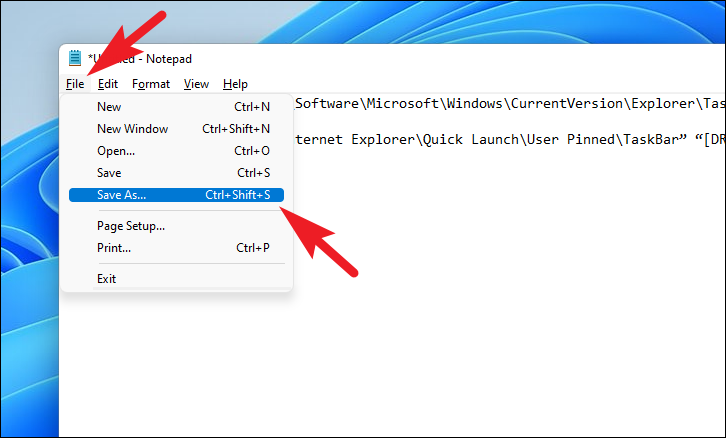
File menu and select Save As. In the save dialog, name the file with a .bat extension. Set the Save as type to All files, and click Save.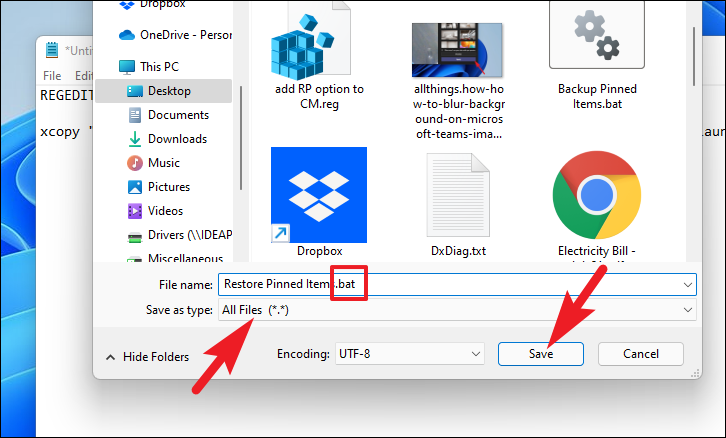
.bat file and select Run as administrator.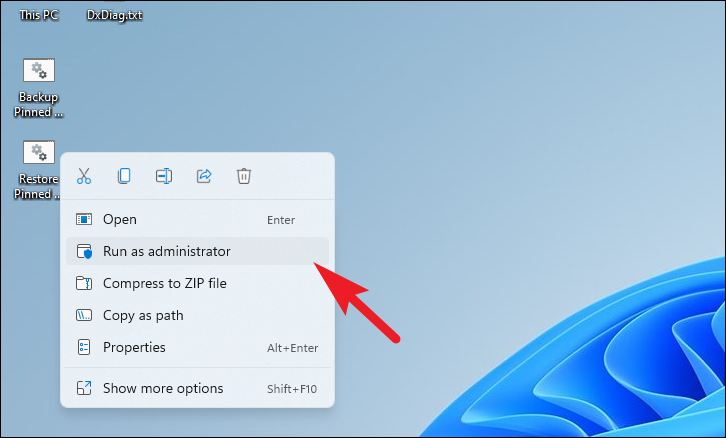
Yes to allow the batch file to run. Provide administrator credentials if necessary.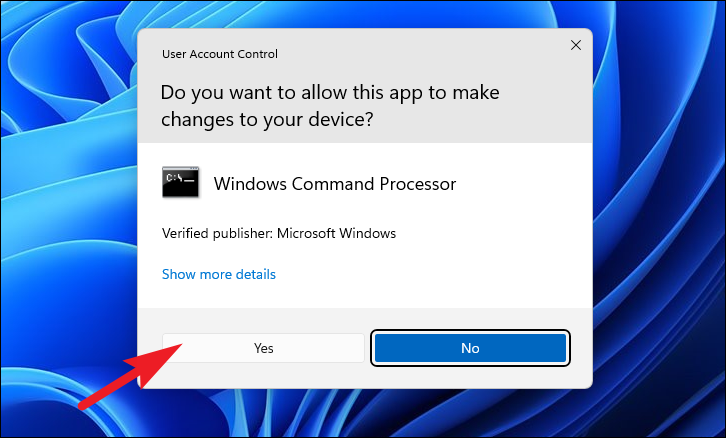
If your pinned items do not appear immediately, restart your computer to apply the changes.
Manually backup and restore pinned items using Registry Editor
Using the Registry Editor to backup and restore your taskbar’s pinned items is a straightforward process that doesn’t require advanced technical skills.
Registry Editor. Click on the Registry Editor app in the search results to launch it.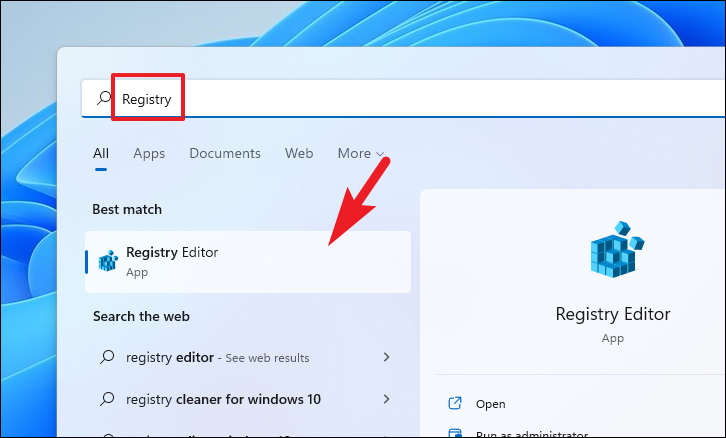
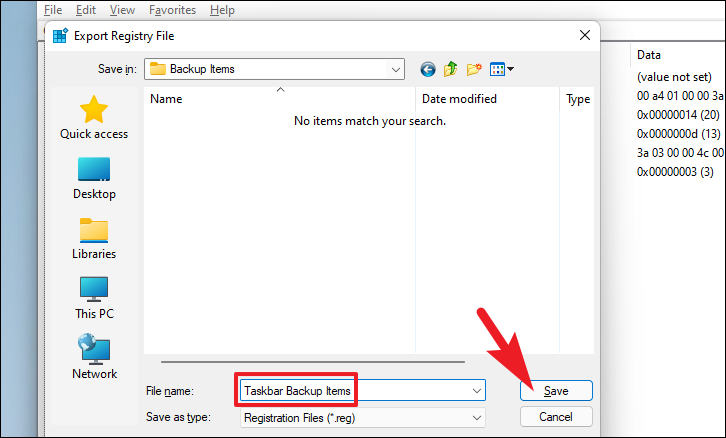
HKEY_CURRENT_USER\Software\Microsoft\Windows\CurrentVersion\Explorer\TaskbandTaskband key and select Export. This will open the Save dialog.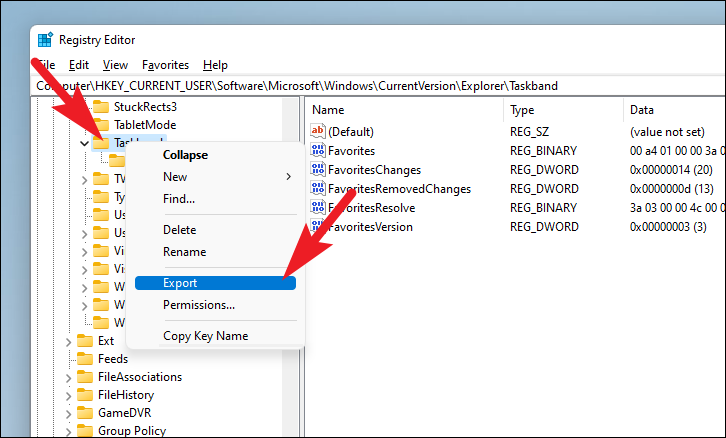

%AppData%\Microsoft\Internet Explorer\Quick Launch\User Pinned\TaskBar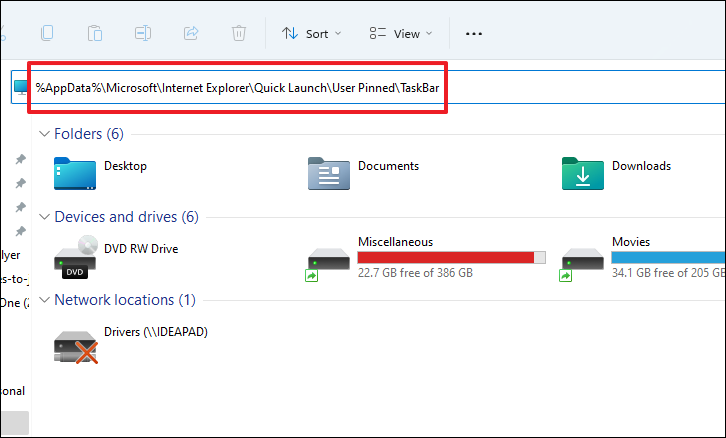
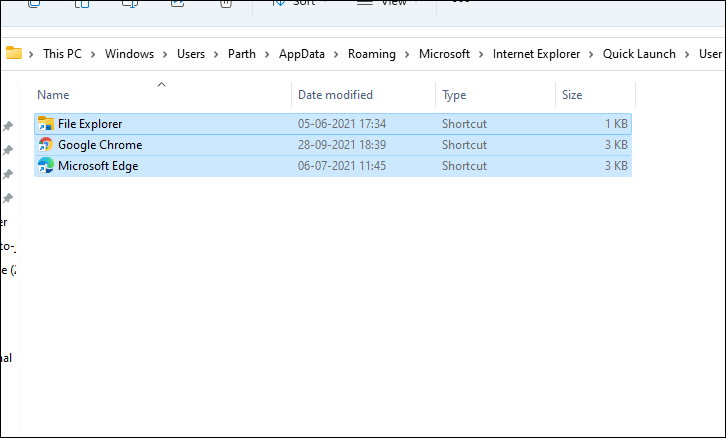
Ctrl+C. Paste them into a safe backup location using Ctrl+V. These files are necessary for restoring your pinned items later.Tip: Save these files in the same location as your exported registry file to keep all your backup data together.
You’ve now successfully backed up your taskbar pinned items. Step 1: Open This PC by double-clicking its icon on the desktop or pressing Windows+E.

Note: If you’re restoring on a different computer, ensure that you’ve transferred the backup files to the new system before proceeding.
%AppData%\Microsoft\Internet Explorer\Quick Launch\User Pinned\TaskBarCtrl+V. If prompted, choose to replace existing files.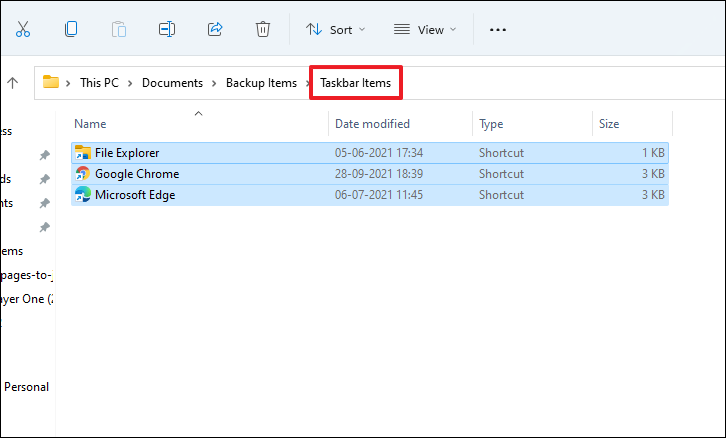

Yes to allow the changes. Provide administrator credentials if required.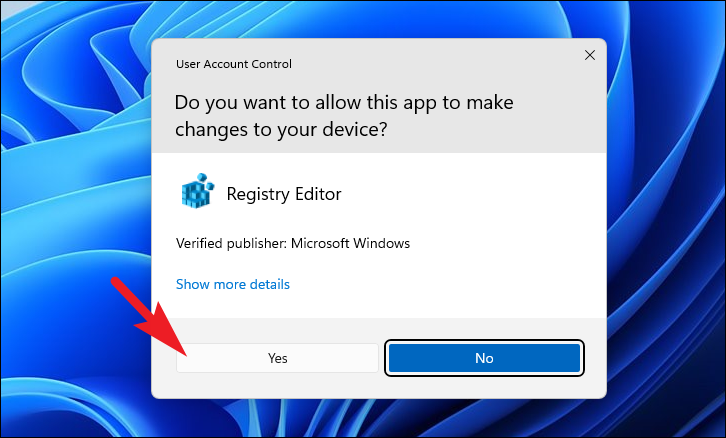
Yes to confirm and proceed.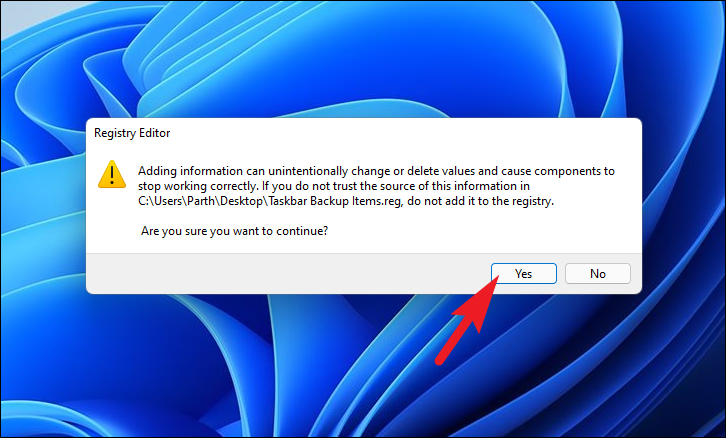

Backing up and restoring your taskbar’s pinned items ensures a seamless transition between computers or after a system reset, keeping your workflow efficient and personalized.


