
When you’re working with a lot of files, it often happens that you may need to rename them quickly for better organization and management. However, selecting and renaming each file one by one can take a lot of time and effort, adversely affecting your efficiency.
Fortunately, with Windows 11, you do not have to worry about this problem. The latest OS from Microsoft allows you to rename multiple files in just a few seconds without any complicated software. There are two ways by which you can do this, so let’s take a look at them now.
Rename Multiple Files using the File Explorer
You can directly rename multiple files simultaneously using the file explorer in Windows 11. While this method does not offer a lot of customization regarding the file names, if you just need the file names to be in a standard format, it is the go-to solution.
- Open File Explorer and navigate to where your files to be renamed are located.
- Select the files you want to rename by holding down the
Ctrlkey and left-clicking on each file.
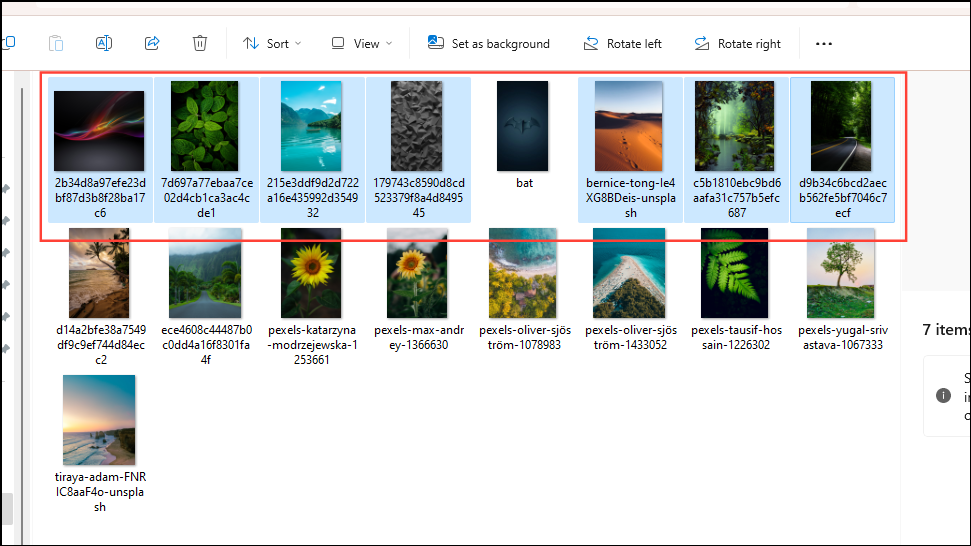
Shift key and then left-click on the first and last files for quicker selection. All the files located in between will automatically be selected. - Once you’ve selected the files to be renamed, right-click on any one file, and you will see several options. Above the options are several icons, including one for renaming the files.
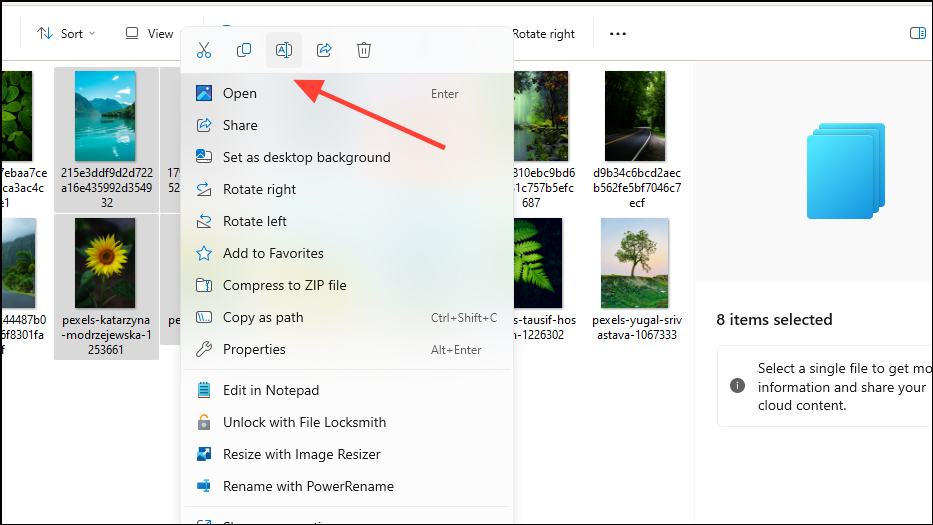
- Click on the ‘Rename’ icon, and you will be able to rename the file on which you right-clicked.
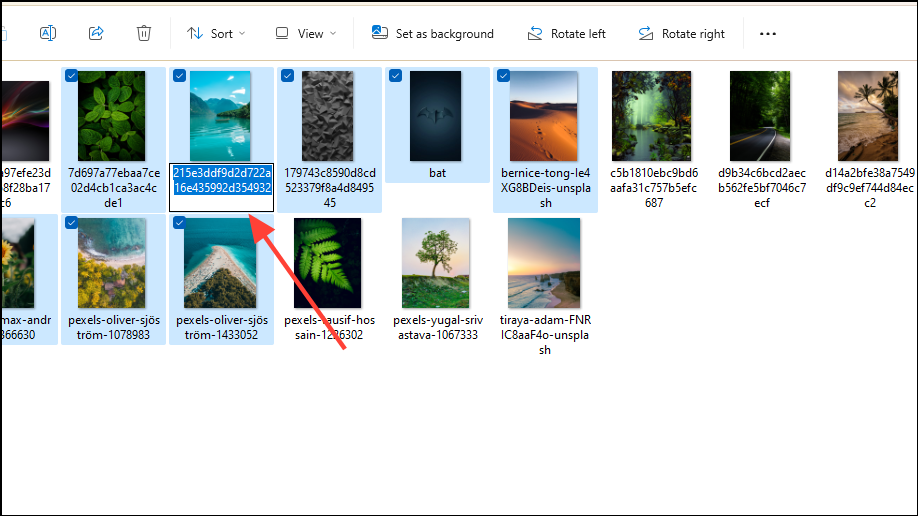
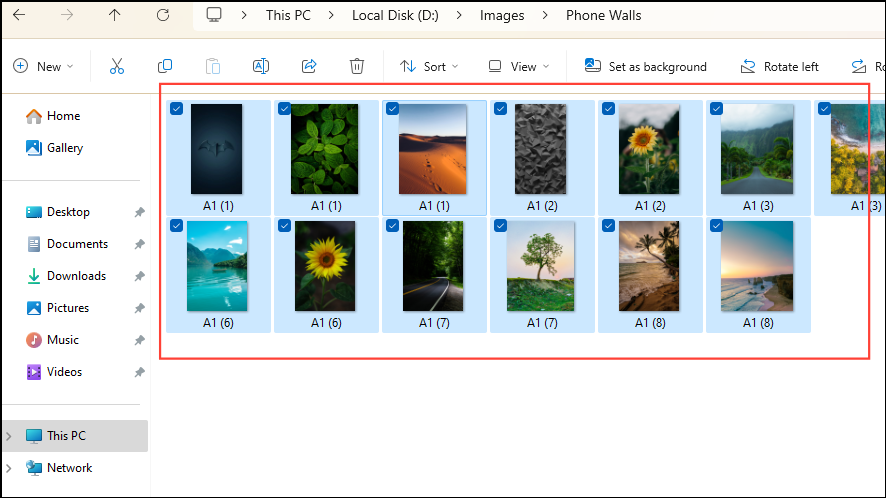
- Give the file a name, such as ‘A1’, and you will see that all other files will also be renamed, each having a number as a suffix.
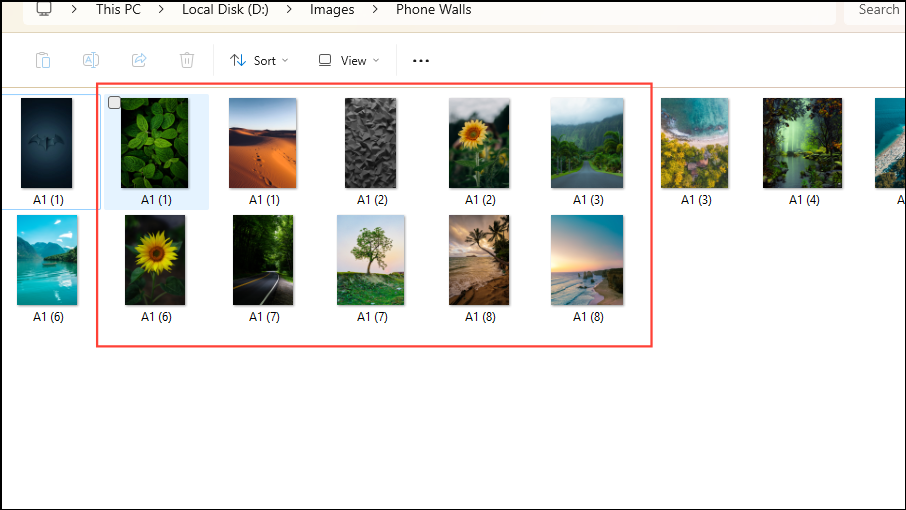
That is all you need to do to batch rename files in Windows 11 using File Explorer. There is no need to use any third-party software or waste time downloading and installing other tools for the purpose.
Use Power Toys to Rename Multiple Files
Another way by which you can batch rename files on Windows 11 is by using Power Toys. This tool comes with an add-on called PowerRename, which lets you set certain conditions to rename multiple files in the format you want.
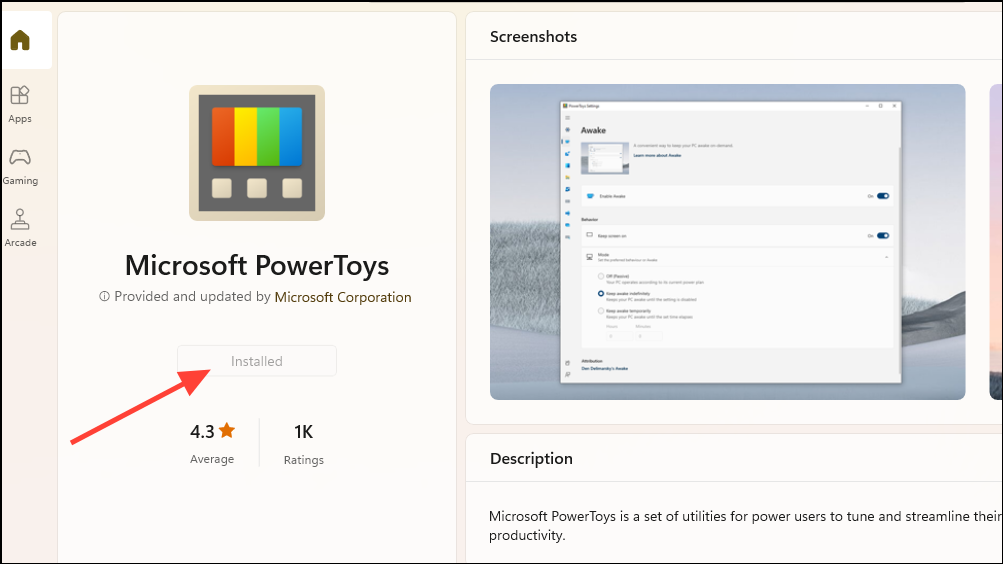
- If you don’t already have Power Toys installed, launch Microsoft Store from the Start menu and install it from there.
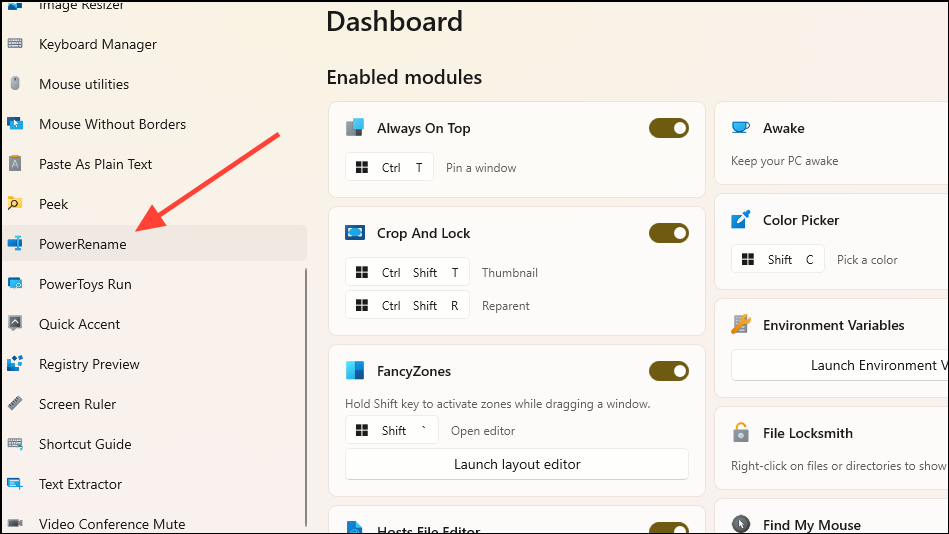
- Launch the Power Toys app and select PowerRename from the menu on the left.
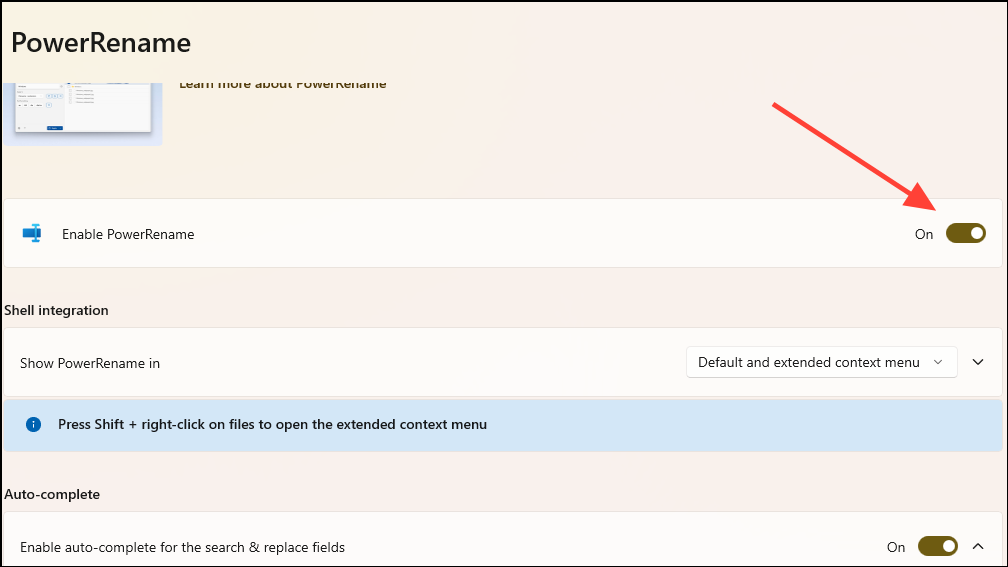
- Make sure the ‘Enable PowerRename’ feature is turned on. It is enabled by default, but if it isn’t, click on the toggle next to it to turn it on.
- With the feature enabled, you can replace all or specific words and characters in a file name and even create conditions using regular expressions ‘RegEx’ for matching and replacing names.
To do so, navigate to the folder using File Explorer where the files to be renamed are and select them.
- Right-click on any of the files selected and then select ‘Rename With PowerRename’ from the menu.
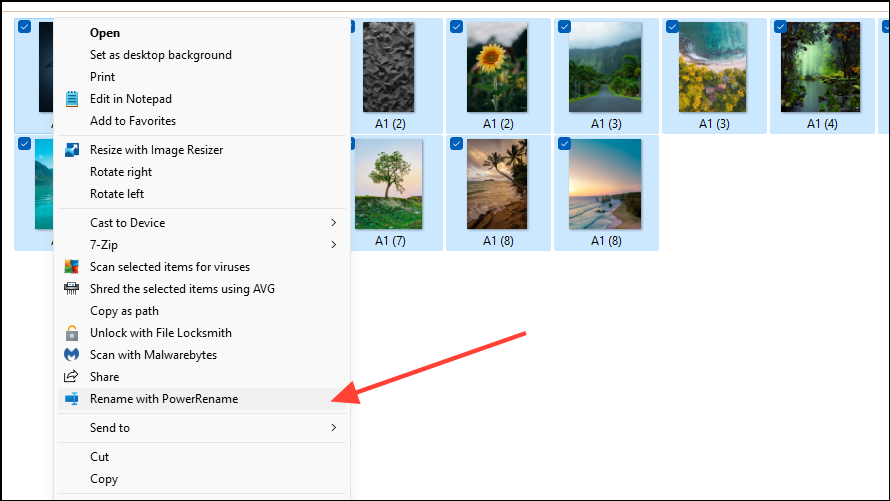
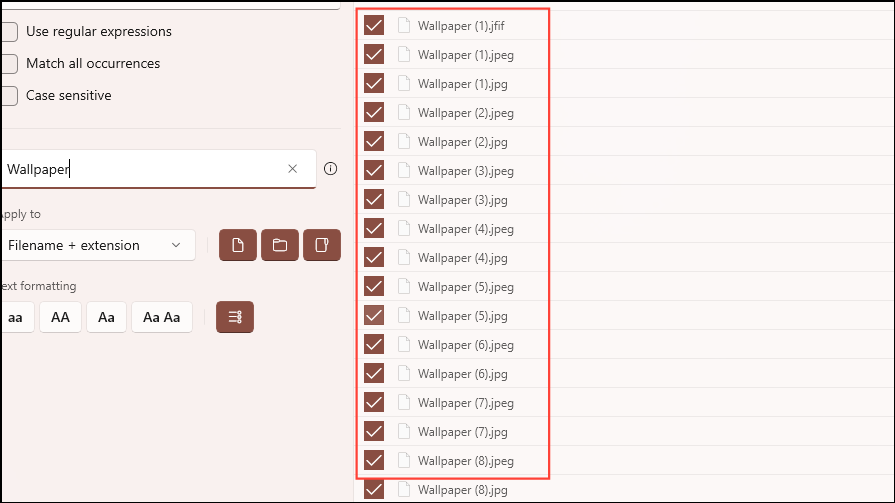
- The PowerRename interface will appear, listing all the files you selected. Enter the name you wish to search for in the text box at the top on the left side.
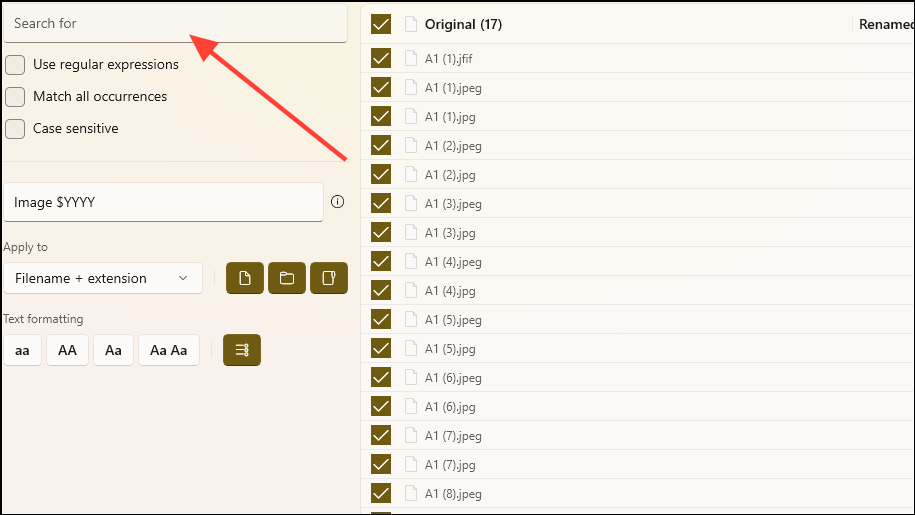
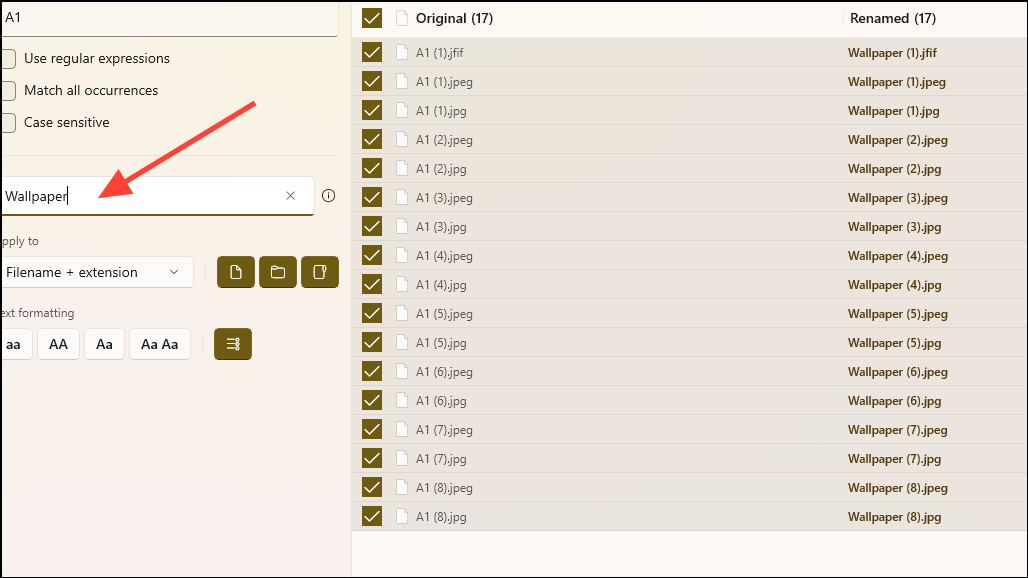
- For instance, we will search for the name ‘A1’. Next, enter the name that you want to use for the images, such as ‘Wallpaper’ in the box below.
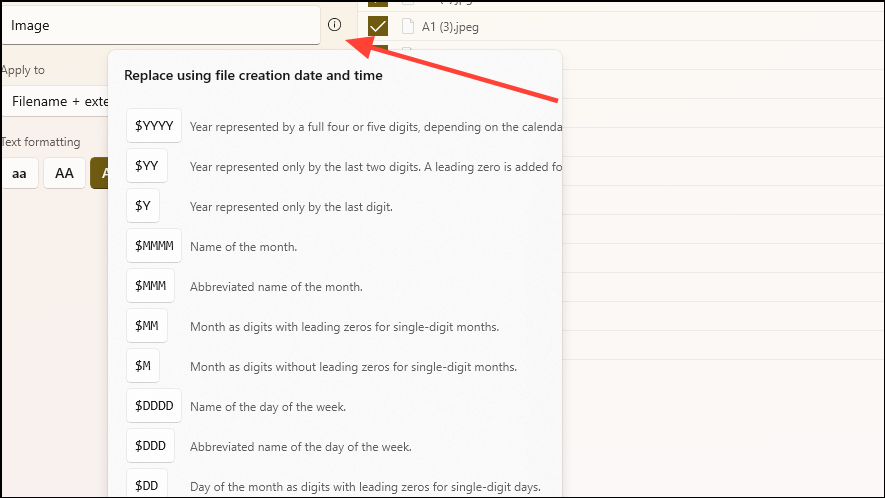
- Clicking on the ‘i’ icon next to the text box will show you several options for renaming files, such as adding data and time, day of the week, etc.
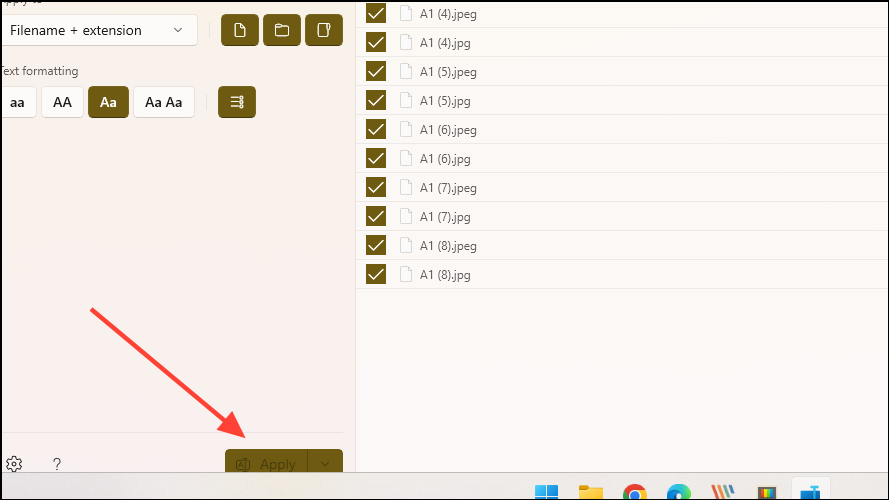
- If you are happy with the preview, click on the ‘Apply’ button at the bottom to complete the renaming process.
- You can see all your files have been renamed now and can confirm it by navigating to the folder where the files are located.
If you want to rename multiple files quickly on Windows 11 without customization, you can do so using File Explorer. On the other hand, if you want to make changes to the format and add more details, the PowerRename feature of Power Toys can help you out. Both methods work well and are extremely fast and easy to use. And you can use them to rename images in different formats, including JPEGs, PNGs, SVGs, and more.


