The internet can be a scary place. It’s certainly no place for a child to have access to unfettered. Whether a kid frequently has access to your iPhone or you’re thinking of getting your child their own phone, limiting access to certain websites is a good idea. The best thing to do for your child’s device is to set up full-blown parental controls, though.
But whichever device you want to block websites on and for whatever reason, iPhone makes it extremely easy to do it. Once you do it, you won’t have to worry about you or your kids laying eyes on something you don’t want to.
Blocking Websites on your iPhone
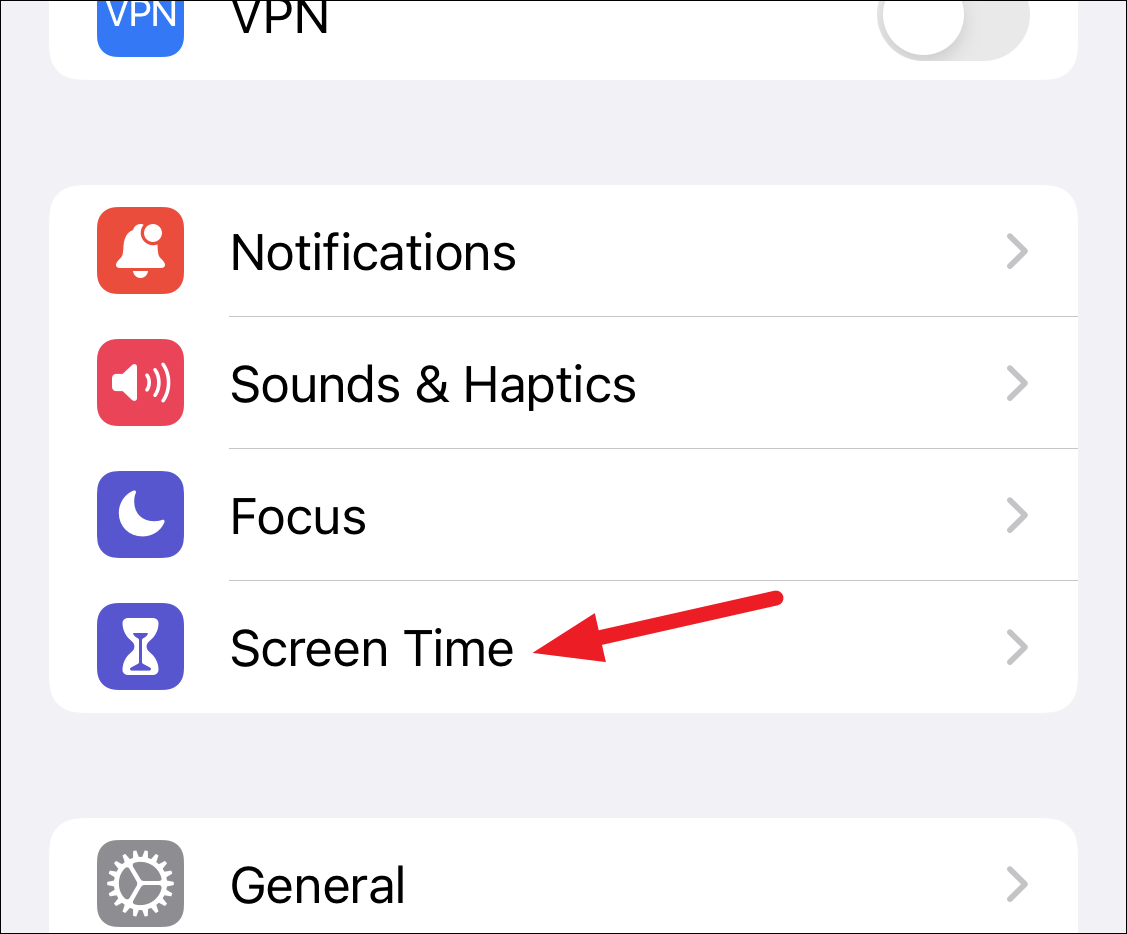
To block any websites on your iPhone, you must have Screen Time set up if you don’t already use it. Open the Settings app and go to ‘Screen Time’.
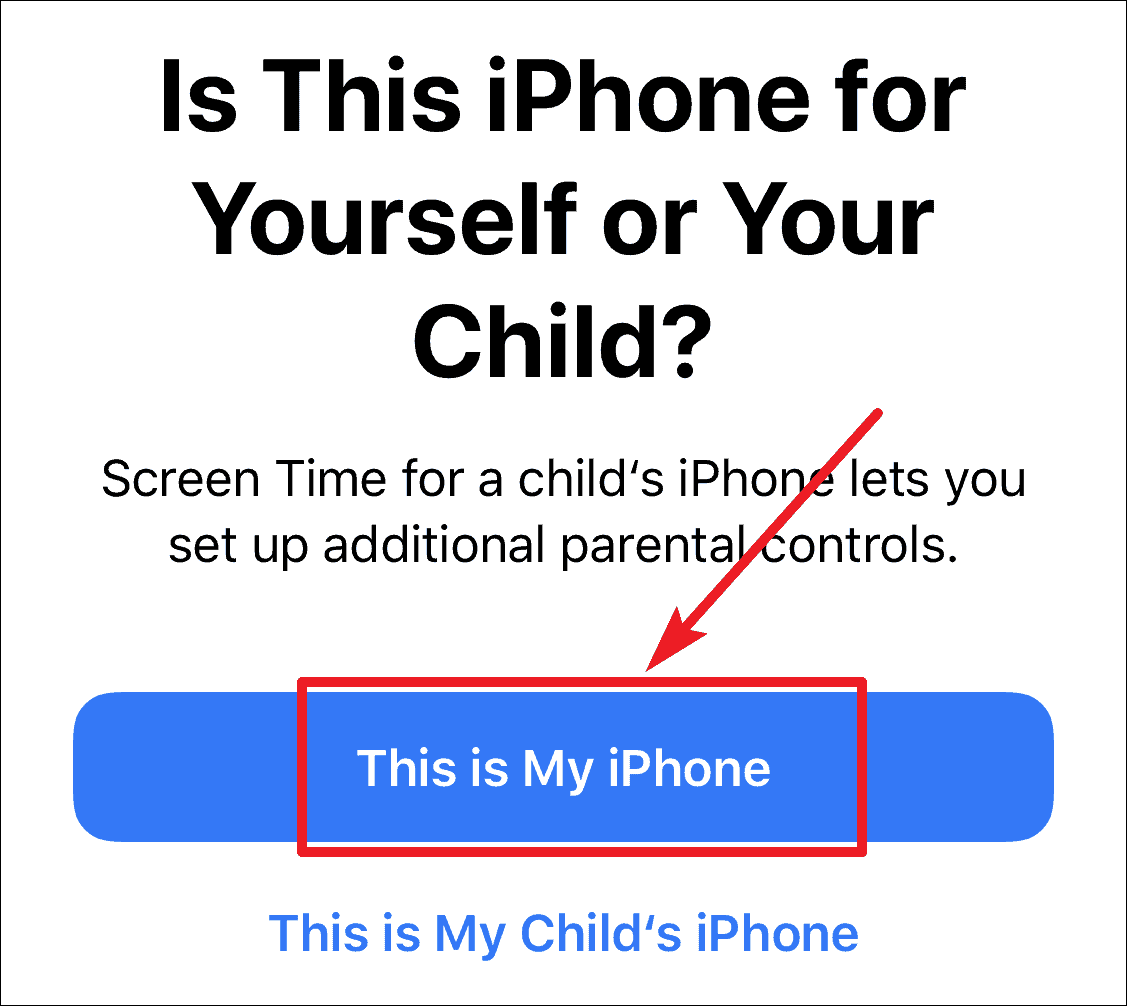
Then, choose ‘This is My iPhone’ to configure Screen Time settings accordingly. You can also set a Screen Time passcode if you want to make sure that no one can change any content restriction settings you apply.
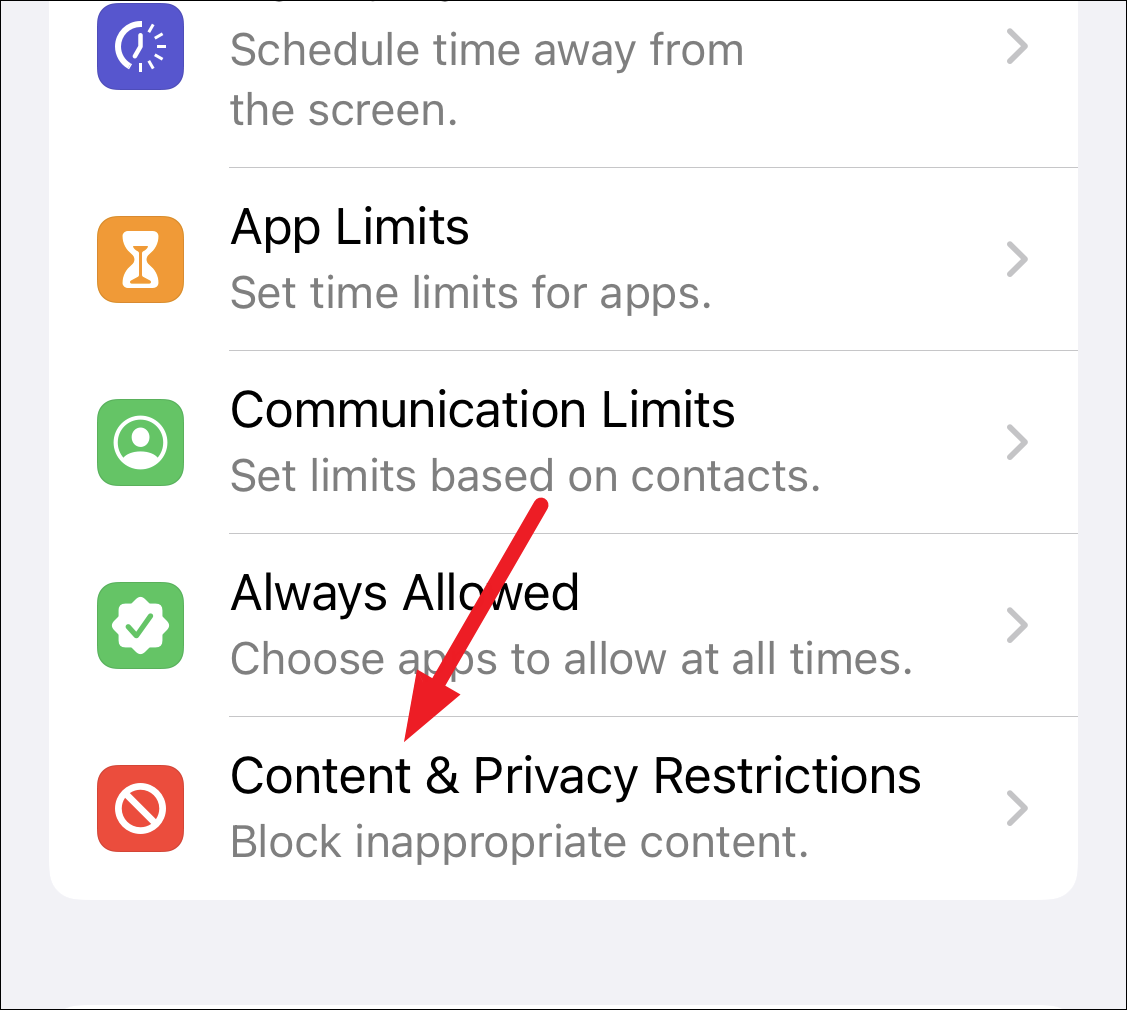
Once you set up Screen Time, go to ‘Content and Privacy Restrictions’.
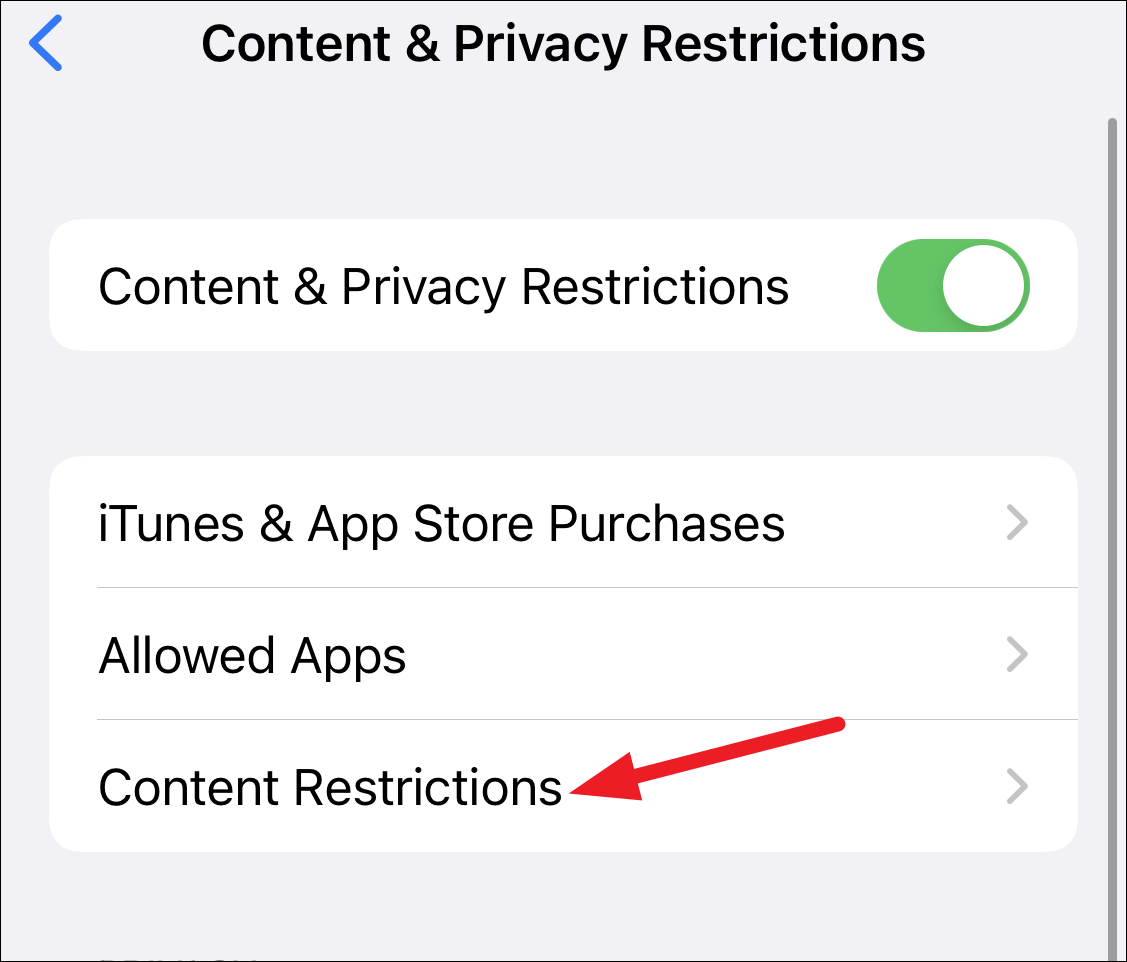
Then, tap the option for ‘Content Restrictions’.
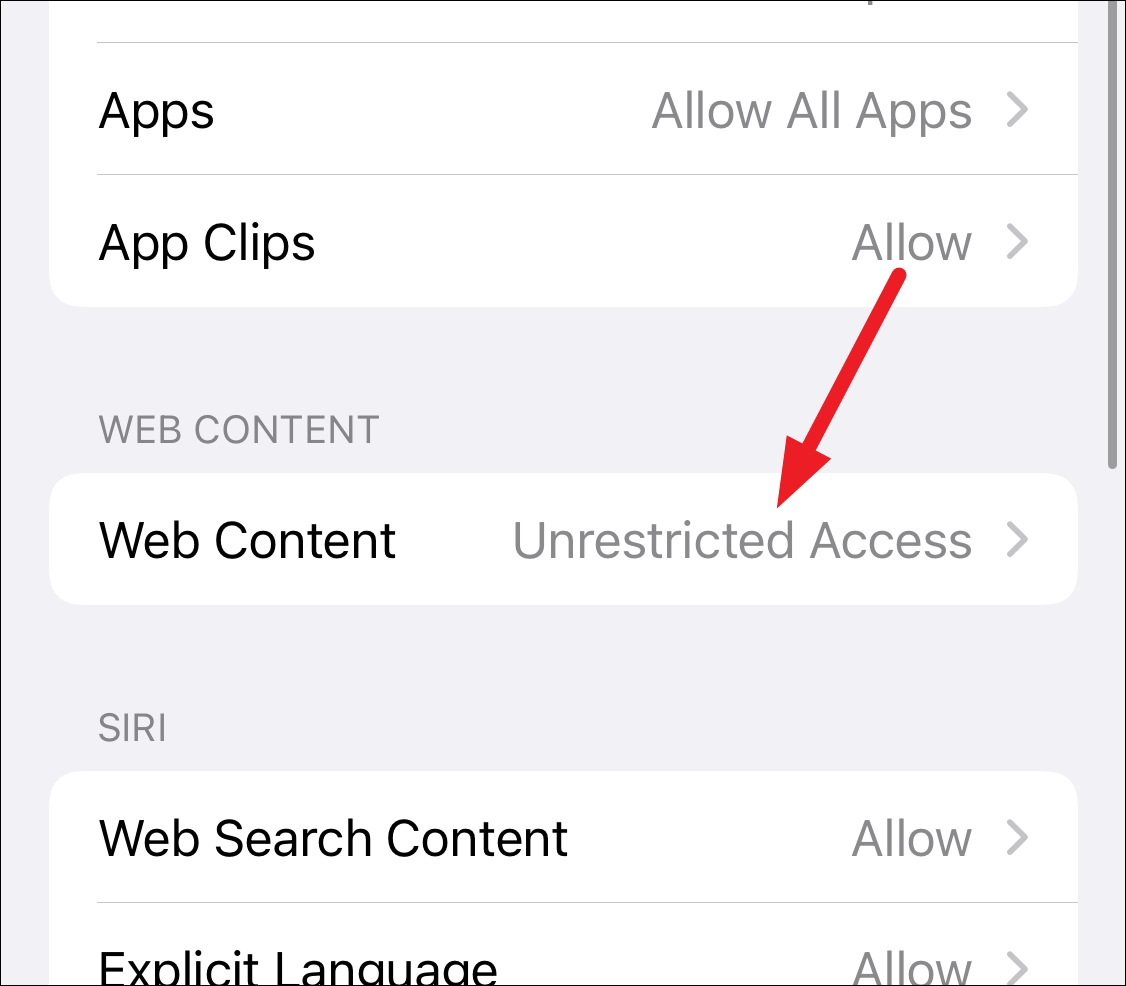
Go to the option for ‘Web Content’.
Block Certain Websites
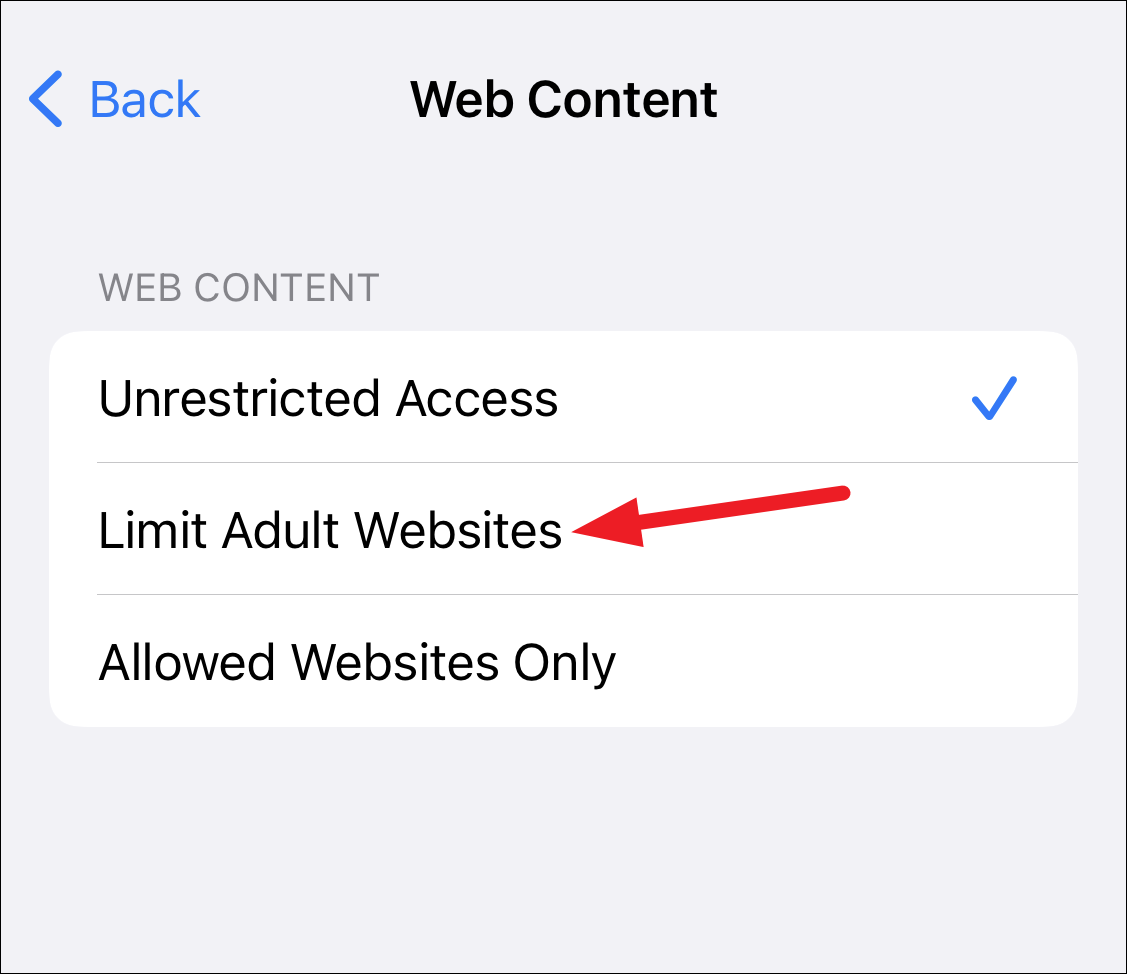
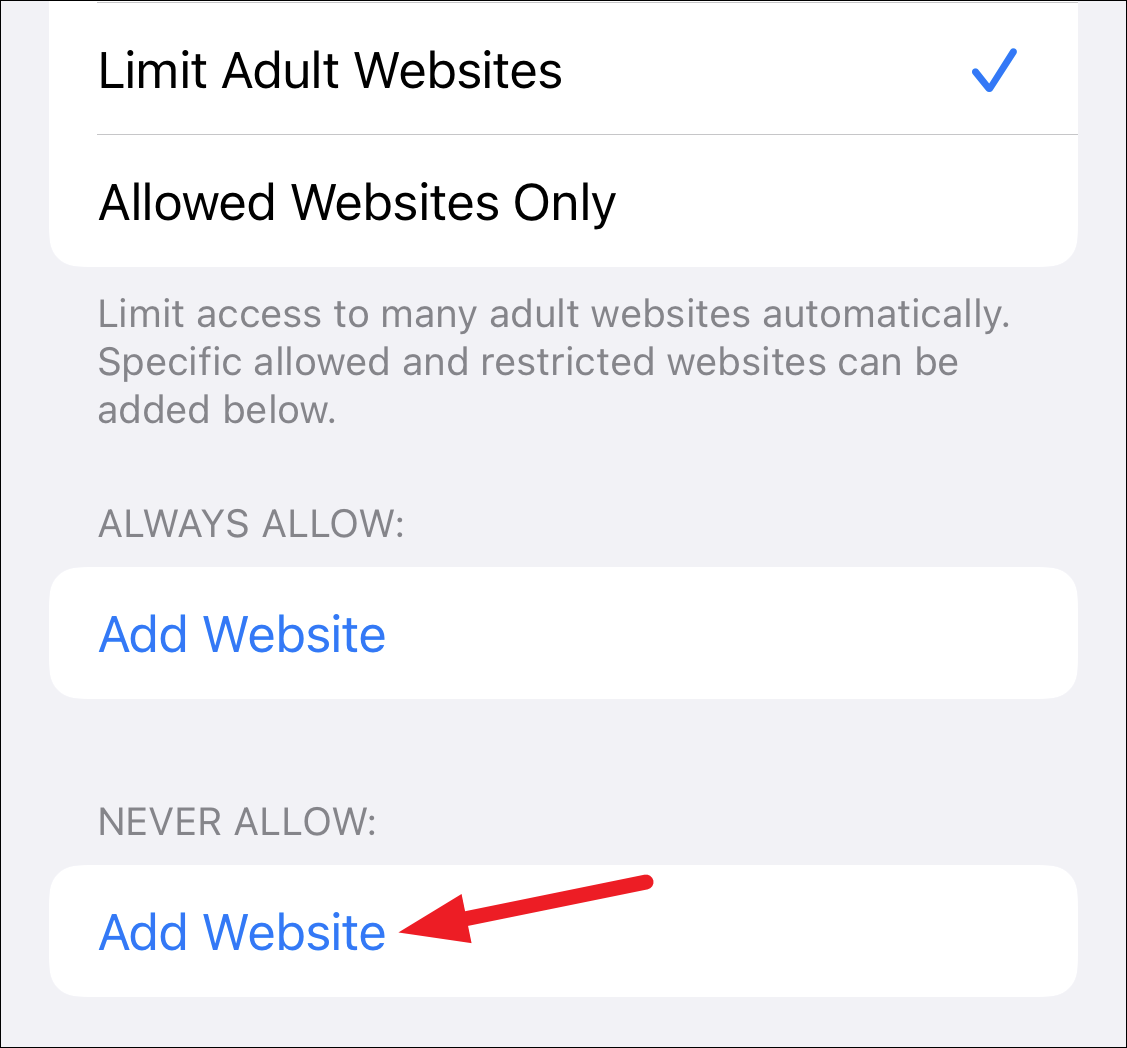
To limit only adult websites, select ‘Limit Adult Websites’ from the options. Safari will automatically limit access to many adult websites.
You can also add any websites manually to this list. Tap ‘Add Website’ under the ‘Never Allow’ section.
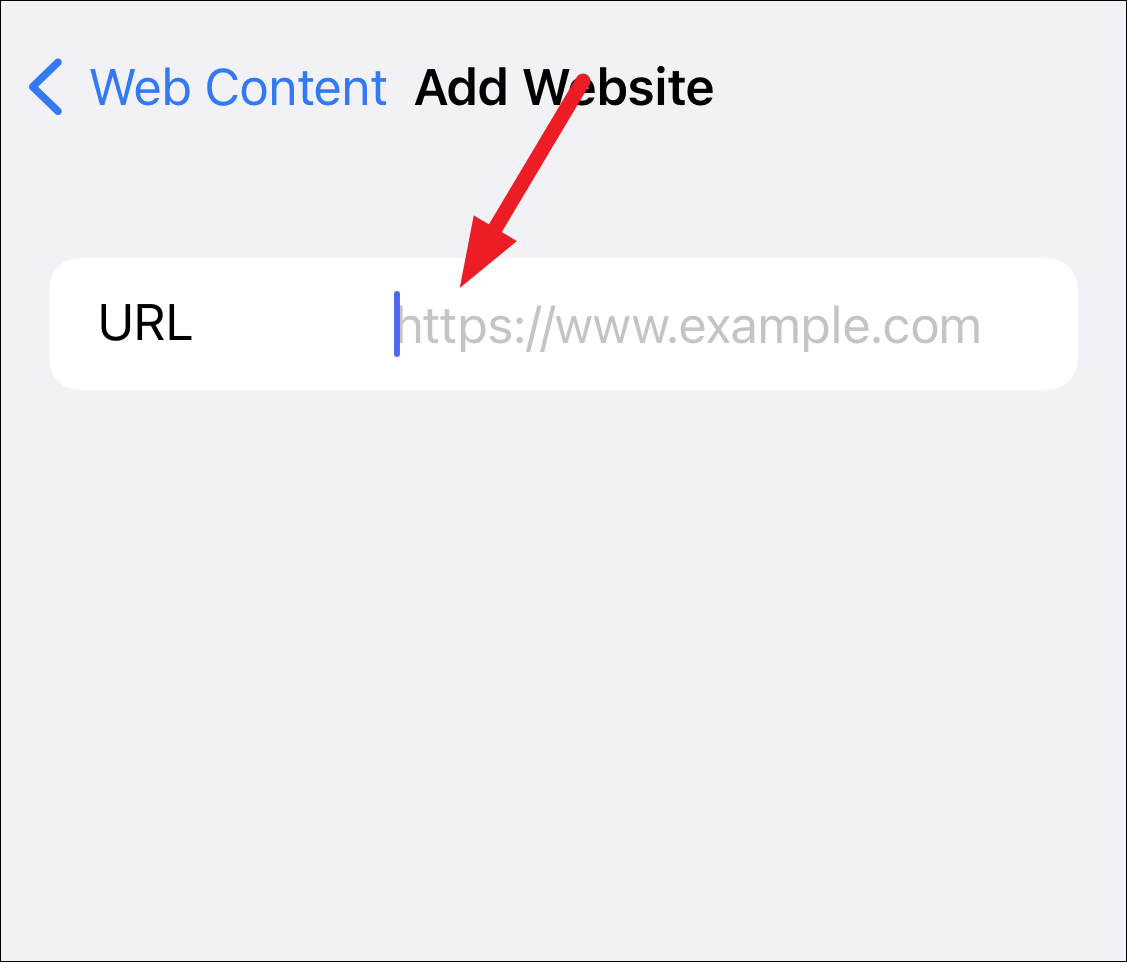
The screen for adding the website will open. Add the complete URL for the website you want to block. Safari will always block this website in addition to the websites it automatically blocks. You can add as many websites to this list as you want.
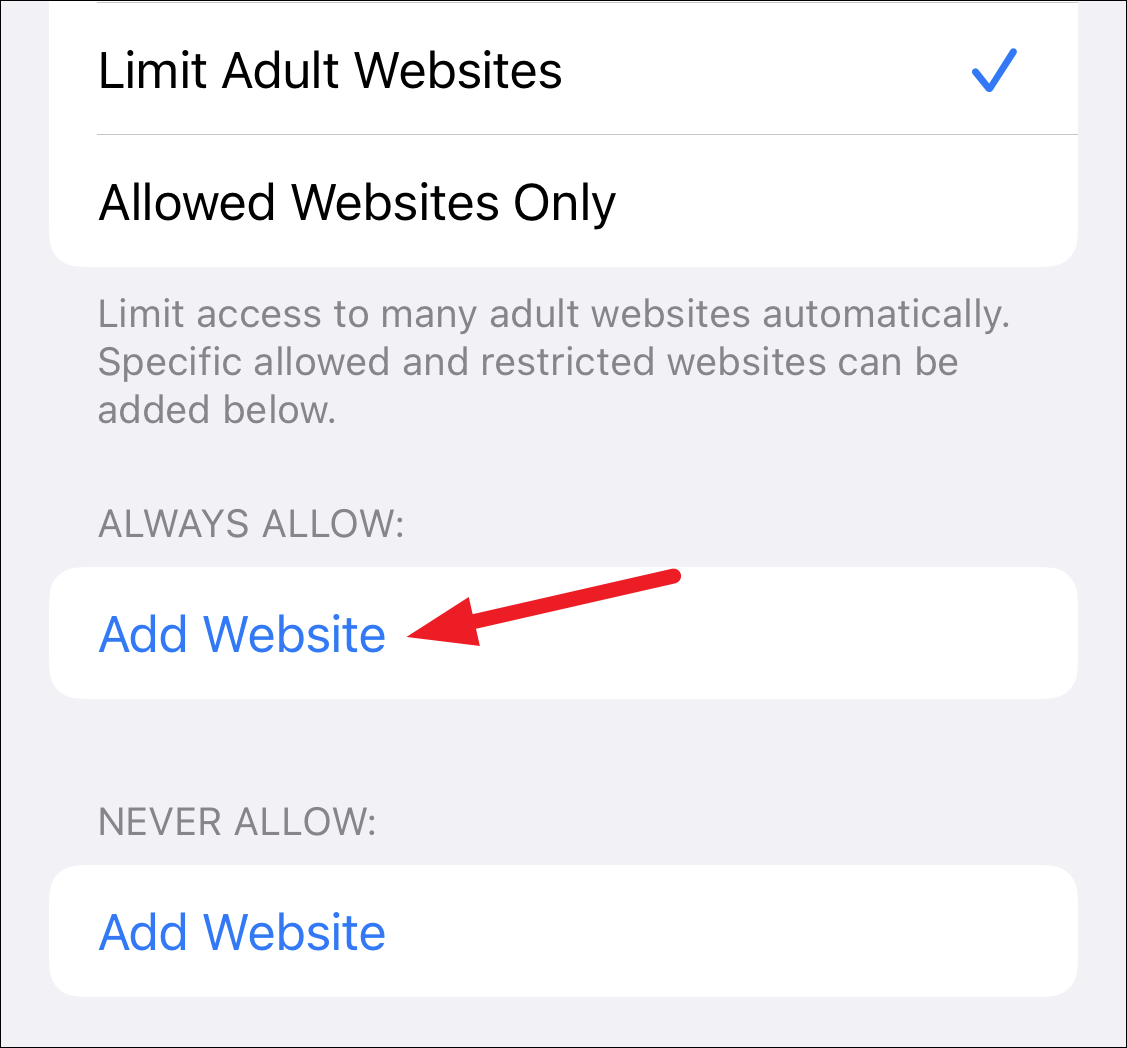
If Safari blocks a website you want to visit, you can add it to the ‘Always Allow’ list. Tap ‘Add Website’ and add the complete URL of any websites you want to bypass Safari’s diligent blocking crusade.
Only Allow Certain Websites
If the only one accessing the device is a kid and you want to make sure they can only visit certain websites, iPhone also offers a more drastic approach for that.
From the Web Content restriction options, choose the option for ‘Allowed Websites Only’.
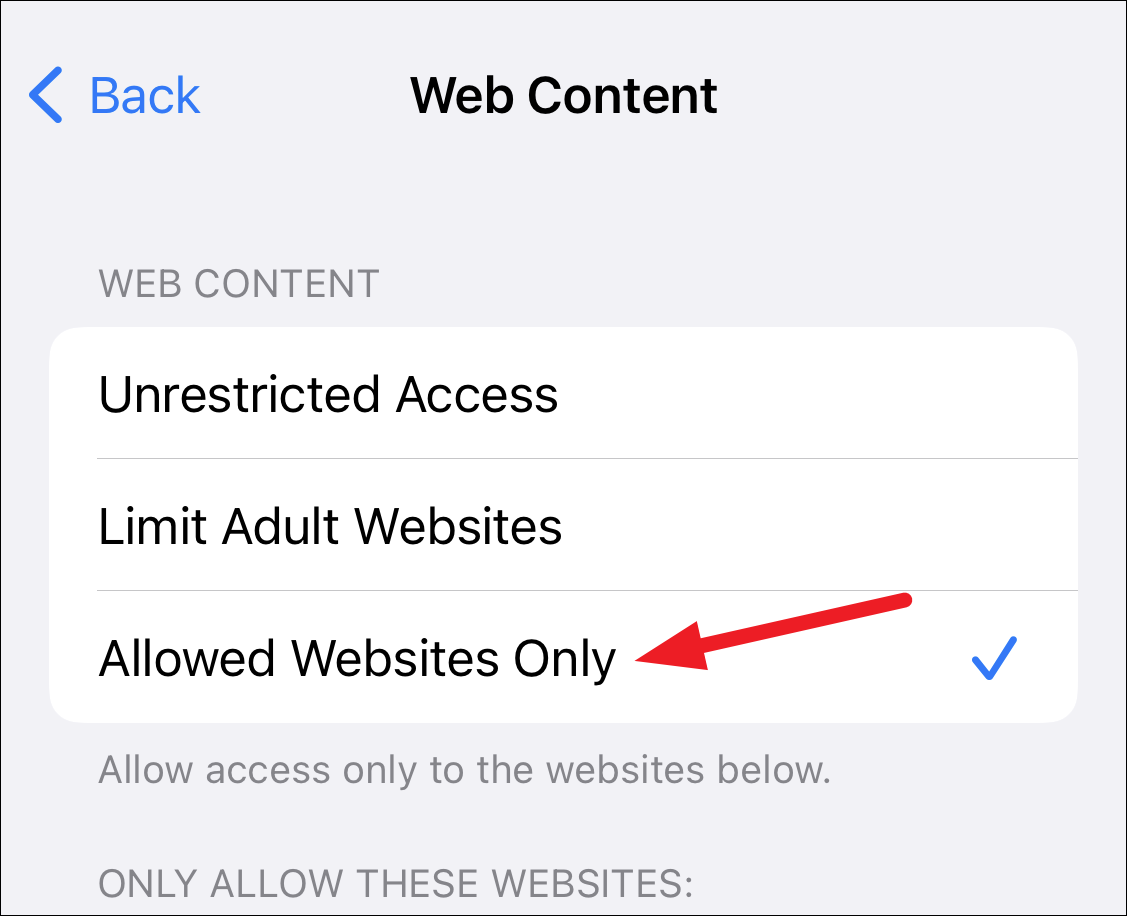
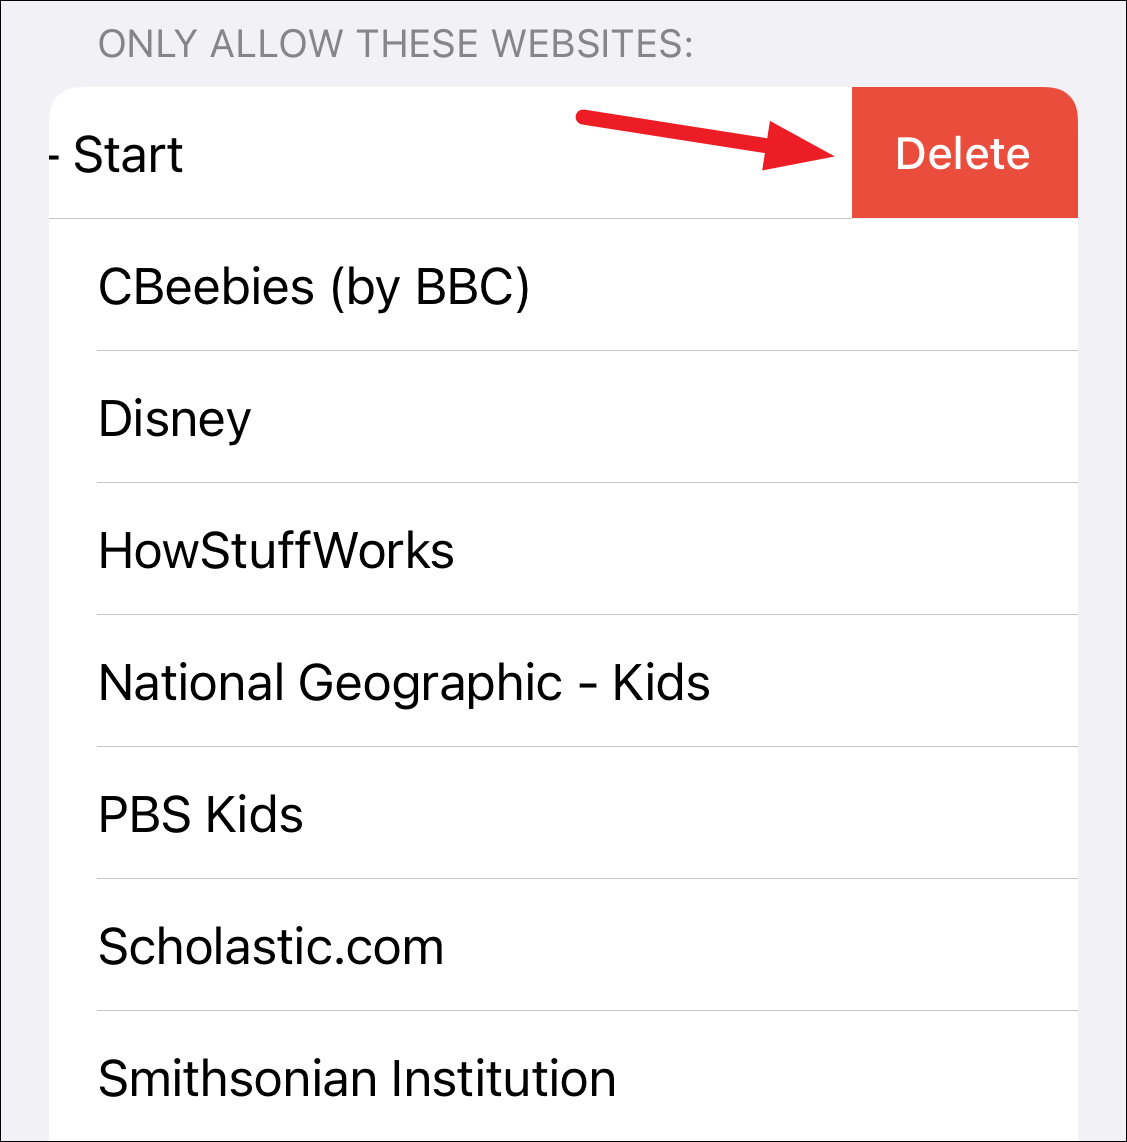
Apple will automatically provide a curated list of a few children’s websites you can allow. You can keep them or delete them. To delete a website, swipe right on an option and tap ‘Delete’.
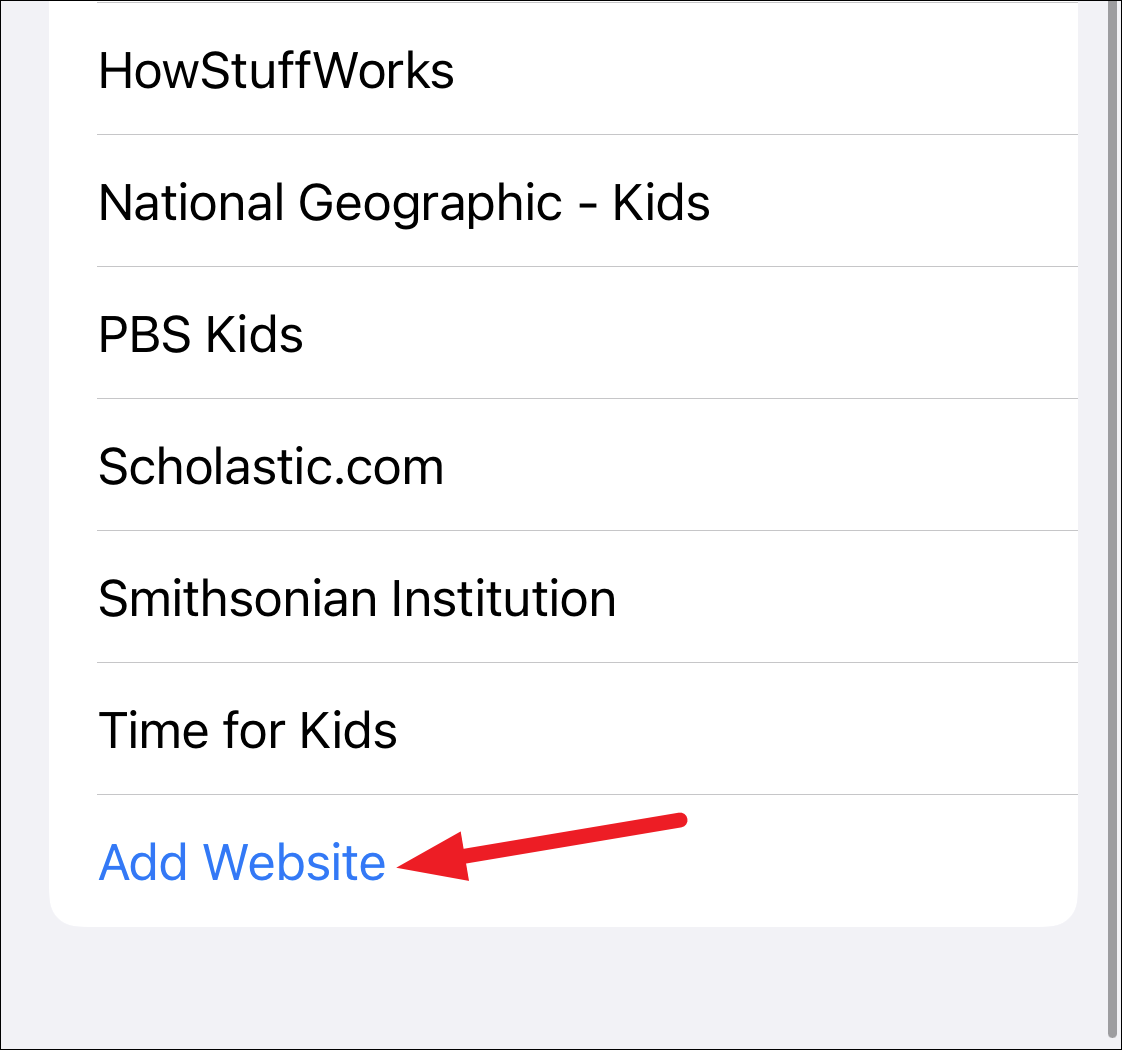
To add the websites you want to allow, tap ‘Add Website’ and enter the title and complete URL for the site. Repeat this step to add the websites one by one.
Whether you just want to protect your device from accidentally opening certain adult websites or you want to make it a safe device for your kid to navigate the internet, iPhone makes it extremely easy. The setting might be buried a little under a few screens, but it still is as easy as a piece of cake to access it. You don’t have to be exceedingly tech-savvy to set everything up either. So, go on and get to blocking those websites!