
Having administrator privileges on a Windows 11 computer allows you to perform advanced tasks like installing software, changing system settings, and managing other user accounts. If you need to change a standard user account to an administrator account, there are several methods available. This guide provides detailed instructions on how to change an account type using Settings, Control Panel, User Accounts, Command Prompt, and PowerShell.
Types of Accounts in Windows 11
Windows 11 offers two main types of user accounts: Standard User accounts and Administrator accounts. An Administrator account grants complete control over the system, enabling you to install hardware and software, access all files, modify system settings, perform elevated tasks, and manage other user accounts. It’s recommended to have an additional administrator account as a backup in case you forget your password or lose access to your main account.
Standard User accounts, on the other hand, have limited capabilities. Users with standard accounts can use existing applications but cannot install or remove applications. They are restricted from making changes that affect other users or altering system settings. To perform tasks that require elevation, they must provide administrative credentials.
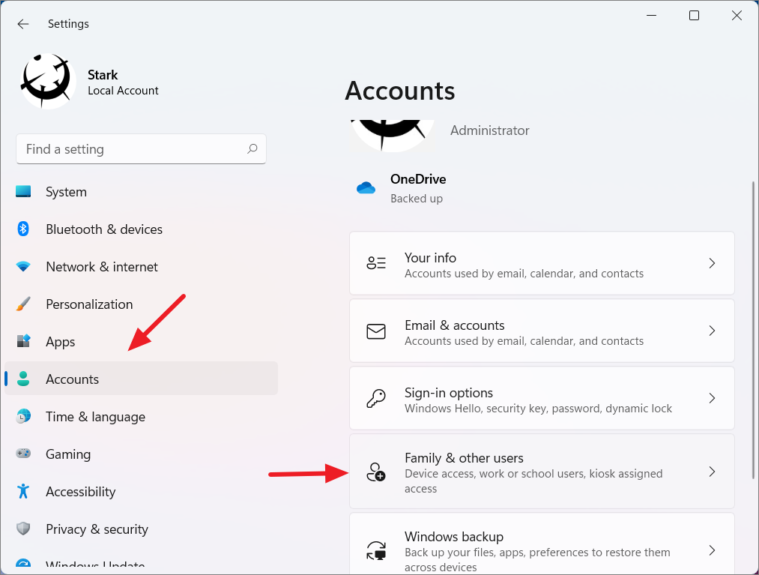
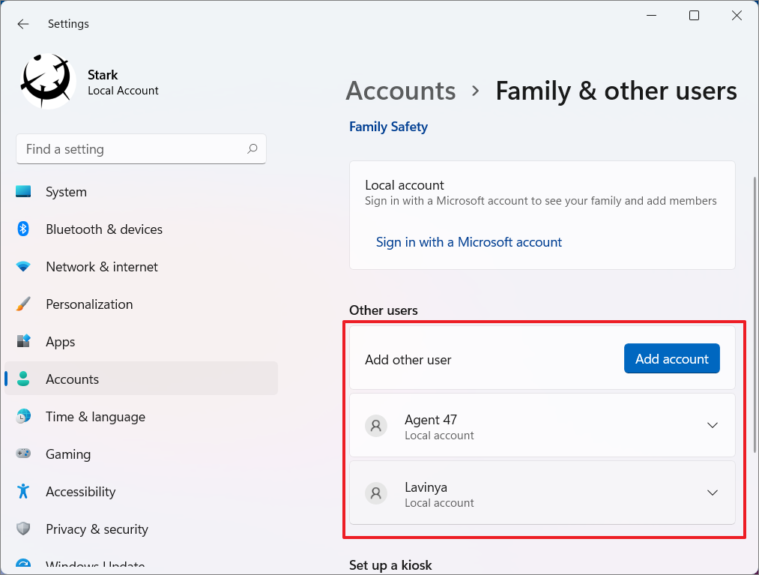
Change Account Type to Administrator Using Windows Settings
Windows + I on your keyboard.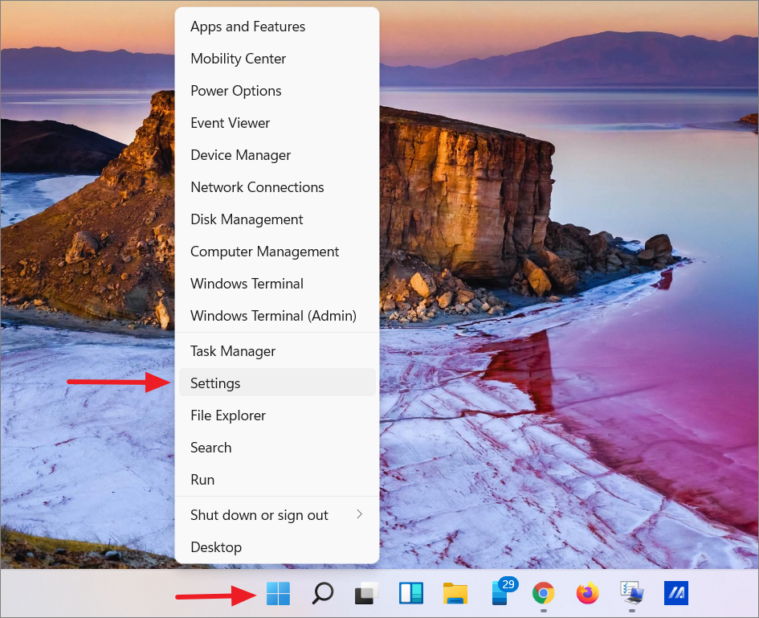
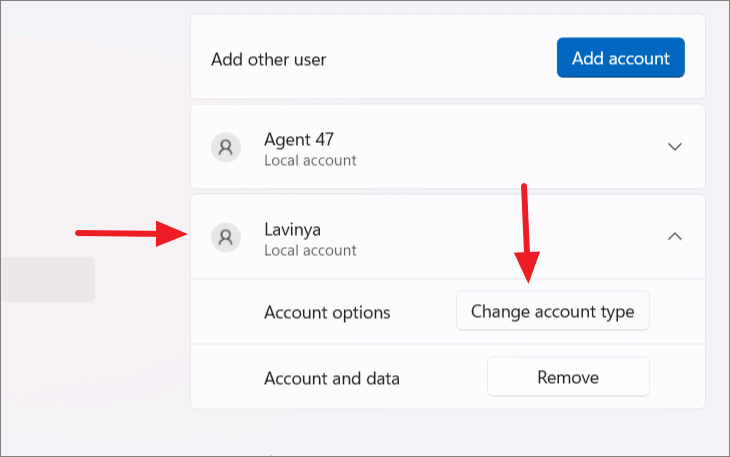
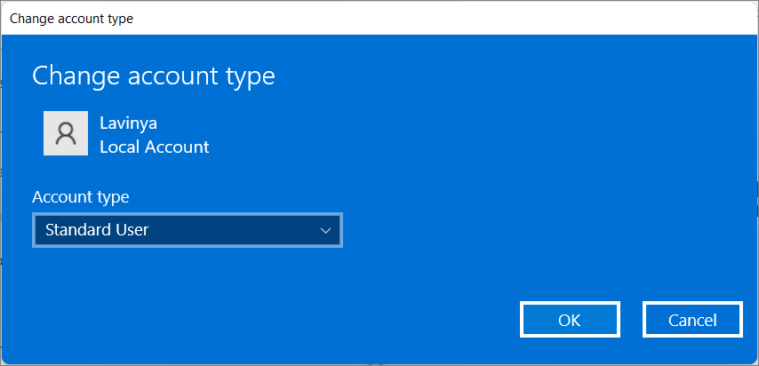
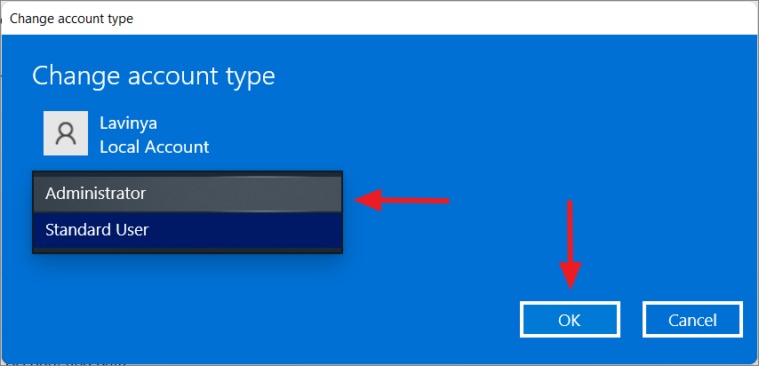
The selected user account now has administrator privileges. If you need to revert an administrator account back to a standard user, follow the same steps and choose Standard User instead.
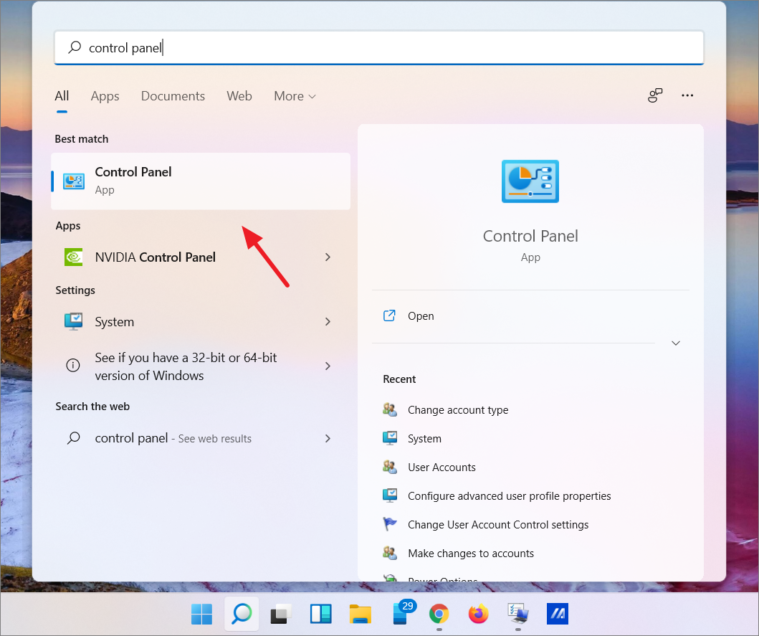
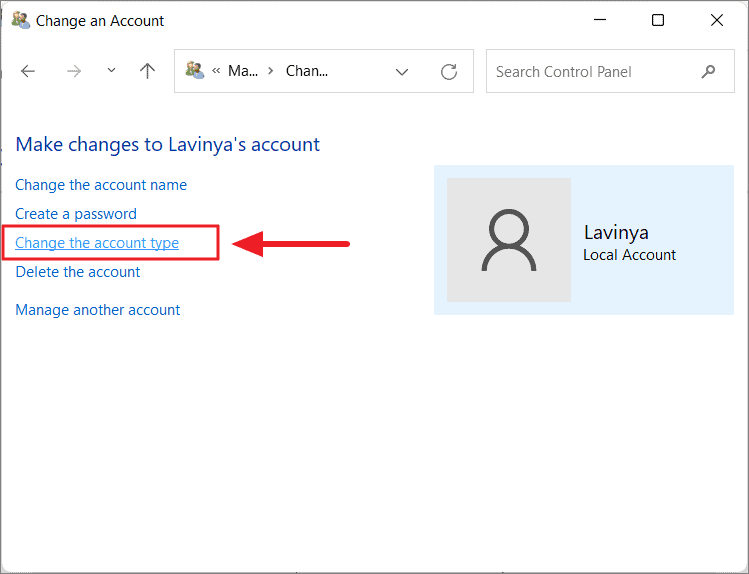
Changing Administrator Using Control Panel

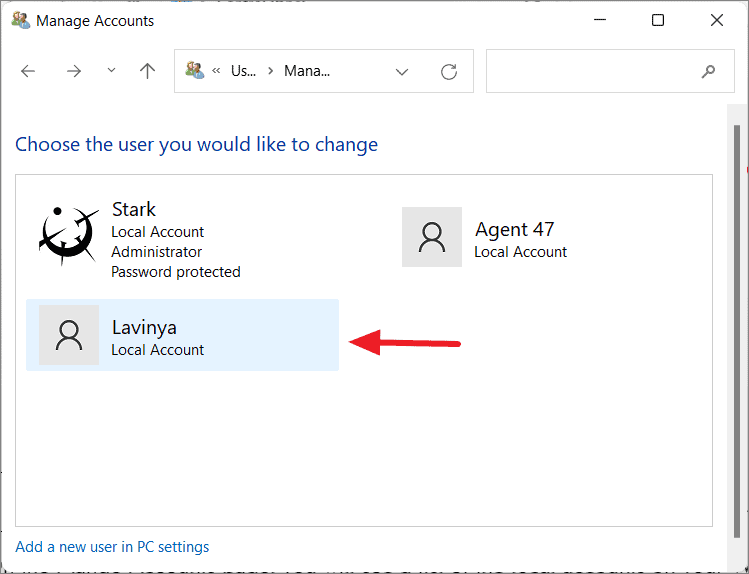
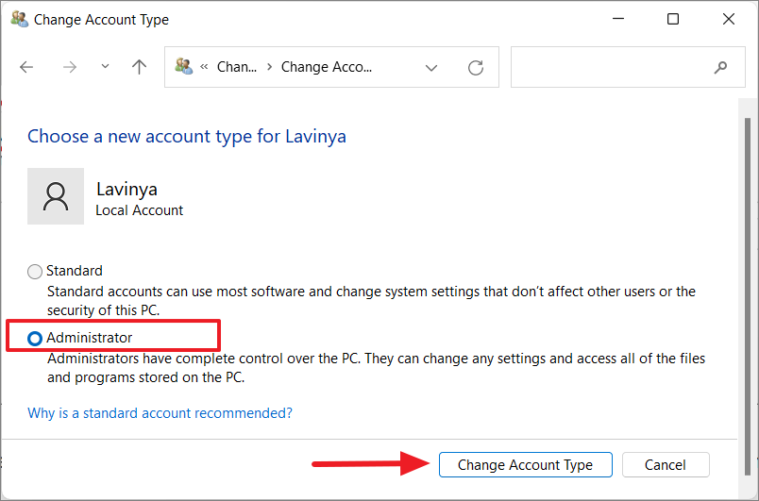
The user account will now have administrator rights. Restart your computer to ensure the changes take effect. To change an administrator account back to a standard user, follow the same steps and select Standard instead.
Using User Accounts (netplwiz) to Change Account Type
Windows + R to open the Run dialog box. Type netplwiz into the Open field and press Enter to launch the User Accounts tool.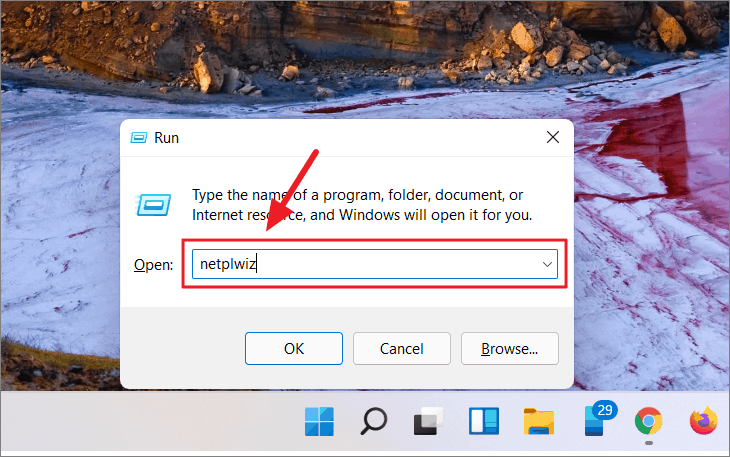
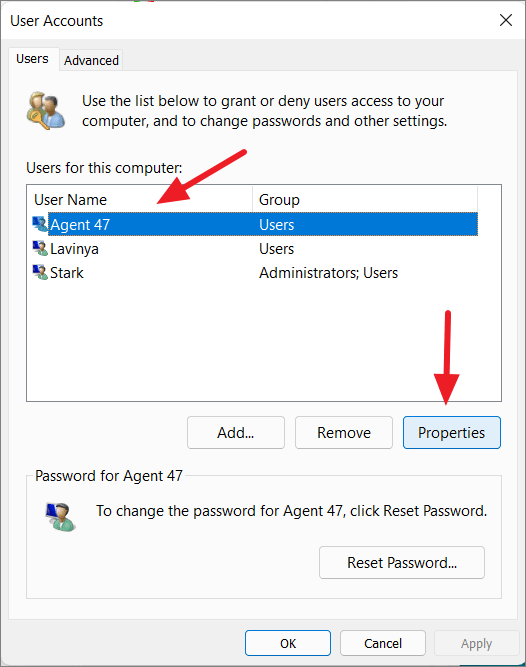
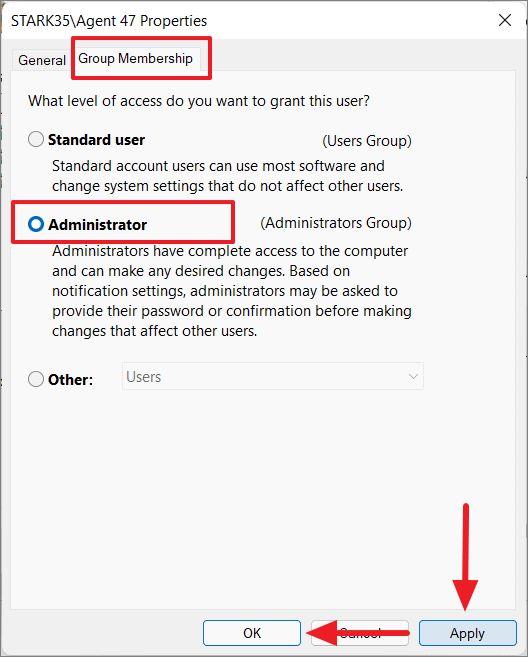
The selected account now has administrator privileges. If you want to assign different user group privileges, you can select Other and choose from various options like Power Users, Guests, or Remote Desktop Users.
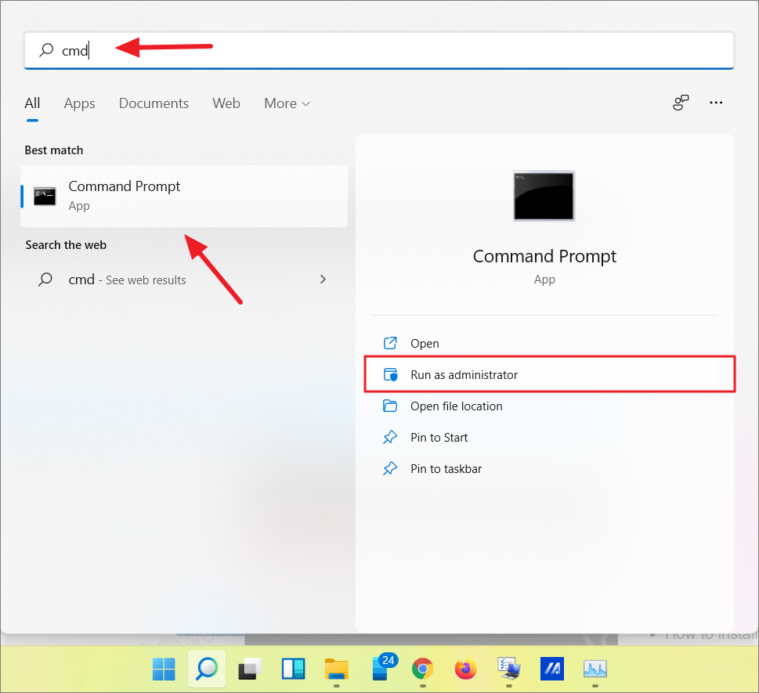
Changing Account Type Using Command Prompt
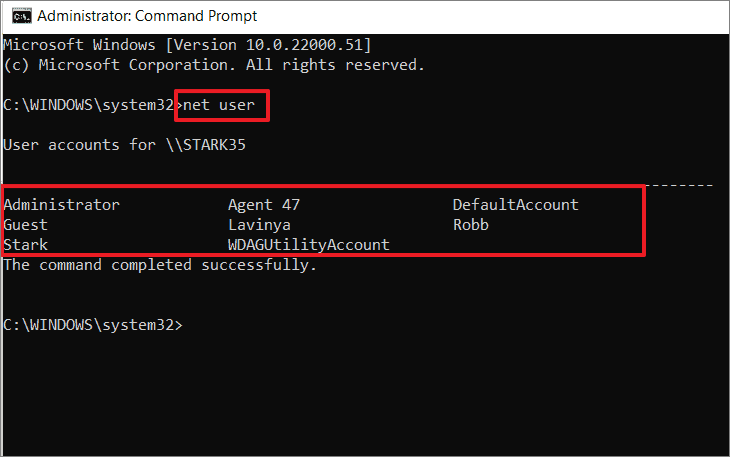
net userThis will display a list of all user accounts, including the default ones.
net localgroup Administrators "AccountName" /add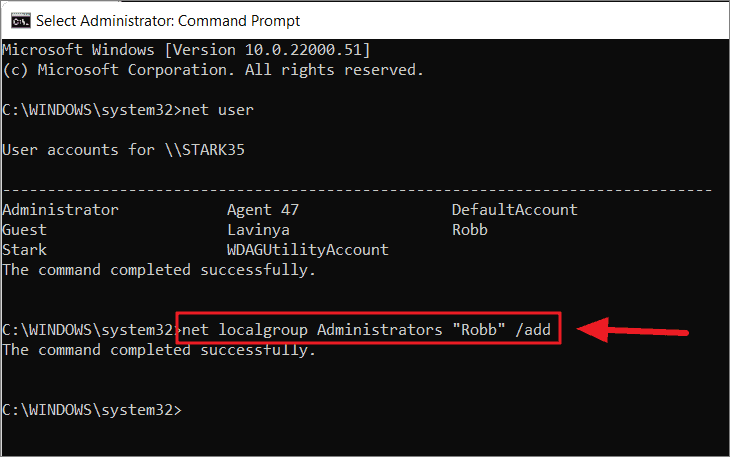
The account has now been granted administrator privileges. To remove an account from the Administrators group and revert it to a standard user, use the following command:
net localgroup Administrators "AccountName" /delete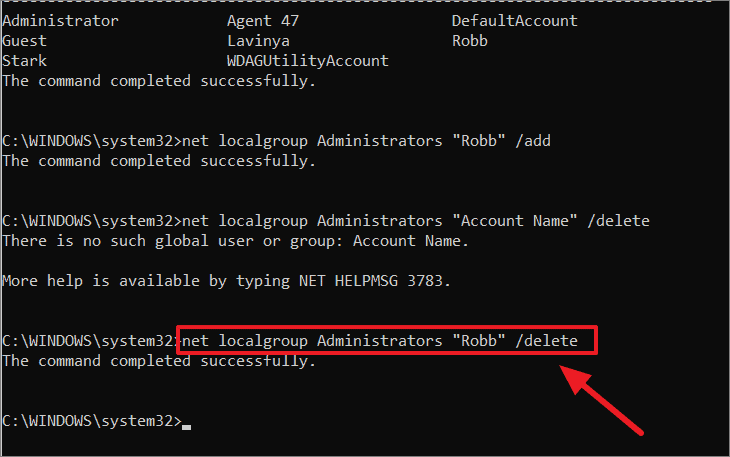
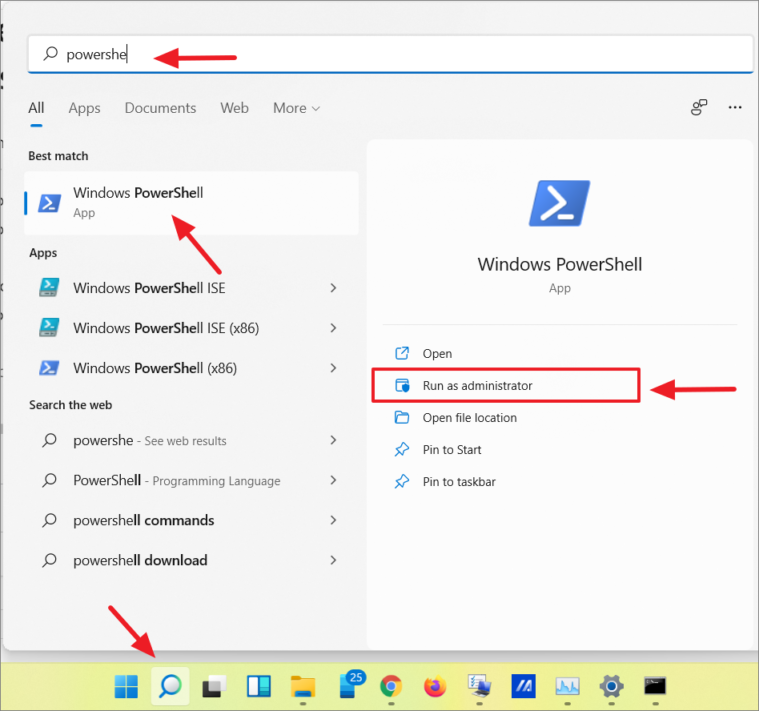
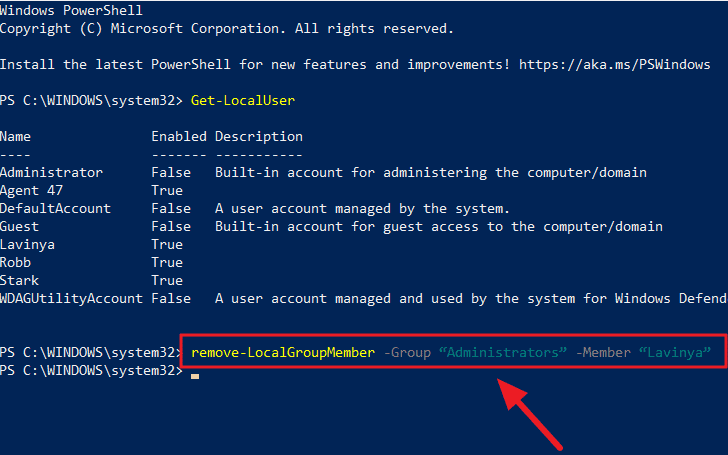
Changing Account Type with PowerShell
Get-LocalUser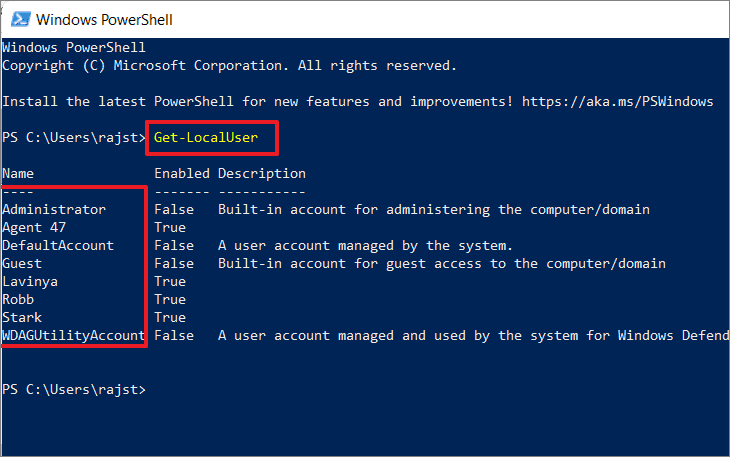
Add-LocalGroupMember -Group "Administrators" -Member "AccountName"Example:
Add-LocalGroupMember -Group "Administrators" -Member "Lavinya"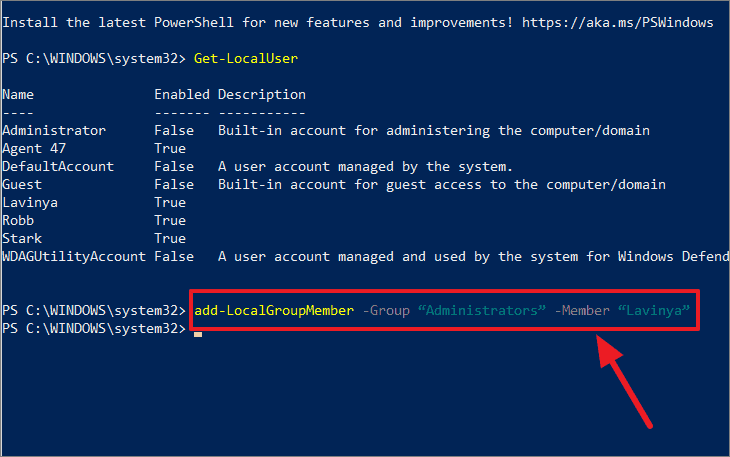
Remove-LocalGroupMember -Group "Administrators" -Member "AccountName"This command revokes administrative rights from the specified user.
By utilizing these methods, you can effectively manage user accounts on your Windows 11 system. Granting or revoking administrator privileges ensures that users have appropriate access levels, enhancing both functionality and security.


