Windows 11 brings a refreshing update to Microsoft’s operating system, introducing a sleek design and new features that enhance user experience. From the centered taskbar to the redesigned Start menu, Windows 11 offers a modern interface while retaining familiar functionalities. This guide will help you navigate these updates and make the most of what Windows 11 has to offer.
Working with the New Taskbar and Start Menu
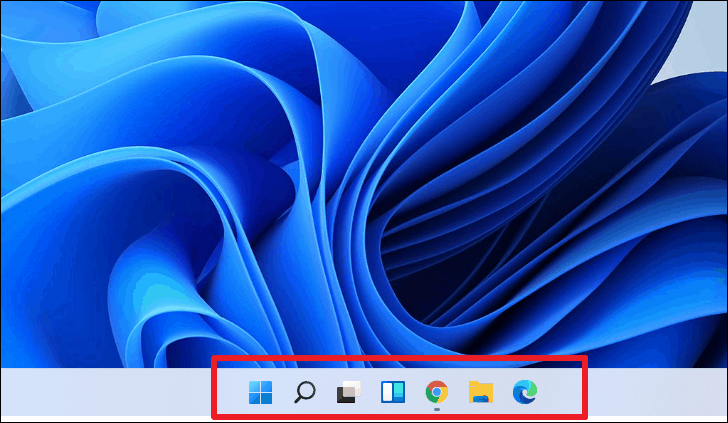
By default, Windows 11 centers the taskbar icons, providing a balanced look that’s especially beneficial on ultra-wide monitors. If you prefer the classic left-aligned taskbar from Windows 10, you can easily adjust this setting.
To align the taskbar icons to the left:
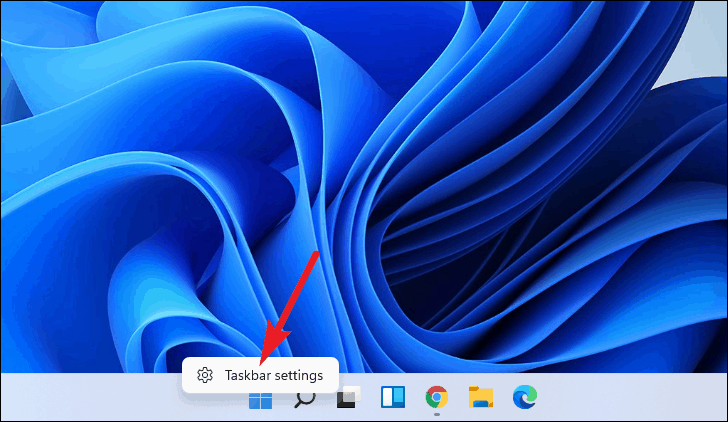
- Right-click on the taskbar and select Taskbar settings.
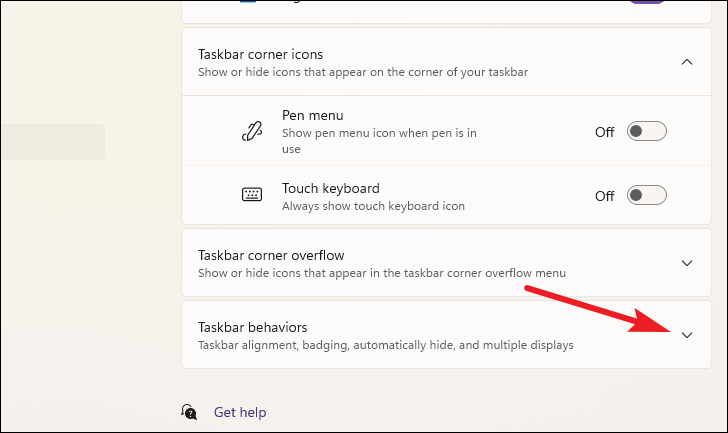
- In the Taskbar settings window, expand the Taskbar behaviors section.
- Under Taskbar alignment, choose Left from the dropdown menu.
If you want the taskbar to remain visible at all times, you can lock it in place:
- Right-click the taskbar and select Taskbar settings.
- Expand the Taskbar behaviors section.
- Uncheck the option for Automatically hide the taskbar to keep it visible.

The search function is now represented by a magnifying glass icon on the taskbar. Hovering over it displays your recent searches for quick access to apps and files.

The taskbar also includes icons for Task View and Widgets, which provide additional functionality for multitasking and quick access to information.
The Start menu has been streamlined for simplicity, displaying your pinned apps at the top for easy access. To see all installed apps, click on All apps to view an alphabetical list.
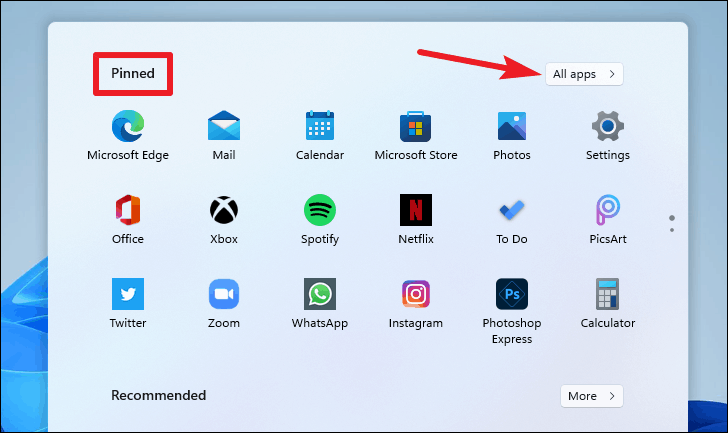
The lower section of the Start menu features the Recommended area, showing your recent files and documents. This makes it convenient to pick up where you left off.
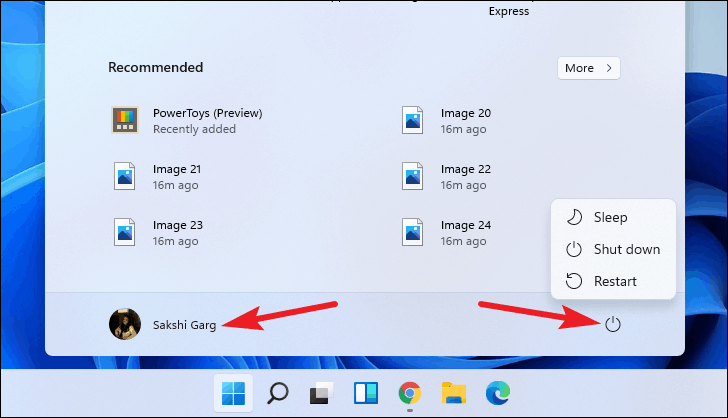
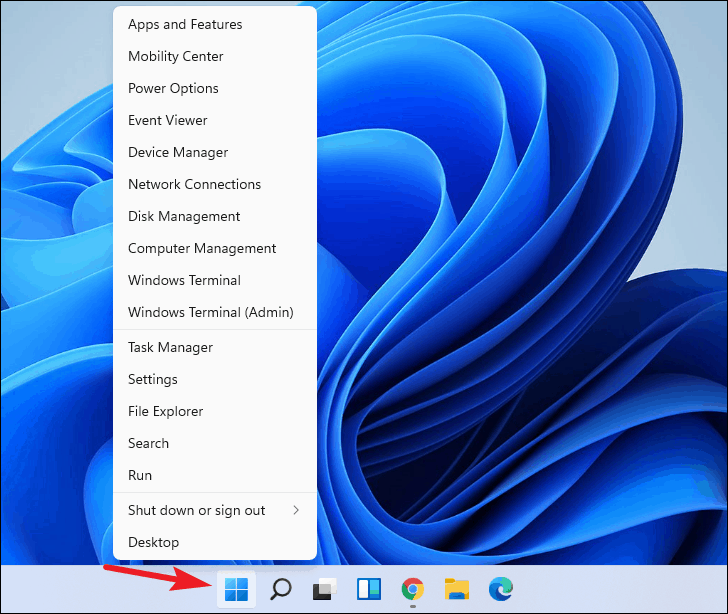
Right-clicking the Start button opens a quick access menu with shortcuts to essential tools like Device Manager, Disk Management, and Windows Terminal.
Using Task View for Virtual Desktops
Task View in Windows 11 provides an improved way to manage multiple virtual desktops, allowing you to organize your tasks and workflows effectively.
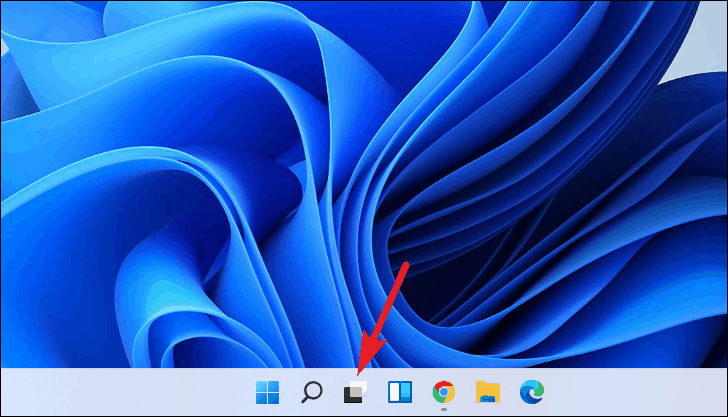
- Click on the Task View icon on the taskbar.
- In the Task View interface, click New desktop to create a new virtual desktop.
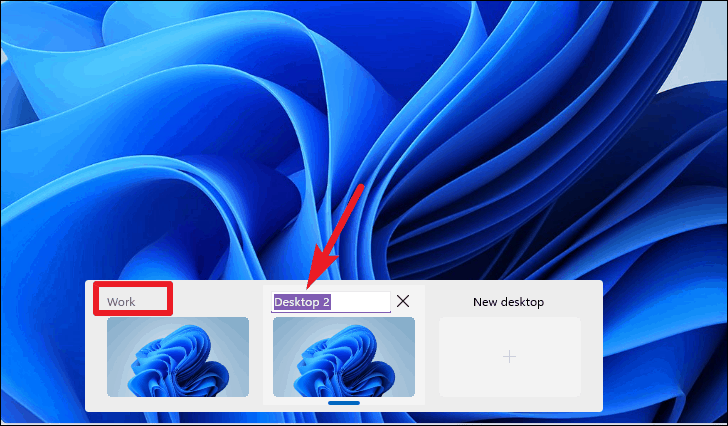
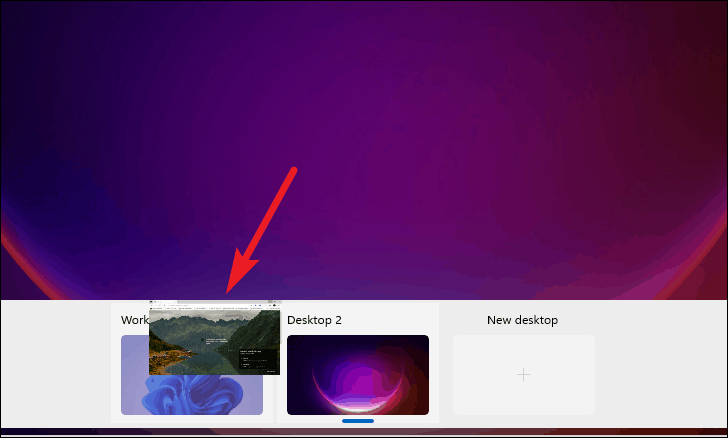
To rename a desktop for better organization:
- Hover over the desktop thumbnail in Task View.
- Click on the name of the desktop to make it editable.
- Type a new name and press Enter.
While you can’t customize apps or the taskbar separately for each desktop, you can set different backgrounds:
- Right-click on a desktop thumbnail in Task View.
- Select Choose background and pick a wallpaper.
To rearrange or close desktops, right-click the desktop thumbnail and select Move left, Move right, or Close.
Tip: To move an open app between desktops, open Task View, then drag the app’s thumbnail from one desktop to another.
You can customize how apps appear on the taskbar and Alt+Tab across desktops:
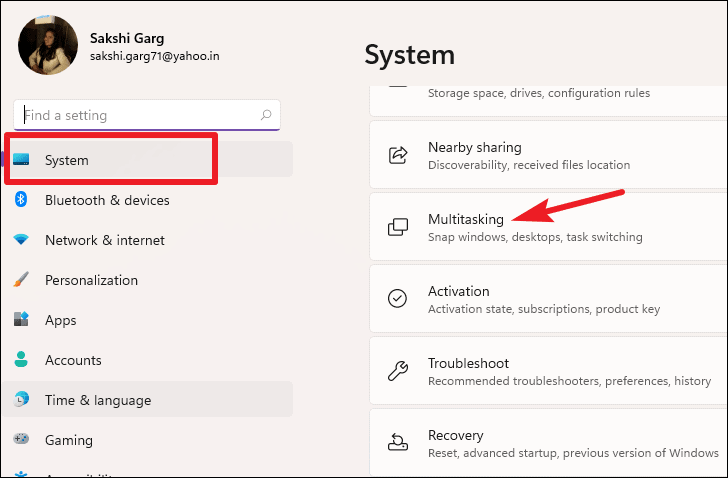
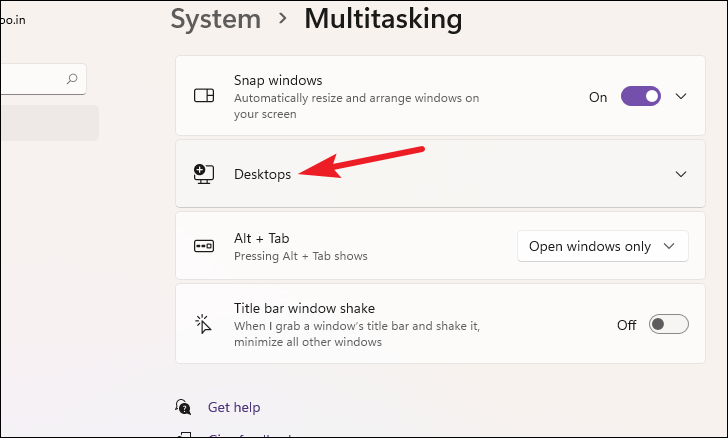
- Open Settings by pressing Windows logo key + I.
- Go to System, then select Multitasking.
- Under Desktops, adjust the settings for taskbar and Alt+Tab behavior.
Exploring Widgets
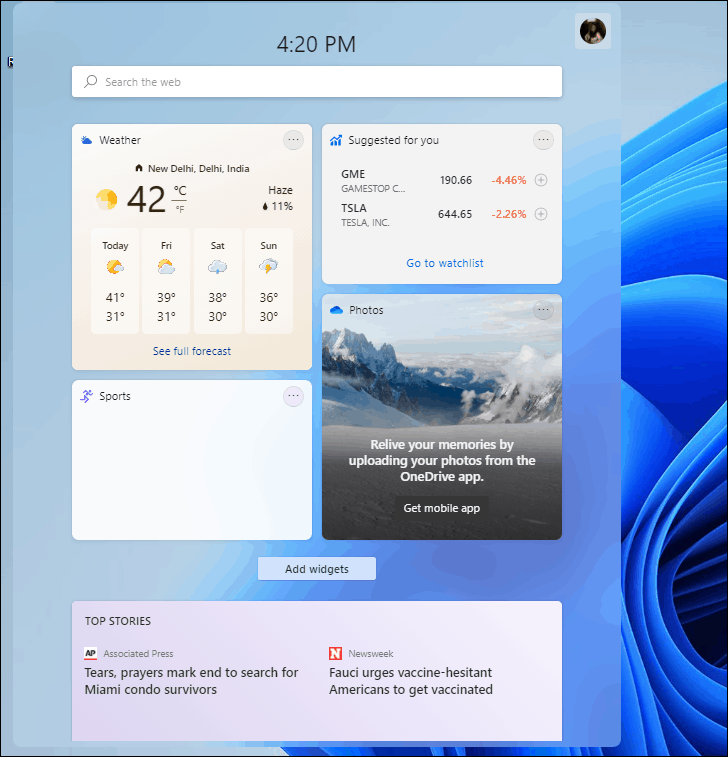
Widgets in Windows 11 provide quick access to personalized content like weather updates, news, calendar events, and more.
- Click the Widgets icon on the taskbar to open the Widgets panel.
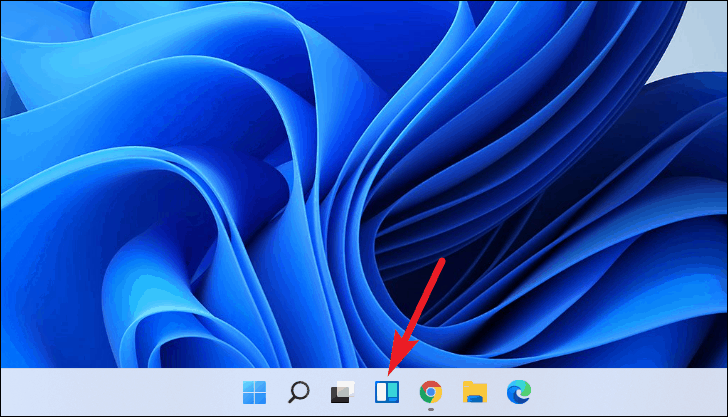
The Widgets panel appears on the left side, displaying cards with various information.
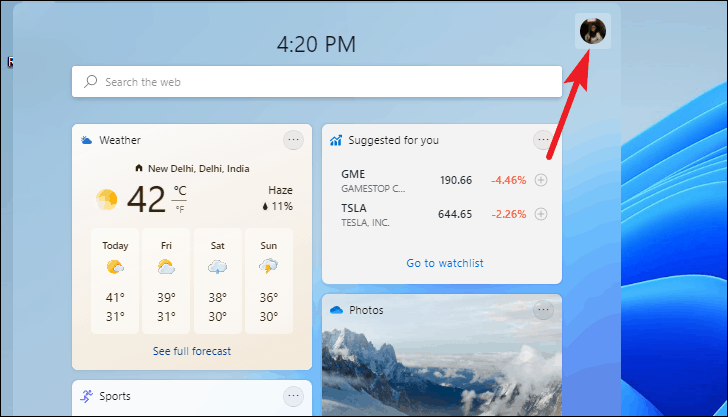
To customize your widgets:
- Click your profile icon in the top-right corner of the Widgets panel.
- Select Add widgets to choose from available widgets.
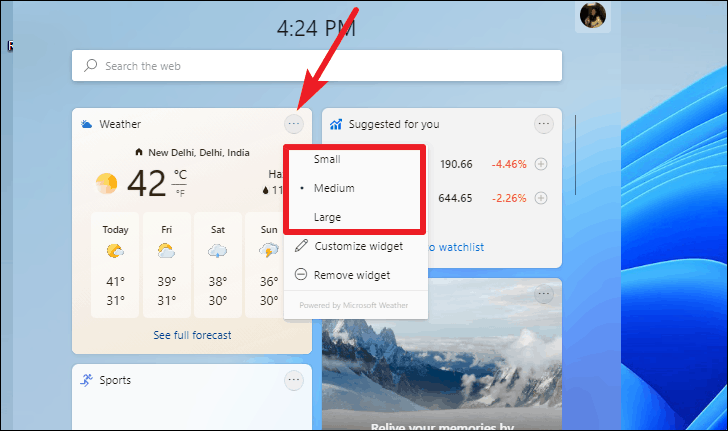
Adjust the size or remove widgets as needed:
- Click the More options icon (three dots) on a widget.
- Select Resize and choose a size, or click Remove widget to delete it.
You can manage your news feed and interests by selecting Manage your news and interests from the profile menu, tailoring the content to your preferences.
Using Snap Layouts and Snap Groups
Snap Layouts and Snap Groups in Windows 11 enhance multitasking by allowing you to quickly arrange multiple windows on your screen.
To use Snap Layouts:
- Hover your cursor over the Maximize button on a window.
- Select a layout from the available options.
- Click on the zone where you want the current window to snap.

Note: Three-column layouts are available on screens with a width of 1920 pixels or greater.
After snapping the first window, Windows will prompt you to snap other open windows to the remaining zones.
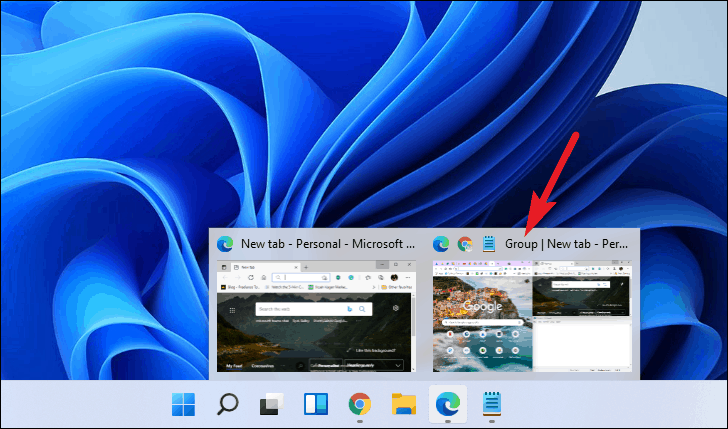
Snap Groups allow you to easily return to a group of snapped windows:
- Hover over an app icon in the taskbar that’s part of a snap group.
- In the preview, click on the group thumbnail to restore all windows in the snap layout.
Navigating the New File Explorer and Context Menus
The File Explorer in Windows 11 features a modern design with new icons and simplified context menus, making file management more intuitive.
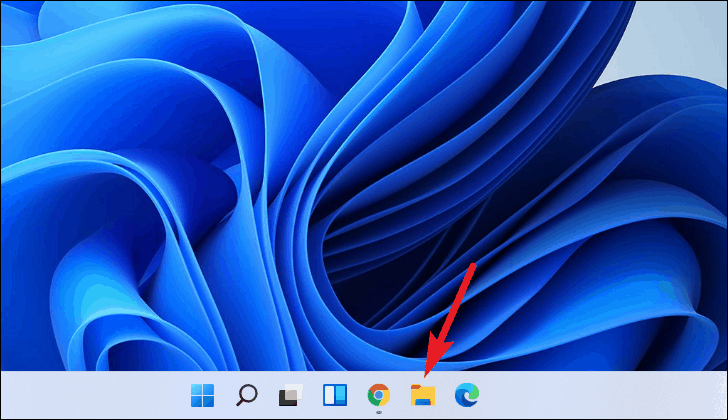
You can open File Explorer by clicking the folder icon on the taskbar, selecting it from the Start menu, or pressing Windows logo key + E.
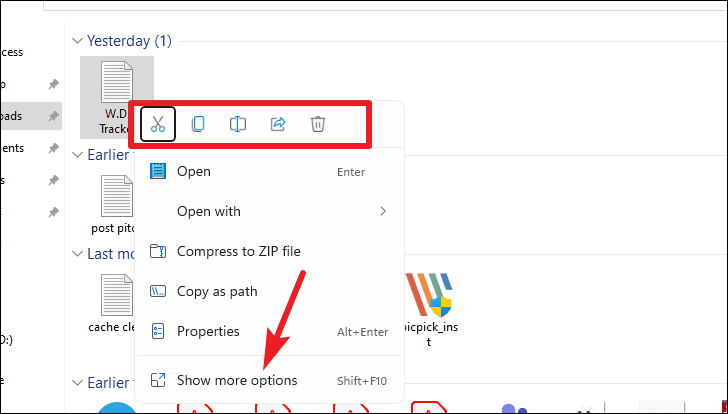
The context menu now highlights key actions with icons:
- Cut
- Copy
- Paste
- Share
- Delete
If you need additional options, click Show more options at the bottom of the context menu to access the classic menu.
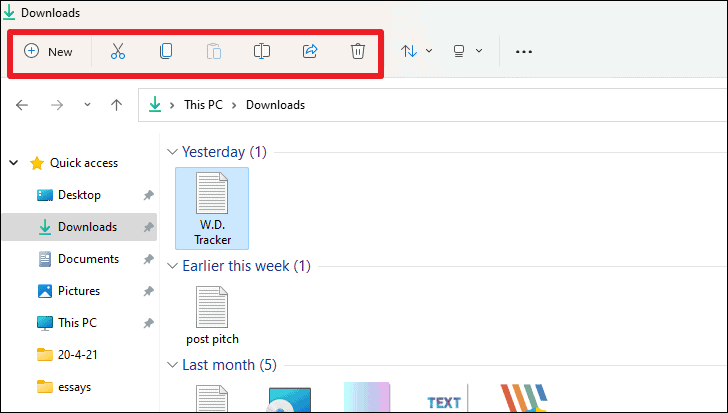
The menu bar at the top has been streamlined with icons for common tasks like creating new folders, cutting, copying, pasting, renaming, sharing, and deleting files.
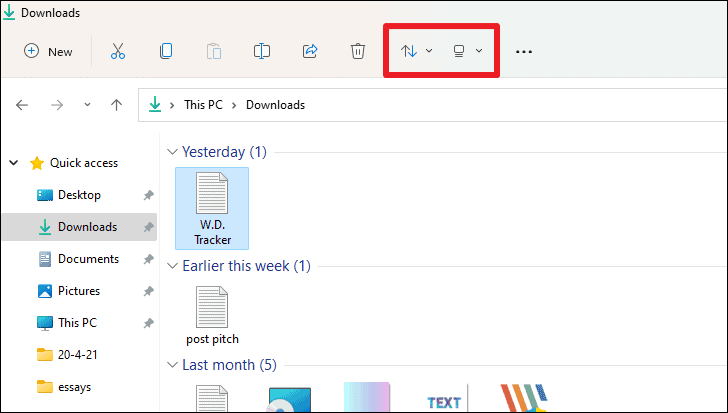
To customize the layout and view options:
- Click the Layout and view options icon (view icon) in the menu bar.
- Select Show to access options like Preview pane, Details pane, Hidden items, and more.
The Preview pane allows you to view a file’s contents without opening it. Toggle it on from the Show menu to enable this feature.
Personalizing Windows 11 with the New Settings App
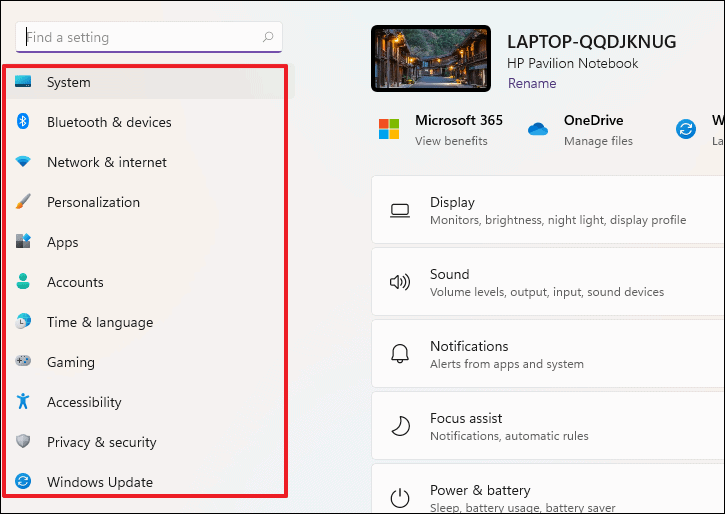
The Settings app has been redesigned for easier navigation, featuring a left sidebar for quick access to different settings categories. Open it by clicking the Settings icon in the Start menu or pressing Windows logo key + I.
To personalize your Windows 11 experience:
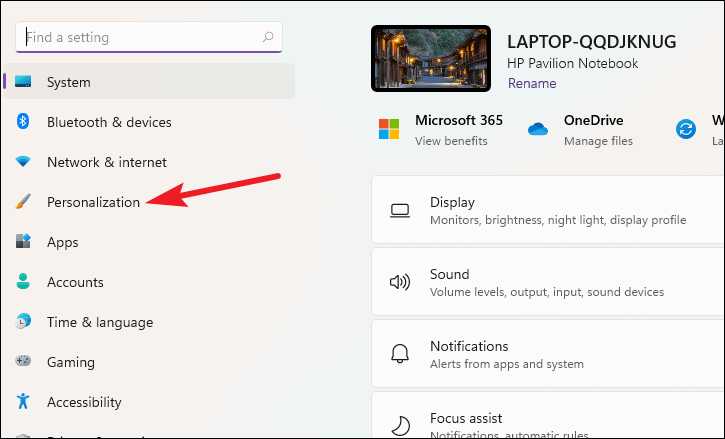
- In Settings, select Personalization from the sidebar.
- Choose a theme from the available options or click Browse themes to find more in the Microsoft Store.
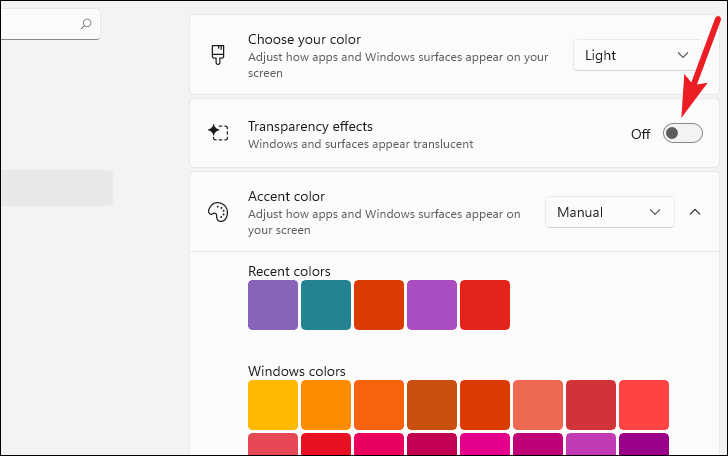
You can further customize the look by changing colors and enabling transparency effects:
- Under Personalization, click Colors.
- Toggle Transparency effects on or off.
- Select your preferred Accent color or let Windows choose one based on your background.
Managing Notifications and Quick Settings
The notification center and quick settings have been revamped for improved usability.
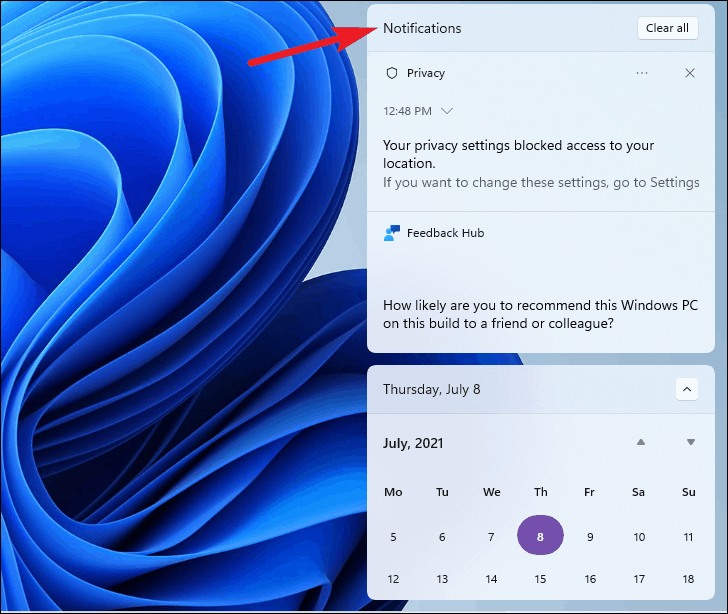
To access the notification center and calendar:
- Click on the date and time area on the taskbar.
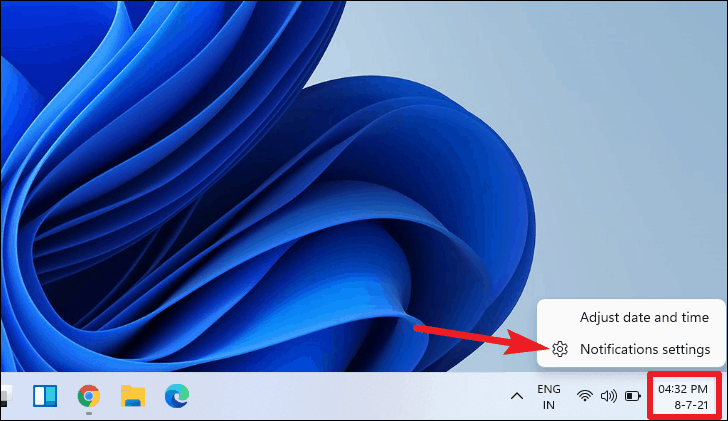
To customize notification settings:
- Right-click the date and time area.
- Select Notification settings.
- Adjust your notification preferences or configure Focus assist to minimize interruptions.
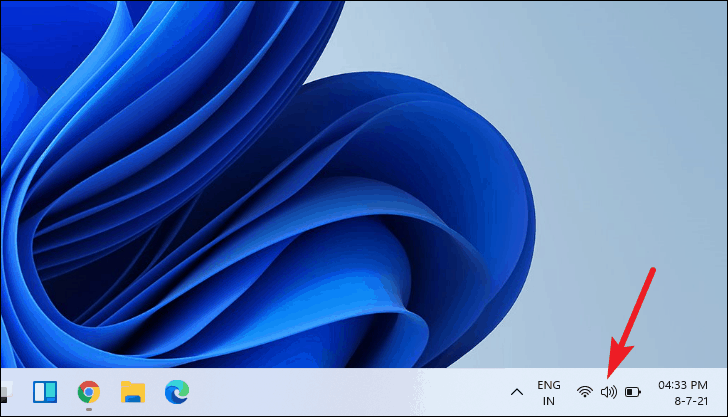
To access quick settings for Wi-Fi, Bluetooth, volume, and more:
- Click on the group of icons (e.g., Wi-Fi, speaker, battery) on the taskbar.
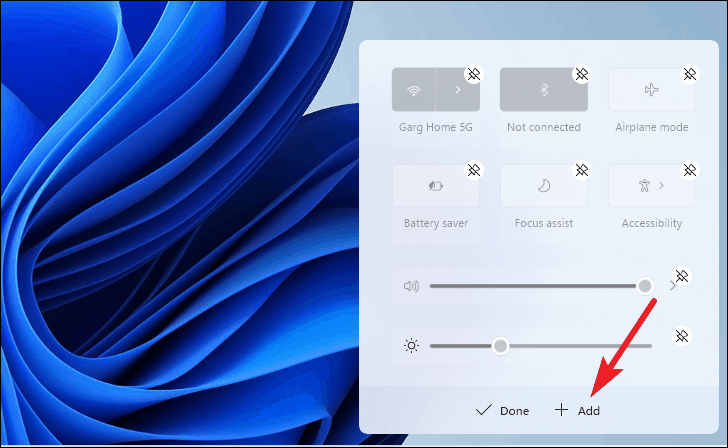
Customize the Quick Settings panel as follows:
- In the Quick Settings panel, click the Edit quick settings icon (pencil).
- To remove an item, click the Unpin icon on it.
- To add new items, click Add and select from the available options.
- Click Done when you’re finished.
Running Android Apps on Windows 11
Windows 11 enables you to use Android apps on your PC through the Microsoft Store, integrated with the Amazon Appstore.
To install Android apps:
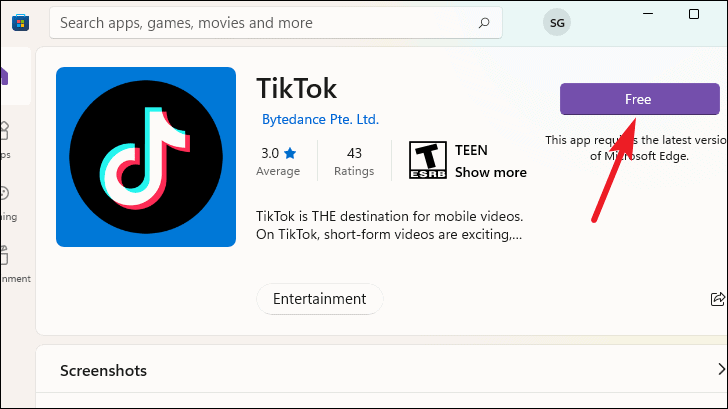
- Open the Microsoft Store from the taskbar or Start menu.
- Search for the desired Android app.
- Click Get or Install to download and install the app.
Enhancing Your Gaming Experience with Xbox Game Pass and Auto HDR
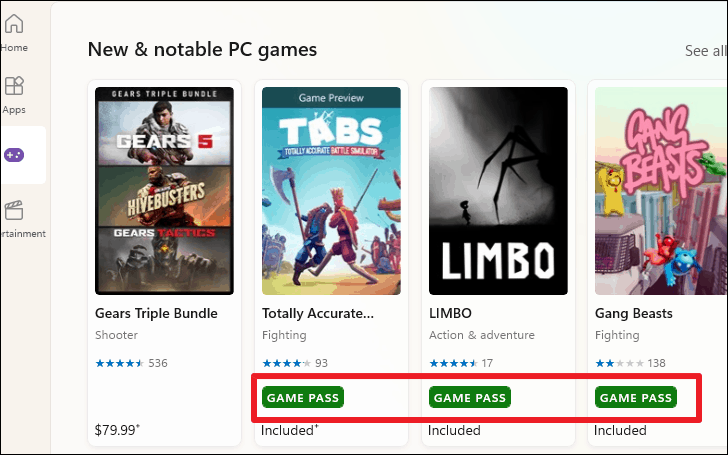
Windows 11 integrates Xbox Game Pass and Auto HDR to improve gaming on your PC.
With an Xbox Game Pass subscription, you can access a large library of games directly from the Xbox app.
Auto HDR enhances the visuals of your games by automatically upgrading the lighting and color range on HDR-capable displays.
To enable Auto HDR:
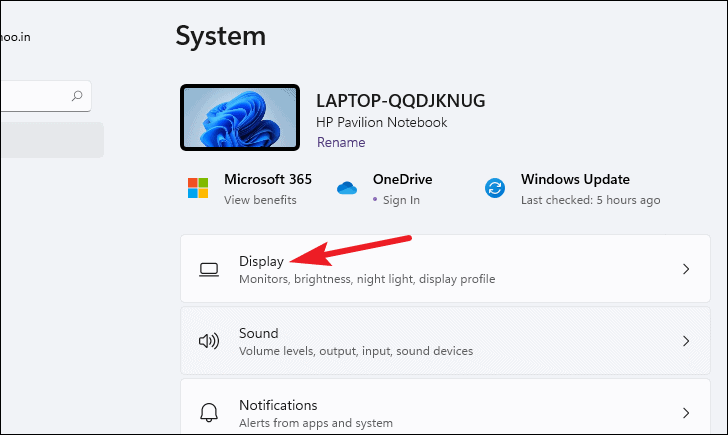
- Open Settings and go to System, then select Display.
- Click on your HDR-capable monitor from the display list.
- Toggle on Use HDR.
- Click on the Use HDR label to access HDR settings.
- Scroll down and turn on Auto HDR.
Accessing Internet Explorer Mode in Microsoft Edge
Though Internet Explorer is no longer part of Windows 11, you can still access it through Microsoft Edge using Internet Explorer mode for compatibility with older websites.
To enable Internet Explorer mode:
- Open Microsoft Edge and click the Settings and more icon (three dots) in the top-right corner.
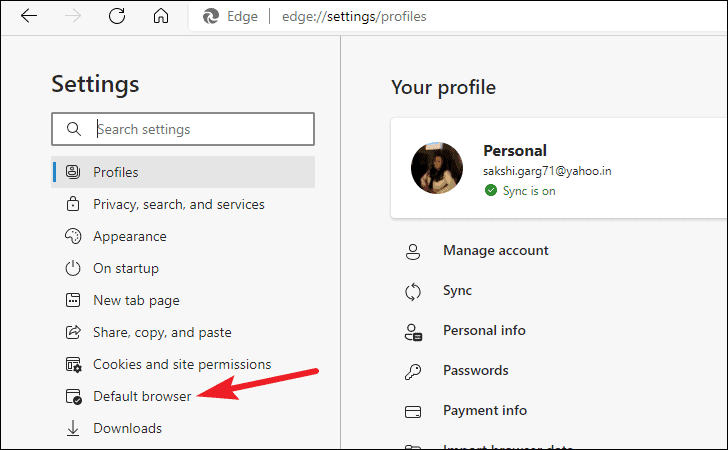
- Select Settings, then go to Default browser.
- Under Allow sites to be reloaded in Internet Explorer mode, select Allow from the dropdown menu.
- Restart Microsoft Edge for the changes to take effect.
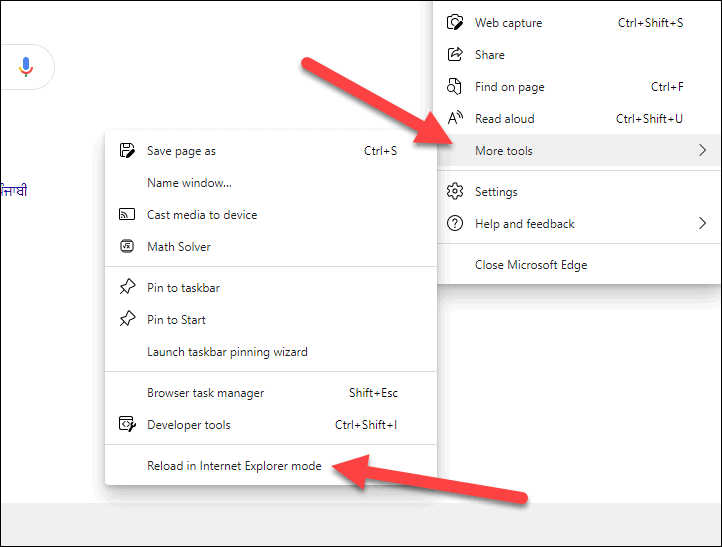
To open a website in Internet Explorer mode:
- Navigate to the website in Edge.
- Click the Settings and more icon.
- Go to More tools and select Reload in Internet Explorer mode.
With these insights, you’re ready to navigate Windows 11 confidently. The updated design and features aim to enhance productivity and provide a more seamless user experience. Enjoy exploring the new possibilities that Windows 11 brings!


