
Windows 11 brings a fresh look and feel to the operating system, but it also means familiar settings might be in new places. Changing the audio output device is a common task, especially for those who frequently switch between speakers, headphones, or other audio devices. Here are the steps to quickly change your audio output device in Windows 11.
Using the Taskbar to Change Audio Output
- Navigate to the notification area at the far-right corner of the taskbar.
- Click on the Sound icon. In Windows 11, the sound, Wi-Fi, and battery icons are grouped together, so clicking any of them will open the same menu.

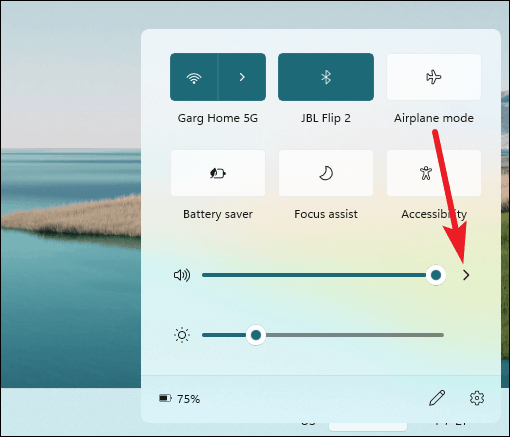
- In the menu that appears, click the arrow (>) next to the volume slider to access audio settings.
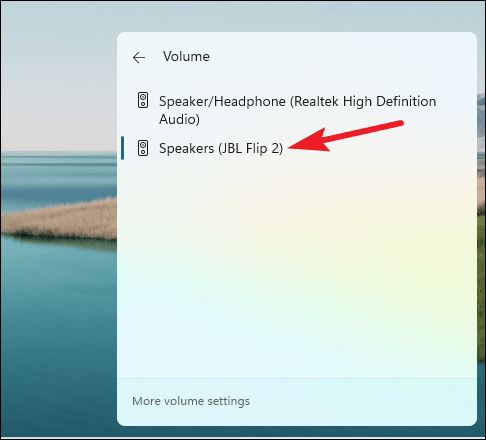
- A list of available audio output devices will appear. Click on the device you want to use to select it.
Changing Audio Output via Settings
If you’re unable to access the audio switcher from the taskbar, you can also change the audio output device through the Settings app:
- Open the Settings app by pressing Windows + I on your keyboard.
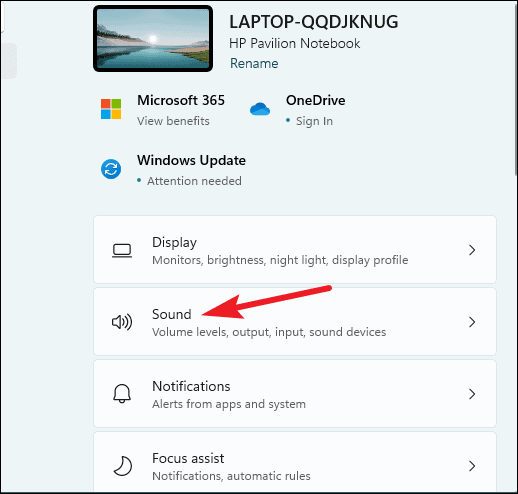
- In the Settings window, make sure you’re on the System tab, then select Sound from the list of options.
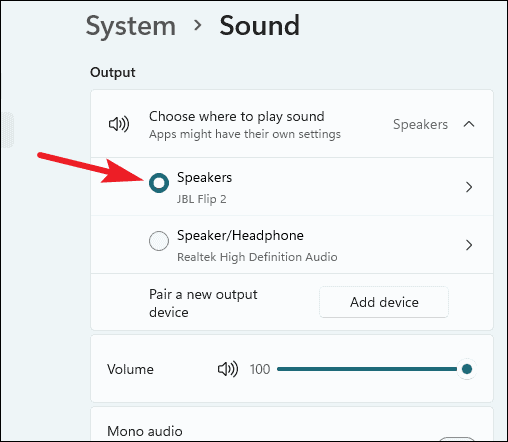
- Under the Output section, you’ll see a list of available audio devices. Click on the device you want to use.
Switching between multiple audio output devices is straightforward in Windows 11, whether you use the taskbar or the Settings app. These methods ensure you can easily manage your audio devices without hassle.


