A driver allows the computer to effectively interact with hardware or a peripheral. If you have ever launched the ‘Device Manager’ app, you would find drivers for graphic card, Bluetooth, keyboards, external headphone, and speakers, amongst other devices. There are various other drivers, the ones listed above are just to provide a basic understanding of the concept.
When faced with the question of updating the drivers, a lot of people express inhibitions. Therefore, before we proceed, let’s understand how updating the drivers affects the functioning of Windows 11.
Do I Need to Update Drivers on Windows 11?
First things first, if the current set of drives are working just fine, you don’t need to update them. The drivers installed on the system are all tried and tested and would be most suitable for your computer. Therefore, it’s recommended to not update them unless you encounter issues with the current version.
However, there are cases when updating the driver enhances the performance, as is the case with Graphics Driver to play games. Many a time, you run into an error, and updating the driver could be a possible fix. Only in these cases is updating the driver a viable option.
Aren’t Drivers Updated Automatically?
Whenever you connect a device to the system, it’s most likely that Windows will automatically download the valid driver for it, although in some cases, you will have to manually install it. Now, coming to the update aspect of drivers. Drivers are generally automatically updated with Windows update, however, the process is not that simple.
Windows update will only install the drivers that have been tested and verified by Microsoft. Also, some device manufacturers only upload the drivers on their official website and not submit them to Microsoft. In such cases, Windows Update wouldn’t be able to get the latest version for your computer and would have to download and install them manually.
Which Drivers Should I Update?
The drivers on your system can be categorized into two, the ones for hardware and the ones for peripherals. Drivers such as those for graphic cards, network cards, or discs fall under the former category while those for keyboards, mice, or speakers fall under the latter.
Keeping the hardware drivers up-to-date ensures optimal performance of the system. Also with each update, various improvements in terms of security are added which will certainly be of benefit.
The peripheral drivers do not affect the functioning of the system considerably, hence, updating them is not necessary unless you encounter an error. Also, driver updates can sometimes introduce instability and affect performance.
Now that you have a fair understanding of the concept of updating drivers, it’s time we walk you through the steps. You can either let Windows take care of the driver updates or download and install them manually. We have discussed both under different sections.
How to Update Drivers with Windows Update
As already discussed earlier, Windows Update takes care of installing the latest drivers on the system for efficient functioning. These driver updates fall under the optional updates category.
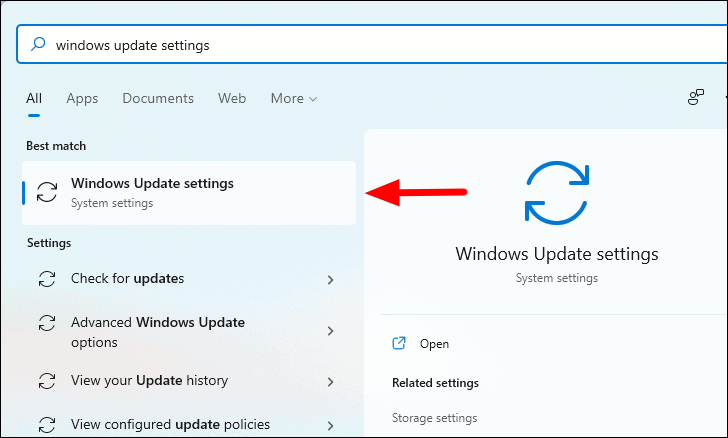
To update drivers with Windows Update, press the WINDOWS key to launch the ‘Start Menu’, search for ‘Windows Update Settings’, and then click on the relevant search result to launch it.
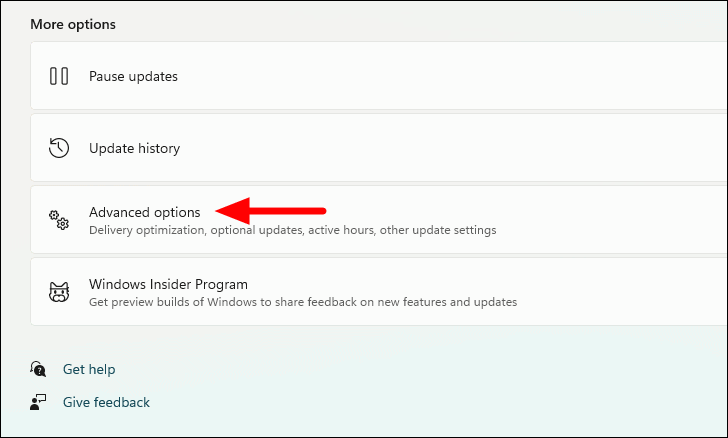
In the ‘Windows Update’ settings, you will find four options listed. Click on ‘Advanced options’.
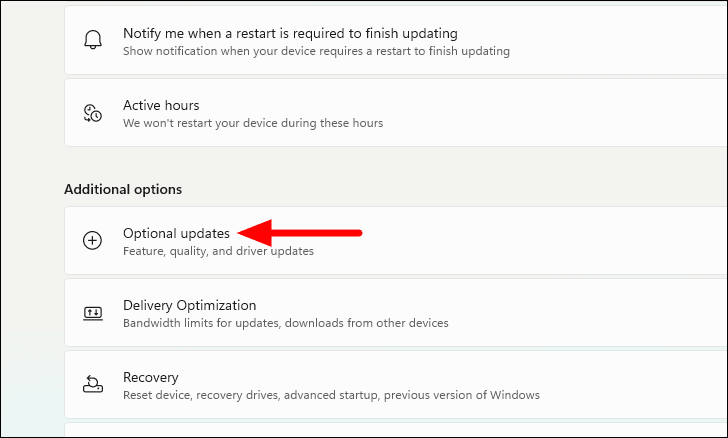
Next, select ‘Optional updates’ under the ‘Additional options’ section.
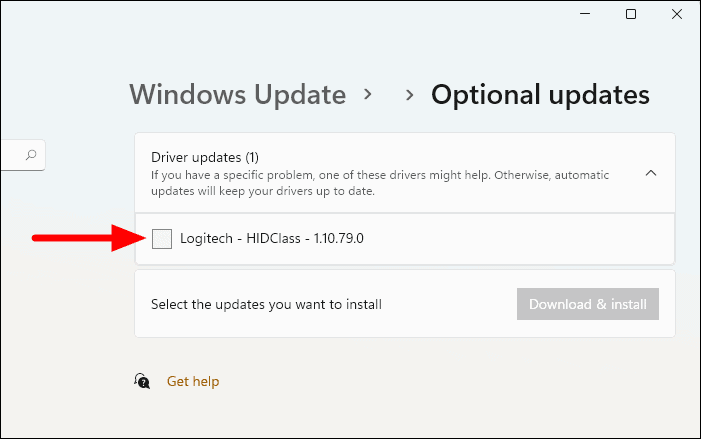
The available driver updates will be listed here. Now, select the checkbox for the driver you want to install.
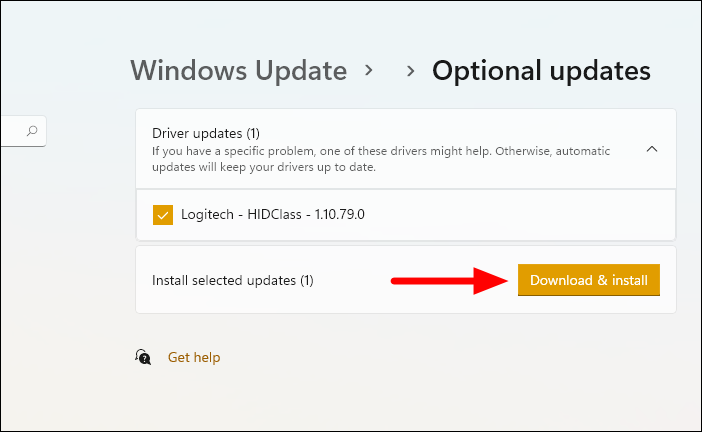
Finally, click on the ‘Download and install’ option.
You can then monitor the driver download and installation progress on the main Windows Update page in Settings. If required, you may get a prompt After the updates are installed, restart the computer for the update to fully come into effect.
How to Update Drivers from Device Manager in Windows 11
Another way to update the drivers is through the ‘Device Manager’. The Device Manager lists the various hardware and peripherals connected to the system and allows the user to control them. It also offers the option to view the driver properties, update the driver, uninstall the device, or rollback driver update. Here, we are focussing on the ‘Update driver’ option in the Device Manager.
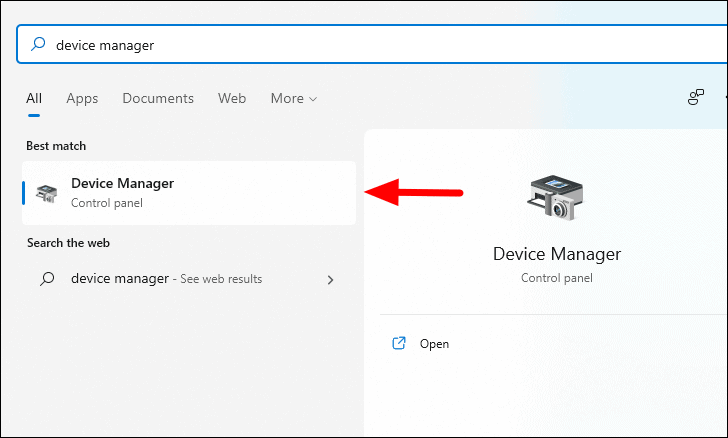
First, search for ‘Device Manager’ in the ‘Start Menu’ and then click on the relevant search result to launch it.
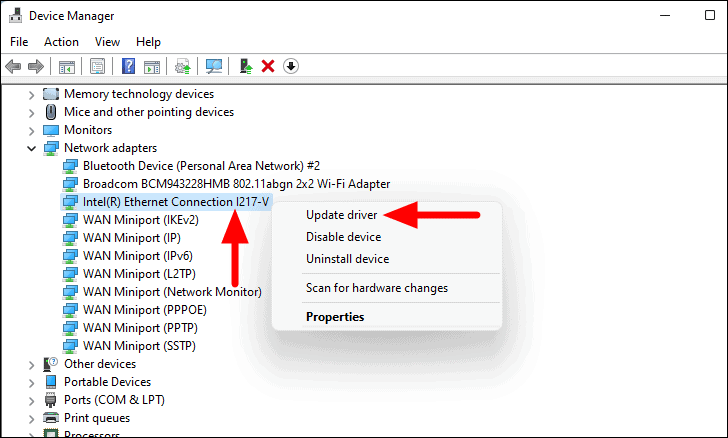
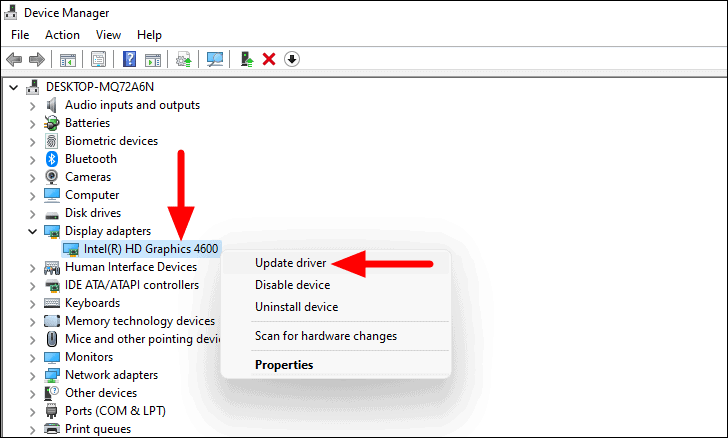
In the ‘Device Manager’, locate the required device, right-click on it, and then select ‘Update driver’ from the context menu.
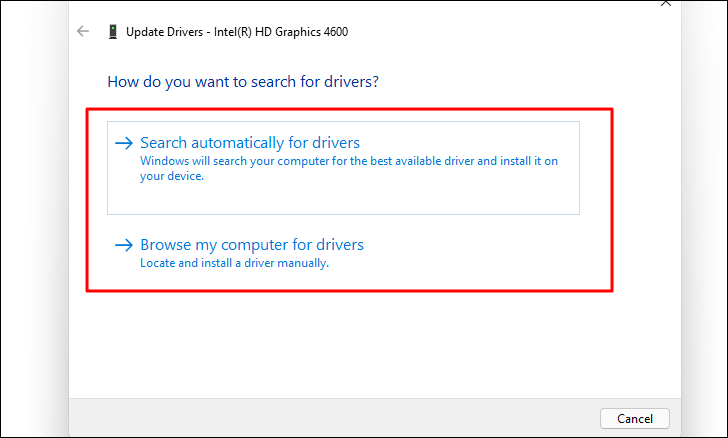
You will now be presented with two options in the ‘Update Drivers’ window. We have taken up both separately.
If you select the first option, Windows will search the system for the best available driver and install it on your computer.
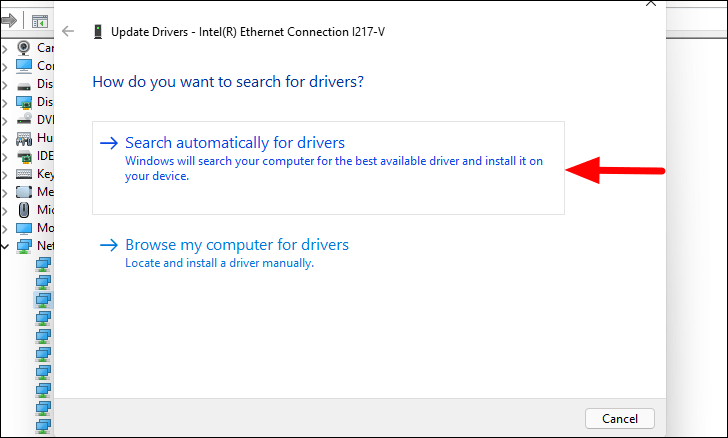
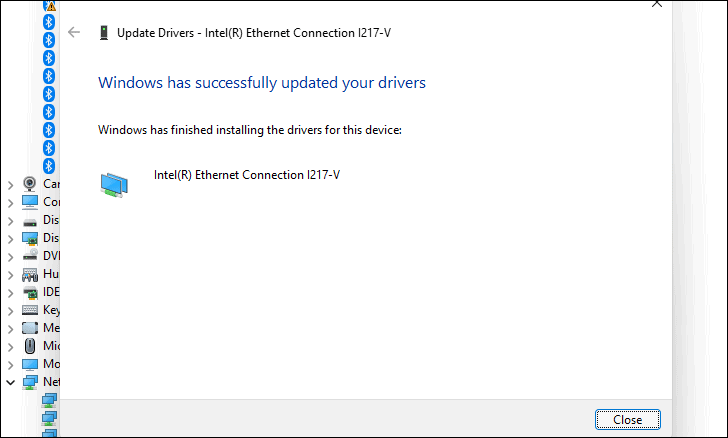
After you select the option, Windows will look up a better driver and install it on the system. Follow the on-screen instructions to complete the process. In case Windows doesn’t find an update, it will come up with a screen that says ‘The best drivers for your device are already installed’.
Note: If a newer version of the driver is not found on the system, you are asked to check for it on Windows Update or the manufacturer’s website, both of which have been discussed here.

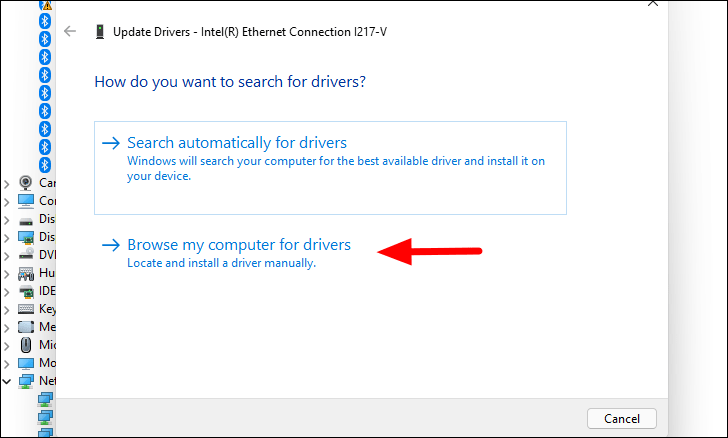
When you select the second option, it allows you to browse the system, select the driver and manually install it.
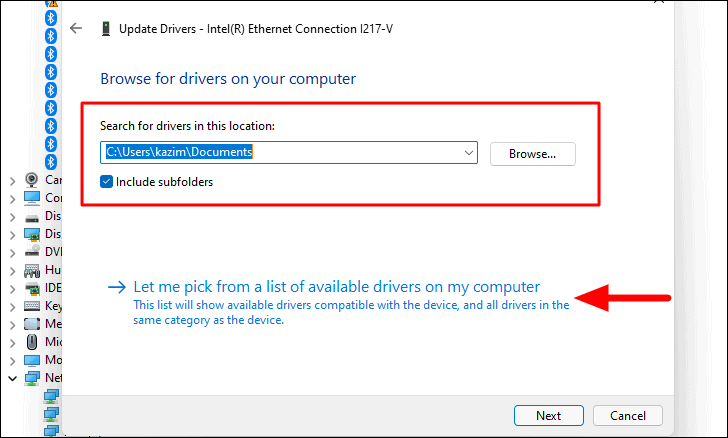
On the next screen, you can click on the ‘Browse’ button, locate the driver on the system, and install it. Also, you can click on ‘Let me pick from a list of available drivers on my computer’ to view all the drivers on your system that are compatible with the selected device.
Now, all the compatible drivers for the selected device will be listed. Select the one that you want to install and click on ‘Next’ at the bottom.
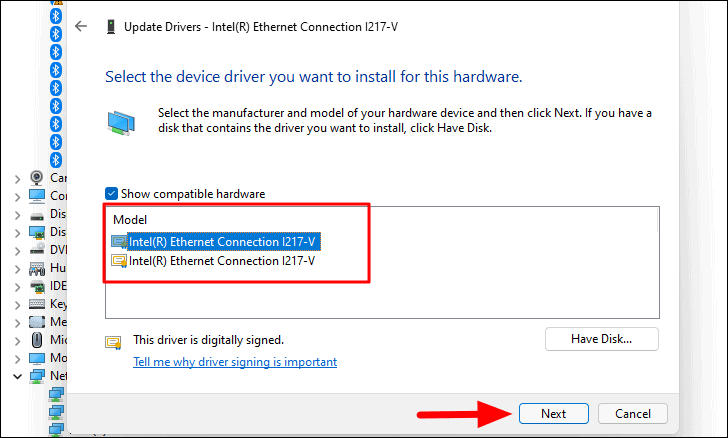
The driver will now be installed and you would be notified of the same. However, this is not the same as updating the driver. Also, the current driver version might not be best suited for your computer, however, it can help fix issues with the currently installed driver.
That’s all there’s to updating drivers with Device Manager on Windows 11. You can similarly update the other drivers as well.
Manually Download and Update the Driver from Device Manager
If Windows was unable to find a recent version of the driver, it doesn’t rule the possibility that there ain’t one available. As discussed earlier, many manufacturers release drivers on their official website and these might not be available through Windows Update.
Before you go ahead and update, look for the current driver version to identify if a newer version is available.
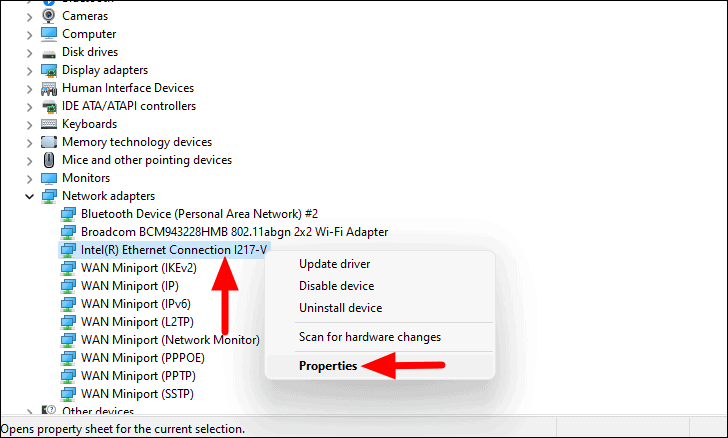
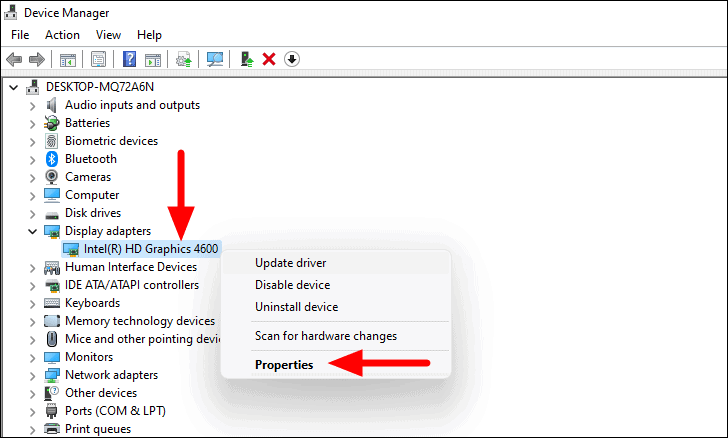
To find the current driver version, launch the ‘Device Manager’, locate the required device, right-click on it and select ‘Properties’ from the context menu.
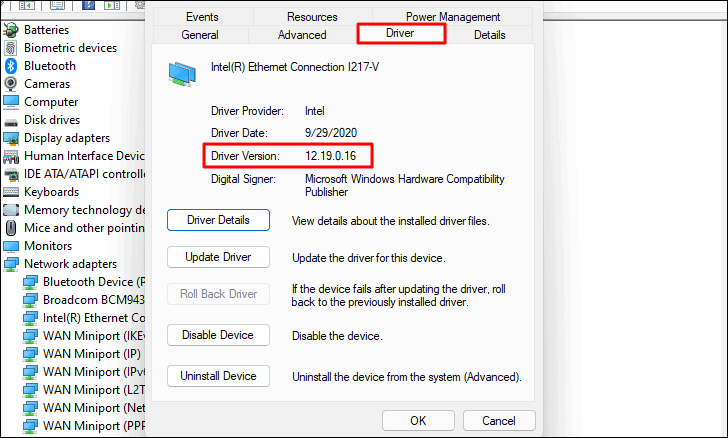
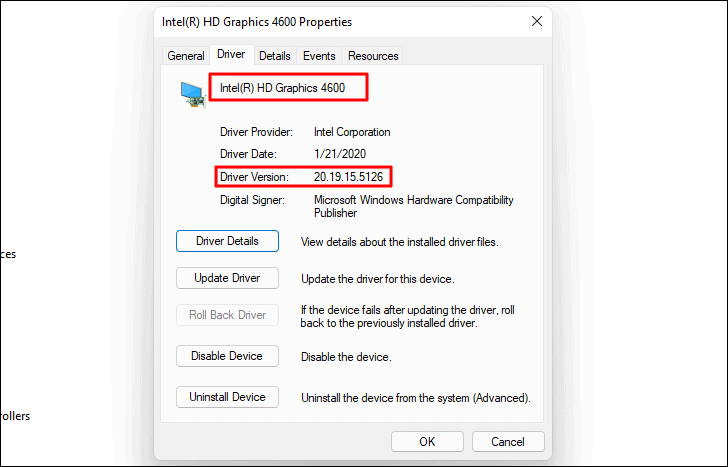
Next, navigate to the ‘Driver’ update and then jot down the mentioned driver version.
Now that you have the current driver version, search the web with ‘Computer Model’, ‘OS’, and ‘Driver Name’ as the keywords and look for the manufacturer’s official website in the search results. Now, navigate to the website and click on the download option next to the required driver. Before downloading, verify that it’s newer to the one on your computer.
Note: It’s recommended that you download the driver only from the manufacturer’s official website. In case the required driver is not available, download it from a third-party website only after thorough research.
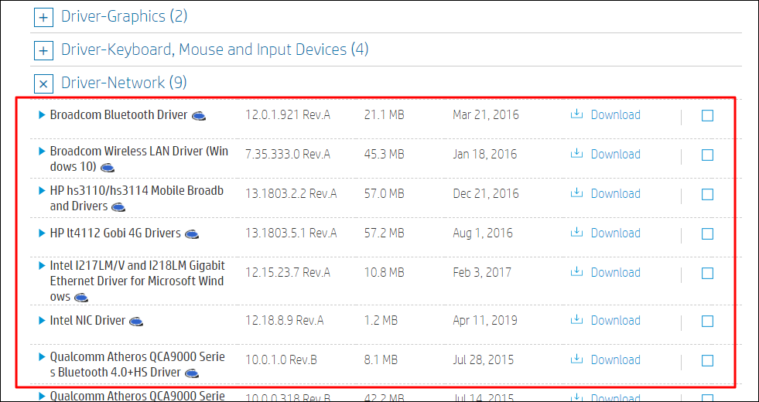
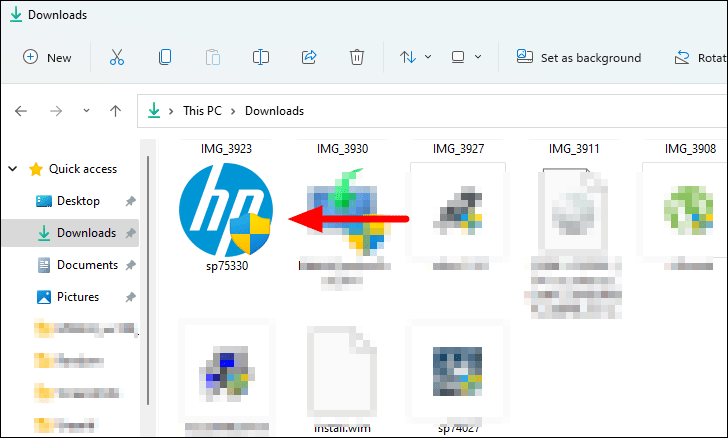
Note: The above picture is of the official HP website. If you use a computer from a different manufacturer, the website interface might be different.
After you have downloaded the driver, it should appear in the ‘Downloads’ folder, under default settings. In case you have changed the settings, navigate to the appropriate folder. Now, double-click on the downloaded file to launch the installer.
Now follow the on-screen instructions to complete the installation process. Once the latest version is installed, restart the computer.
How to Update Graphics Driver in Windows 11
Graphics driver is one of the crucial drivers on your system as it helps the system interact with the Graphic Card. It ensures that you don’t face glitches or delayed graphics. In case, you encounter issues with the graphics, it’s time you update the Graphics Driver.
Just likes the other drivers on your computer, Graphics Driver too can be updated using any of the three methods discussed earlier. However, for a manual update, you need to identify the GPU and find the current driver version. Let’s first check if Windows is able to find a newer version and then switch to the manual update.
Update Graphics Driver with Device Manager
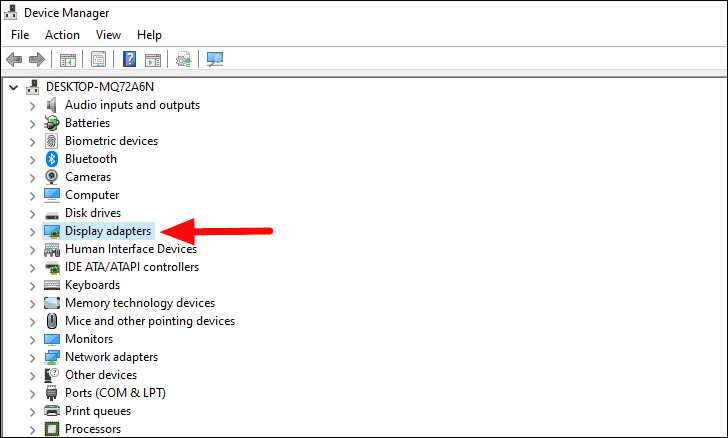
Launch the ‘Device Manager’ as discussed above, and double-click on the ‘Display adapter’ option.
Note: It’s recommended that you update only the Intel Graphics Driver through Device Manager, and go for a manual update in case of NVIDIA or AMD adapters.
Next, right-click on the adapter and select ‘Update driver’ from the context menu.
You will now have two options in the ‘Update Drivers’ window. Select the desired option and proceed to update the driver. Both the options have been thoroughly discussed in the previous sections.
Manually Update the Graphics Driver
If Windows couldn’t find a newer version for Intel Graphics Driver or are looking for NVIDIA or AMD, you could always look it up on the manufacturer’s website. As discussed earlier, many manufacturers don’t submit the driver updates with Microsoft, rather upload them on their official website. Also, sometimes it would take long for the newer version to be released and installed through Windows Update, and manual updating can help fix issues and optimize system performance.
To find and download a newer version, you first need to identify the current driver version. For that, right-click on the driver and select ‘Properties’ from the context menu.
Note down the name and the current driver version.
Now, search the web for the latest driver. Use ‘Computer Model’, ‘OS’, and ‘Driver Name’ as the keywords for the search. Now, launch the downloads section of the manufacturer’s website from the search result. We have listed the download page for three.
Note: In case you are asked to input system information to find the best driver, search for ‘System Information’ in the ‘Start Menu’ and launch the app. All the required information will be available here.
Now, locate the latest driver that’s compatible with your computer and download it.
After downloading a newer version of the driver, double-click on it to launch the installer, and then follow the on-screen instructions to complete the installation process.
Note: All three, Intel, NVIDIA, and AMD, offer tools to automatically detect the current driver version and OS, and recommend the best-suited driver for your system. However, before you use the tools, do thorough research on your part just to be sure that you are not running malware instead. Look on the manufacturer’s official website for more information.
Now that we have discussed all the methods to update the drivers on Windows 11, we would like to reiterate the fact that you should avoid updating the driver unless the performance of the system degrades or you encounter an error.


