Adjusting your screen brightness on Windows 11 is essential for enhancing your viewing experience, reducing eye strain, and conserving battery life. Whether you’re working in bright sunlight or a dim environment, Windows 11 provides several methods to fine-tune your display brightness to suit your needs. This guide will walk you through various ways to change your screen brightness effectively.
Use dedicated keyboard keys
One of the simplest ways to adjust your screen brightness is by using the dedicated keys on your keyboard. Most modern laptops feature brightness control keys, often identified by sun icons, located on the function keys (F1 to F12) or sometimes on the arrow keys.
Fn key while pressing the brightness keys. For example, pressing Fn + F7 or Fn + F8 to decrease or increase brightness, respectively.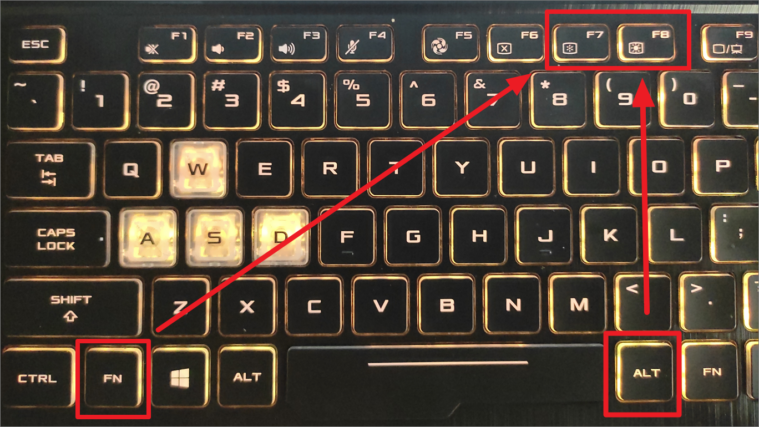
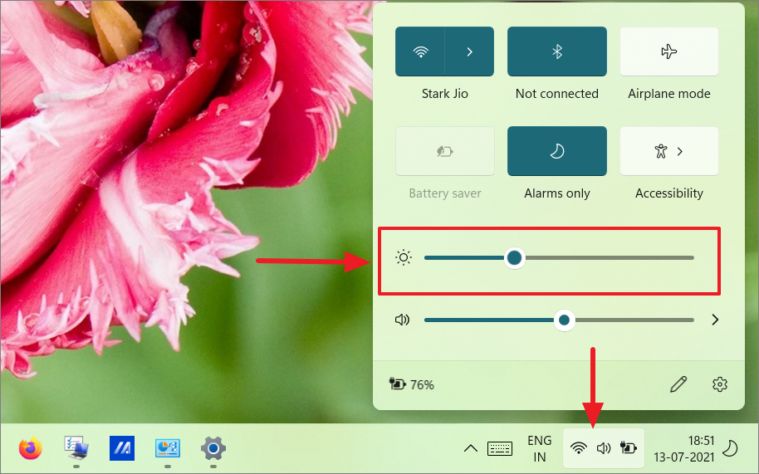
Adjust brightness using Quick Settings
Another quick method to modify your screen brightness is through the Quick Settings panel in Windows 11.
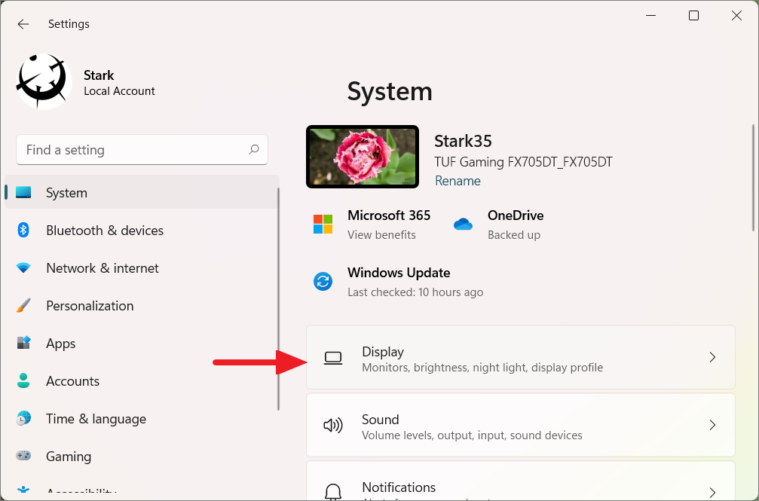
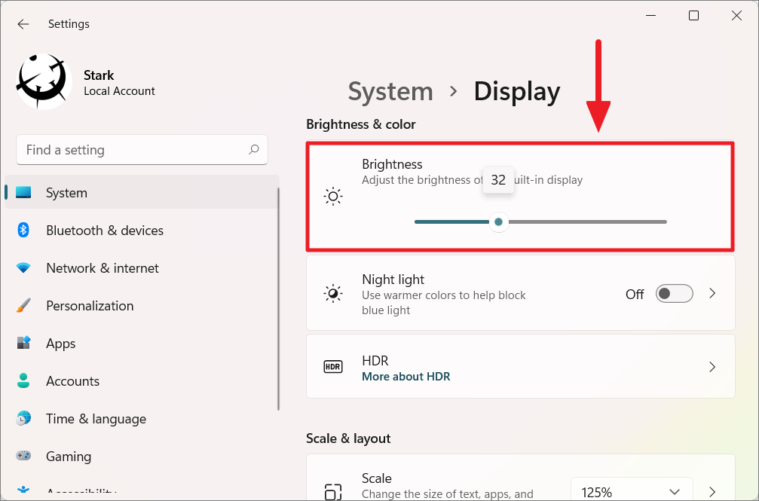
Adjust brightness via Windows Settings
You can also change the screen brightness through the Windows Settings app for more precise control.
Troubleshooting missing or non-functional brightness slider
If you’re unable to adjust your screen brightness because the brightness slider is absent or not functioning correctly, you may need to update or reinstall your display drivers.
Uninstall device.Update driver, then select Search automatically for drivers.Automatically adjust brightness based on power mode
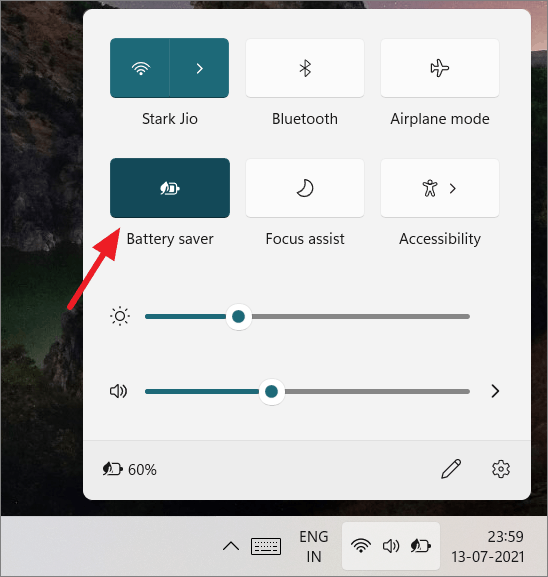
To conserve battery life on laptops and tablets, Windows 11 offers an option to reduce screen brightness automatically when battery saver mode is enabled.
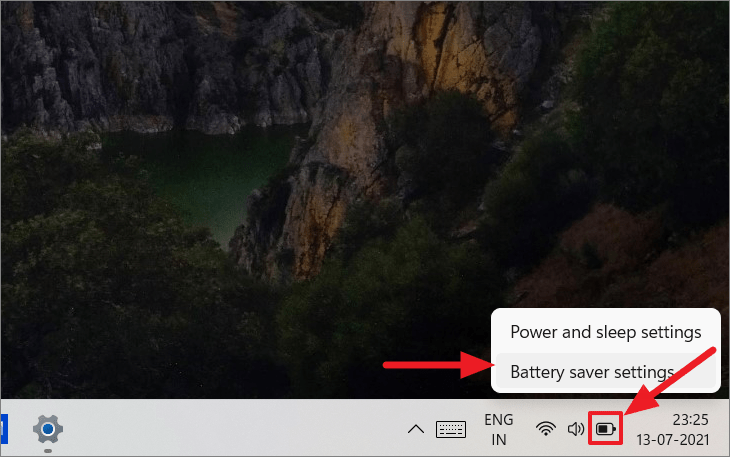
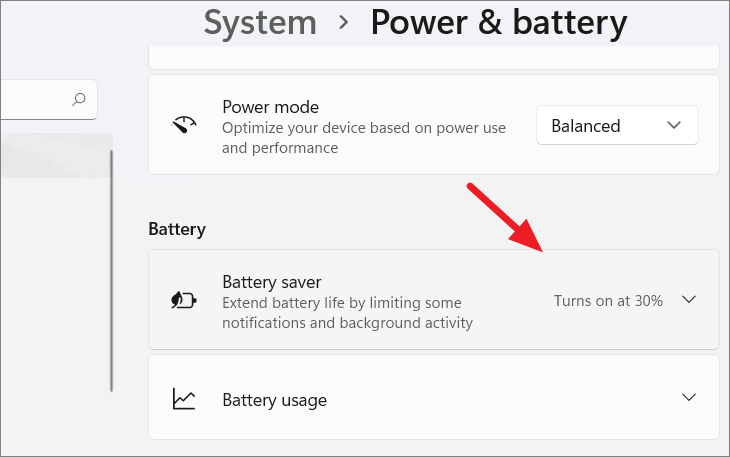
Alternatively, navigate to Settings → System → Power & battery.
Lower screen brightness when using battery saver. Now, whenever battery saver mode is active, your screen brightness will automatically reduce to save power.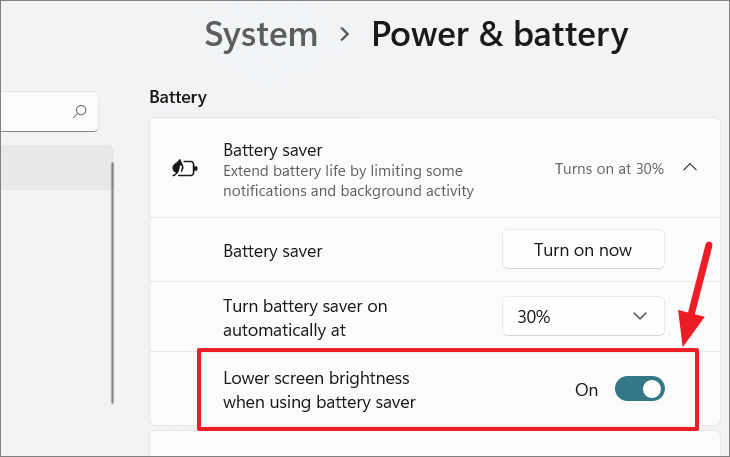
Turn on now button next to Battery saver in the settings.You can also enable battery saver mode from the Quick Settings panel by clicking on the battery saver icon.
Turn battery saver on automatically at.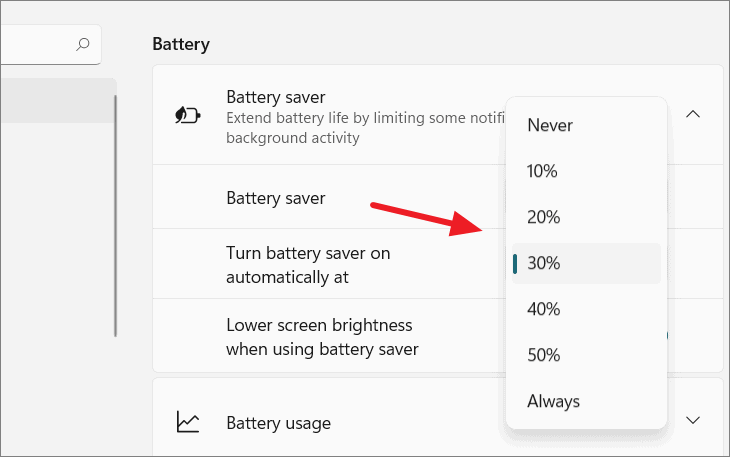
Note that battery saver mode can only be enabled when your device is not plugged into a power source.
Enable Night Light to reduce eye strain
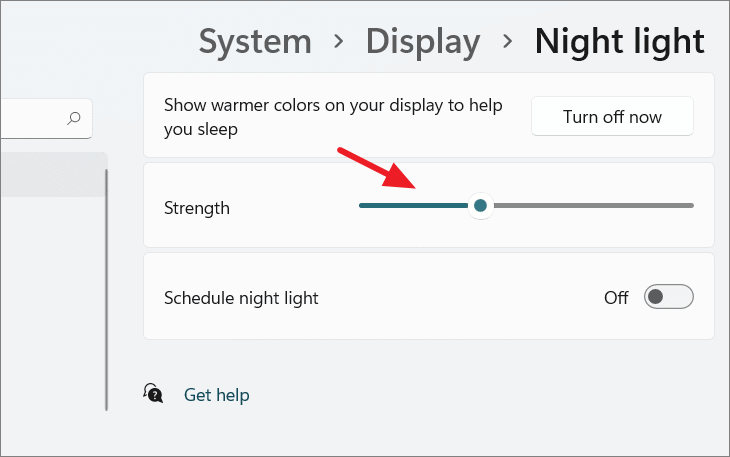
Staring at a bright screen for extended periods, especially at night, can lead to eye discomfort and disrupt your sleep patterns. Windows 11’s Night Light feature reduces the blue light emitted from your screen, displaying warmer colors to ease eye strain.
Settings → System → Display. Then, toggle on Night light under the brightness slider.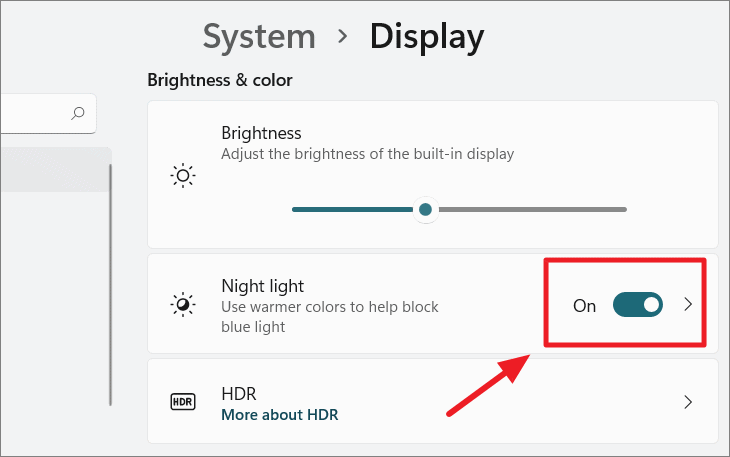
Night light option (do not click the toggle itself).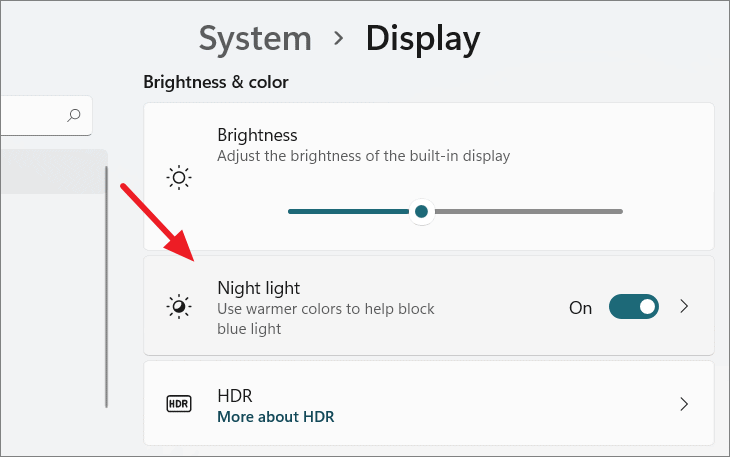
Schedule night light. You can then choose to have it turn on from sunset to sunrise or set specific times.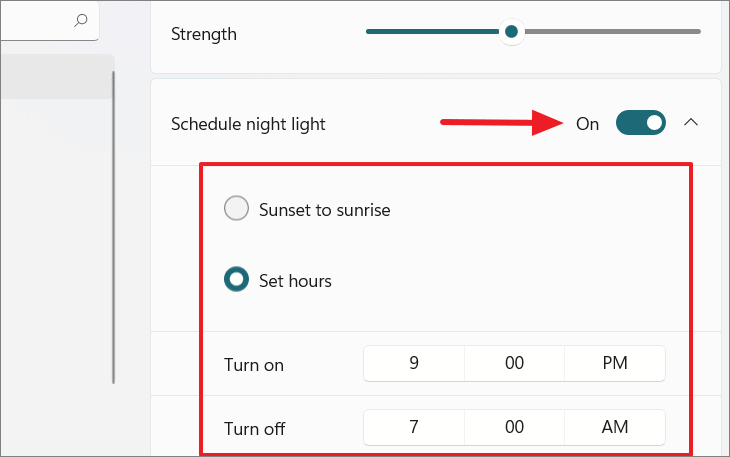
Adjust brightness on external monitors
If you’re using an external monitor, adjusting brightness may vary depending on the manufacturer. Many monitors come with their own On-Screen Display (OSD) controls or software that allow you to modify settings like brightness, contrast, and color.
Check for physical buttons on your monitor, usually located on the side or bottom edge, to access the OSD menu and adjust brightness settings. Alternatively, some manufacturers provide software utilities to control display settings from your computer.
Change brightness using graphics card software
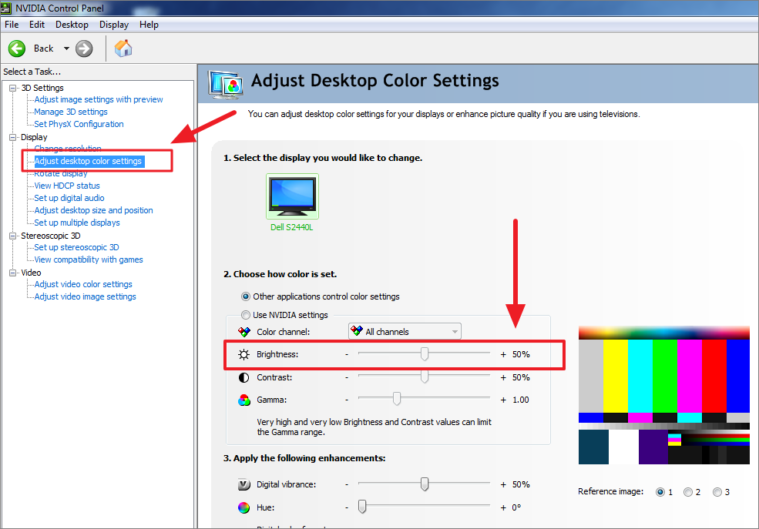
If you have a dedicated graphics card or integrated graphics, you can adjust display settings through the graphics control panel provided by the manufacturer (e.g., NVIDIA, AMD, or Intel).
NVIDIA Control Panel, AMD Radeon Settings, or Intel Graphics Settings.For NVIDIA graphics drivers
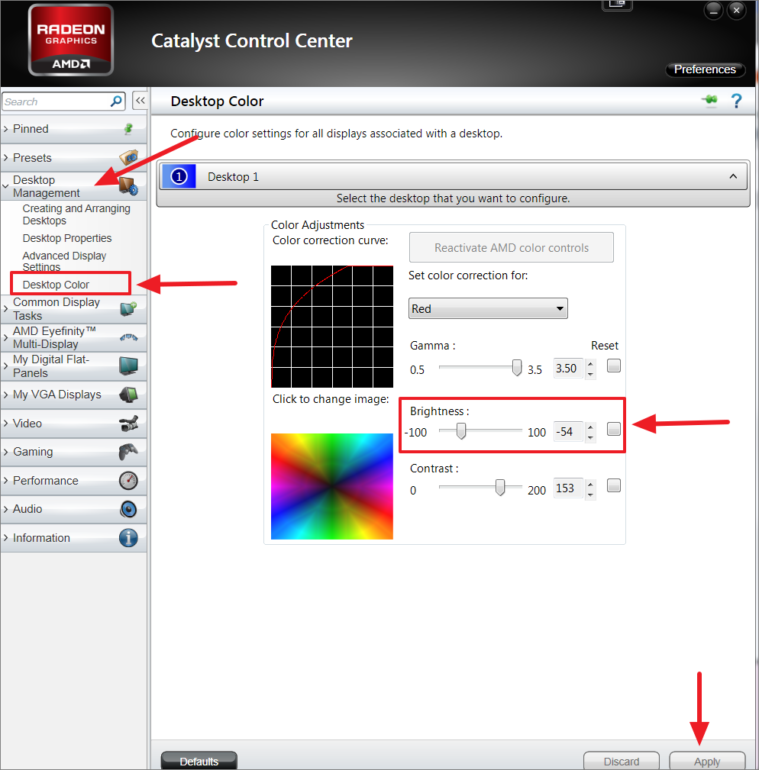
For AMD graphics drivers
For Intel integrated graphics
Intel Graphics Settings or Graphics Properties....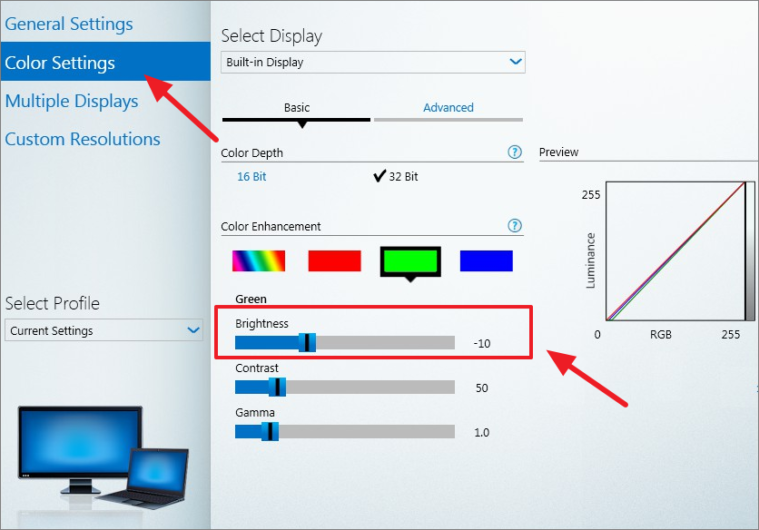
Note that the options and interface might vary depending on the graphics driver version.
Control brightness using PowerShell
For advanced users, you can adjust screen brightness using Windows PowerShell.
(Get-WmiObject -Namespace root/WMI -Class WmiMonitorBrightnessMethods).WmiSetBrightness(1,"Brightness Level")Replace "Brightness Level" with a value between 0 and 100 representing the desired brightness percentage.
For example, to set the brightness to 50%:
(Get-WmiObject -Namespace root/WMI -Class WmiMonitorBrightnessMethods).WmiSetBrightness(1,50)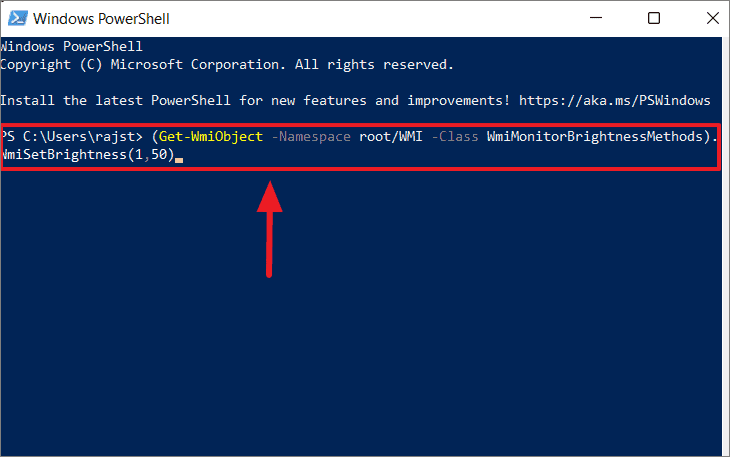
Your screen brightness will adjust immediately upon running the command.
Third-party tools to adjust screen brightness
If you need more advanced controls over your display settings, including brightness, contrast, gamma, and color adjustments, several third-party applications are available for Windows 11:
Win10 Brightness Slider, F.lux, ClickMonitorDDC, Dimmer, Gammy, Gamma Panel, Free Monitor Manager, RedShift GUI, iBrightness Tray, and CareUEyes.
Properly adjusting your screen brightness can significantly enhance your computing experience, reducing eye strain and improving battery efficiency. With the various methods available in Windows 11, you can easily find the one that best suits your needs.