
Missing drivers on your Windows 11 PC can lead to hardware malfunctions or reduced performance. Whether you’ve recently updated your system or performed a clean install, ensuring all drivers are correctly installed is essential for optimal functionality. This guide will walk you through several methods to identify and install missing drivers on your Windows 11 computer.
Install Missing Drivers via Windows Update
Windows Update is a straightforward way to install missing drivers. Microsoft often provides driver updates through optional updates, making it easy to download and install necessary drivers.
- Press Windows + I to open the Settings app.
- Click on Windows Update from the left sidebar.
- Select Advanced options.
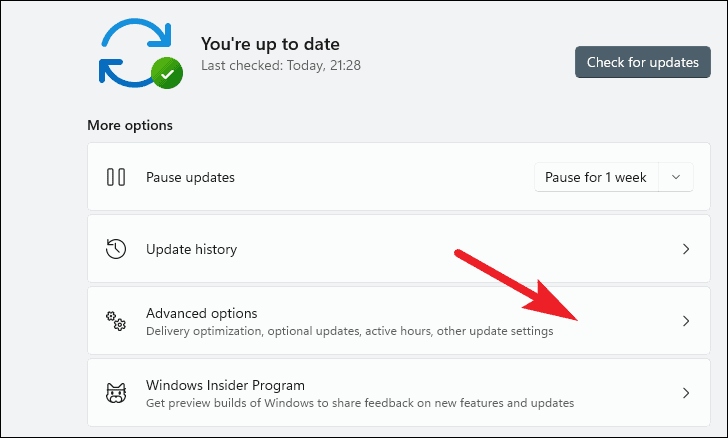
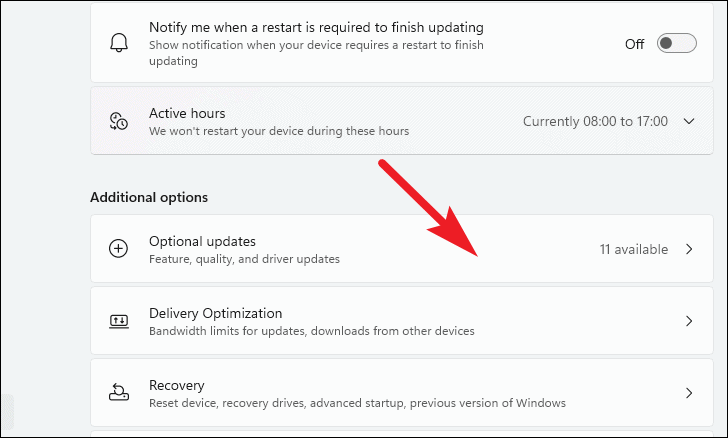
- Under the Additional options section, click on Optional updates.
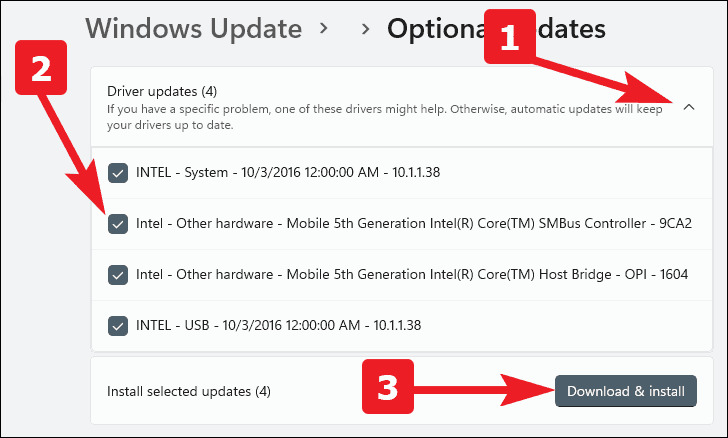
- Expand the Driver updates section by clicking the arrow next to it.
- Select the drivers you wish to install by checking the boxes beside them.
- Click on Download & install to begin the installation process.
Windows will download and install the selected drivers. You can monitor the progress on the Windows Update screen.
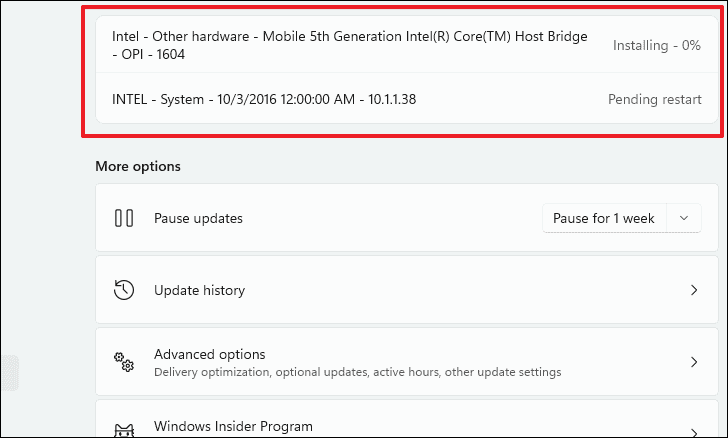
After the installation is complete, it’s advisable to restart your PC to ensure all drivers are properly applied.
Identify and Install Missing Drivers Using Device Manager
Device Manager allows you to view and manage hardware devices and their drivers. It’s a useful tool for identifying missing drivers and installing them manually.
- Press Windows + R to open the Run dialog.
- Type devmgmt.msc and press Enter to open Device Manager.

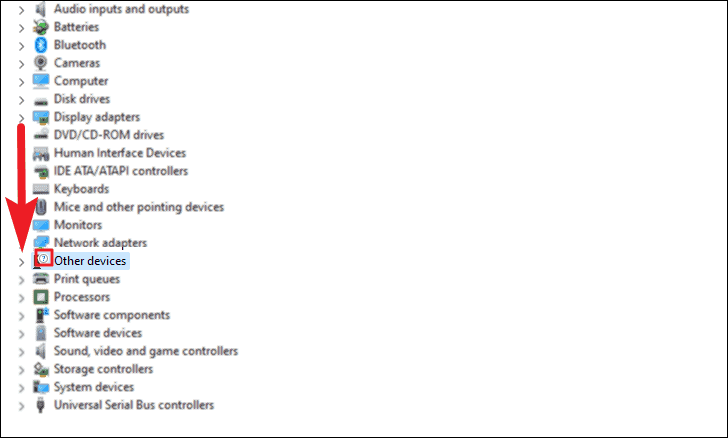
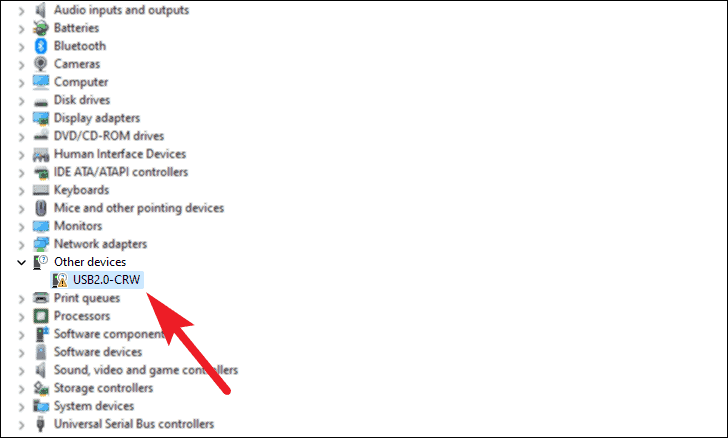
- In Device Manager, look for any devices marked with a yellow triangle containing an exclamation mark.
- Expand the categories by clicking the arrows next to them to locate these devices.
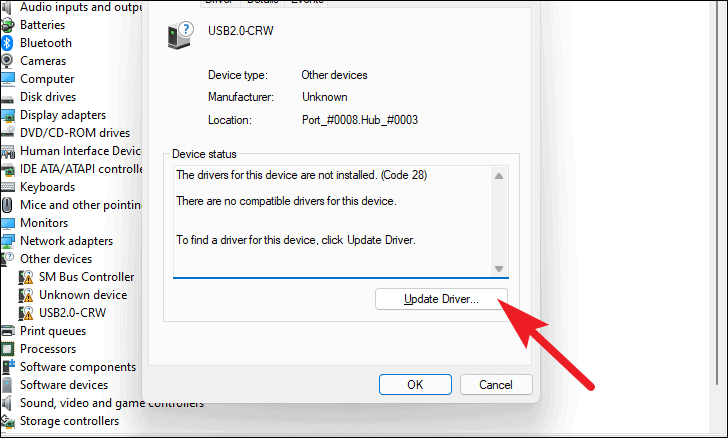
- Double-click on the device with the missing driver to open its properties.
- Under the Device status section, review the device’s issues.
- Click on the Update Driver… button.
- Choose Search automatically for drivers to allow Windows to find and install the driver.
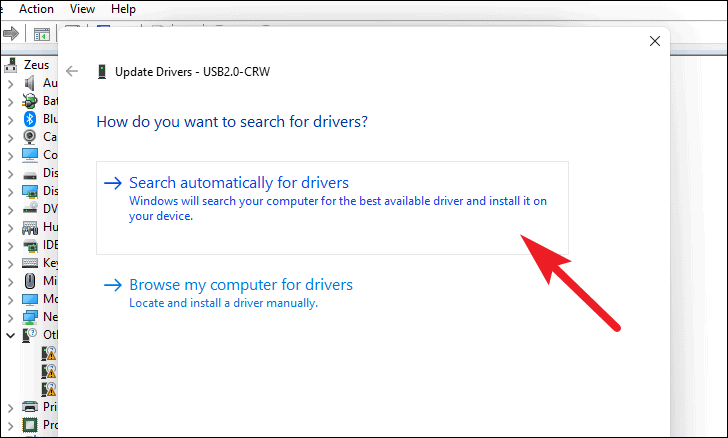
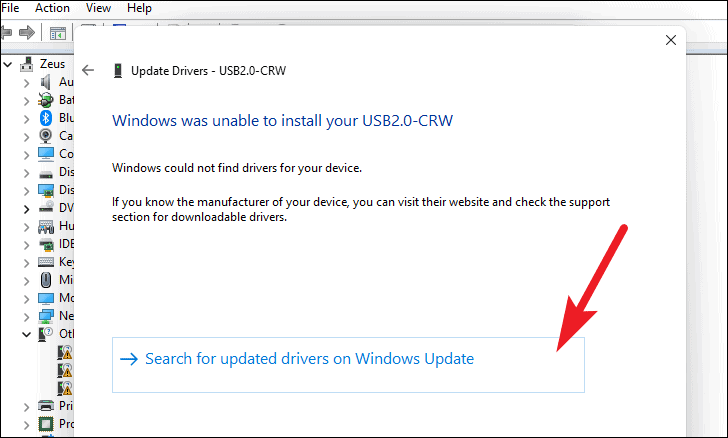
If Windows cannot find the appropriate driver, you’ll be prompted to search Windows Update or browse your computer for drivers. You can choose Search for updated drivers on Windows Update to check for drivers through Windows Update.
If you have already downloaded the driver, select Browse my computer for drivers and navigate to the location where the driver is saved.
Find and Install Drivers from the Manufacturer’s Support Website
If you cannot find the missing drivers using the above methods, downloading them directly from your device manufacturer’s support website is the next best option.
Manufacturer Support Websites
Below are links to support websites for several major manufacturers:
- Dell: www.dell.com/support
- HP: support.hp.com
- Lenovo: pcsupport.lenovo.com
- Asus: www.asus.com/support
- Acer: www.acer.com/support
- MSI: www.msi.com/support
- Alienware: www.dell.com/support
- Samsung: www.samsung.com/support
Finding and Downloading Missing Drivers
The process for downloading drivers is generally similar across different manufacturers. Here, we’ll use Dell’s support website as an example.
- Go to your manufacturer’s support website.
- Enter your device’s model number or service tag in the search field and click Search.

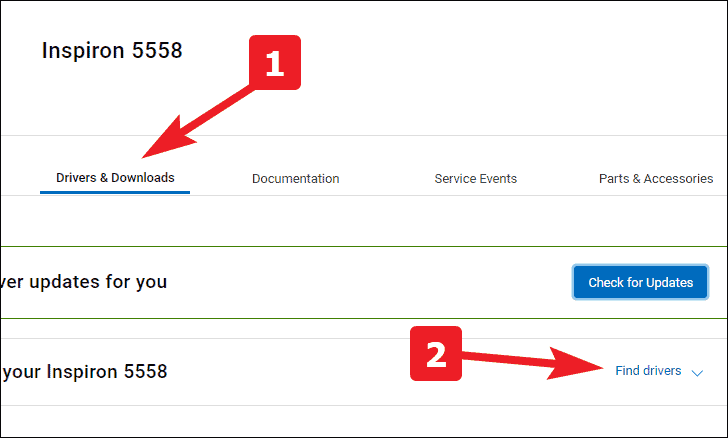
- Navigate to the Drivers & Downloads section.
- Click on Find drivers to search manually.
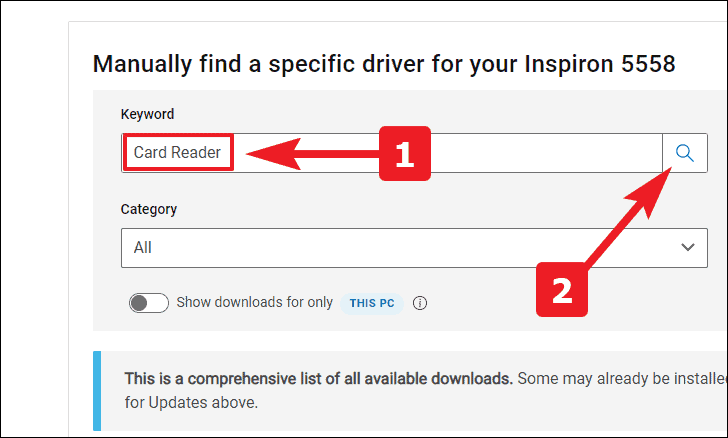
- Use the search bar to type in the name of the hardware component you’re looking for.
- Click the search icon to find the driver.
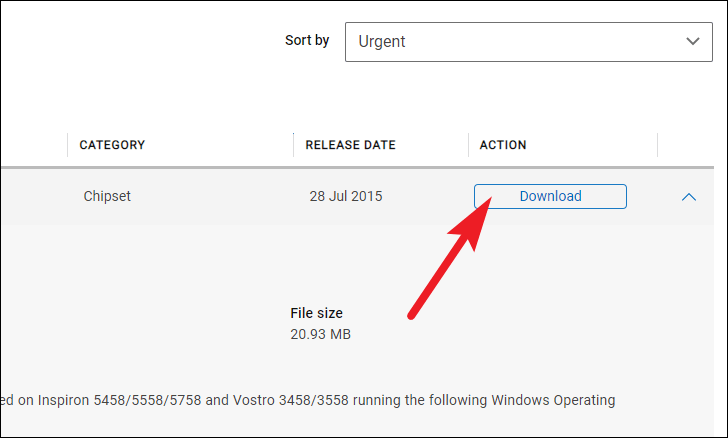
- Locate the driver in the search results and click on Download.
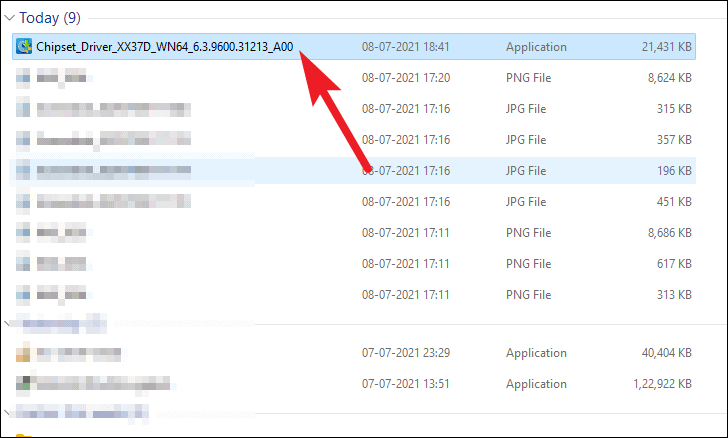
Once the driver is downloaded, navigate to your downloads folder and double-click the downloaded file to run the installer.
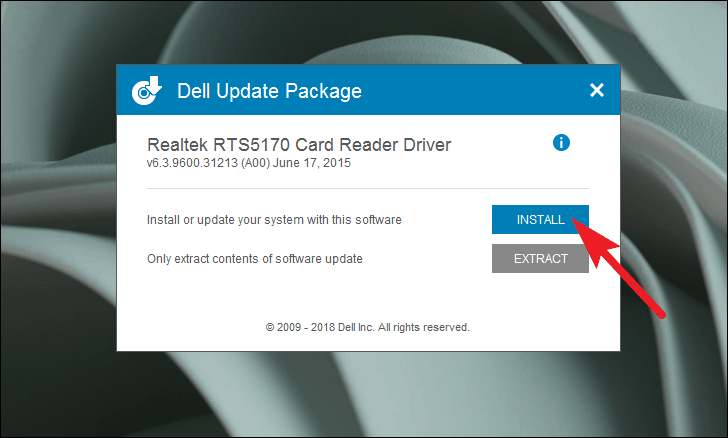
- In the installation window, click on Install to begin the driver installation.
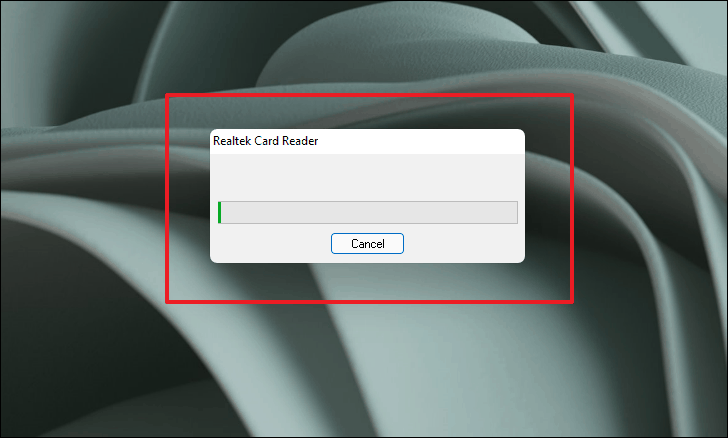
Follow the on-screen instructions to complete the installation. This may take a few moments.
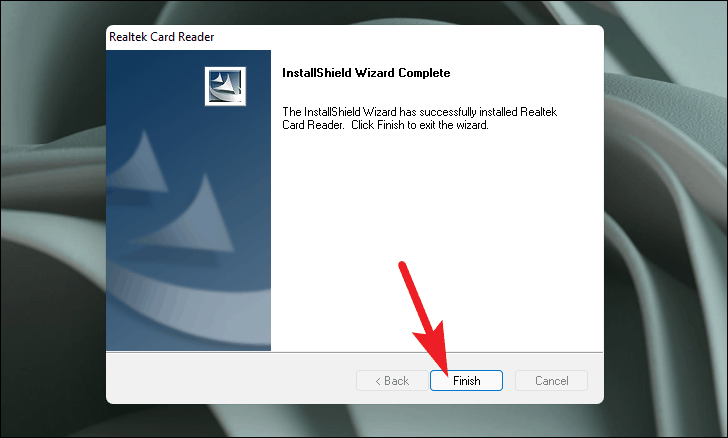
Once the installation is finished, click on Finish to exit the installer.
Your driver is now installed, and the hardware component should function correctly. Restart your computer if prompted.
Ensuring all your drivers are properly installed keeps your Windows 11 PC running efficiently and prevents hardware issues. Regularly checking for driver updates can help maintain system stability and performance.


