When you connect to a network—whether at home, at work, or a public Wi-Fi hotspot—your device is assigned an IP address by the router using the Dynamic Host Configuration Protocol (DHCP). Along with this IP address comes a lease time, which determines how long your device retains the assigned IP address. Modifying the DHCP lease time can optimize your network’s performance, especially in environments with varying connectivity needs. This guide will show you how to change the DHCP lease time in Windows 11.
What is DHCP lease time?
DHCP lease time is the duration a device is allowed to use an IP address assigned by the router. Once the lease time expires, the IP address can be reassigned to another device. This system ensures efficient utilization of IP addresses, particularly on networks where many devices frequently connect and disconnect, such as public Wi-Fi networks.
In a home network with a stable set of devices, a longer lease time reduces the frequency of IP address renewals, which can enhance network stability. Conversely, in networks with many transient connections, like public Wi-Fi, shorter lease times help free up IP addresses for new devices, preventing the router from running out of available addresses.
Checking your current DHCP lease time on Windows 11
Before adjusting the DHCP lease time, it’s helpful to check your current lease settings using the Command Prompt in the Terminal app on your Windows 11 PC.
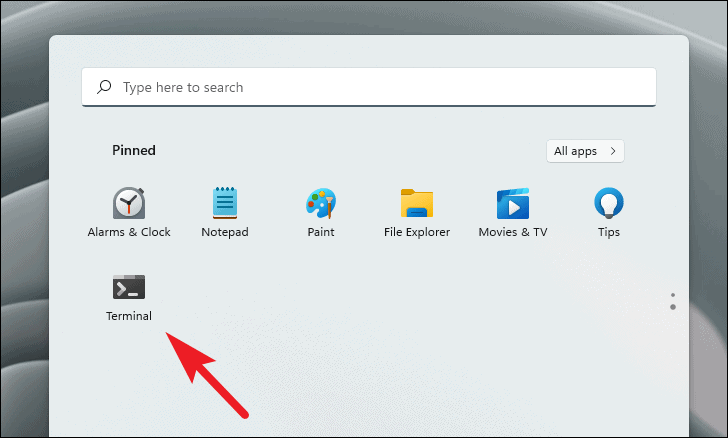
- Open the Terminal app from the Start menu.
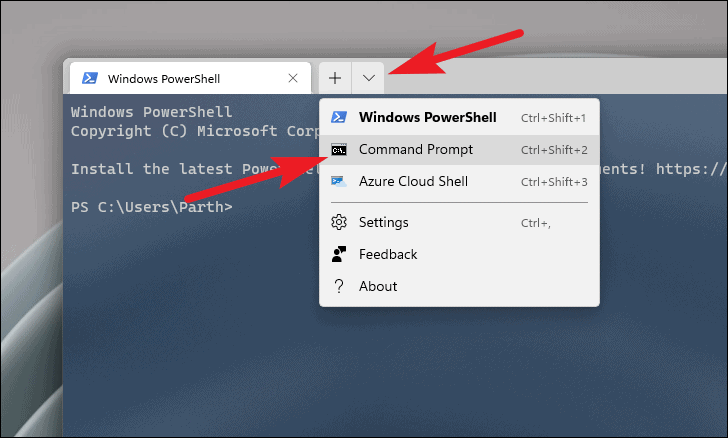
- In the Terminal window, click the downward arrow icon on the tab bar and select Command Prompt from the dropdown menu. Alternatively, press Ctrl+Shift+2 on your keyboard.
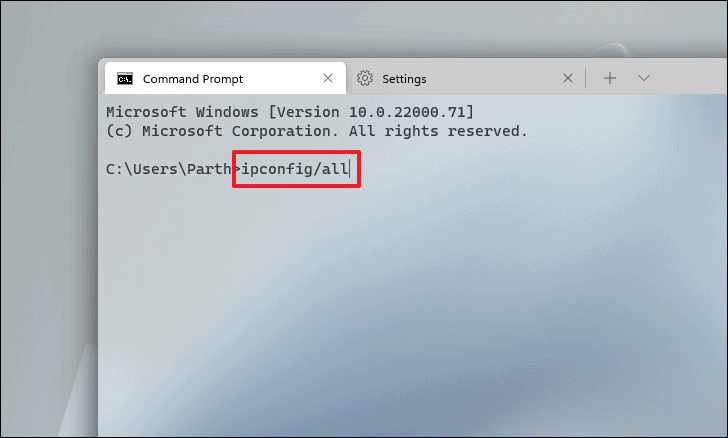
- Type ipconfig /all and press Enter.
Note: The Command Prompt may display white text on a black background if you haven’t customized its appearance.
- Scroll through the output to find the Lease Obtained and Lease Expires fields. These fields display when the current lease was obtained and when it will expire.

Also, make note of your Default Gateway address, as you’ll need it to access your router’s settings.

Changing the DHCP lease time on your router
To adjust the DHCP lease time, you’ll need to access your router’s configuration settings through a web browser.
Note: Before proceeding, ensure you have your router’s Default Gateway address and the necessary login credentials (username and password).
- Open your preferred web browser and enter your router’s Default Gateway address into the address bar (this is typically something like 192.168.0.1 or 192.168.1.1). Press Enter.
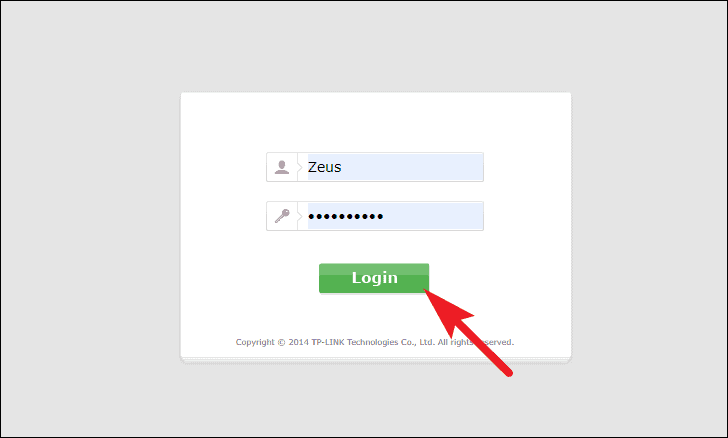
- Log in to your router’s control panel using your username and password.
Note: The following steps are based on a TP-Link router. The interface may differ depending on your router’s manufacturer.
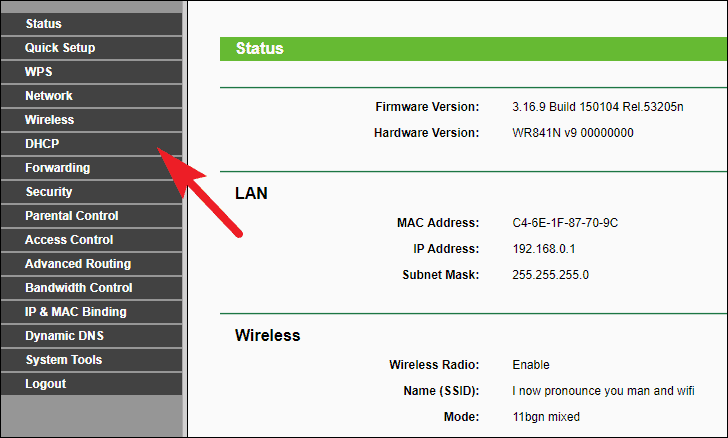
- Navigate to the DHCP section in your router’s control panel. This is often found in the sidebar or under an Advanced Settings menu.
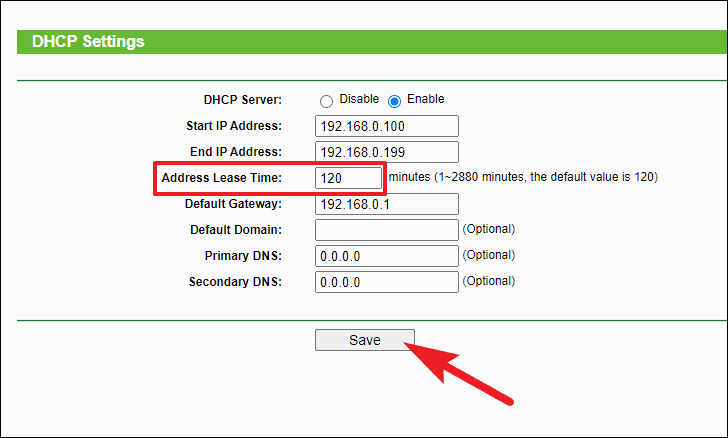
- Find the Address Lease Time setting. Enter your desired lease time in minutes. For example, you might enter 1440 for a 24-hour lease or 60 for a 1-hour lease.
- Click the Save or Apply button to confirm your changes.
Adjusting your DHCP lease time can help optimize your network’s performance, ensuring efficient IP address allocation for all connected devices.


