Running out of disk space on your Windows 11 PC can lead to sluggish performance and unexpected glitches. Fortunately, there are several effective methods to free up storage and keep your system running smoothly. In this guide, we’ll explore various ways to clear disk space, ensuring your computer remains efficient and responsive.
1. Use Storage Sense
Storage Sense is a built-in feature in Windows 11 that automatically removes unnecessary files, such as temporary files and items in the recycle bin. Configuring Storage Sense can help maintain adequate free space without manual intervention.
- Press
Windows+Ito open Settings. - Navigate to System on the left pane and select Storage on the right.
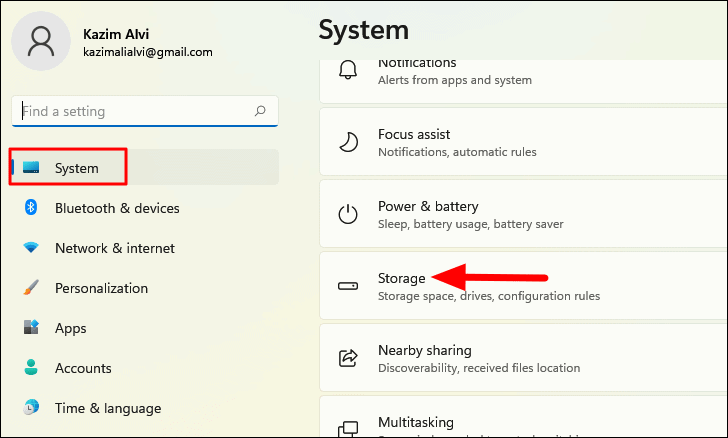
- Click on Storage Sense.
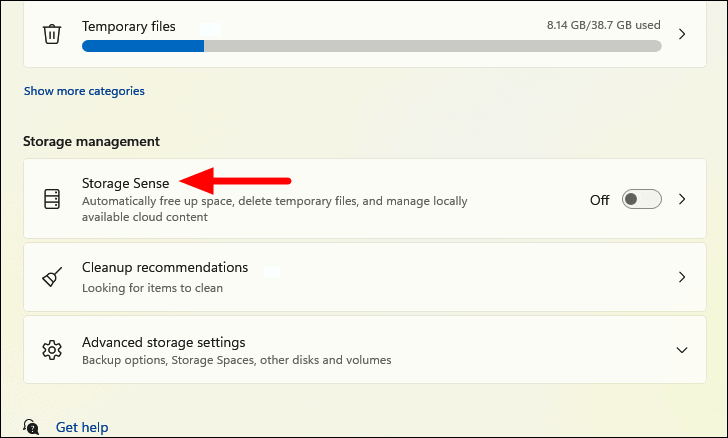
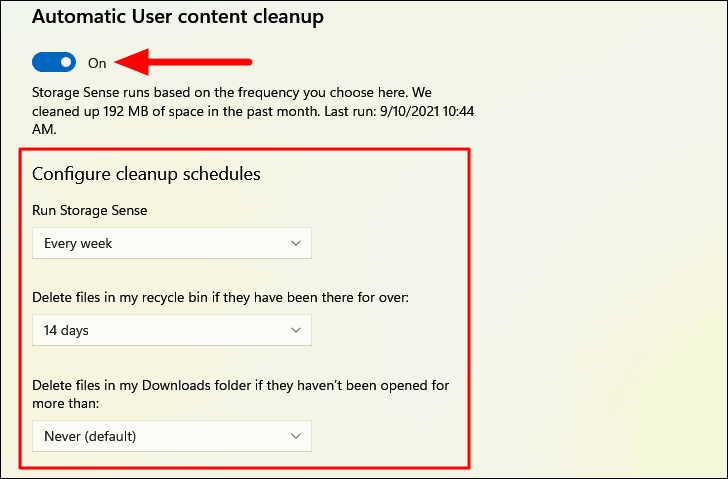
- Toggle on the switch under Automatic User content cleanup to enable Storage Sense.
- Configure the cleanup schedule by selecting your preferences from the dropdown menus under Configure cleanup schedules.
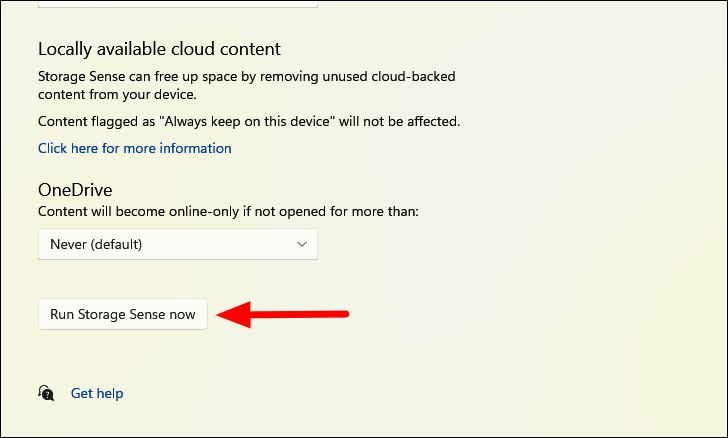
- To run Storage Sense immediately, scroll down and click on Run Storage Sense now. You’ll receive a notification once the process is complete, indicating how much space was freed.
2. Run Disk Cleanup
The Disk Cleanup utility allows you to delete unnecessary files that may be clogging up your hard drive, including temporary files, system caches, and more.
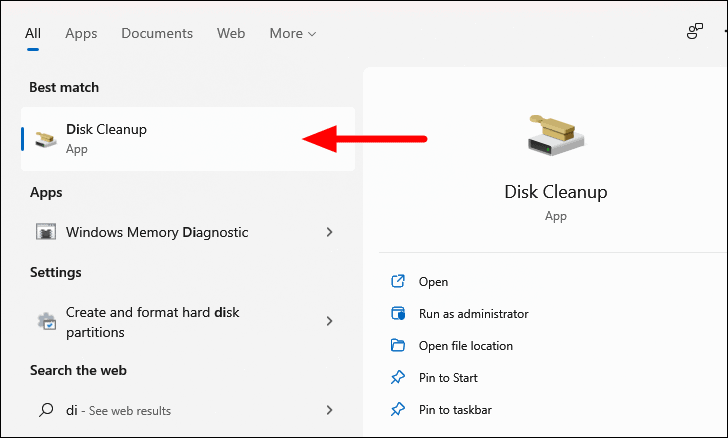
- Press
Windows+Sto open the search bar. - Type Disk Cleanup and select the app from the results.
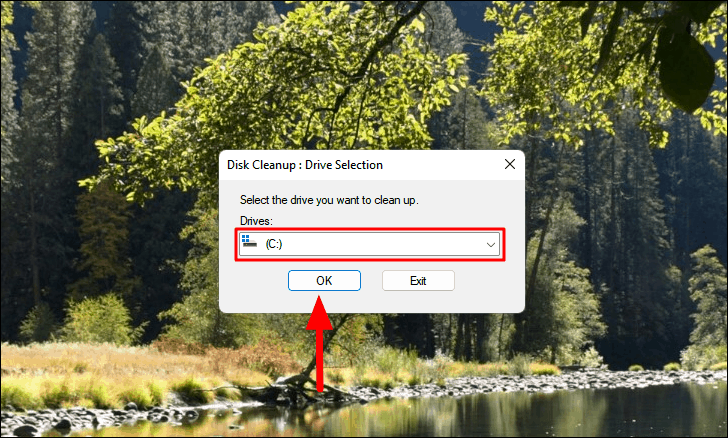
- Choose the drive you want to clean (usually the C: drive) and click OK.
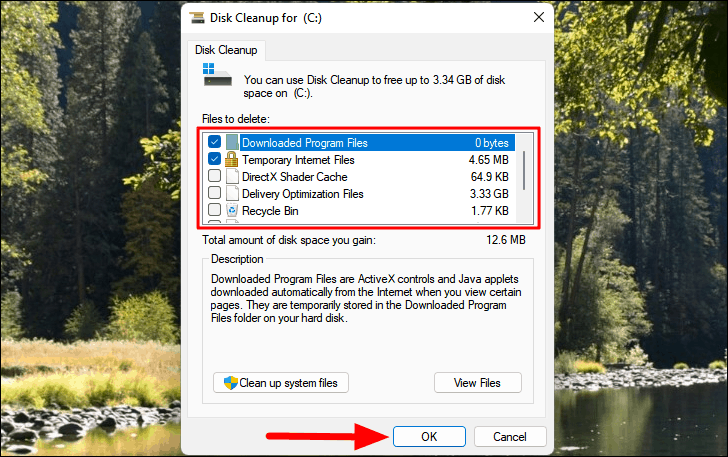
- After the scan, tick the checkboxes next to the file types you want to delete under Files to delete. You can see the total space you’ll free up at the top.
- Click OK, then confirm by clicking Delete Files.
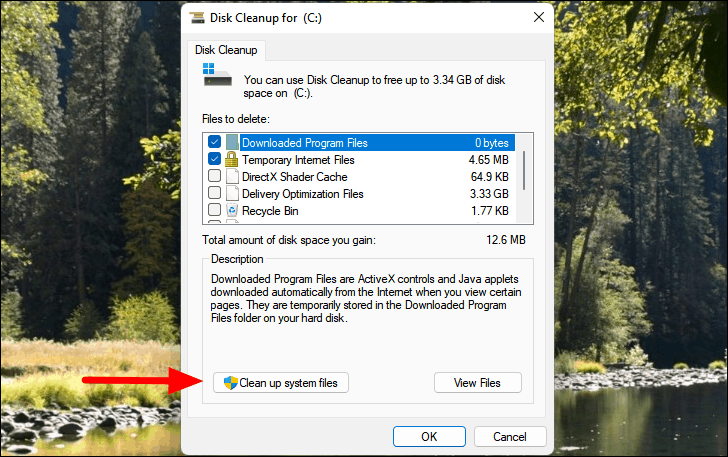
- To clean up system files, click on Clean up system files, select the drive again, and repeat the process for system file categories.
3. Delete Temporary Files
Temporary files can accumulate over time and consume valuable disk space. Removing them can help free up space.
Using File Explorer
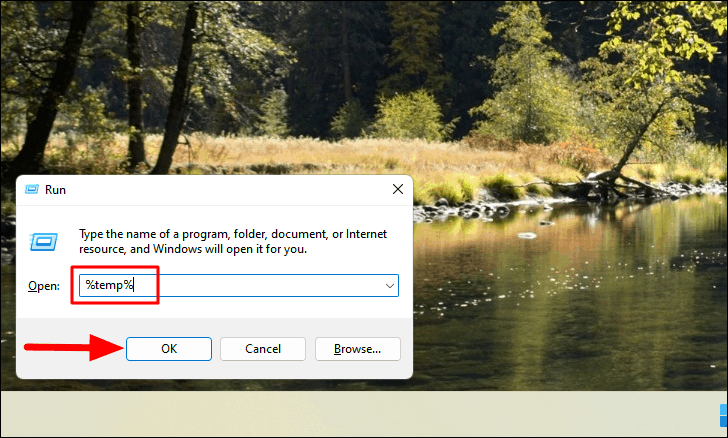
- Press
Windows+Rto open the Run dialog. - Type
%temp%and click OK to open the Temp folder.
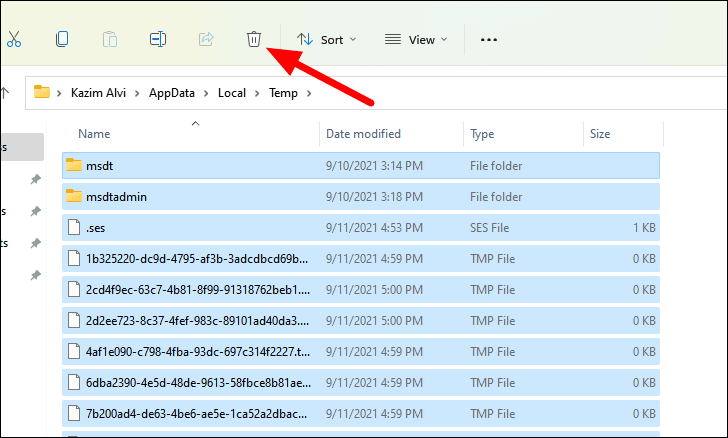
- Press
Ctrl+Ato select all files. - Click on the Delete icon in the toolbar or press the
Deletekey.
- If prompted for administrator permission, click Continue.
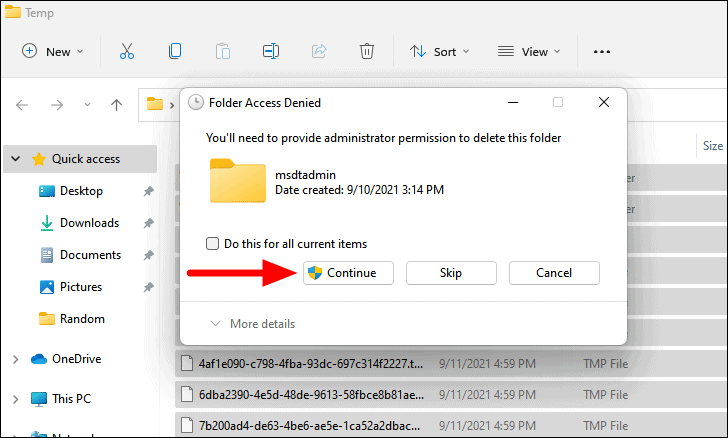
Note: If some files are in use and cannot be deleted, you can skip them or close the associated programs and try again.
Using Command Prompt
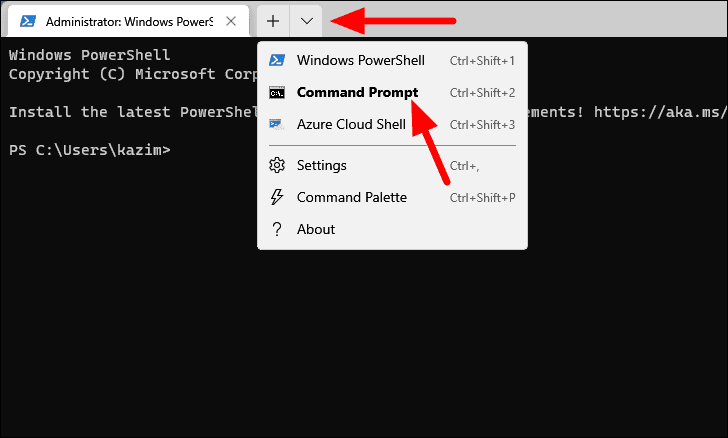
- Press
Windows+Xand select Terminal (Admin). - In the Terminal window, click the drop-down arrow and choose Command Prompt.
- This command will delete the temporary files that don’t require administrative access.
Type the following command and press Enter:
del /q/f/s %TEMP%\*4. Remove Unwanted Applications
Unused programs can take up significant space. Uninstalling them can help reclaim disk space.
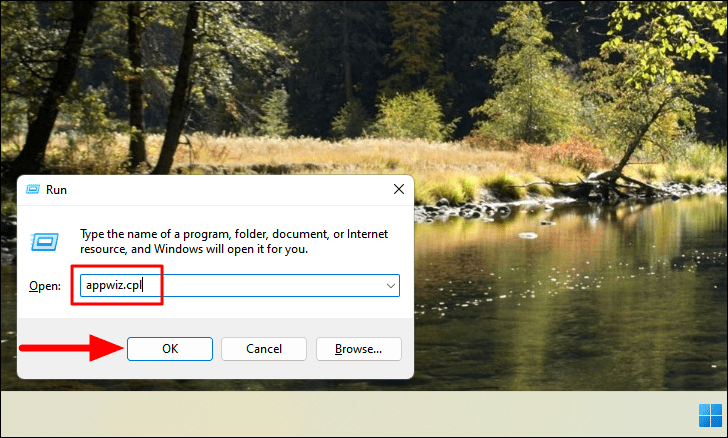
- Press
Windows+Rto open the Run dialog. - Type
appwiz.cpland pressEnterto open the Programs and Features window.
- Scroll through the list to find programs you no longer need.
- Select the program and click Uninstall at the top.
- Follow the on-screen instructions to complete the uninstallation.
5. Empty the Recycle Bin
Files you delete are moved to the Recycle Bin and still occupy space until you empty it.
- Right-click on the Recycle Bin icon on your desktop.
- Select Empty Recycle Bin from the context menu.
- Confirm the action by clicking Yes when prompted.
To permanently delete files without sending them to the Recycle Bin:
- Right-click on the Recycle Bin and select Properties.
- Choose the option Don’t move files to the Recycle Bin. Remove files immediately when deleted.
- Click OK to save the changes.
6. Delete Unnecessary Files in the Downloads Folder
The Downloads folder often accumulates files that are no longer needed. Cleaning it out can free up space.
- Press
Windows+Eto open File Explorer. - Navigate to the Downloads folder.
- Select the files you want to delete. You can press
Ctrl+Ato select all files. - Click the Delete icon in the toolbar or press the
Deletekey. - If prompted for confirmation, proceed to delete the files.
7. Clear Browser Cache
Browser cache files help load websites faster but can consume considerable space over time. Clearing them can help free up space.
Google Chrome
- Open Chrome and press
Ctrl+Hto open History. - Click on Clear browsing data on the left.
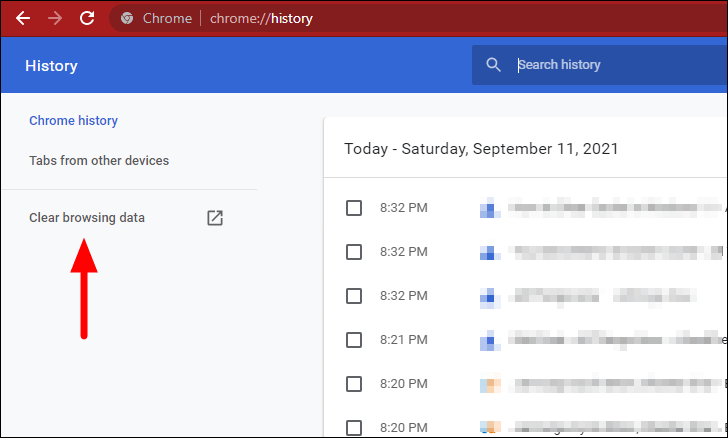
- Set the Time range to All time.
- Tick the checkbox for Cached images and files.
- Click Clear data to proceed.
Microsoft Edge
- Open Edge and press
Ctrl+Hto open History. - Click on the three-dot menu and select Clear browsing data.
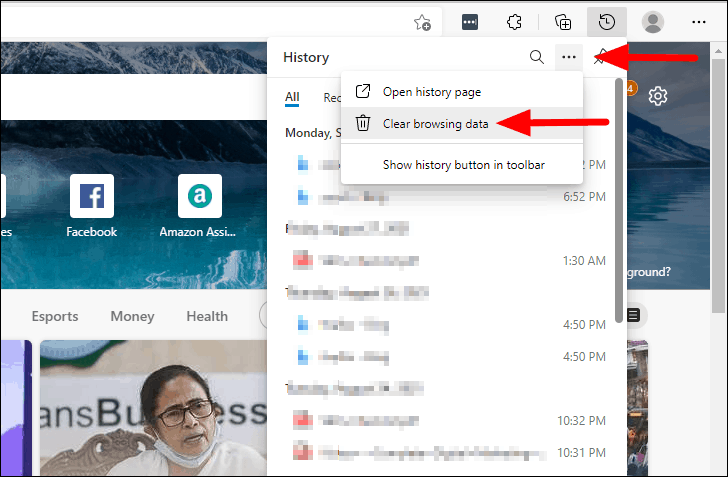
- Choose All time as the time range.
- Check the box for Cached images and files.
- Click Clear now.
Mozilla Firefox
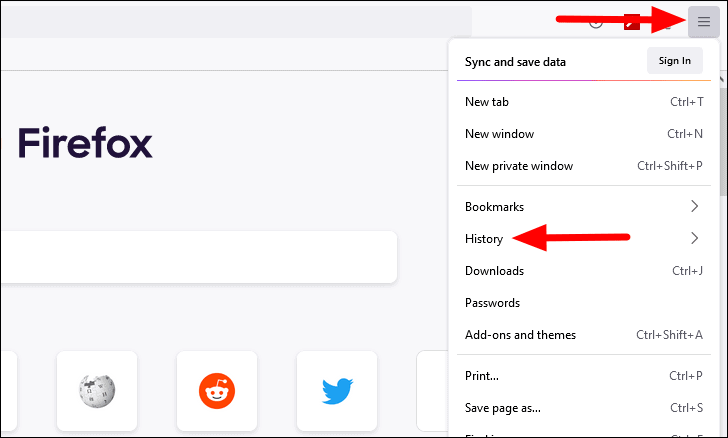
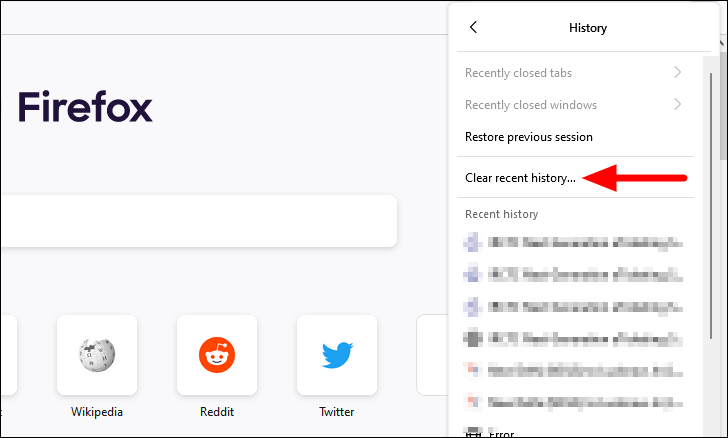
- Open Firefox and click on the Menu (three horizontal lines) in the top-right corner.
- Select History, then click on Clear recent history.
- Set the Time range to clear to Everything.
- Expand Details and check the box for Cache.
- Click OK to clear the cache.
By following these methods, you can effectively free up disk space on your Windows 11 PC. Regular maintenance ensures your system runs efficiently and helps prevent performance issues related to low storage space.


