
Microsoft Store offers a plethora of games catering to a wide range of interests. While exploring these games, you might install several that don’t quite meet your expectations or that you no longer play. Removing these unused games can help you declutter your Start menu and free up storage space. This guide will show you how to uninstall Microsoft Store games using two different methods.
Uninstall Microsoft Store games from the Settings app
If you want to uninstall multiple games efficiently, using the Settings app is the most effective method.
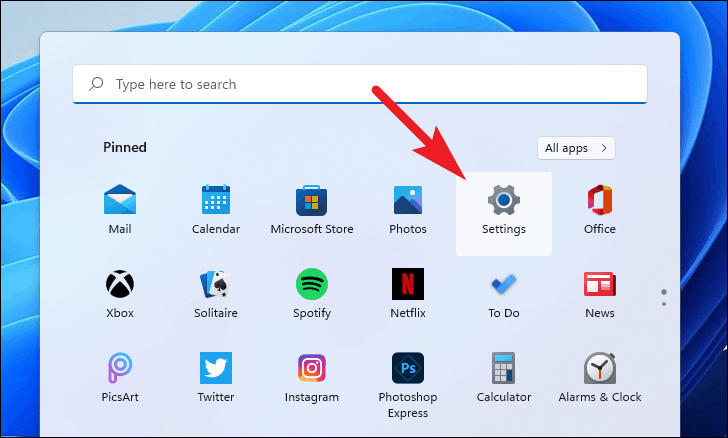
- Open the Settings app by clicking on the
Windowsicon in the taskbar and selecting Settings from the Start menu.
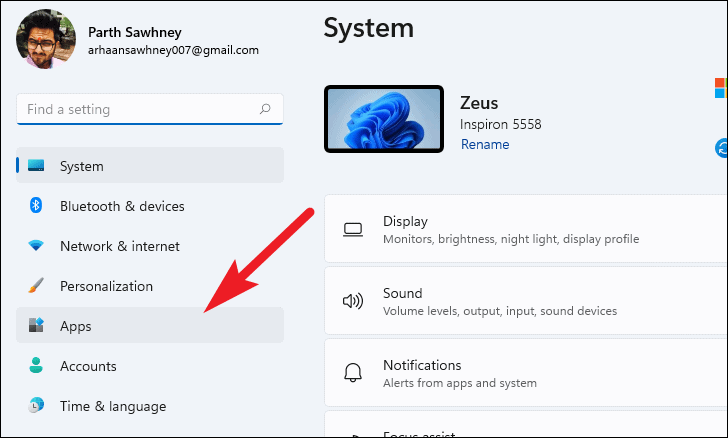
- In the Settings window, click on the Apps tab located in the left sidebar.
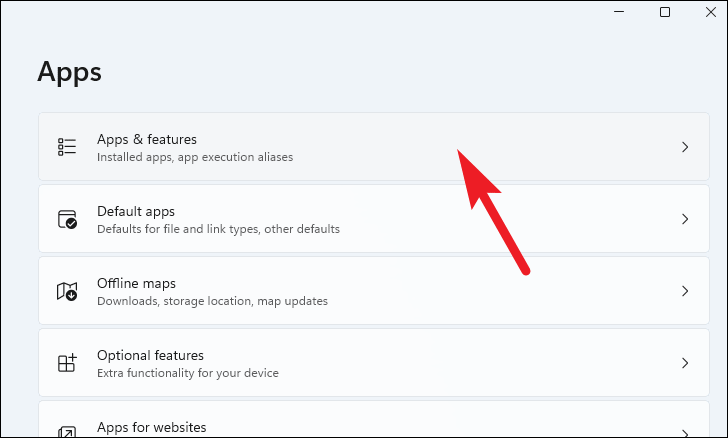
- On the right side, select Apps & features.
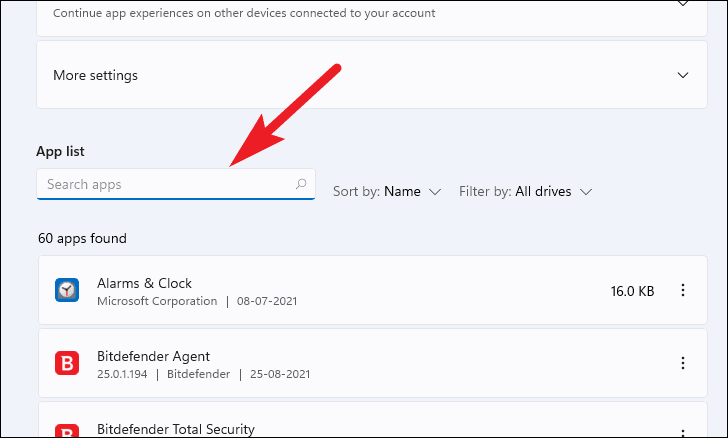
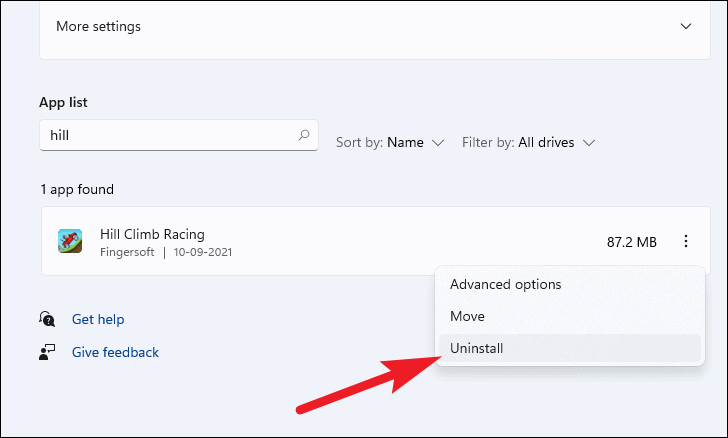
- Under the App list section, you can search for the game you wish to uninstall using the search bar, or scroll through the list to find it.
- Once you locate the game, click on the ellipsis icon (three vertical dots) next to it and choose Uninstall from the menu.
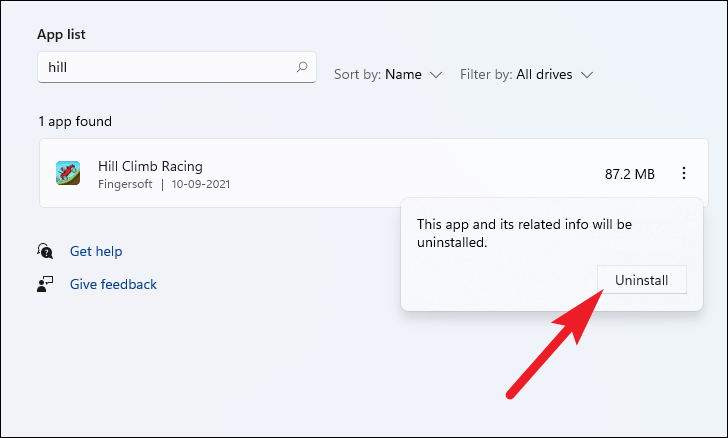
- A confirmation window will appear. Click on Uninstall to remove the game from your computer.
Uninstall Microsoft Store games from the Start menu
You can also uninstall games directly from the Start menu.
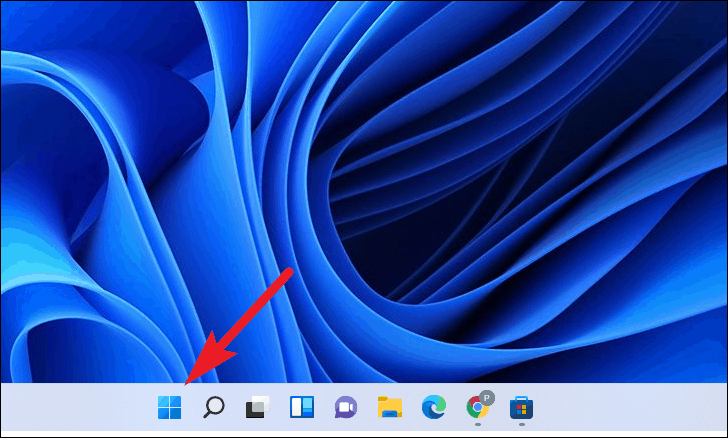
- Click on the
Windowsicon in the taskbar to open the Start menu.
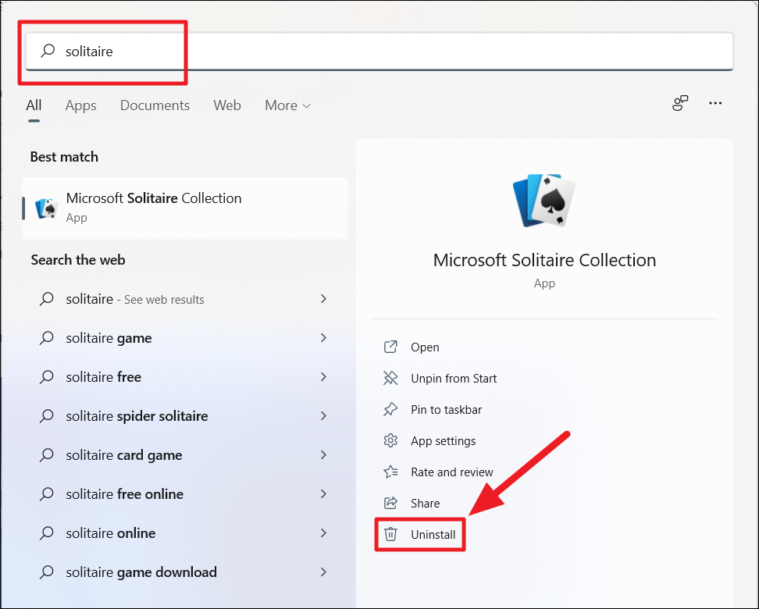
- Type the name of the game you want to uninstall in the search bar at the top.
- In the search results, right-click on the game and select Uninstall from the options on the right.
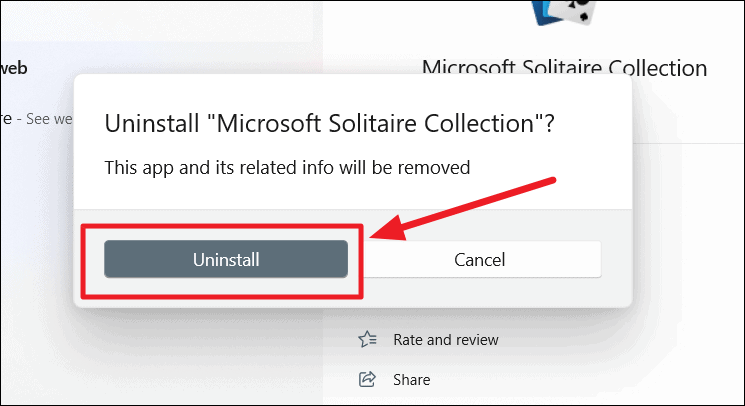
- Confirm the action by clicking on Uninstall in the pop-up window.
Alternatively, you can uninstall games by browsing through the list of installed apps:
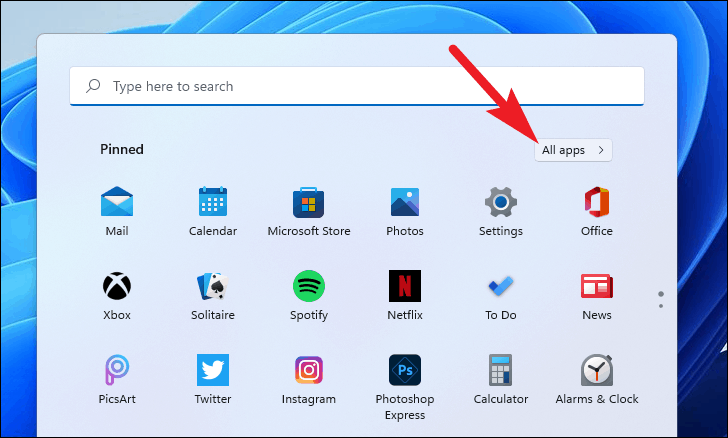
- In the Start menu, click on All apps.
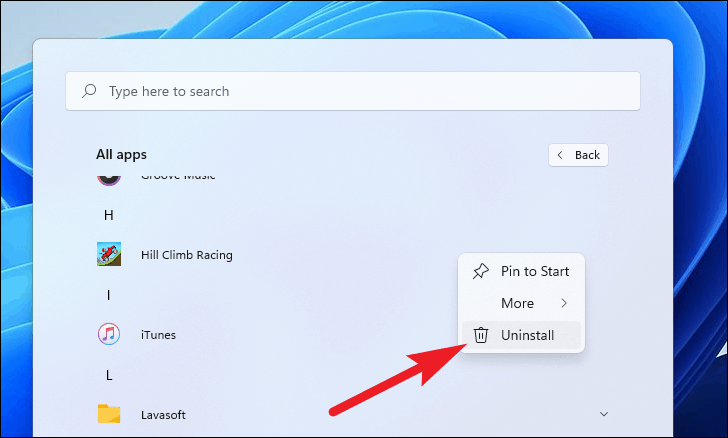
- Scroll through the alphabetical list to find the game you want to remove.
- Right-click on the game and select Uninstall.
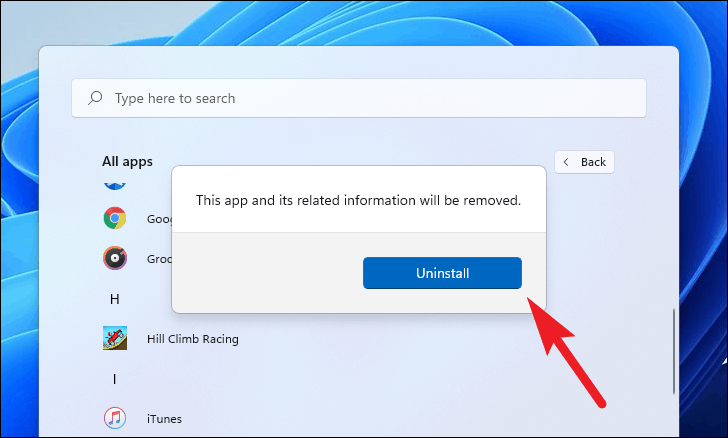
- In the confirmation dialog, click on Uninstall to proceed.
By following these steps, you can easily remove unwanted Microsoft Store games from your Windows computer.


