
Network data usage statistics in Windows 11 help users monitor how much internet bandwidth their device consumes over a set period—typically the last 30 days. When these statistics become inaccurate, stuck, or you need to start tracking from zero (for example, when switching to a new data plan), resetting or clearing the usage data is essential. Windows 11 provides several built-in ways to reset these counters, and understanding each method allows you to choose the best fit for your situation.
Reset Data Usage via Windows 11 Settings
Step 1: Open the Windows Settings app by pressing Win + I. This shortcut brings up the main Settings window instantly.
Step 2: Navigate to the Network & internet section in the sidebar. This section manages all network-related configurations, including Wi-Fi, Ethernet, and VPN settings.

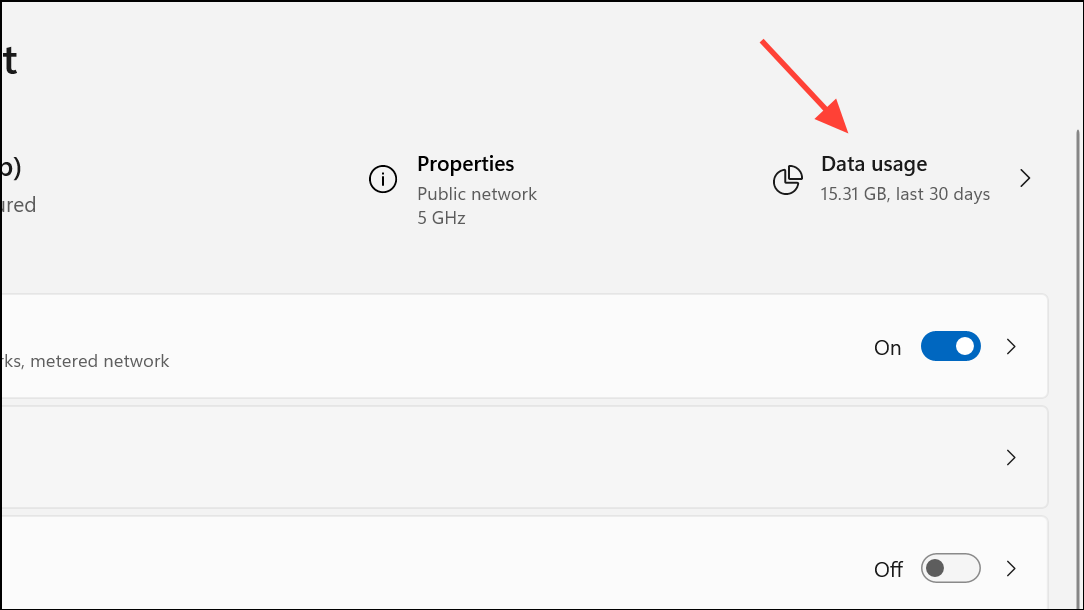
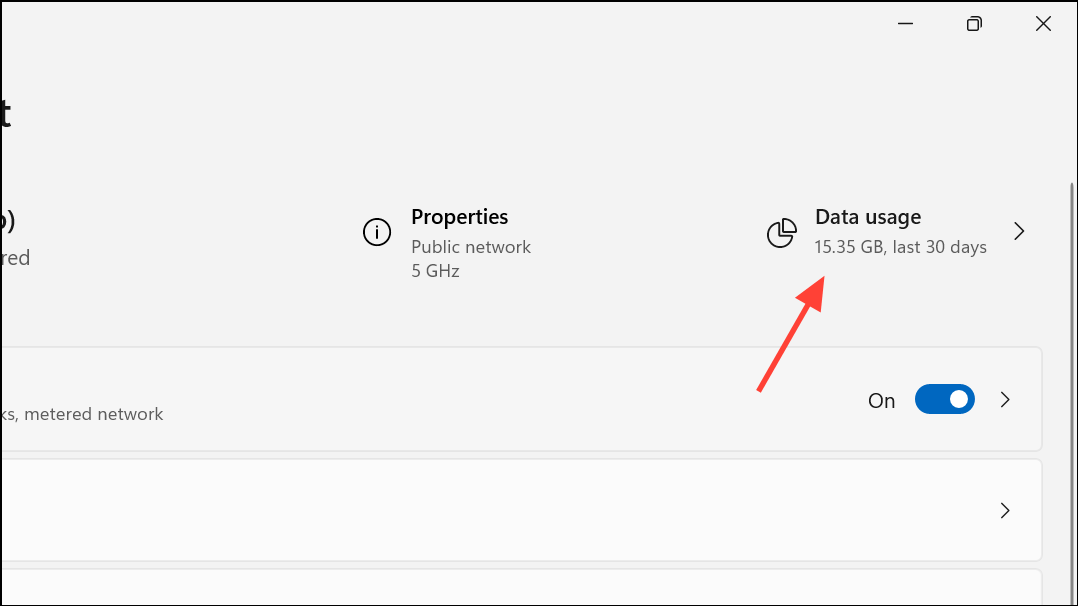
Step 3: Click on Data usage located at the top right. Here, you’ll see a summary of your current data usage and a breakdown by app for the selected network adapter (such as Wi-Fi or Ethernet).
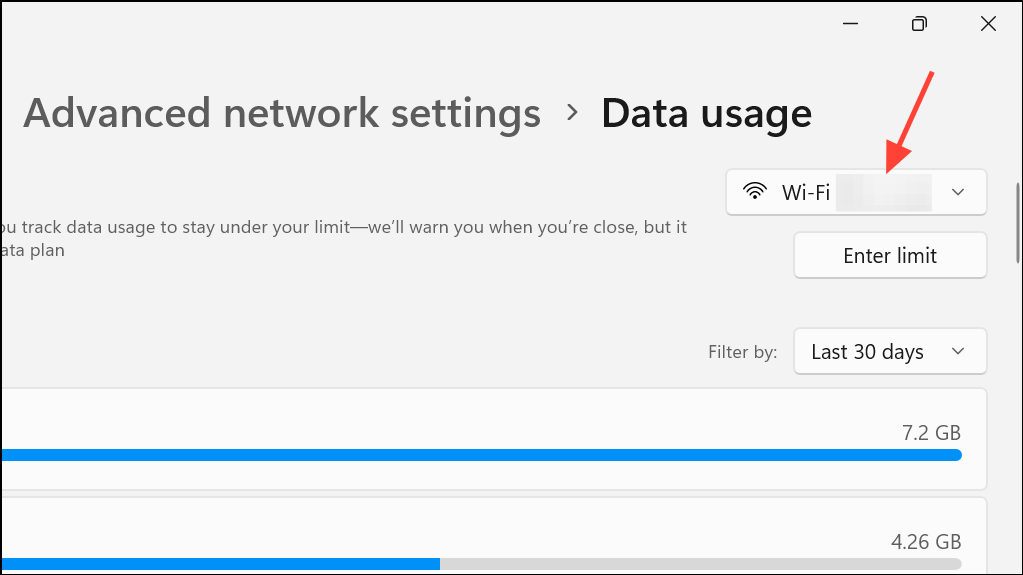
Step 4: If you want to reset usage for a different network (for example, from Wi-Fi to Ethernet), use the drop-down menu in the upper-right corner to select the desired adapter.
Step 5: Scroll down to the bottom of the Data usage page and locate the Reset usage stats or Reset button. Click this button, then confirm the action in the dialog that appears. This action clears the data usage statistics for the currently selected network adapter, setting all counters back to zero.

Step 6: Repeat the process for any other network adapters you wish to reset. Each network interface (Wi-Fi, Ethernet, cellular) must be reset individually.
Reset Data Usage for All Networks Using Command Prompt
For users who want to clear data usage statistics for all network adapters at once, Windows 11 allows this via an elevated Command Prompt or Windows Terminal session. This approach is especially useful if you manage multiple network interfaces or need to automate the reset process.
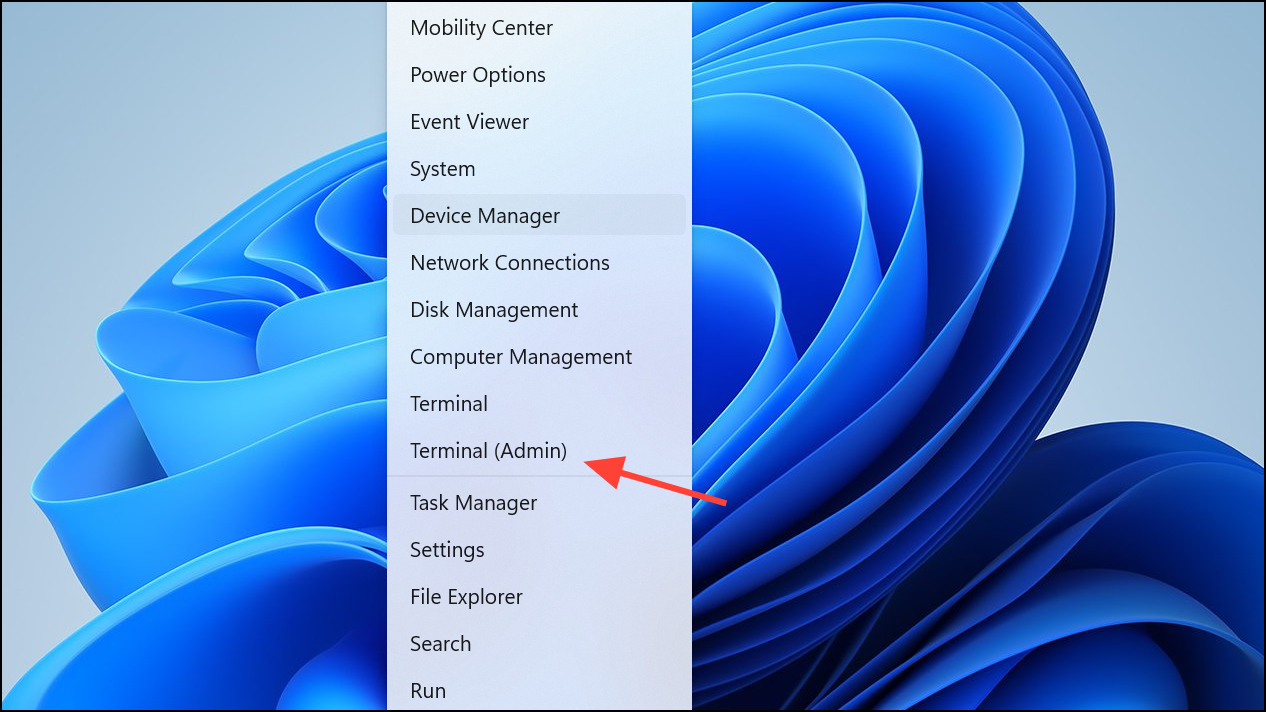
Step 1: Open Windows Terminal as an administrator. Right-click the Start button and choose Windows Terminal (Admin) or Command Prompt (Admin).
Step 2: Ensure the active tab is set to Command Prompt. If not, select the Command Prompt profile from the dropdown menu.
Step 3: Enter the following command, which stops the Diagnostic Policy Service, deletes the system resource usage data, and restarts the service:
net stop DPS & DEL /F /S /Q /A "%windir%\System32\sru\*" & net start DPS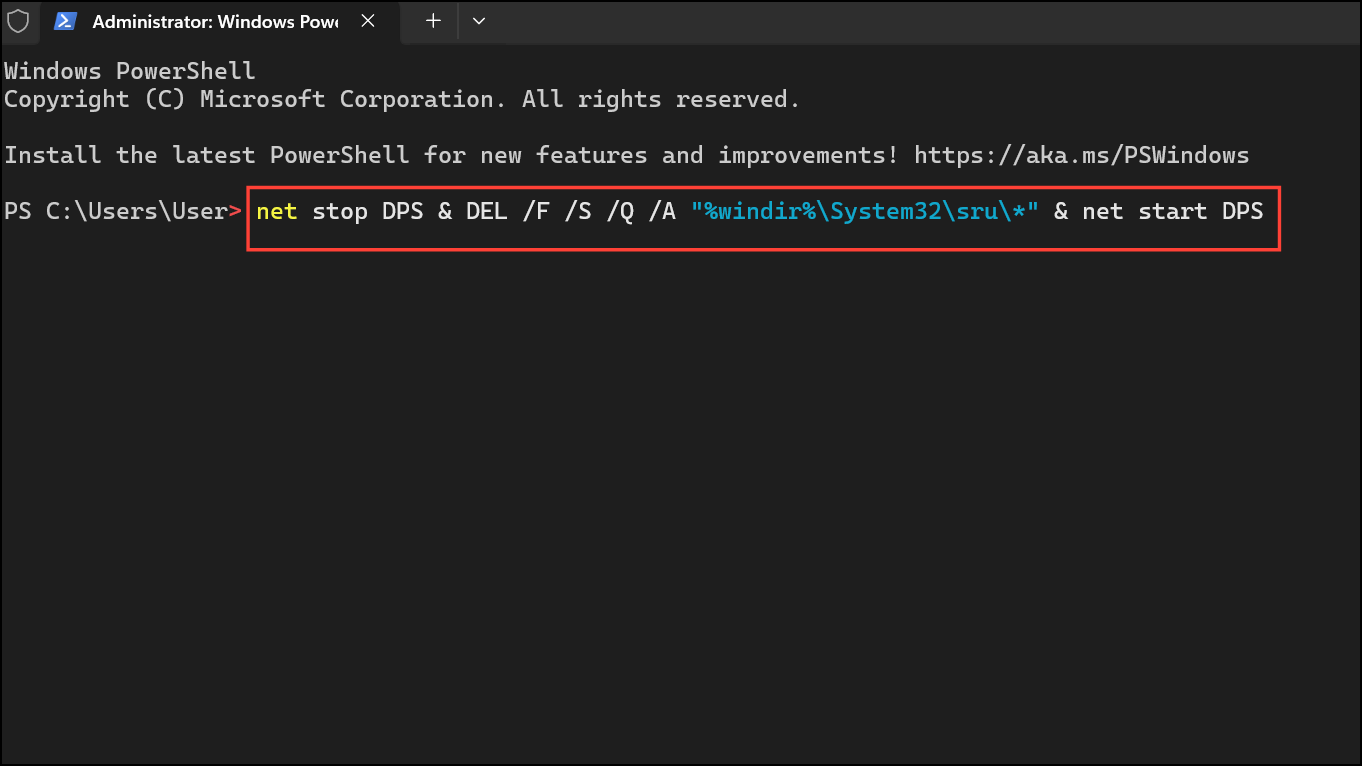
This command sequence ensures that all network data usage logs are cleared for every adapter. The Diagnostic Policy Service (DPS) is responsible for collecting diagnostic and usage data, so stopping it is required before deleting its files.
Step 4: Wait for the command to finish executing. Once complete, the data usage counters for all networks are reset to zero. You may now close the terminal window.
Reset Data Usage with a Batch File
If you prefer a one-click solution, you can use a batch (.bat) file to automate the command prompt method above. This is particularly useful for repeated use or for less technical users.
Step 1: Download a pre-made batch file from a reputable source, or create your own with the following content:
powershell -windowstyle hidden -command "Start-Process cmd -ArgumentList '/s,/c,net stop DPS > NUL 2>&1 & DEL /F /S /Q /A \"%windir%\System32\sru\*\" & net start DPS > NUL 2>&1' -Verb runAs"
This script performs the same actions as the manual command, but runs silently and prompts for administrator permission if needed.
Step 2: Save the file with a .bat extension, right-click it, and select Run as administrator. The process will execute quickly, resetting all network usage data in the background.

Step 3: If you want the batch file to run invisibly (without showing a command prompt window), consider scheduling it through Task Scheduler with the appropriate settings, or modify the script to use a hidden window style.
Troubleshooting Blank or Missing Data Usage Counters
Some users report that the Data Usage page in Windows 11 appears blank or does not display any statistics. This issue can result from disabled system services, corrupted system files, or malfunctioning UWP (Universal Windows Platform) components.
Step 1: Ensure the Diagnostic Policy Service is running. This service is essential for tracking and displaying network usage data. To check its status:
- Type
servicesin the Windows search bar or Run dialog open the Services app.
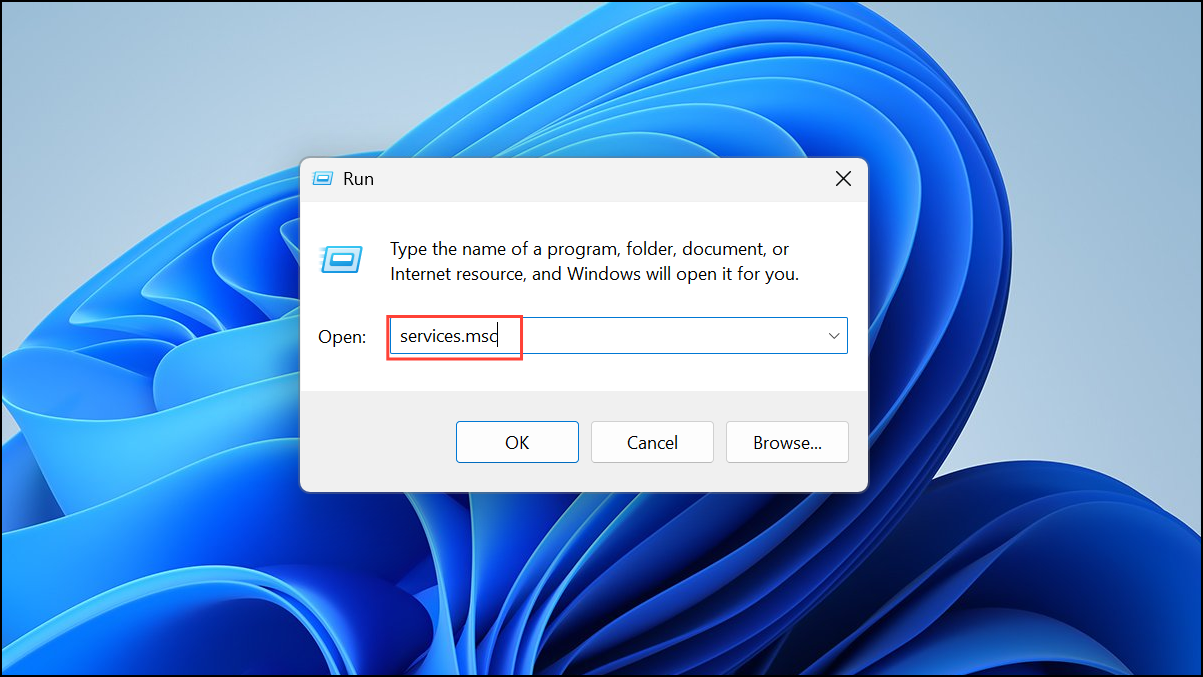
- Scroll down to Diagnostic Policy Service. Double-click it, set the Startup type to Manual or Automatic, click Apply, and then click Start if it’s not already running.

Step 2: If the issue persists, run the built-in System File Checker and DISM tools to repair potentially corrupted system files:
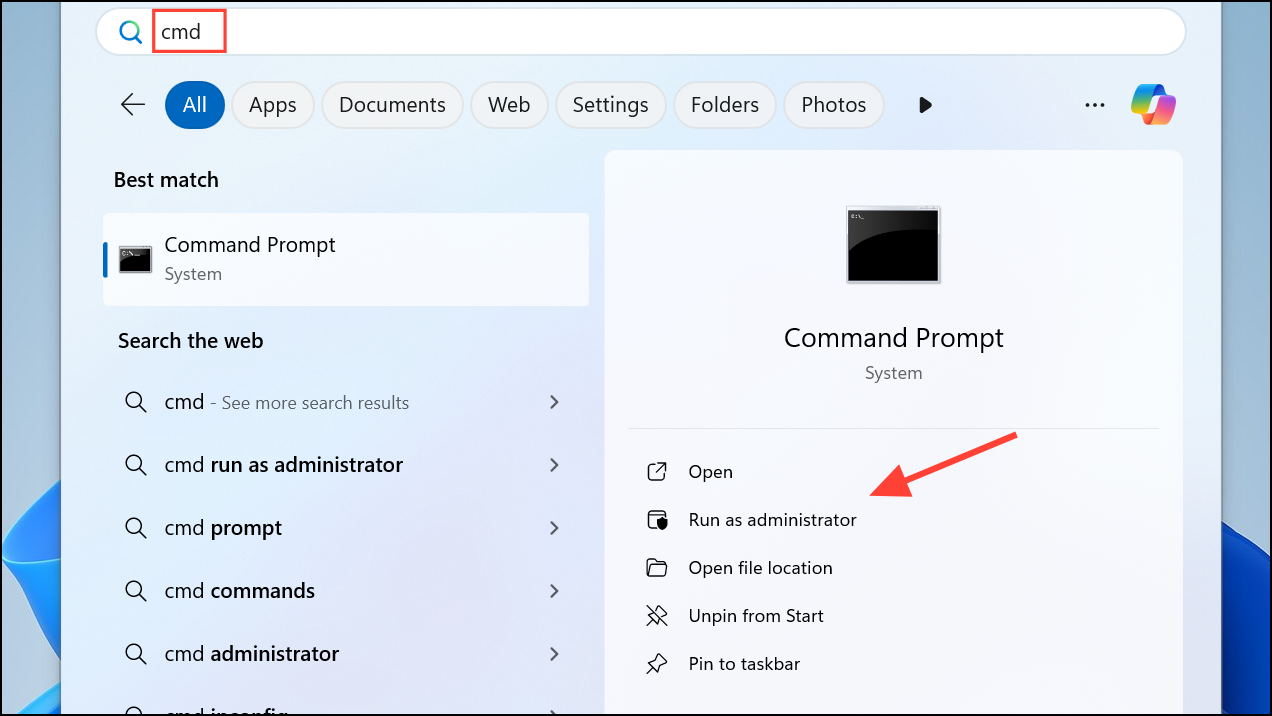
- Open Command Prompt as administrator.
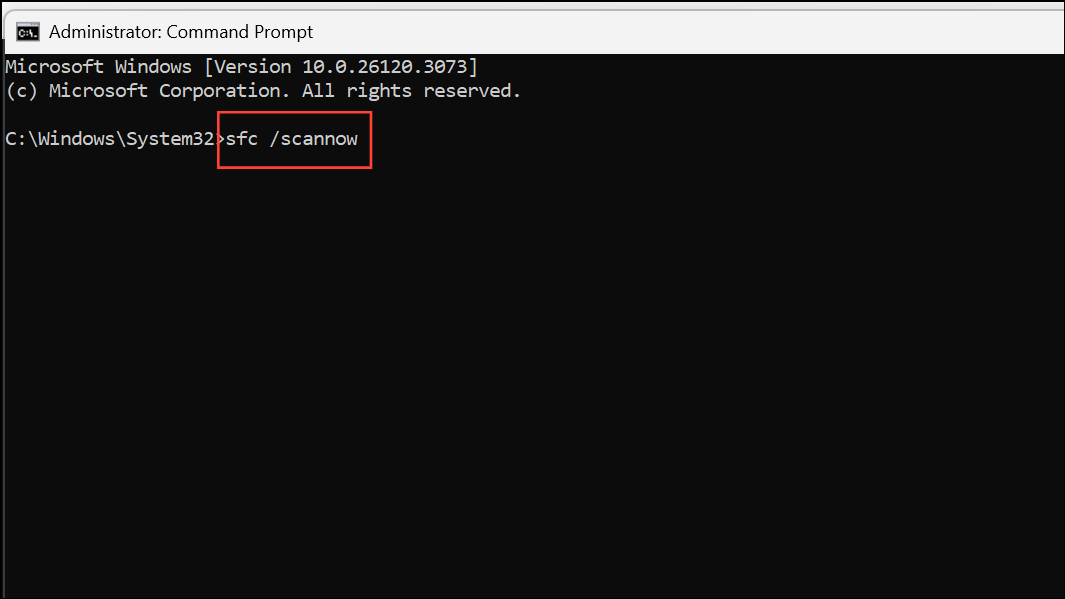
- Run
sfc /scannowand wait for it to complete.
- Then run
DISM /Online /Cleanup-Image /RestoreHealth.

Step 3: If you have previously disabled or uninstalled UWP apps, you can attempt to restore the Settings app by running this PowerShell command as administrator:
Get-AppXPackage -AllUsers Windows.immersivecontrolpanel | Foreach {Add-AppxPackage -DisableDevelopmentMode -Register "$($_.InstallLocation)\AppXManifest.xml"}Step 4: As a last resort, creating a new local user account or performing a full Windows Reset can restore normal data usage tracking. This process reinstalls critical system files and resets the Settings app to its default state.
Setting, Editing, or Removing Data Usage Limits
Windows 11 allows users to set data usage caps for individual network connections, which is especially helpful for those with limited data plans. These limits can be configured to reset daily, weekly, or monthly, matching your billing cycle.
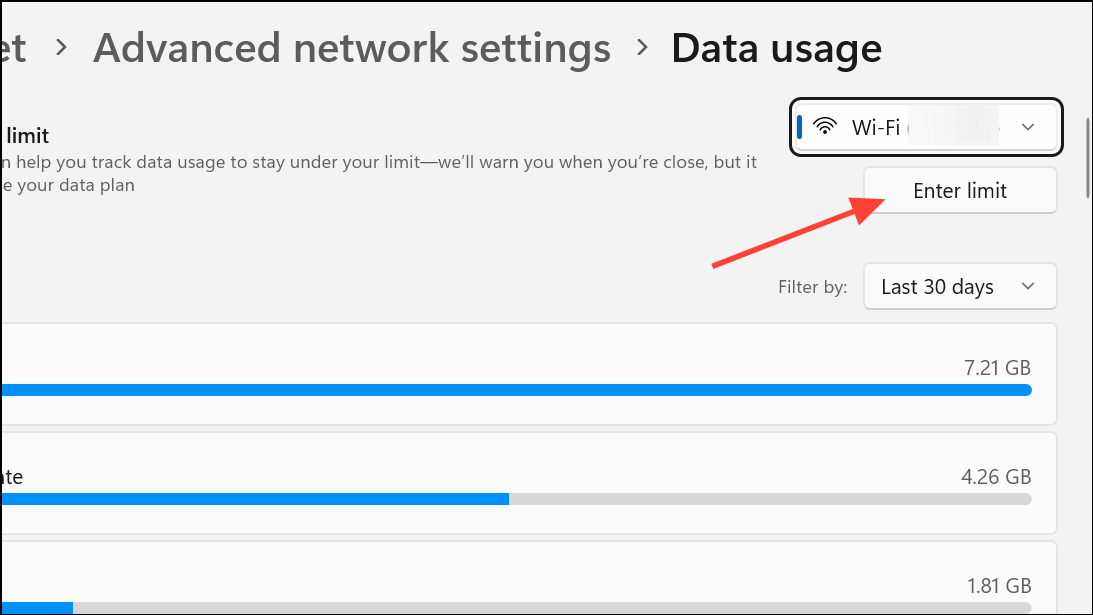
Step 1: In the Network & internet section of Settings, click Data usage for your chosen network adapter.
Step 2: Click Enter limit (or Edit limit if one is already set).
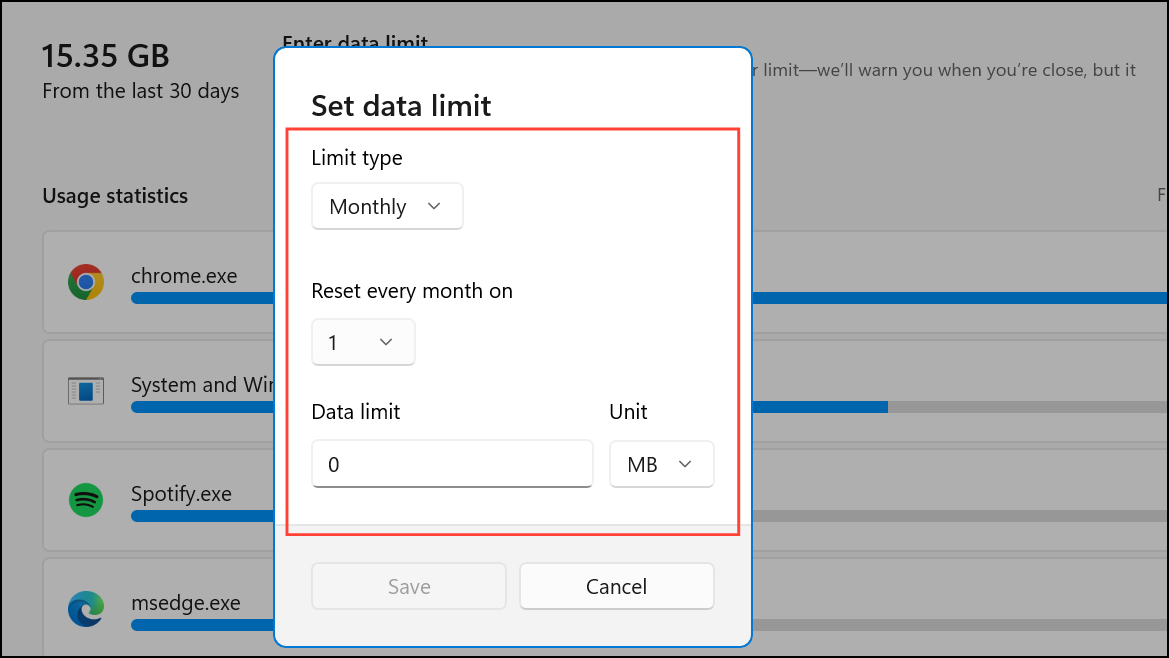
Step 3: Choose the limit type (monthly, one-time, or unlimited), set the data cap amount, and select the reset period. Save your changes.
Step 4: To remove a data limit, return to the Data usage page and click Remove limit. Confirm the action to delete the cap.
Setting a data limit lets Windows alert you as you approach your threshold, and can restrict background activity on metered connections to prevent overages.
Resetting or clearing data usage in Windows 11 is straightforward when you know which method fits your needs. Whether you use the Settings app for quick resets, Command Prompt for all adapters, or troubleshoot blank counters, these steps help you maintain accurate network usage records and avoid unexpected data charges.