
Clearing your system cache on Windows 11 frees up valuable disk space, speeds up your computer, and resolves common issues like slow performance, application crashes, and unexpected errors. Over time, cached files—which are temporary files stored by your system and applications to speed up future tasks—can accumulate, causing noticeable slowdowns. Regularly clearing this cache helps maintain optimal performance.
Method 1: Clearing Temporary Files via Settings
Step 1: Open the Windows Settings app by pressing Windows key + I on your keyboard. This shortcut quickly opens the main settings panel.
Step 2: In the Settings window, click on "System" from the left-hand menu, then select "Storage" from the right pane.
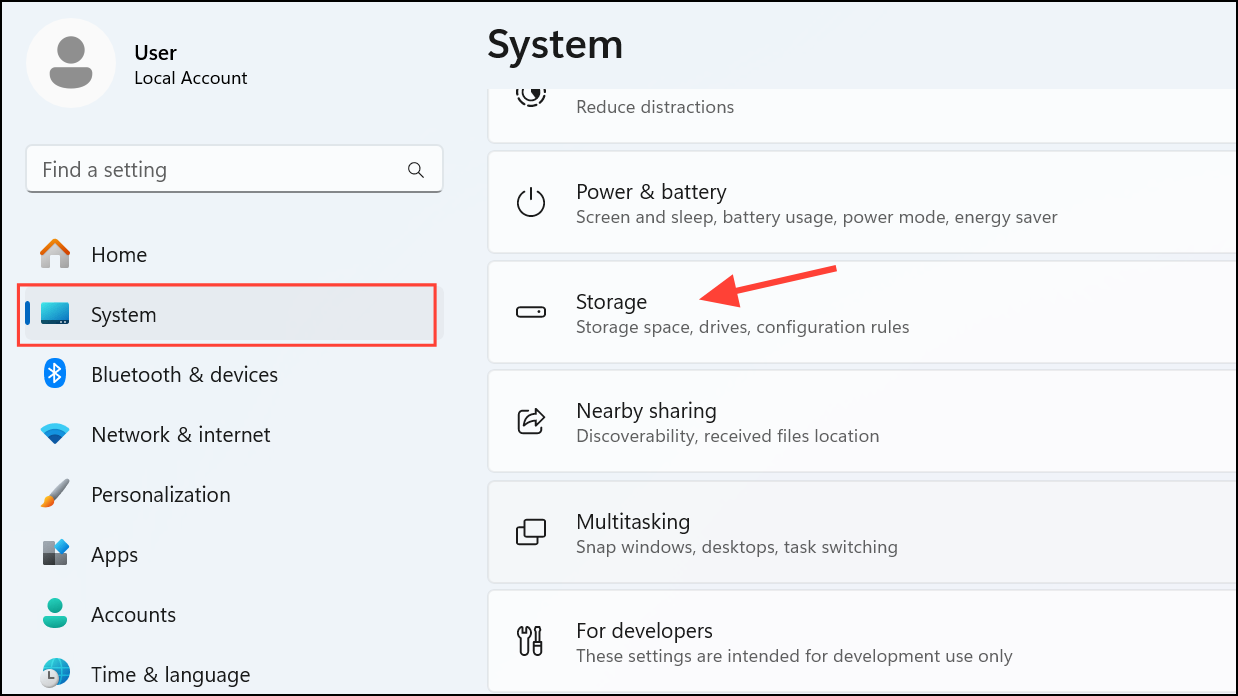
Step 3: Under the Storage settings, locate and click on "Temporary files." Windows will scan and display a list of temporary files that can be safely deleted.
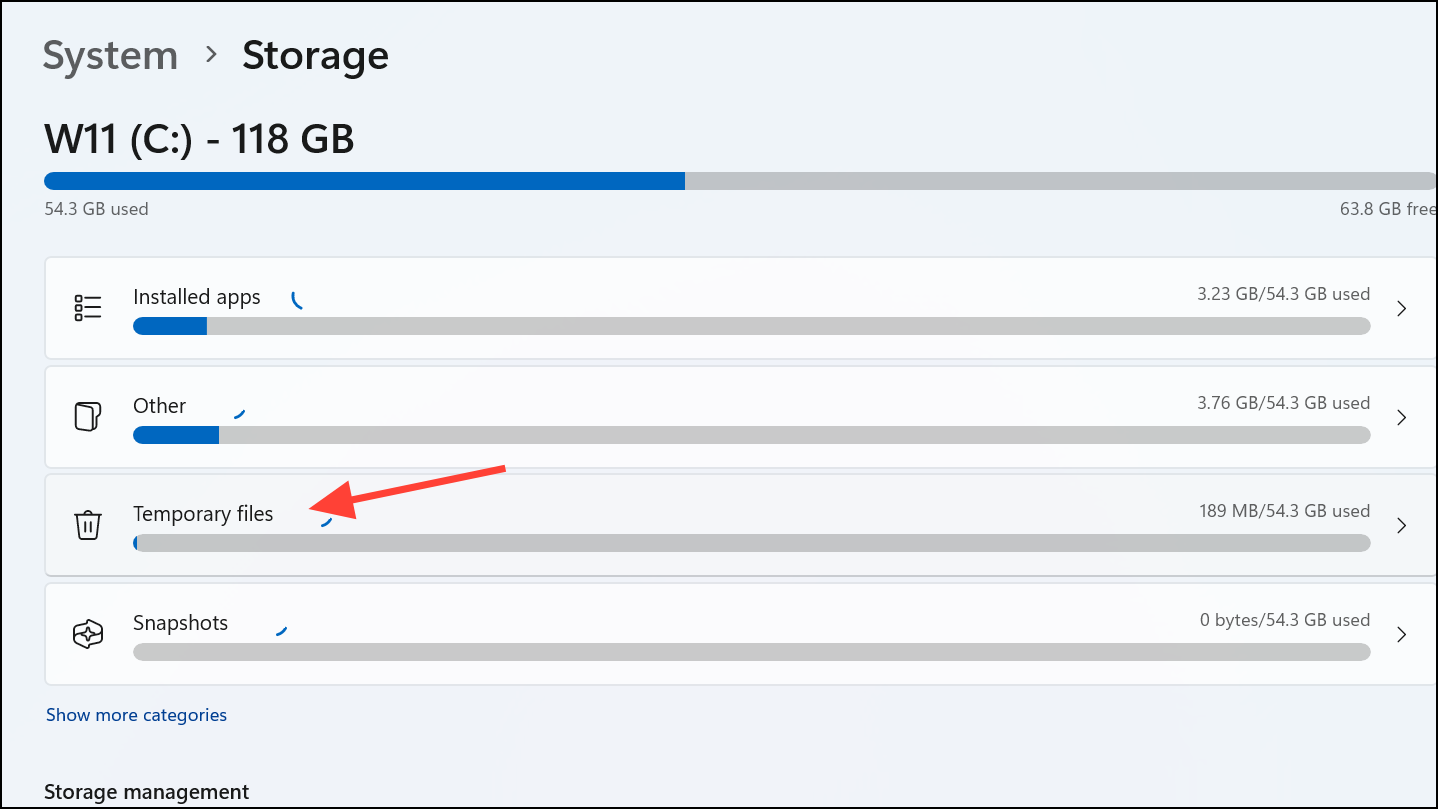
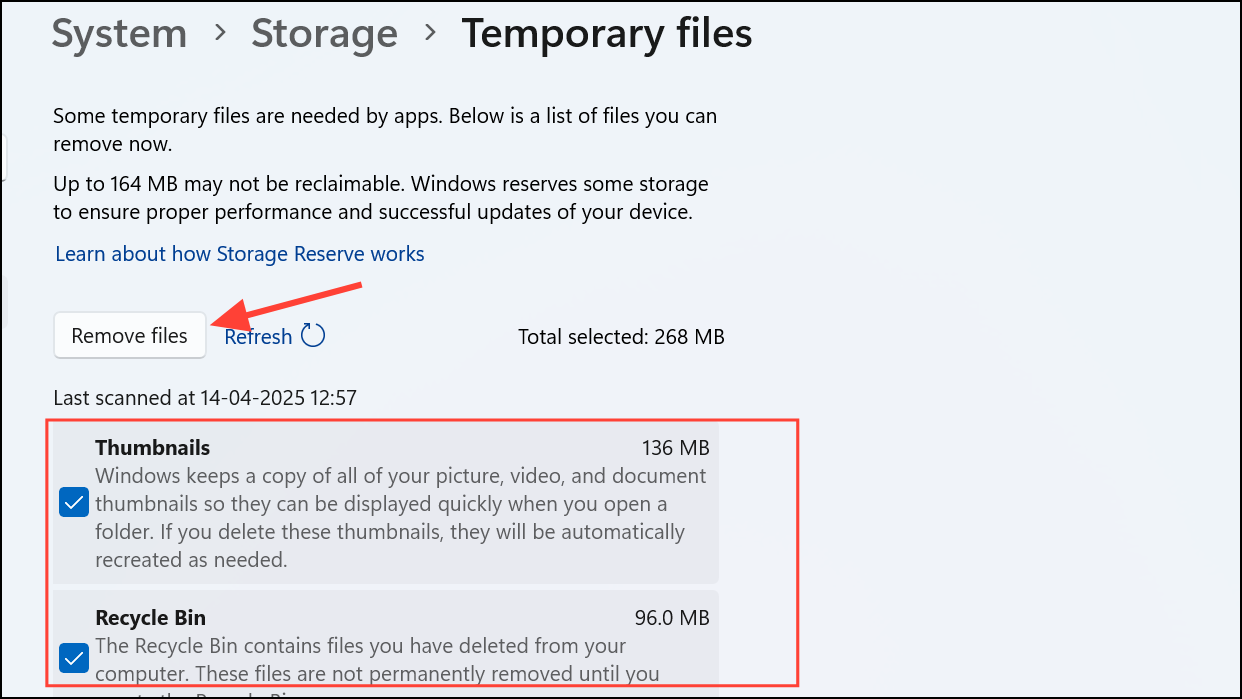
Step 4: Review the list carefully. Check the boxes next to the items you want to clear, such as "Temporary files," "Downloads," or "Recycle Bin." Be cautious with the "Downloads" folder, as it may contain important files you wish to keep.
Step 5: After selecting the desired items, click on "Remove files" to delete the cache. This action immediately frees up space and can noticeably improve your system's responsiveness.
Method 2: Using Disk Cleanup Utility
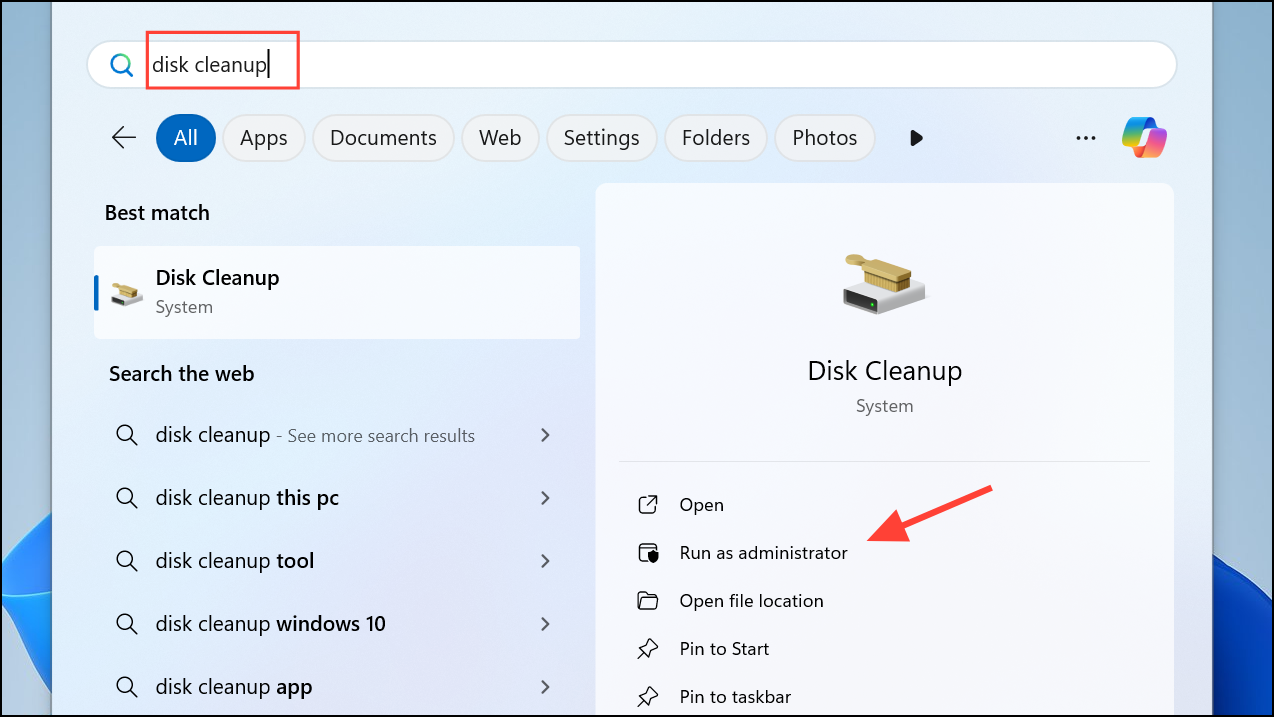
Step 1: Click on the Start menu, type "Disk Cleanup," and select the Disk Cleanup app from the search results.
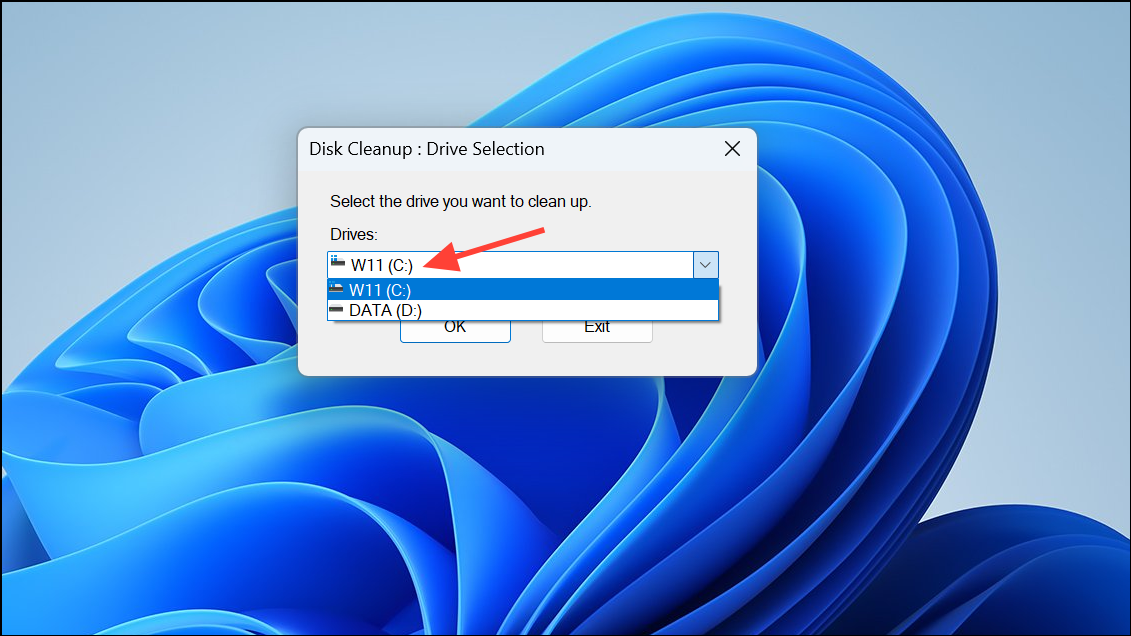
Step 2: When the Disk Cleanup window opens, select your primary drive (usually labeled as "C:") and click "OK." The utility will scan your drive and calculate how much space you can recover.
Step 3: Once the scan completes, a list of file categories will appear. Check the boxes next to the types of files you want to delete, such as "Temporary files," "Thumbnails," and "Temporary Internet Files."
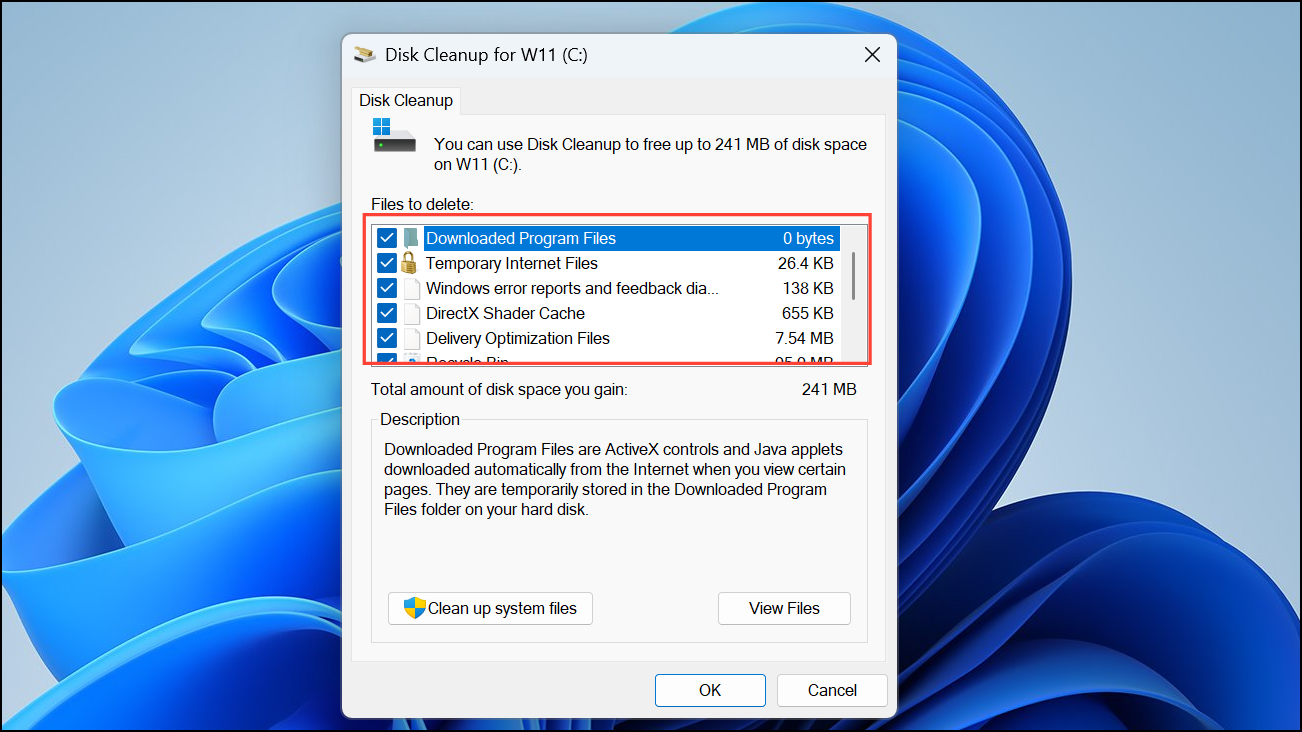
Step 4: Click "OK," and then confirm by clicking "Delete Files" when prompted. Disk Cleanup will then remove the selected cached files, freeing disk space and potentially resolving performance issues.
Method 3: Clearing Cache Using Command Prompt
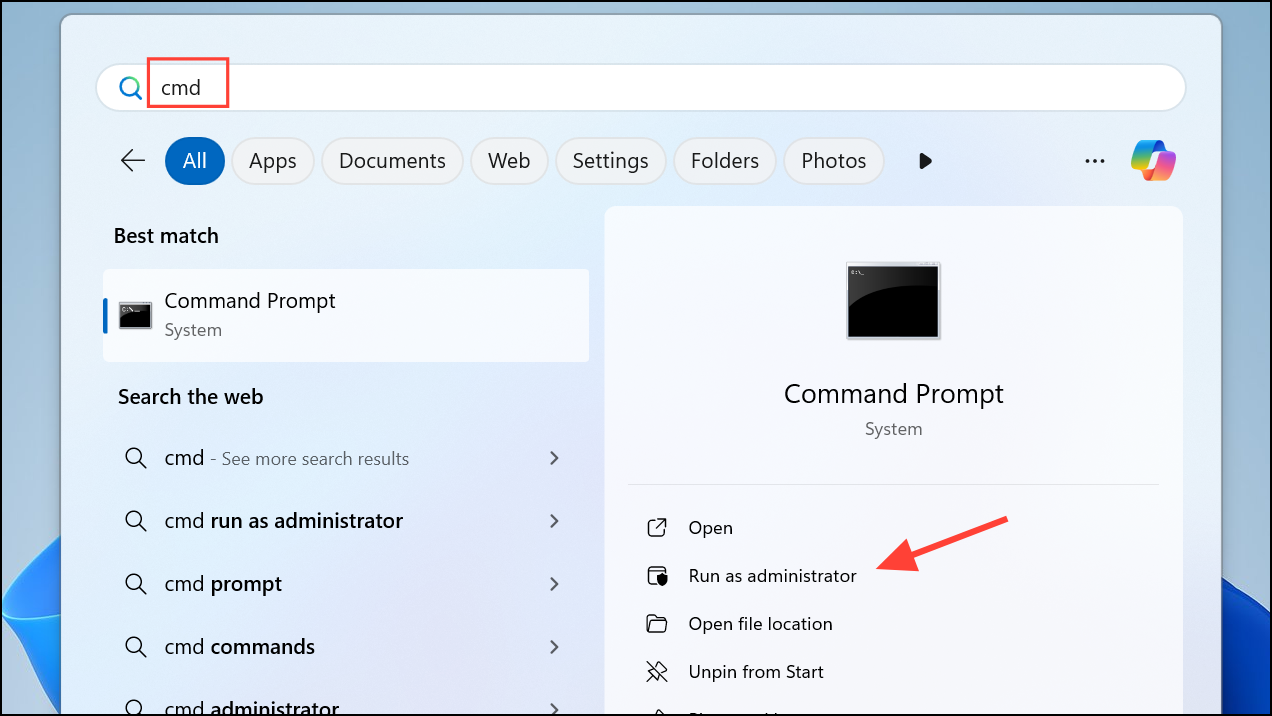
Step 1: Open the Start menu and type "cmd." Right-click on "Command Prompt" and select "Run as administrator" to launch it with administrative privileges.
Step 2: In the Command Prompt window, type the following command and press Enter to navigate to the temporary files directory:
cd %temp%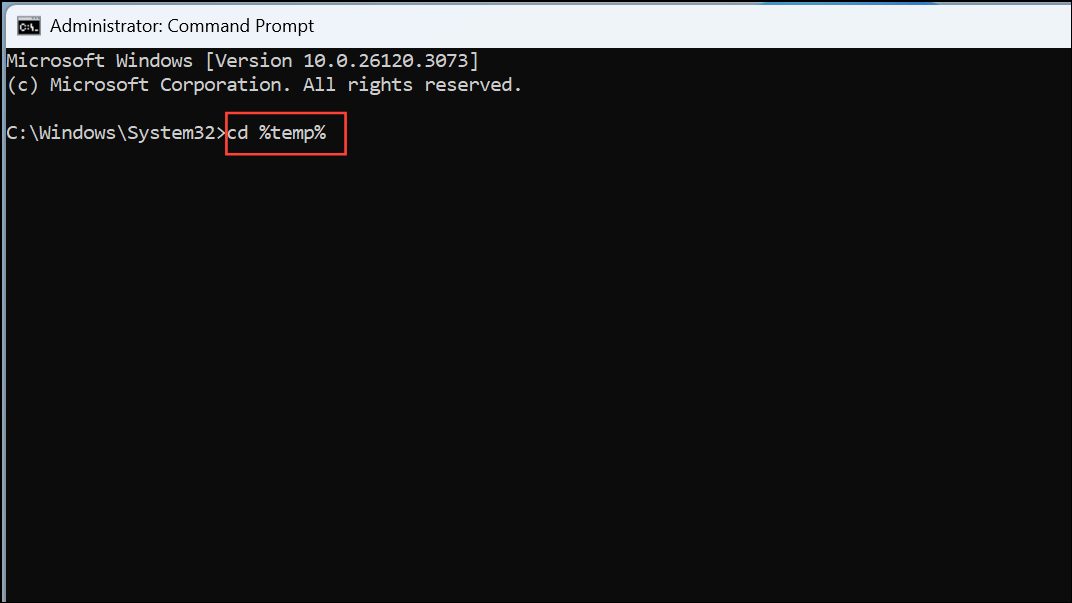
Step 3: Next, type the following command to delete all temporary files at once:
del /f /s /q *.*
This command deletes all temporary files without prompting. After running this command, you may notice immediate improvements in your system's performance.
Why Clearing Cache Makes a Big Difference
Cached files are intended to speed up your computer by storing frequently accessed data. However, over time, these files can accumulate excessively, consuming significant disk space and slowing down your system. Clearing your cache regularly:
- Improves system responsiveness and speed.
- Resolves application errors and crashes caused by corrupted or outdated cache files.
- Frees up valuable storage space, allowing your system and software to run more efficiently.
Regular maintenance, such as clearing your cache every few weeks or once a month, helps keep your Windows 11 PC running smoothly and efficiently.
Now that you've cleared your cache, enjoy a faster, more responsive Windows 11 experience.