
The WiFi option disappearing from your Windows 11 system tray or settings can happen due to various reasons like disabled services, outdated drivers, or a misconfigured network adapter. Without this option, you can’t manage your wireless networks, making it impossible to connect to WiFi. Below are several proven methods you can use to quickly restore the missing WiFi option in Windows 11.
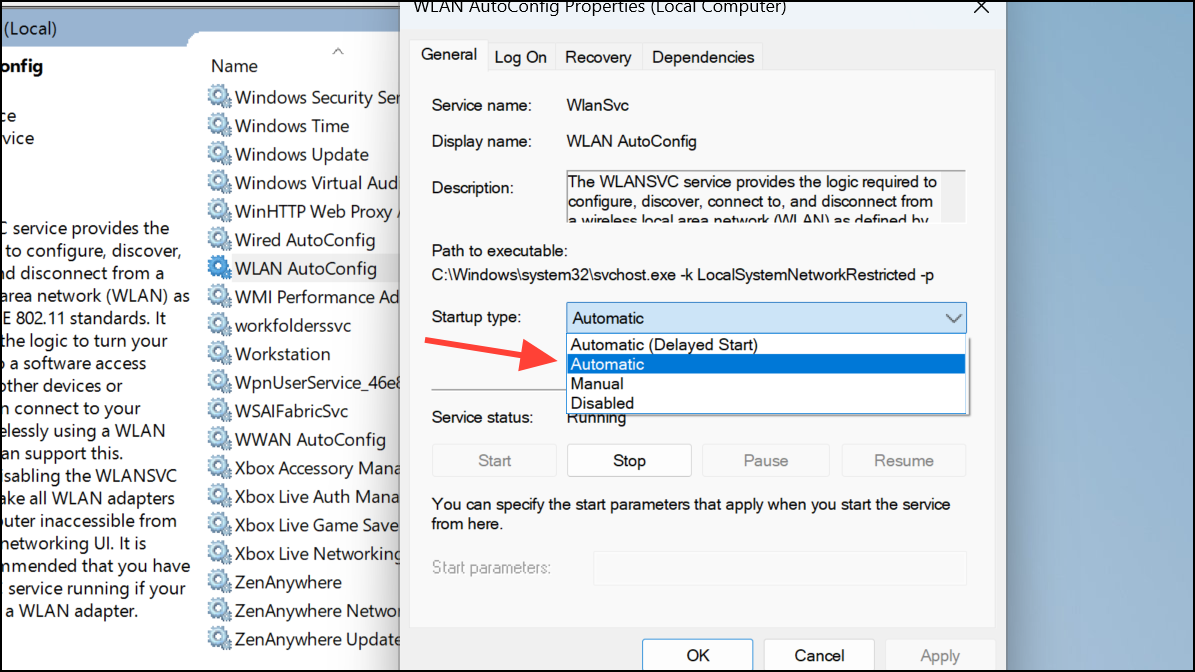
Restart the WLAN AutoConfig Service
The WLAN AutoConfig service manages your wireless network connections. If this service stops or gets disabled, your WiFi option may disappear from the system tray and settings. Restarting this service often resolves the issue.
Windows + R to open the Run dialog. Type services.msc and press Enter to open the Services window.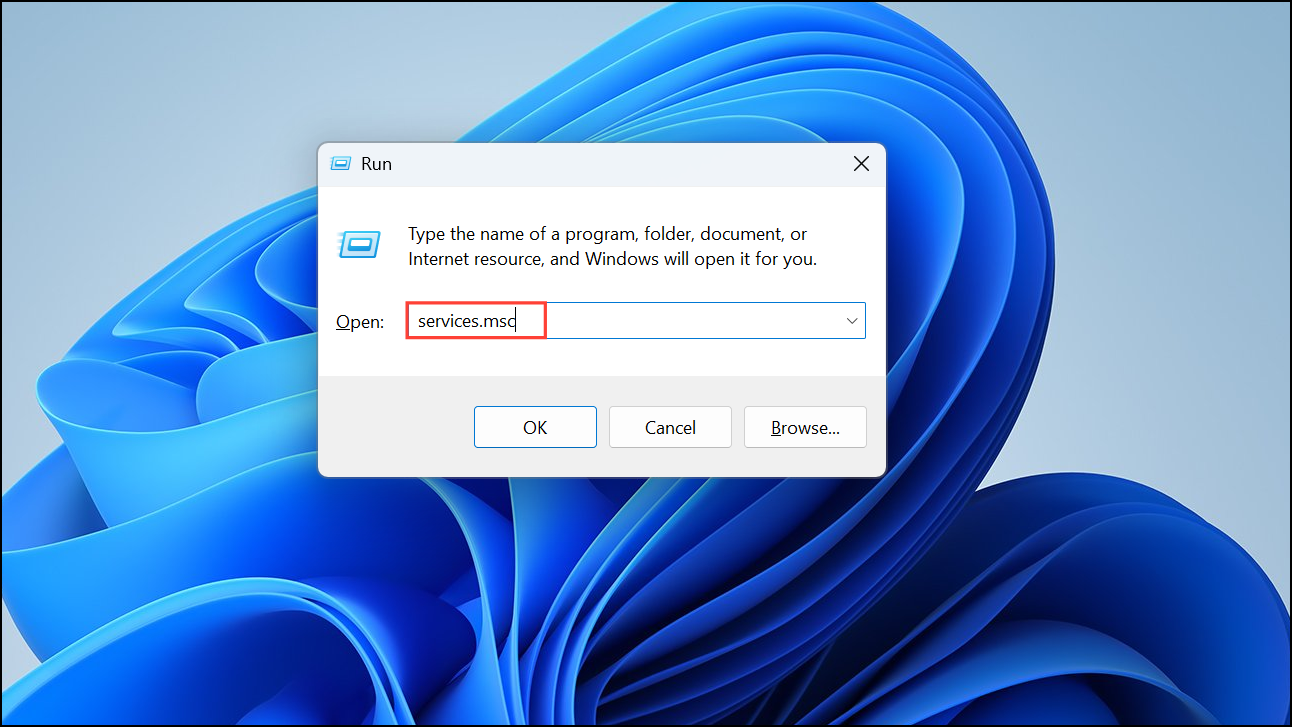
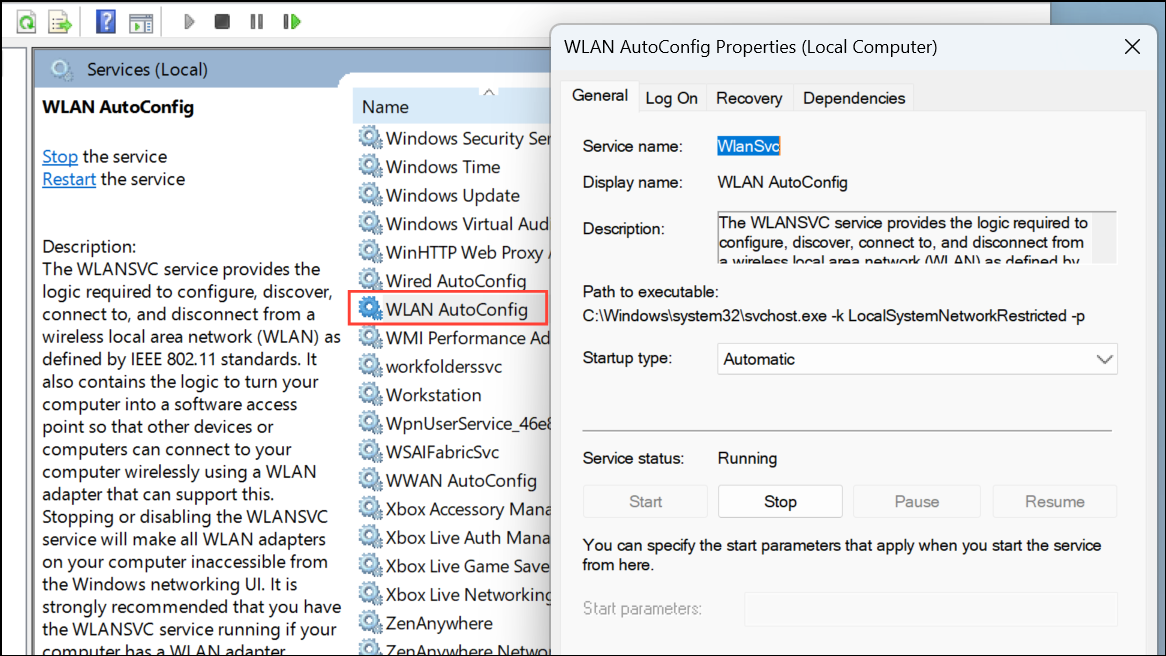
Restart your computer and check if the WiFi option reappears.
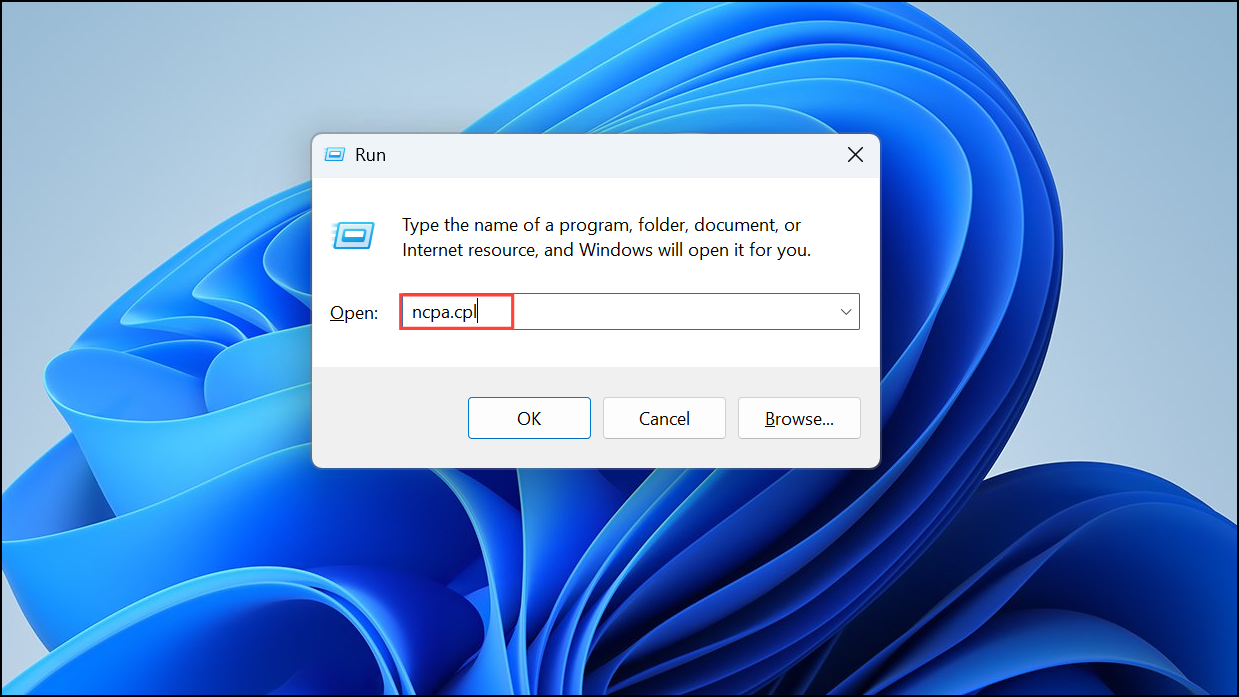
Enable the WiFi Adapter
The WiFi adapter might be disabled, causing the WiFi option to vanish. You can quickly re-enable it through the Network Connections panel.
After enabling the adapter, check if the WiFi option returns.
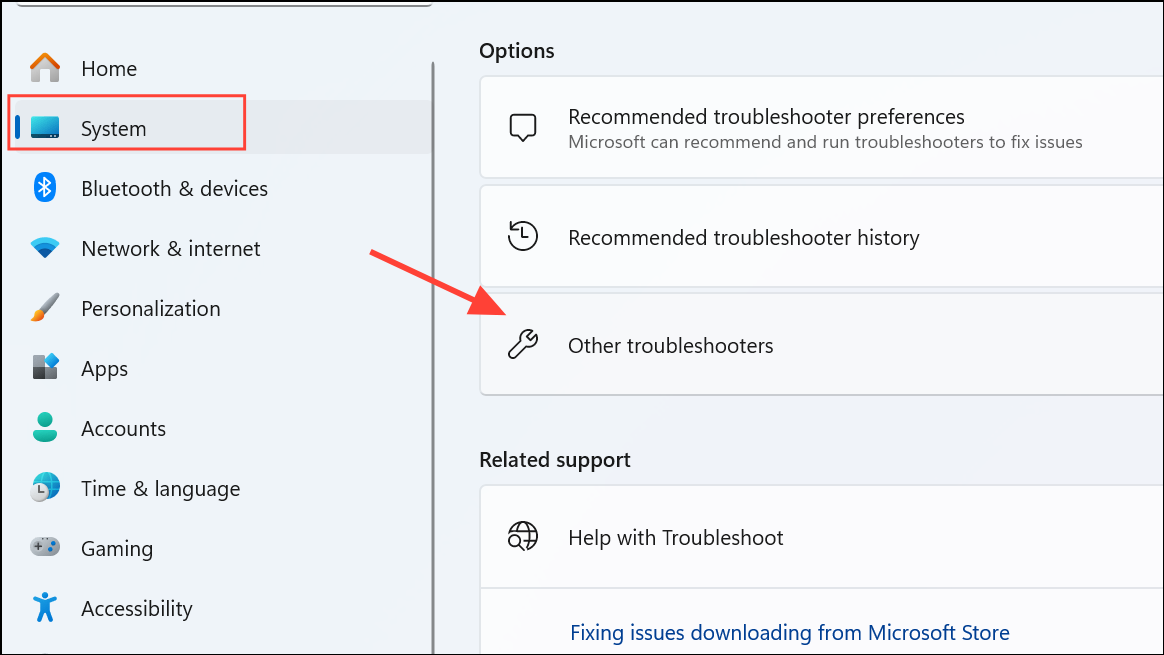
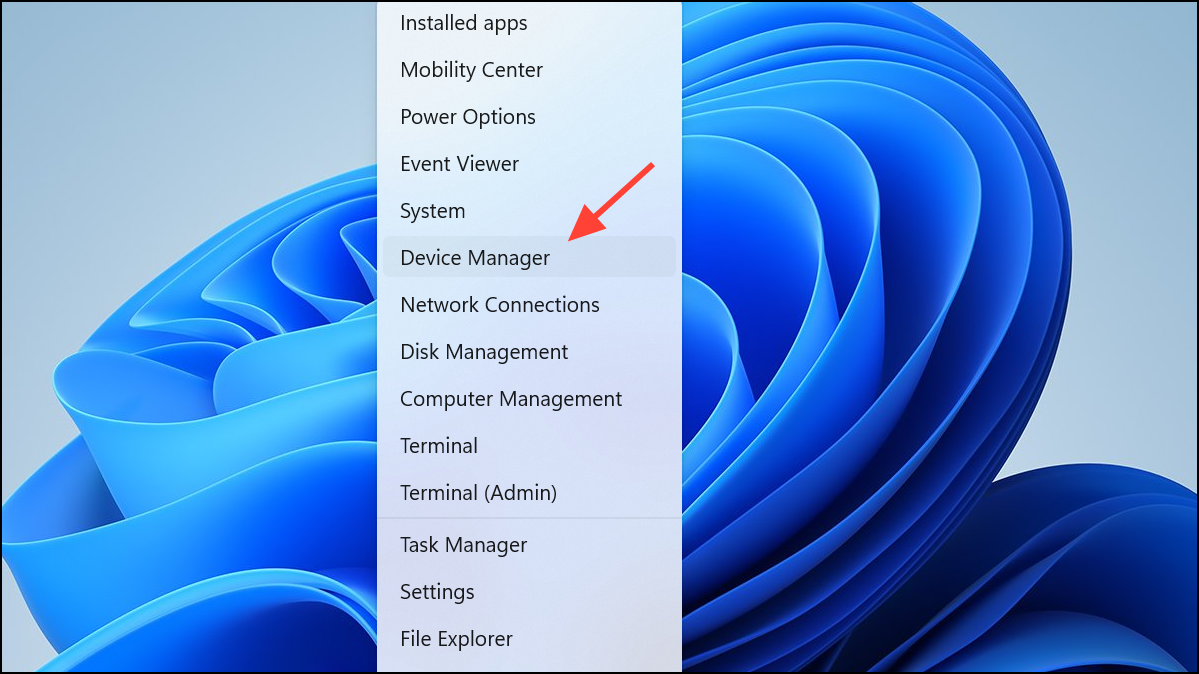
Run the Network Adapter Troubleshooter
Windows 11 includes built-in troubleshooters to automatically detect and fix network-related issues.

This method can quickly resolve minor configuration issues preventing the WiFi option from appearing.
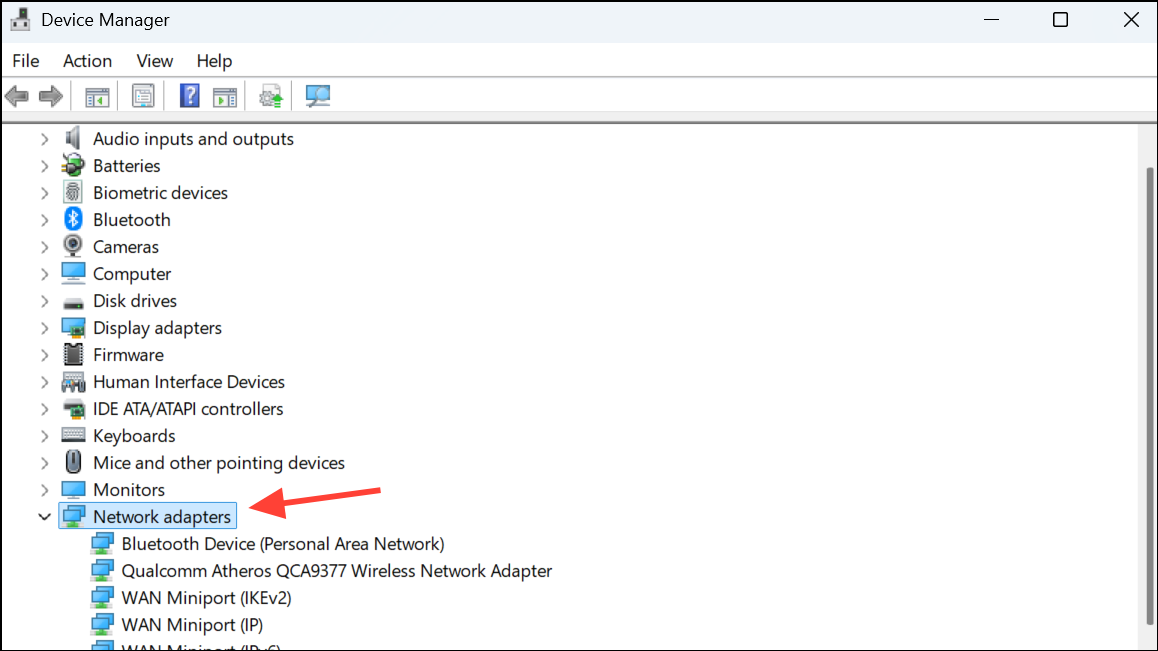
Update or Reinstall WiFi Drivers
Corrupt or outdated WiFi drivers often lead to connectivity issues. Updating or reinstalling the driver can solve this.
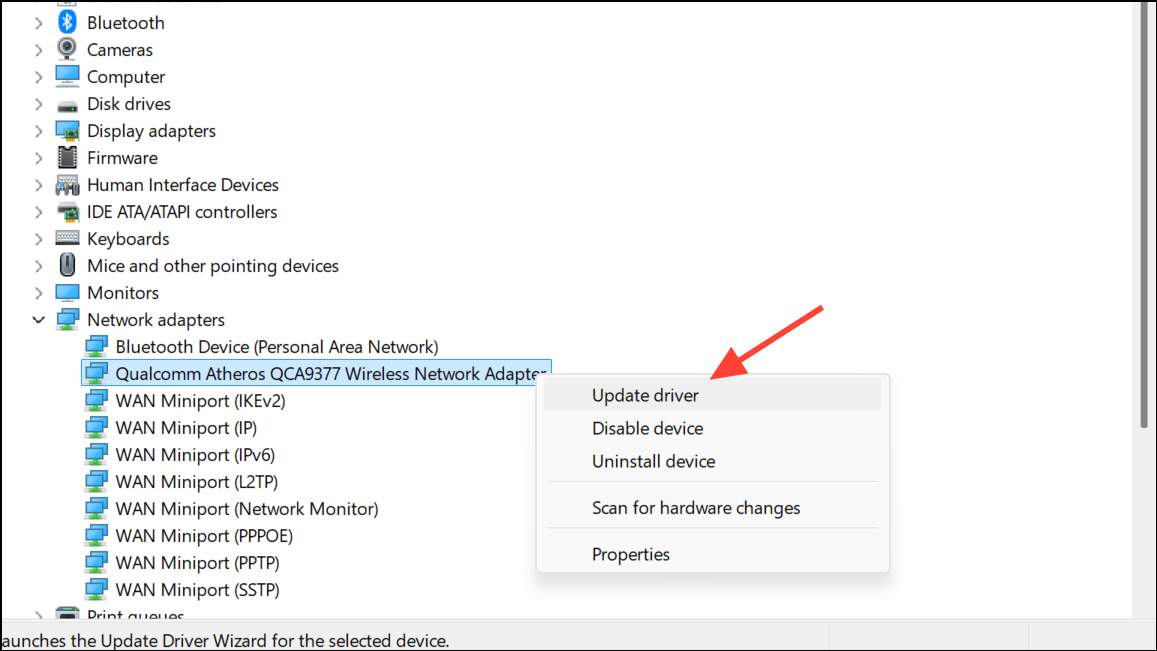
If updating doesn’t help, select Uninstall device. Confirm the action and restart your PC. Windows will automatically reinstall the driver upon reboot.
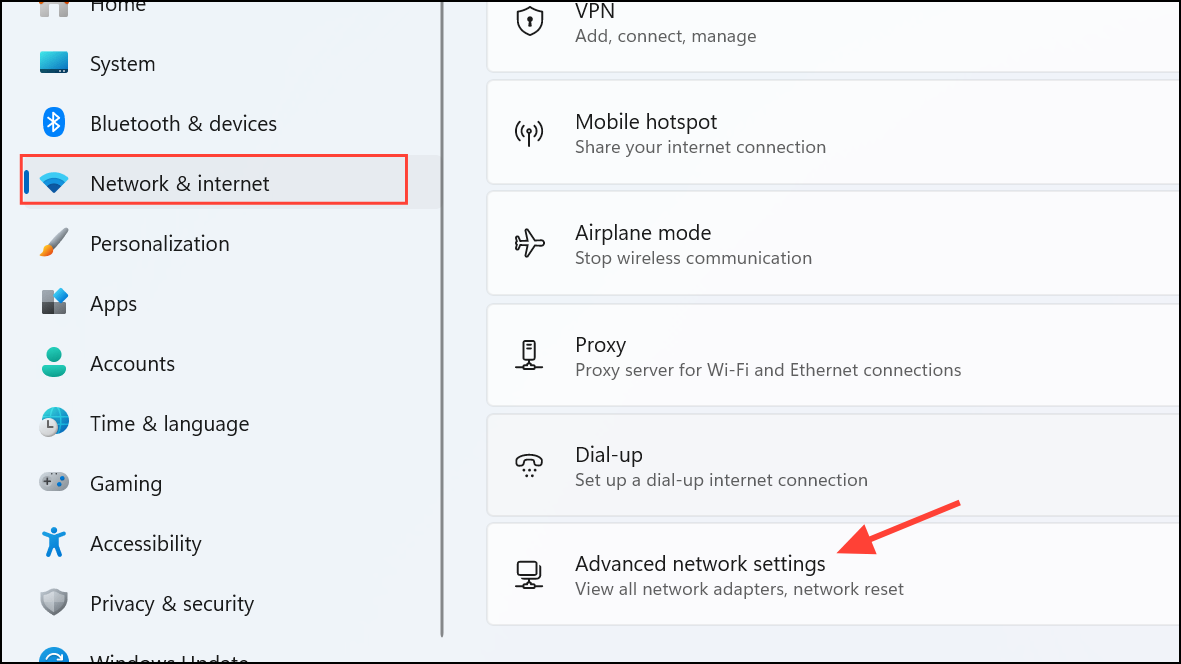
Reset Network Settings
If other methods fail, resetting your network settings will reinstall network adapters and restore default configurations. Note that this will remove saved WiFi networks and passwords.
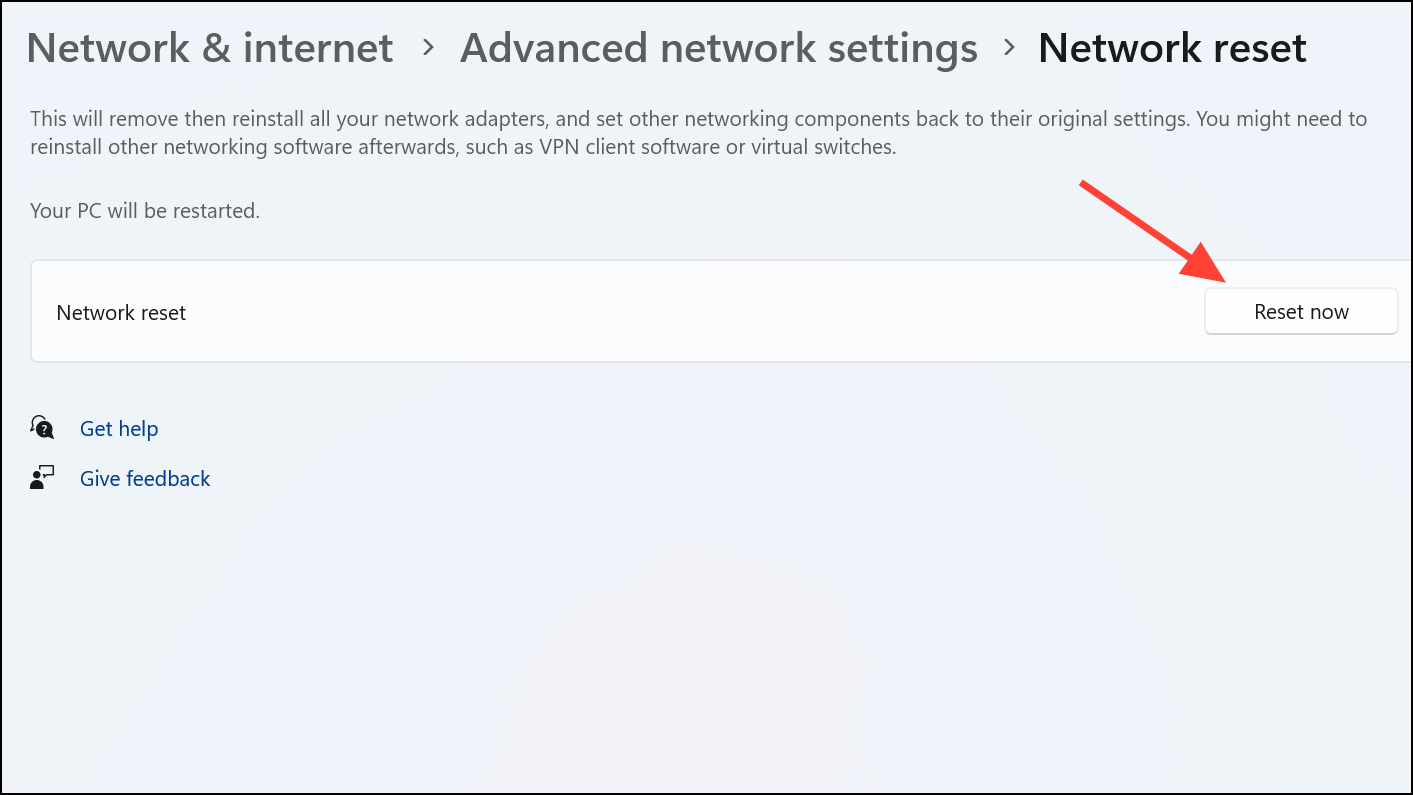
After rebooting, your WiFi option should reappear, and you’ll need to reconnect to your networks.
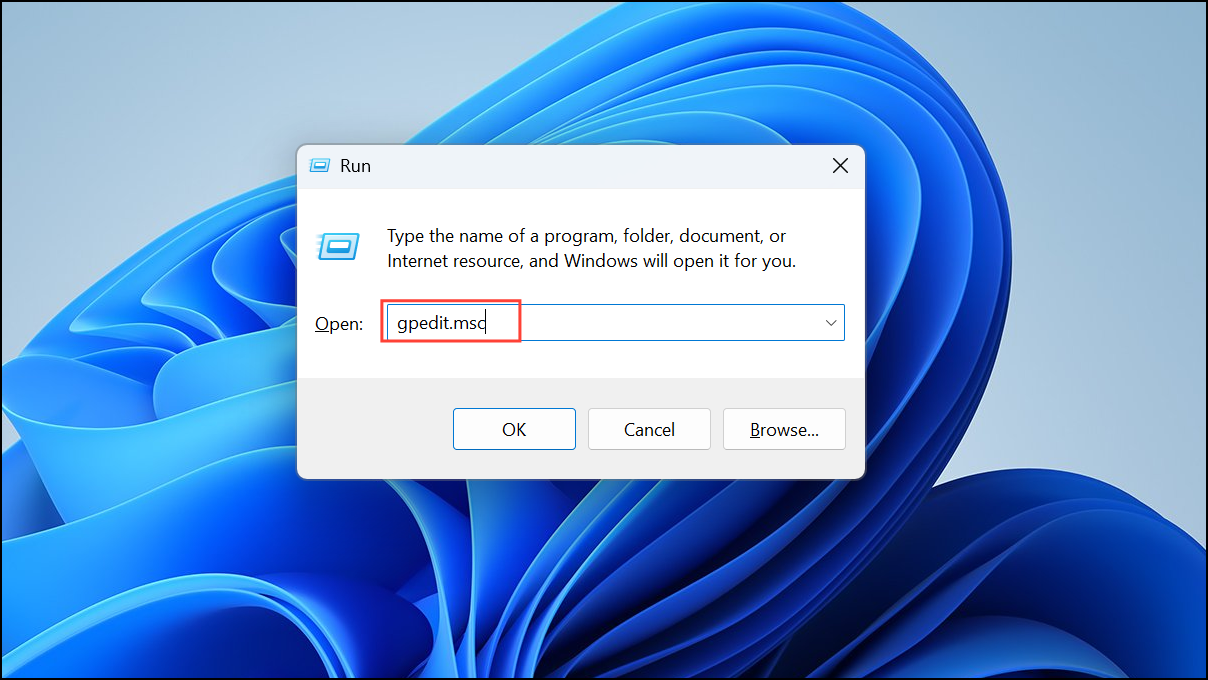
Check Group Policy Settings (Windows 11 Pro)
If you’re using Windows 11 Pro, a specific group policy might hide the network icon from the taskbar.
Restart your PC to see the WiFi icon again.
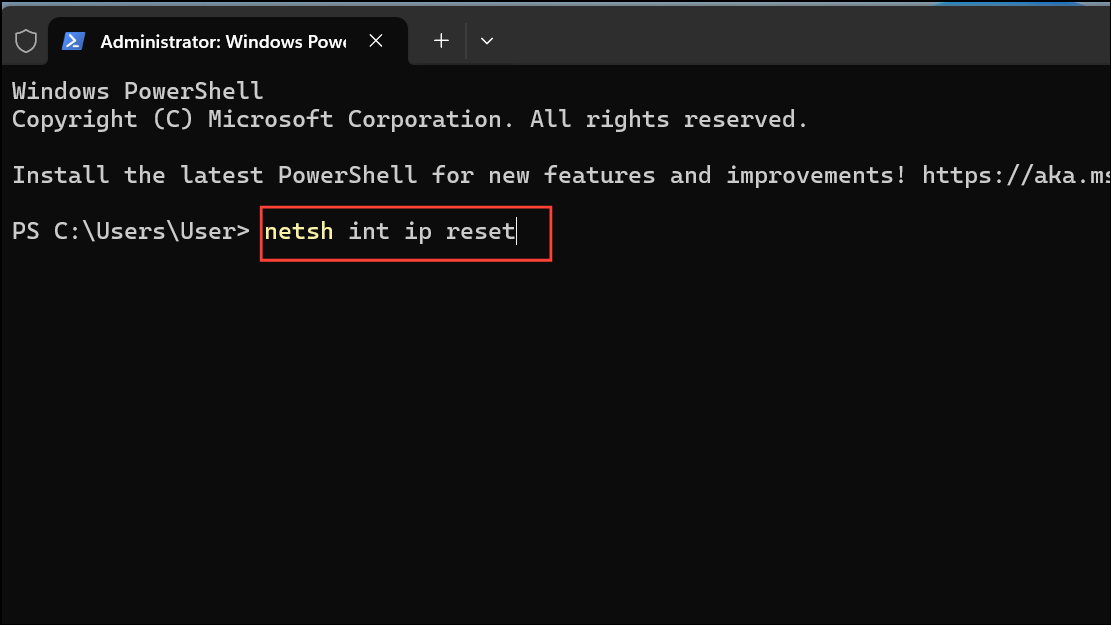
Reset Network Devices via Command Prompt
You can also reset your network stack using Command Prompt commands, which can resolve deeper configuration issues.
netsh int ip reset
netsh advfirewall reset
netsh winsock reset
ipconfig /flushdns
ipconfig /release
ipconfig /renew
Restart your PC after executing these commands.
With these detailed solutions, your missing WiFi option issue on Windows 11 should be resolved, and you’ll regain full control of your wireless connectivity. If none of these methods work, consider checking your hardware or consulting a technician for further diagnostics.


