
Microphones play a crucial role in our increasingly digital life, enabling clear verbal communication across various online platforms. With remote work, education, and social interactions becoming more prevalent, having a properly functioning microphone on your Windows 11 PC is essential. This guide will walk you through the process of connecting and testing your microphone to ensure optimal performance.
Connecting a microphone to Windows 11
Wired microphones
For wired microphones, simply plug the device into the appropriate audio jack on your computer. Windows 11 should automatically detect and configure the microphone.
Bluetooth microphones
Connecting a Bluetooth microphone requires a few additional steps:
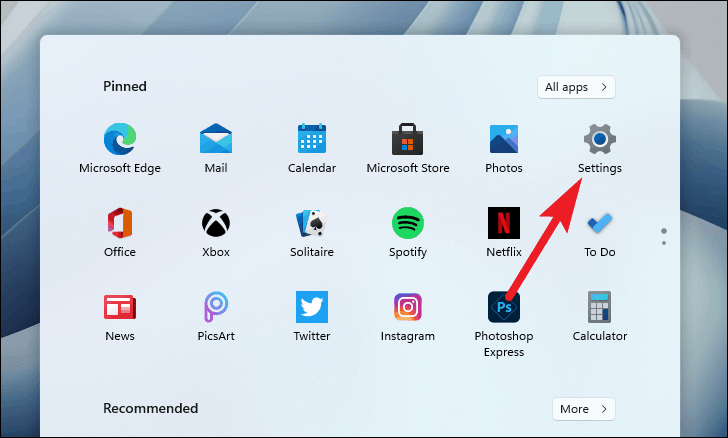
- Open the Settings app by clicking the Start menu icon on the taskbar.
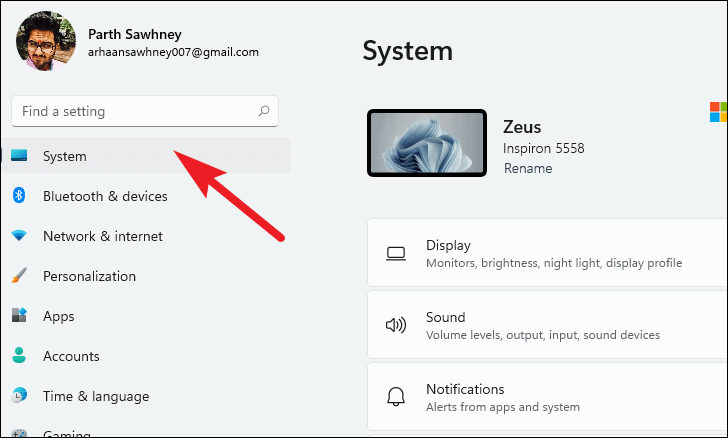
- Select the “System” tab from the sidebar.

- Click on the “Sound” option.

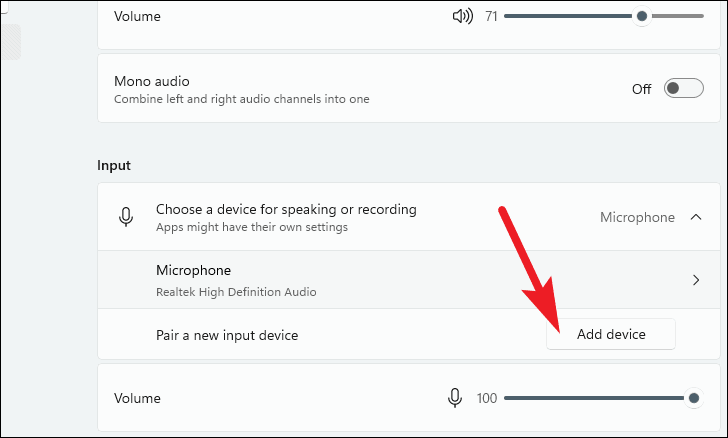
- Scroll down to the “Input” section and click “Add device” under “Pair new input device”.
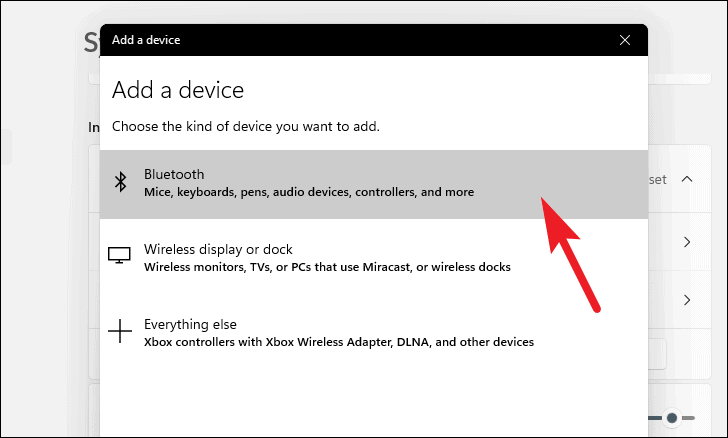
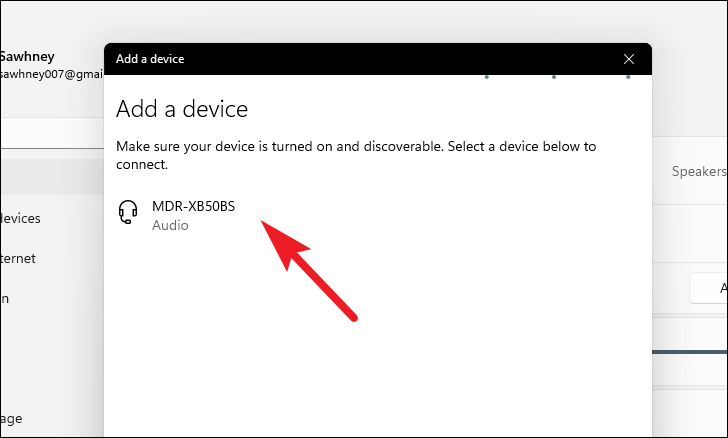
- In the “Add a device” window, select “Bluetooth”.
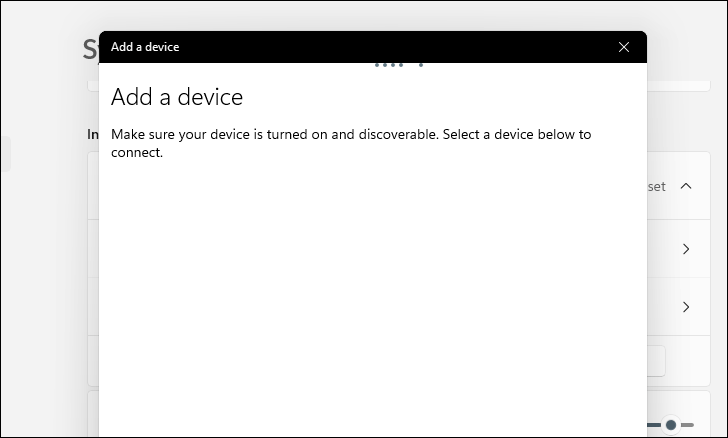
- Ensure your Bluetooth microphone is in pairing mode.
- Wait for Windows to detect nearby Bluetooth devices.
- Select your microphone from the list of detected devices.
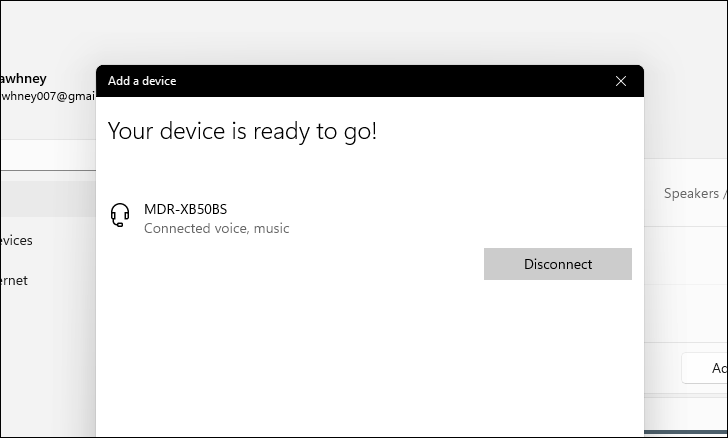
- Wait for the connection process to complete.
Testing your microphone on Windows 11
After connecting your microphone, it’s important to test its functionality:
- Open the Settings app from the Start menu.

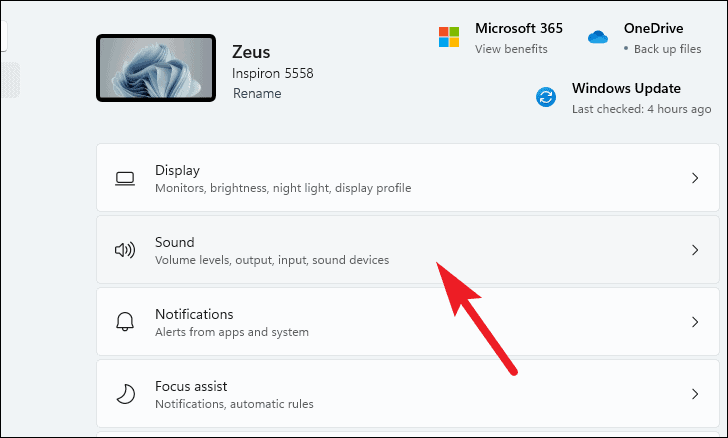
- Navigate to “System” > “Sound”.

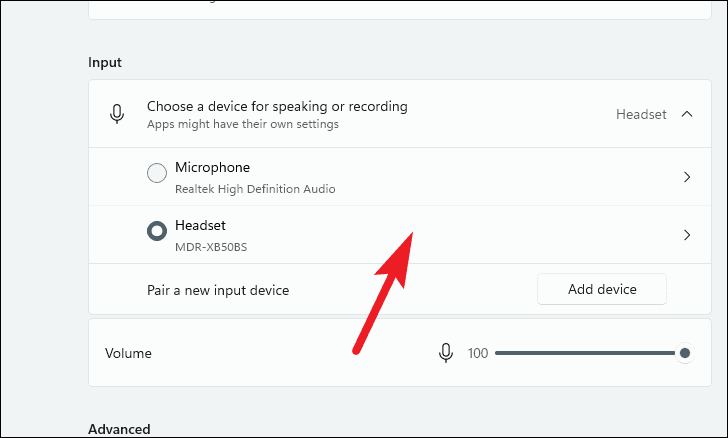
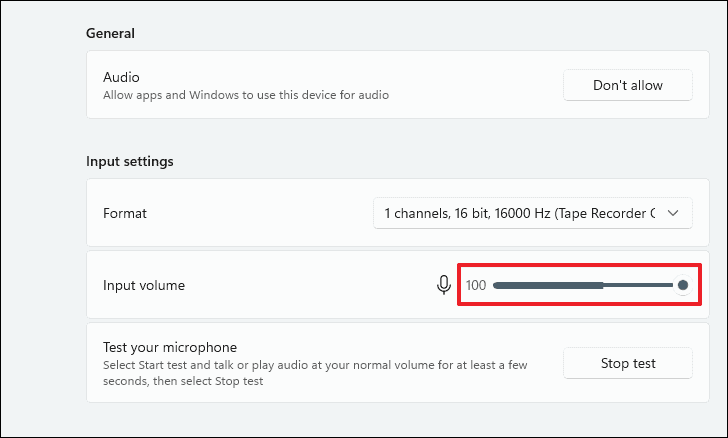
- Scroll to the “Input” section and select your microphone from the list.
- Click “Start test” under “Input settings”.

- Speak into the microphone or play audio near it for a few seconds.
- Observe the “Input volume” slider moving in response to the sound.
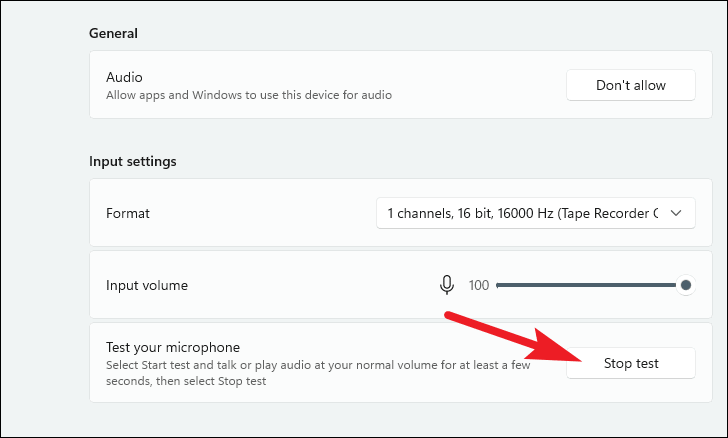
- Click “Stop test” when finished.
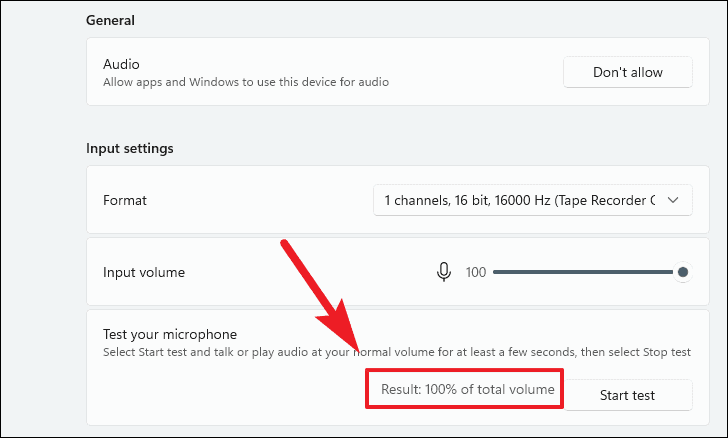
- The test results will display next to the “Start test” button.
Adjusting microphone sensitivity
If your microphone test results are poor despite normal speaking volume, you may need to adjust its sensitivity:
- Open Settings and navigate to “System” > “Sound”.
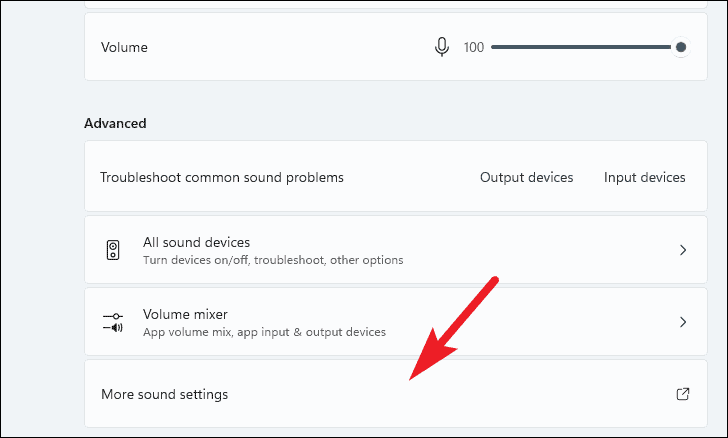
- Scroll down and click “More sound settings”.
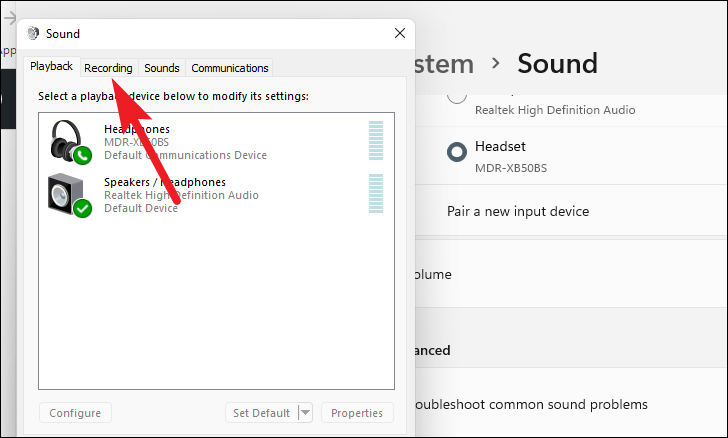
- In the new window, select the “Recording” tab.
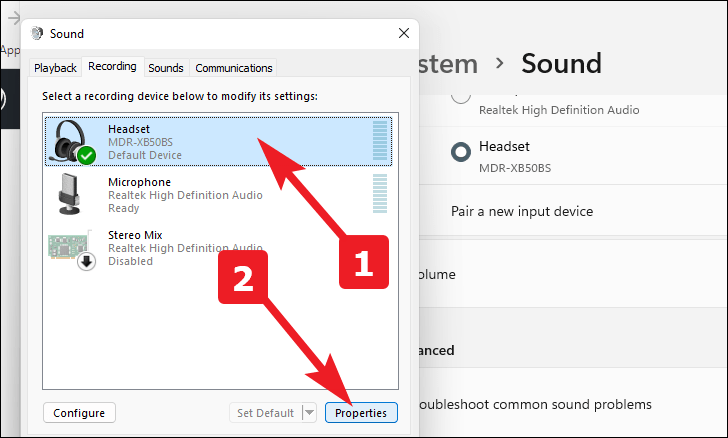
- Choose your microphone and click “Properties”.
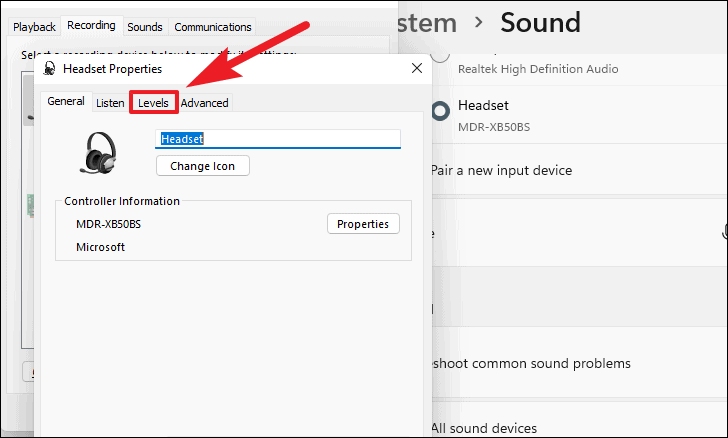
- Go to the “Levels” tab in the Properties window.
- Adjust the slider to increase microphone sensitivity.
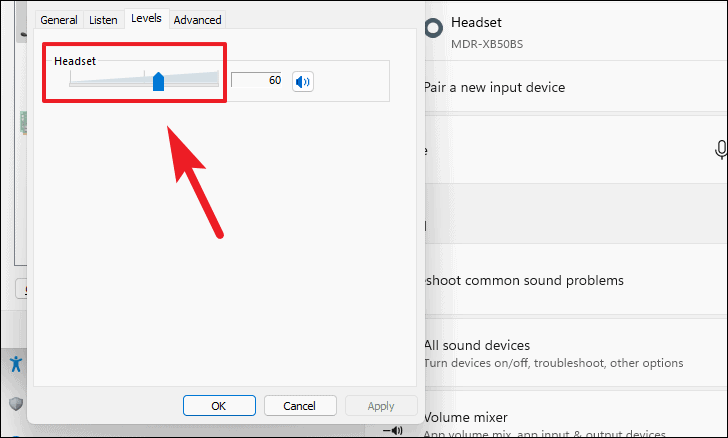
- Click “OK” to save the changes.

- Repeat the microphone test to check for improved results.
You may need to adjust the sensitivity and retest several times to achieve optimal performance. With these steps, you should now be able to successfully connect, test, and adjust your microphone on Windows 11.


