Planners are a great way to keep your life organized and increase productivity. And there’s no better time to start using a planner than now. But when you’re looking for planners, it’s hard to find one that perfectly fits your needs.
And yet, the prospect of DIY-ing intimidates most. But with Canva, creating your own planner is the easiest task in the world. There are countless templates to choose from and you can further customize them any way you want with the app’s arsenal of tools. Whether you want to create daily, weekly, or yearly planners, you have complete control. Let’s get going.
Creating a Planner
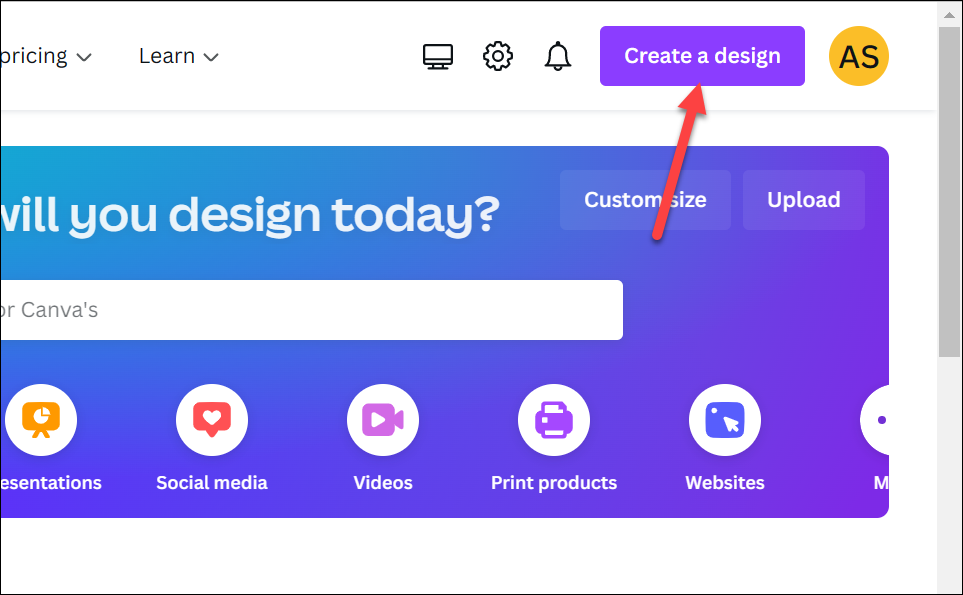
To create the planner, go to canva.com and log in to your account. Then, click the ‘Create a Design’ button.
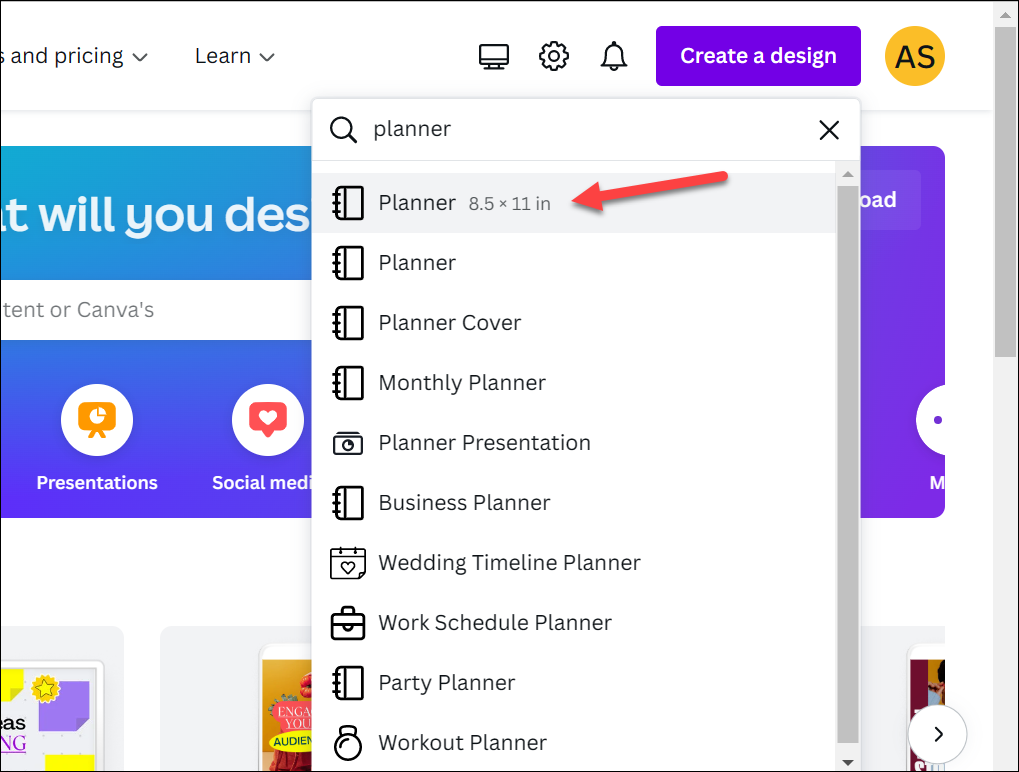
Next, choose ‘Planner’ from the options that appear. If you can’t find it right away, use the search option and then select ‘Planner’.
An empty design will open with template options to choose from on the left. You can create your planner from scratch also, but we’d recommend using a template for faster results.
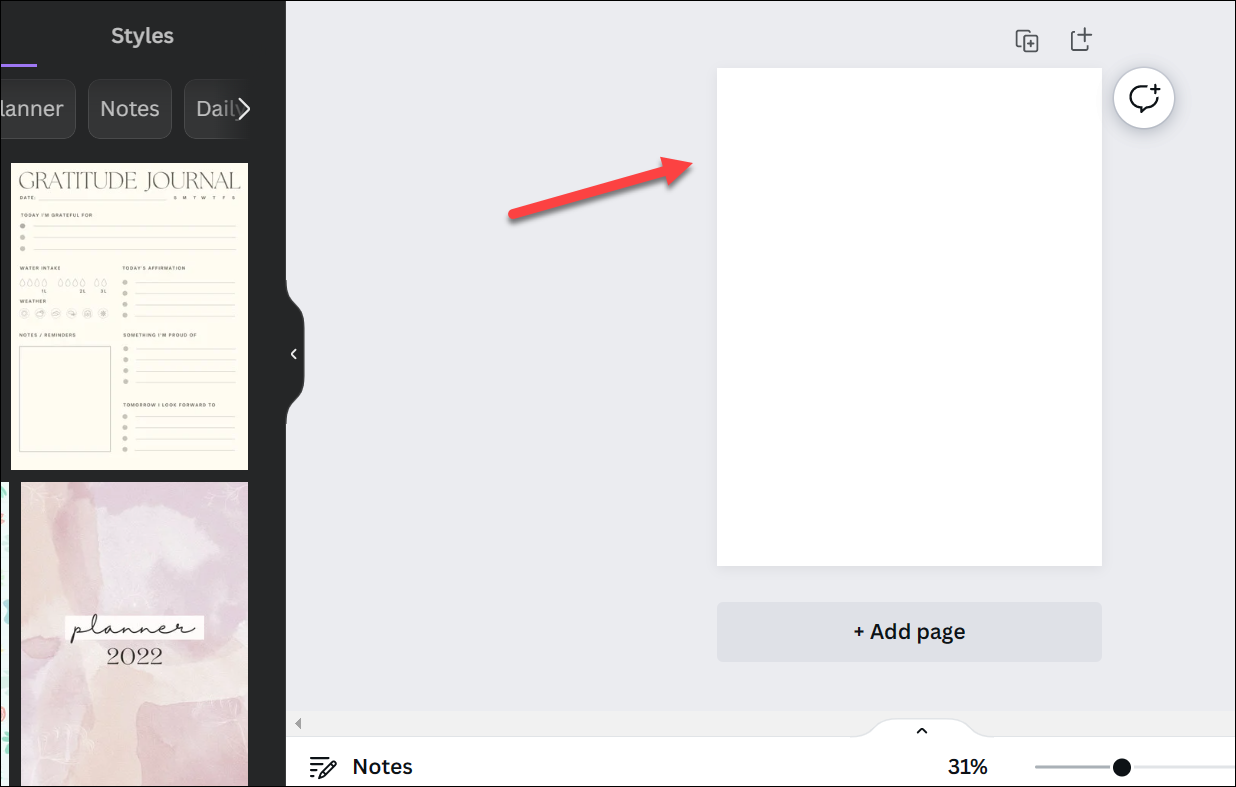
In the templates, you’ll find themes for daily, weekly, monthly, and yearly planners. Depending on your need, choose the template accordingly. Click the template and it’ll load on the design page on the right.
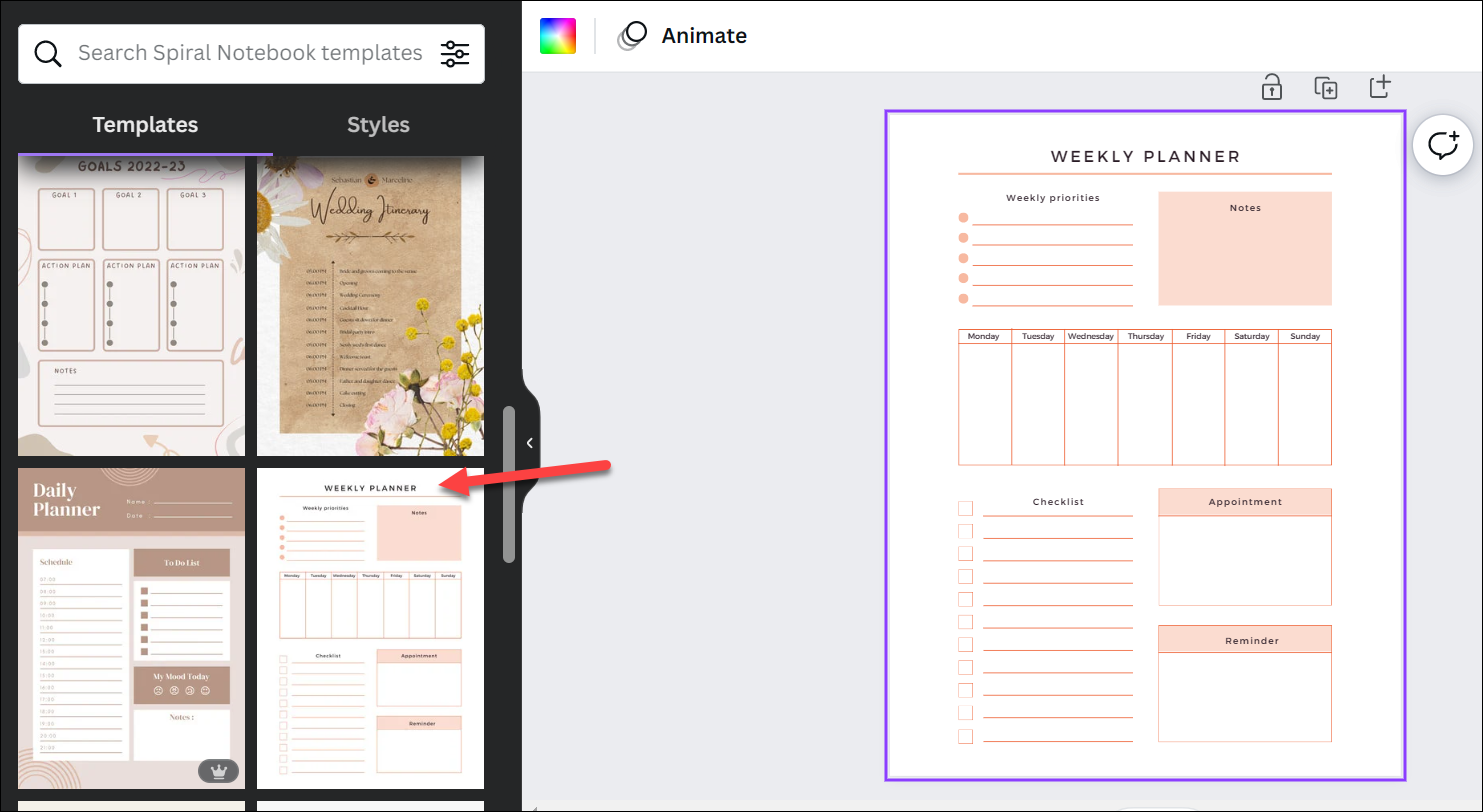
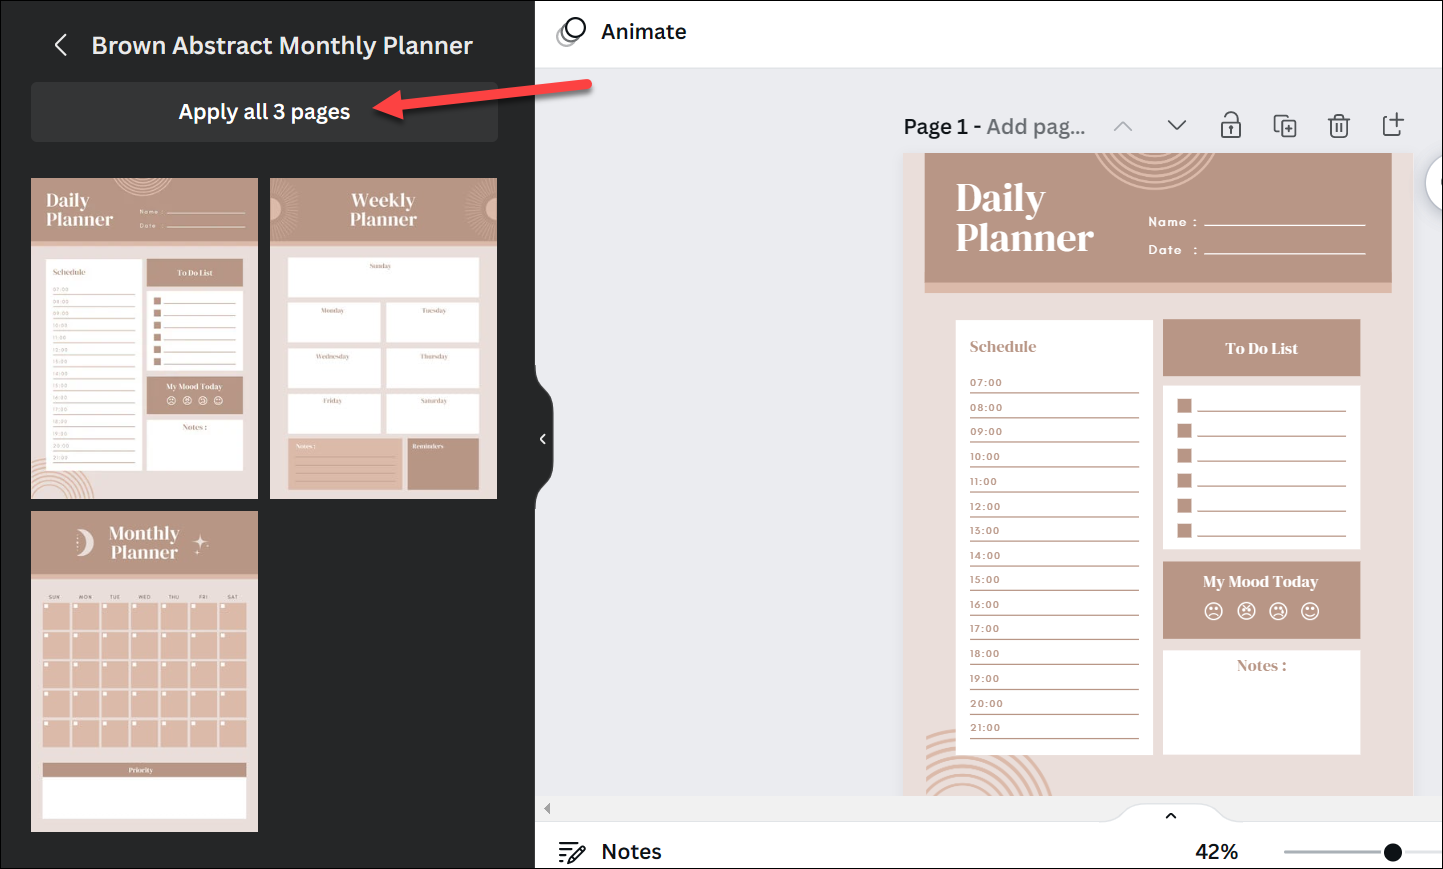
Some templates also have all three types of pages if you want to create all three in a consistent theme. Click on the template in that case and add each page one by one on a new page in this case. That is, first, for page one, click on ‘Daily Planner’, for example. Then, click on ‘Add Page’ from the right to add a design page and then, select the ‘Weekly Planner’ template and similarly, add the ‘Monthly Planner’ template to the new page. You can also directly click the ‘Apply All Pages’ button.
Customizing the Planner
Although you can download the planner as it is, the best thing about Canva is that you can personalize it by customizing it further.
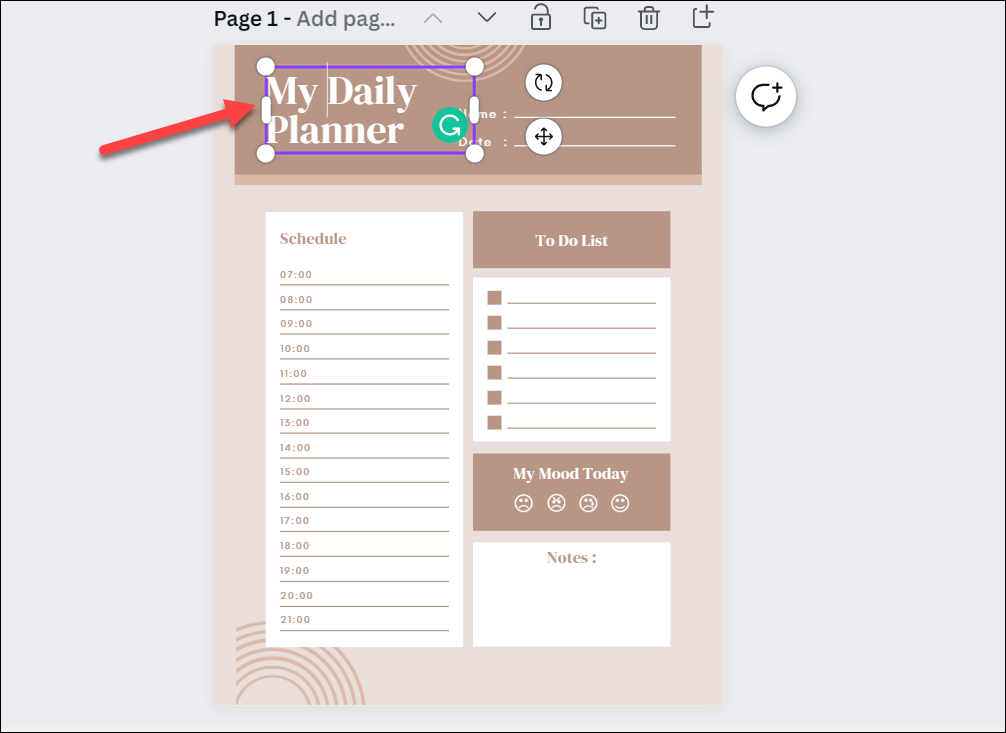
Every element on the planner is customizable and you can move it around or even delete it. To see all the separate customizable elements, here’s a trick for you. Click the left mouse button and drag it across the entire page or you can also use the Ctrl + A (Windows)/ Cmd + A (Mac) keyboard shortcut. All the elements on the design that you can separately customize will be highlighted in separate blue boxes.
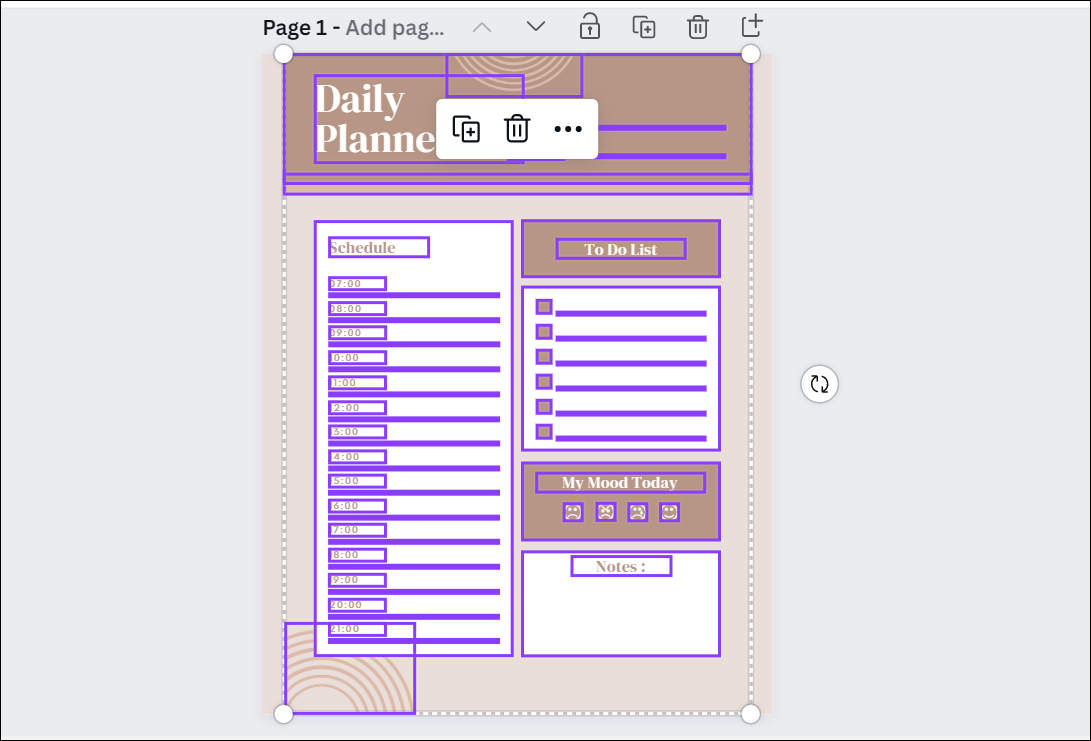
To customize a particular element, simply click it to select it. For example, to customize the text on the top of the planner, click the existing text element. Once it is highlighted, you can either delete it or change its position, replace the text, change the font, size, color, etc.
You can also add additional elements like stickers, icons, illustrations, images, speech bubbles, and much more. Click the ‘Elements’ tab from the left toolbar to insert graphics, photos, videos, stickers, etc. in your planner design.
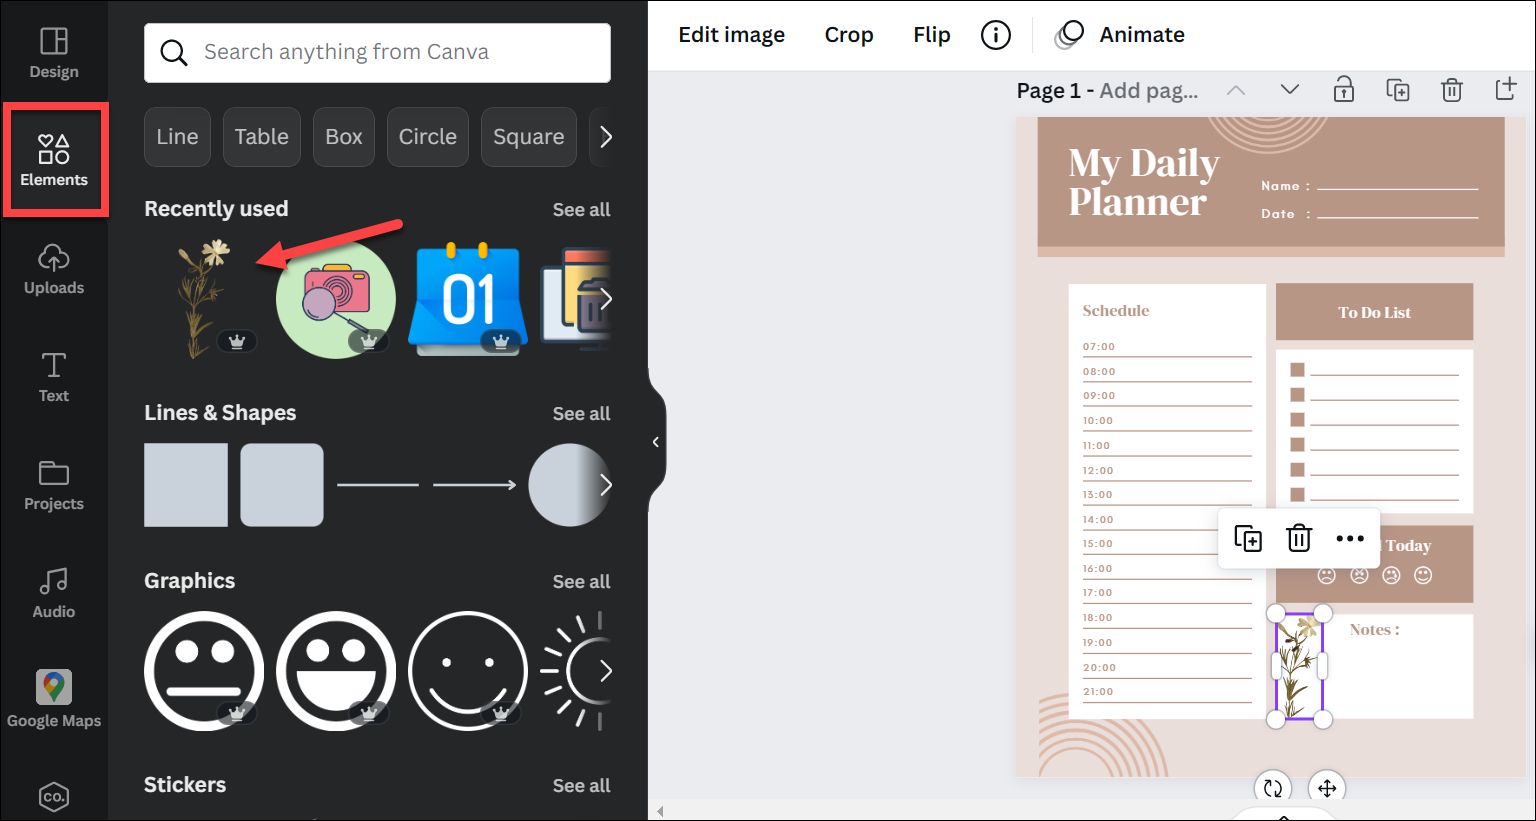
If you’re a free user, plenty of graphics and images are available for free users. For using premium elements, you can either pay for them or buy a Canva pro membership.
Downloading the Planner
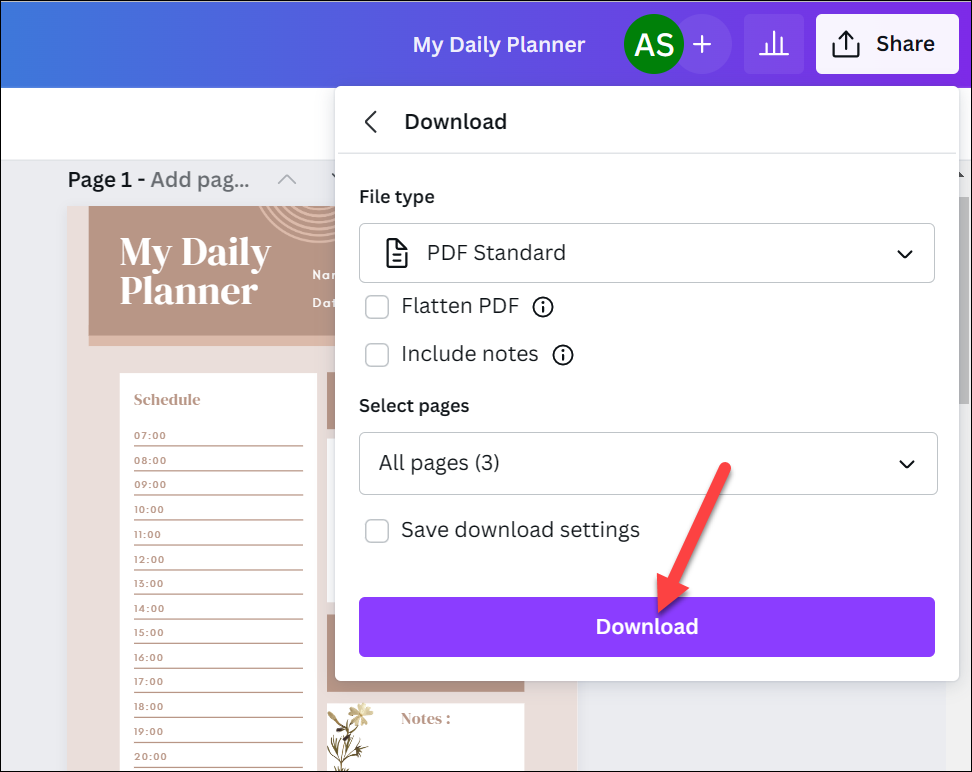
Once your planner is complete, you can download it. Click the ‘Share’ button in the top-right corner of the screen.
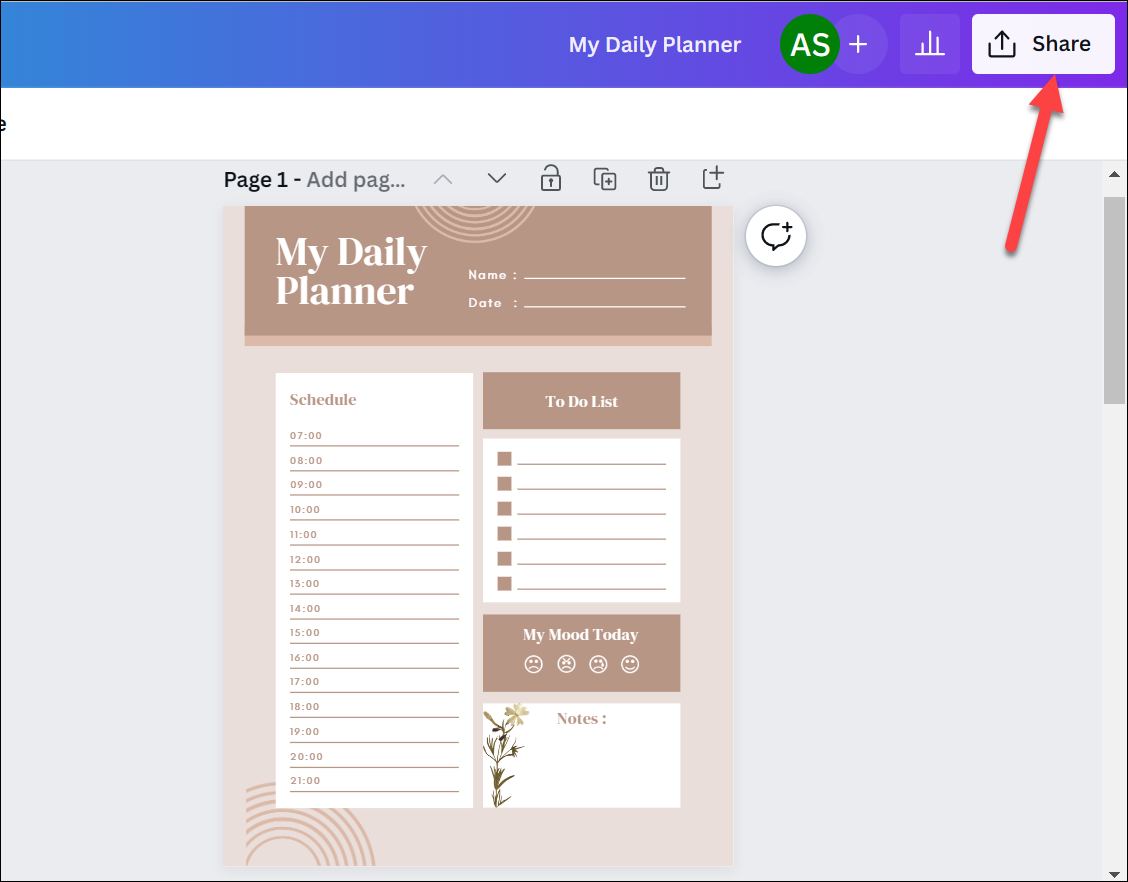
Then, select ‘Download’ from the menu.
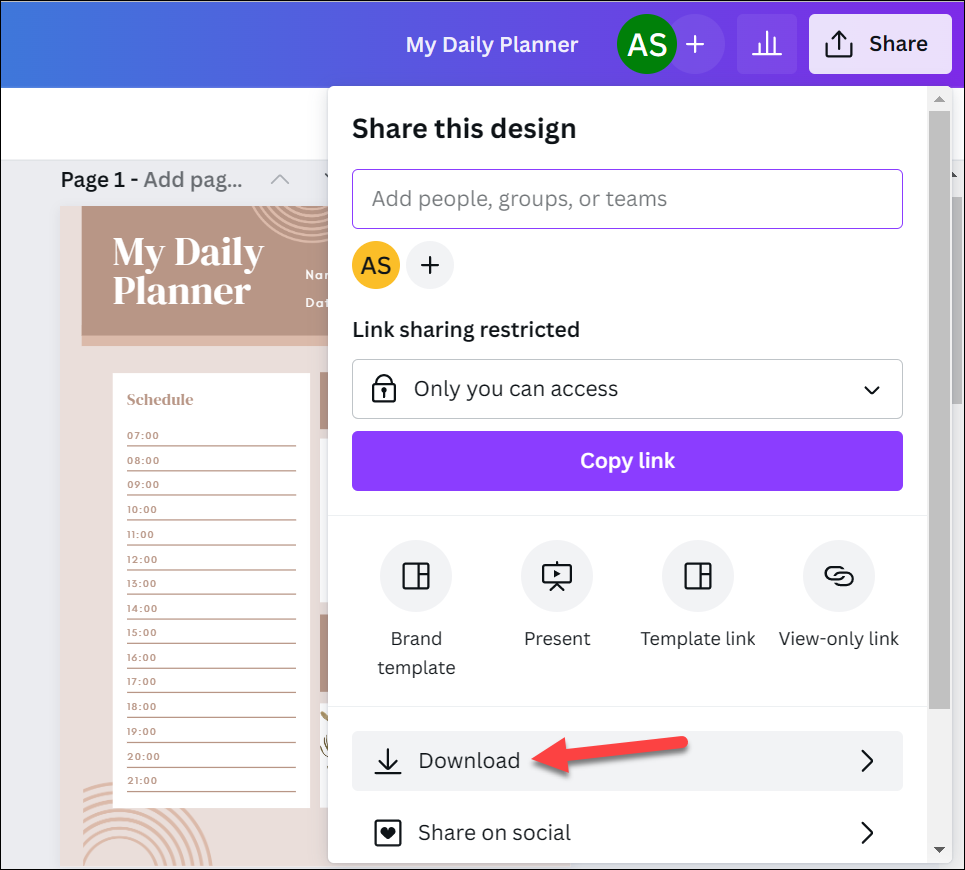
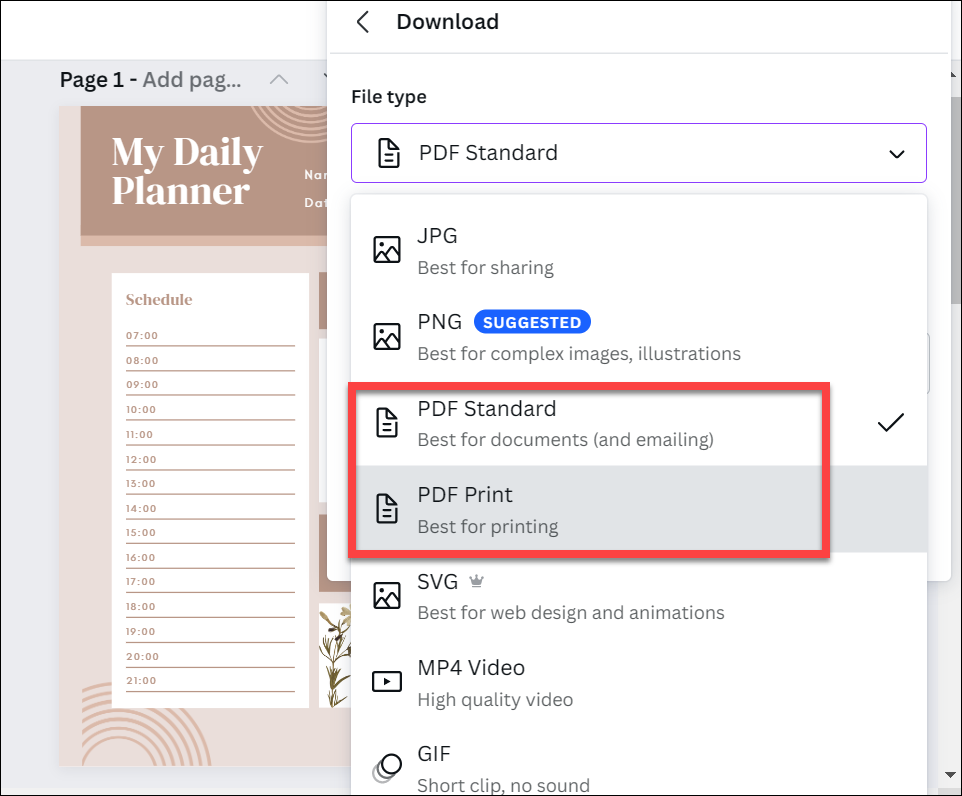
Depending on whether you want to use it in print or as a digital planner, select the PDF format. If you want to print it, select ‘PDF Print’ as the type. Otherwise, select ‘PDF Standard’ to use it as a digital planner.
Then, click the ‘Download’ button.
If you’re planning to use it as a digital planner, you can use apps like the Notes app on iPhone or iPad to annotate on it or other apps like Adobe that’ll let you fill the fields on Windows.
Planners can help you efficiently organize your life and plan all the things you want to do to make sure they don’t get sidelined in your busy life. And with Canva, you can create your own planners that suit you best.