Smartmockups is a great app to create mockups in high resolution in a jiffy. You can create stunning mockups for various items in a single click. But did you know Canva has a direct feature that lets you use Smartmockups in your Canva designs?
Canva bought Smartmockups somewhere around last year and since then, it has been busy integrating the product directly into Canva. And as a result of that integration, you can use the Smartmockup tool directly from the Canva homepage or the design page. You don’t even have to use the separate Smartmockup integration anymore.
What are Smartmockups?
If you’ve never heard of the app before, that’s alright. Here’s a quick overview of what you can do with the tool in Canva. Using Smartmockups, you can create quick product mockups.
There are plenty of options to choose from: Smartphones, Laptops, Desktops, Apparel like T-shirts or Hoodies, cards, books, posters, packaging mockups like cosmetics or beverages, cushions, candles, and many more.
All you need is your own image that you would like to add to the mockup. For example, you have a small business and want to sell T-shirts with your business logo. All you need would be your logo image and you can create a mockup t-shirt in a matter of seconds using Smartmockups.
Smartmockups is a free tool and is available for all types of Canva accounts, pro and free. Not all designs within the tool are free, though.
Create a Mockup using Smartmockups in Canva
As mentioned before, you can either access the Smartmockup tool from the Canva homepage or while editing a design.
If you want to create only a mockup, you can do it directly from the homepage and download it. But if you want to make further changes to the design, doing it from the design page might be the better choice. But it’s a matter of preference; you can start the mockup from the homepage and add it to a design later. The tool works almost the same no matter how you access it; there’s one small difference which you’ll find in the later sections.
Creating a Mockup in a Canva Design
Open the design where you want to add the mockup or start with a blank design.
Now, add the image that you want to create a mockup for. Starting with an image is essential. If you have a design you want to create a mockup for instead, you need to download it as an image before creating a mockup for it.
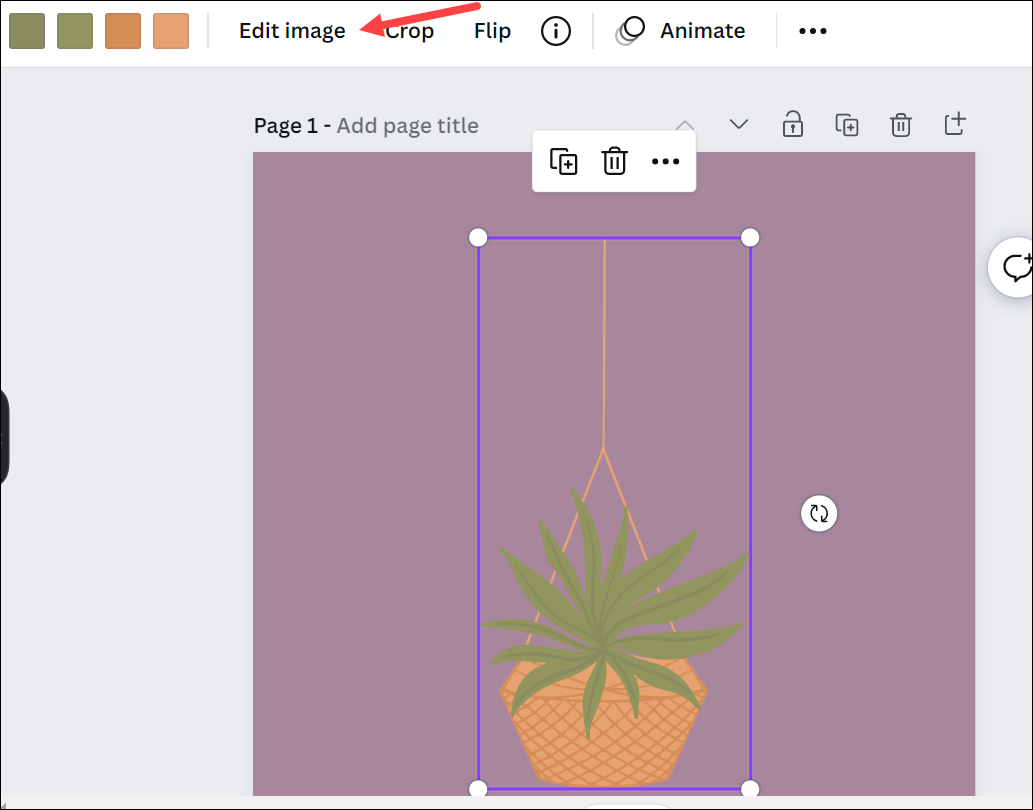
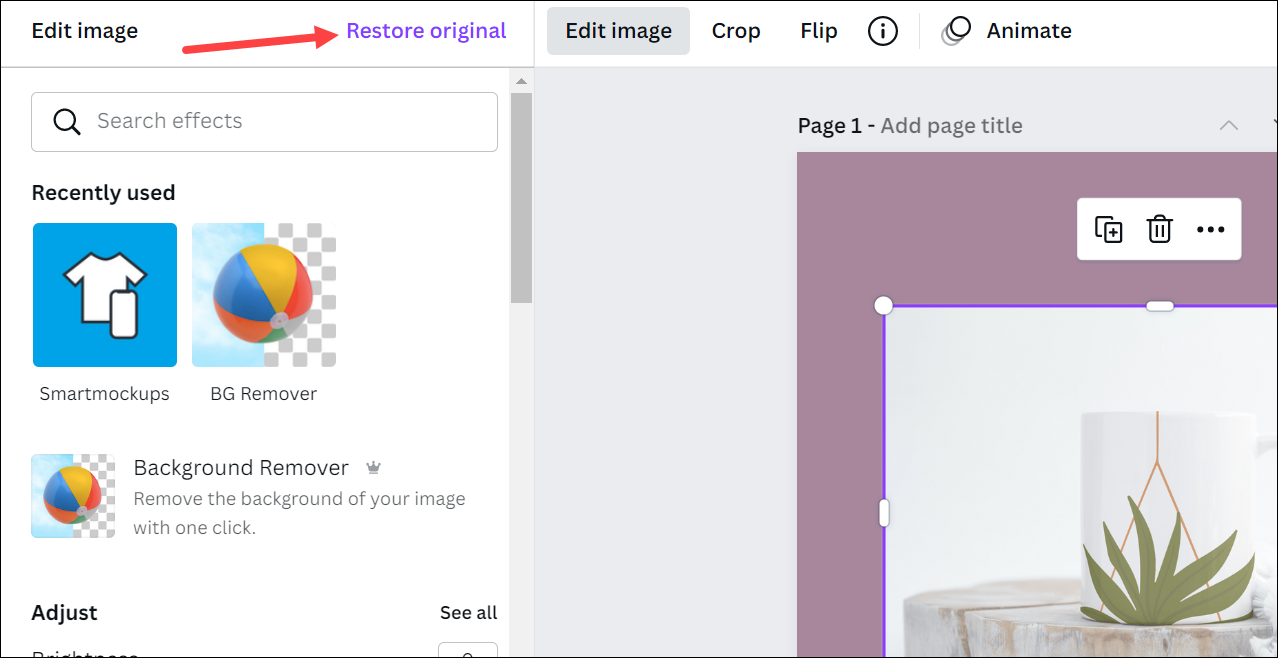
Select the image and click the ‘Edit Image’ option from the toolbar above the design.
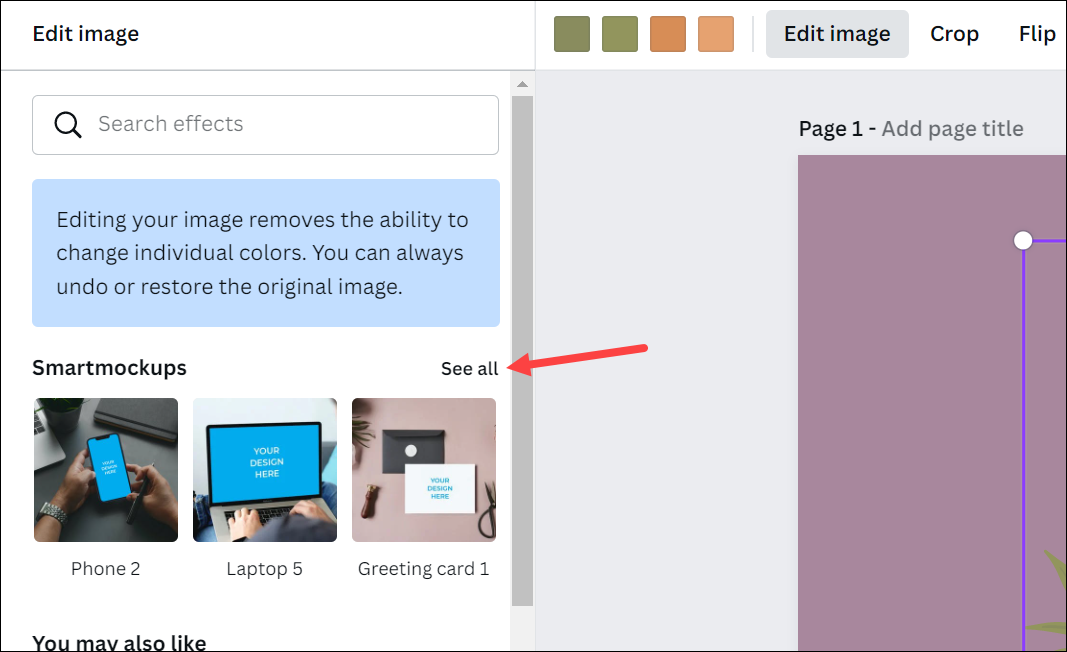
In the ‘Edit Image’ panel on the left, you’ll see the option for Smartmockups. Click ‘See All’ to see all the mockups.
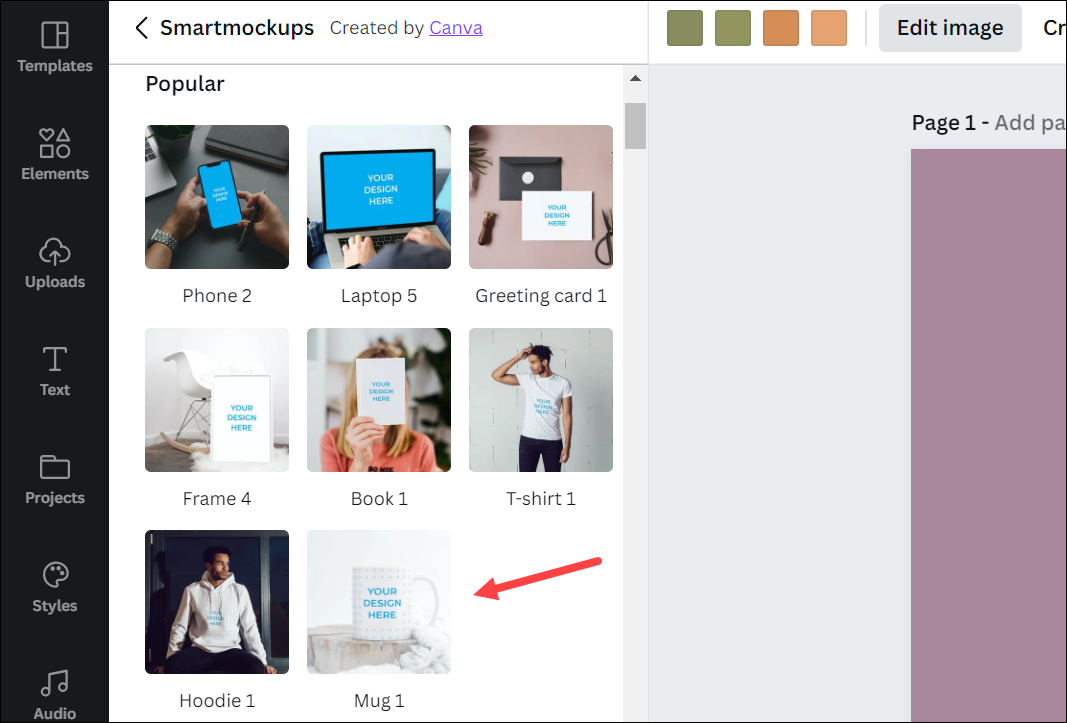
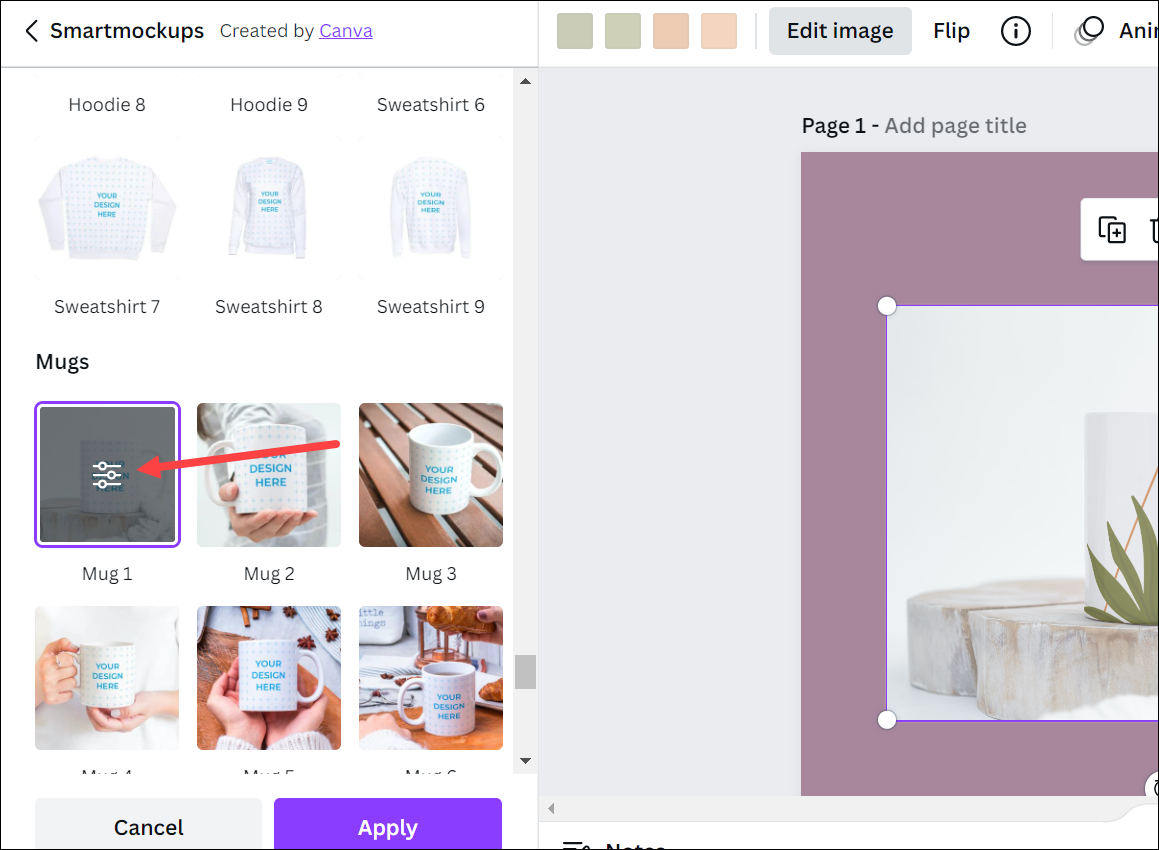
Then, select the mockup template you want.
The image will be added to the mockup automatically. Make sure you don’t close the panel on the left and deselect the mockup because you won’t be able to adjust it otherwise. If you did end up closing it accidentally by performing any other action, you can click ‘Restore Original’ and start again.
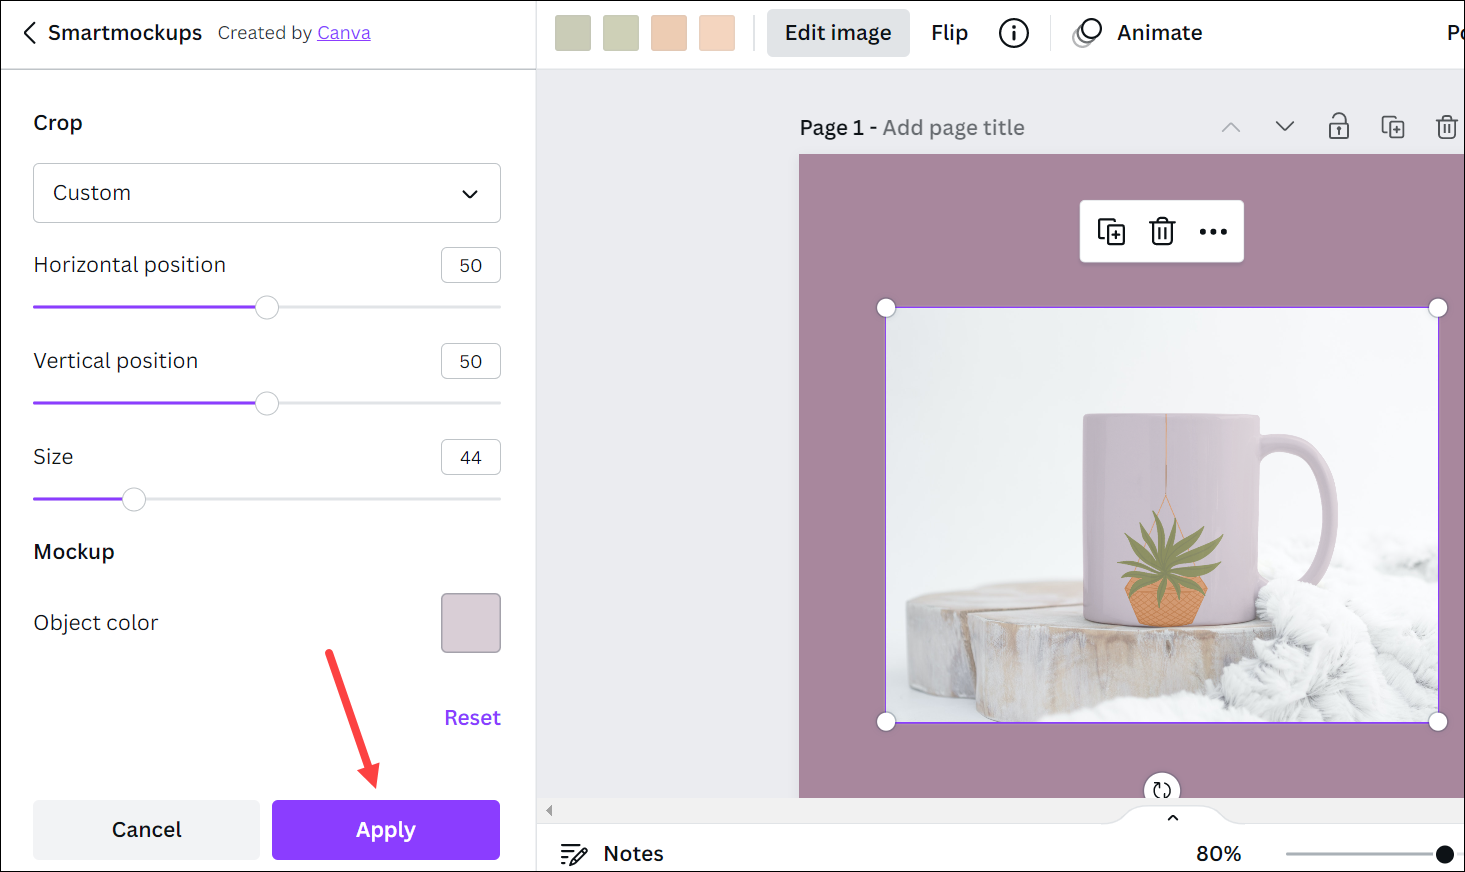
Now, to make the adjustments, click the ‘See Controls’ icon on the Smartmockup thumbnail.
Here, you can change the cropping options from the drop-down menu next to ‘Crop’. By default, the option selected will be ‘Fill’ but you can also choose from ‘Fit’ and ‘Custom’.
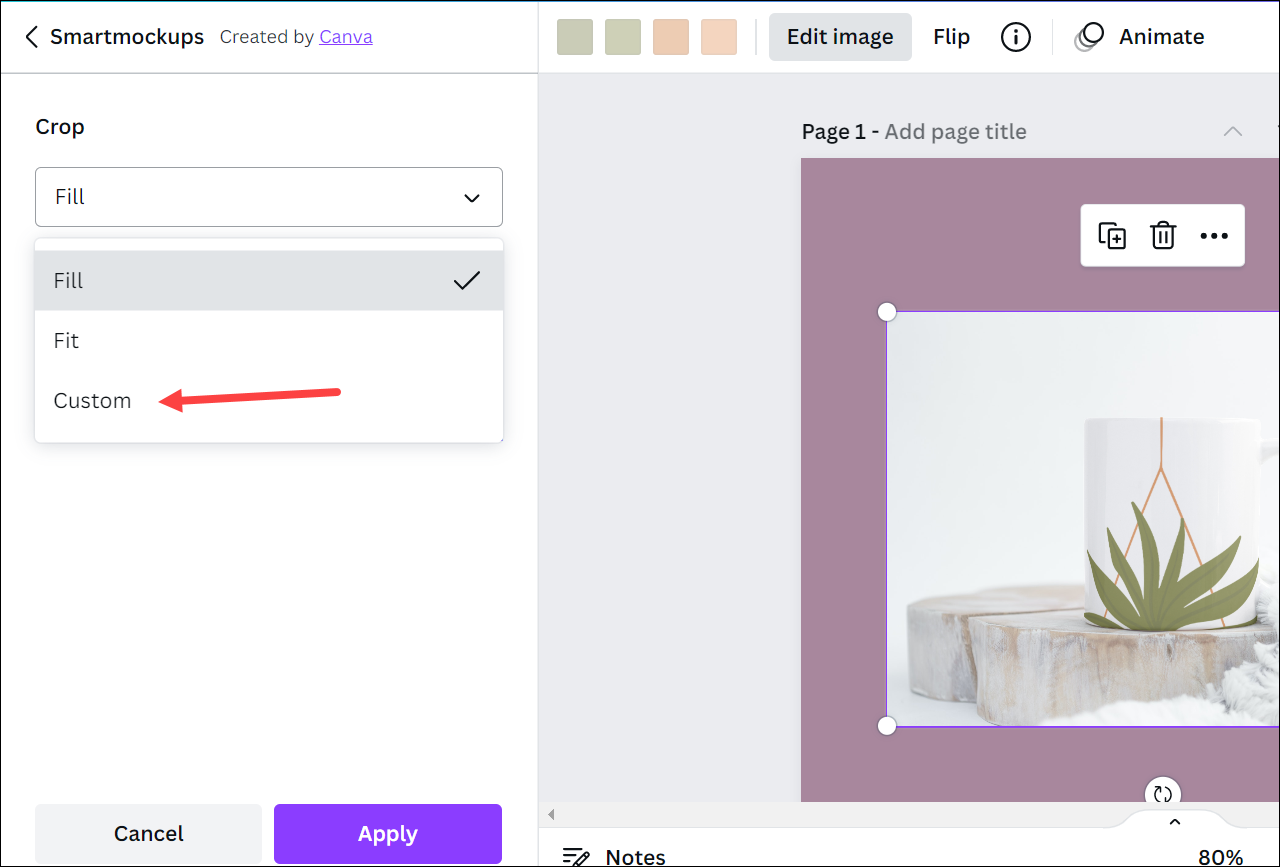
If you select ‘Custom’, sliders for adjusting the ‘Horizontal Position’, ‘Vertical Position’, and ‘Size’ of the image on the mockup would appear. As you adjust the sliders, you can see the results on the design but they won’t be saved until you click the ‘Apply’ button.

You can also change the color of the object in the mockup (for example, the color of the t-shirt) by clicking the color tile.
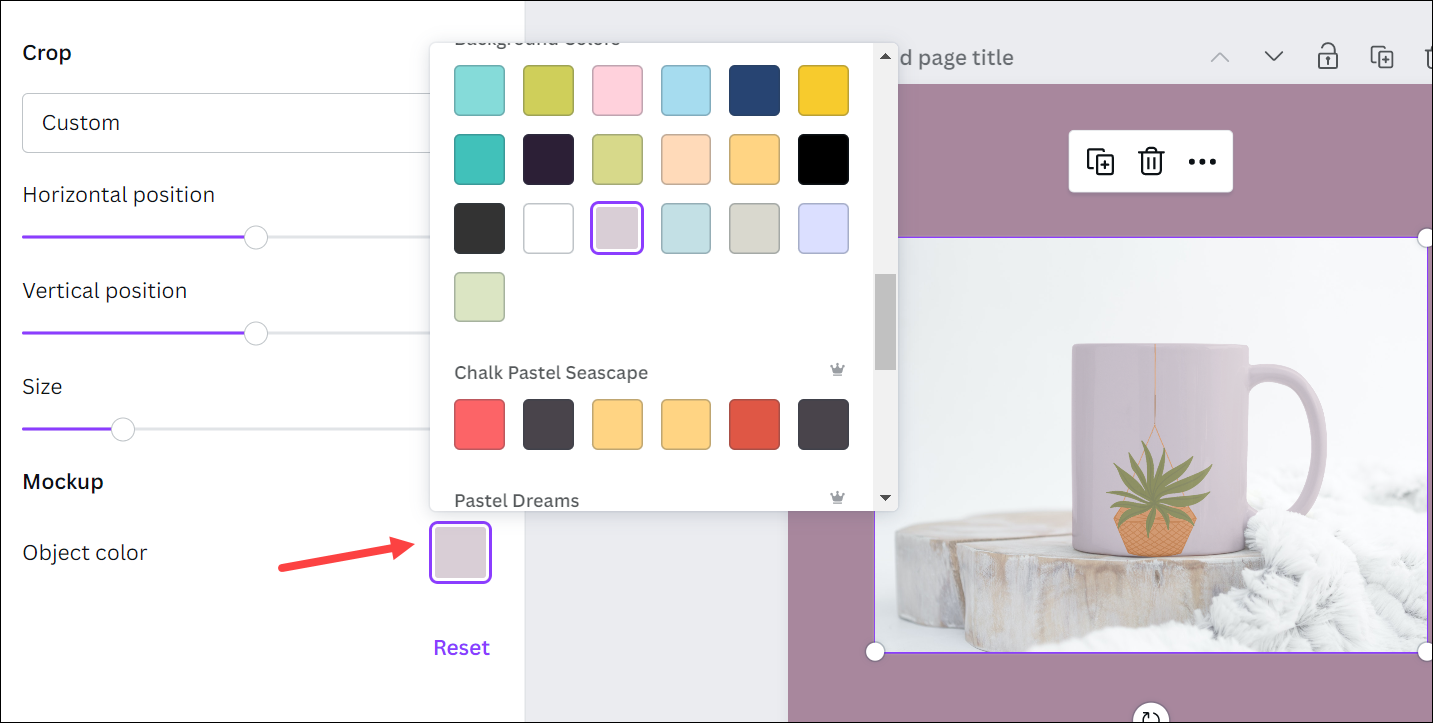
Finally, click ‘Apply’ to save the changes.
Then, you can make other changes to your design as you normally would.
Creating a Mockup from the Canva Homepage
Canva Homepage now has a direct option to create a product mockup. You can then either download it directly or use it in a design.
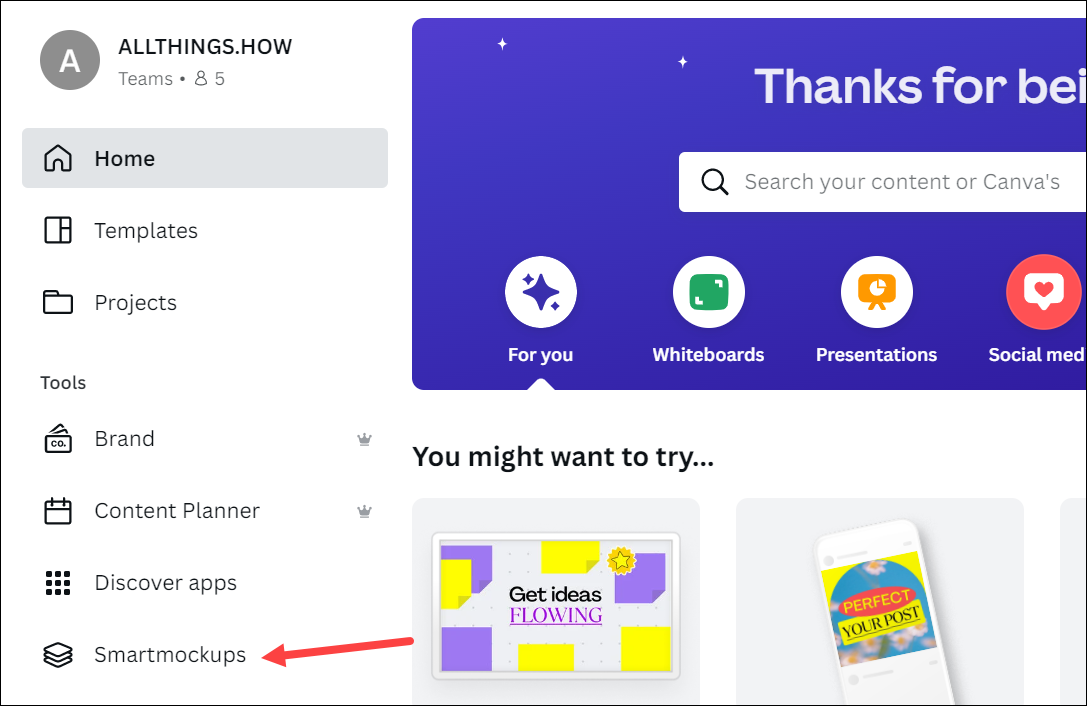
To access the tool from the homepage, go to canva.com on your browser. Then, click the ‘Smartmockups’ option under ‘Tools’ from the navigation menu on the left.
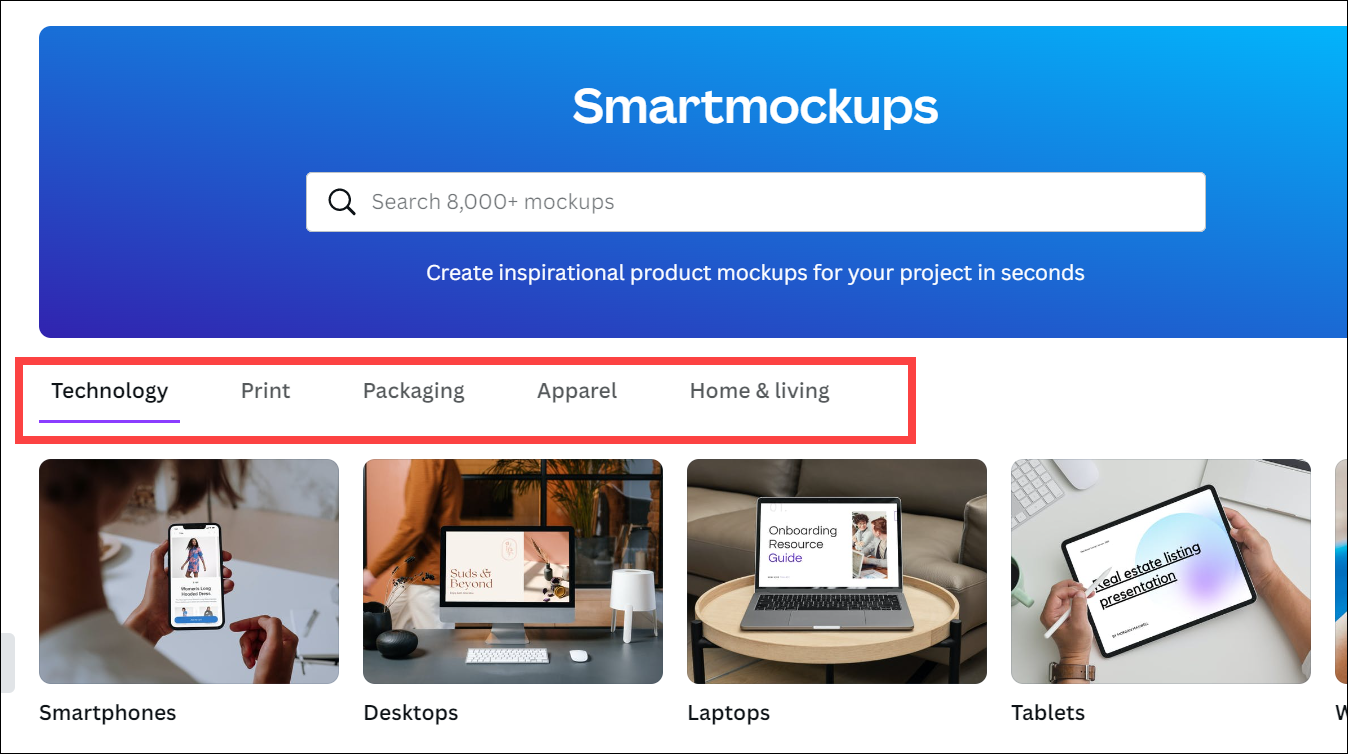
The Smartmockup tool options will open on the right. First, select the category of mockup you want to create from ‘Technology’, ‘Apparel’, ‘Packaging’, ‘Print’, and ‘Home & living’.
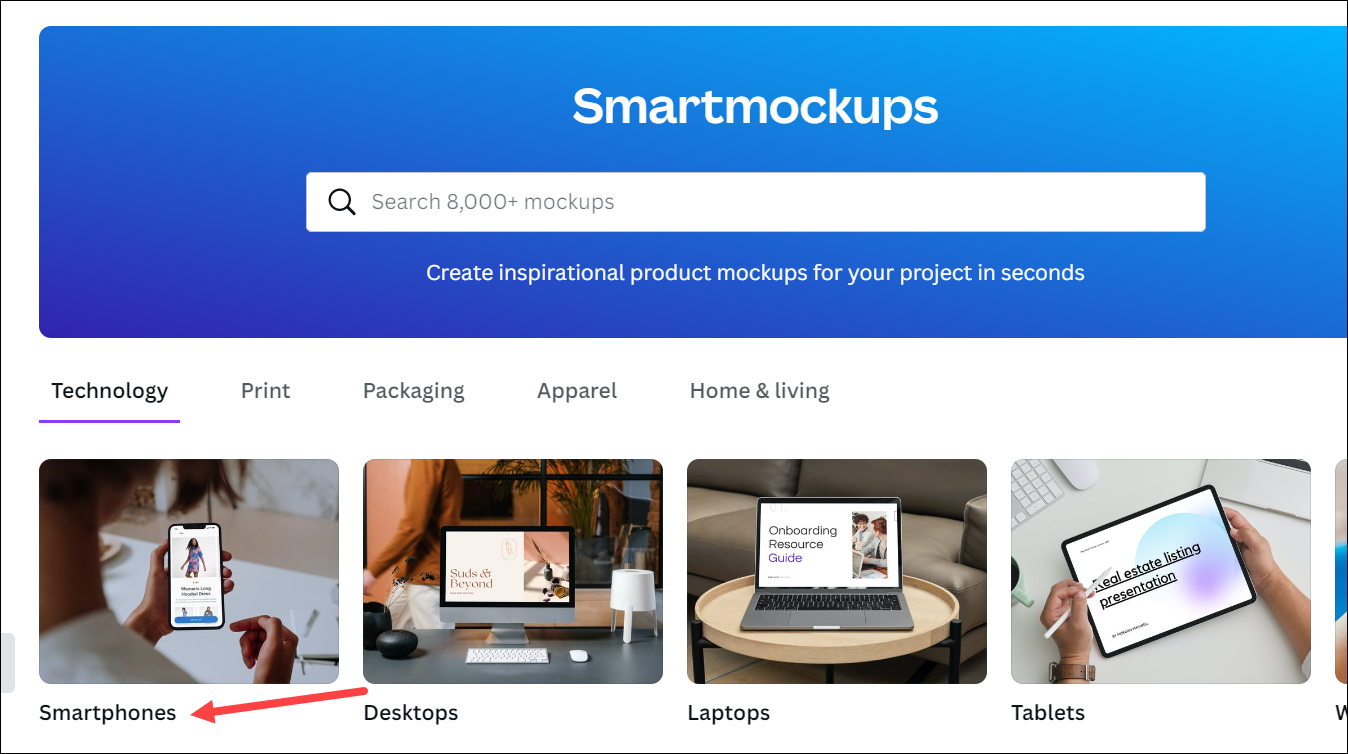
Then, select the sub-category from within that category. For example, if you chose Technology, select whether you want a mockup for a smartphone, laptop, desktop, watch, etc. For this example, we chose the ‘Smartphones’ sub-category from the Technology category.
Finally, select one of the available mockup designs for that category. You can also directly search for something using the search bar.

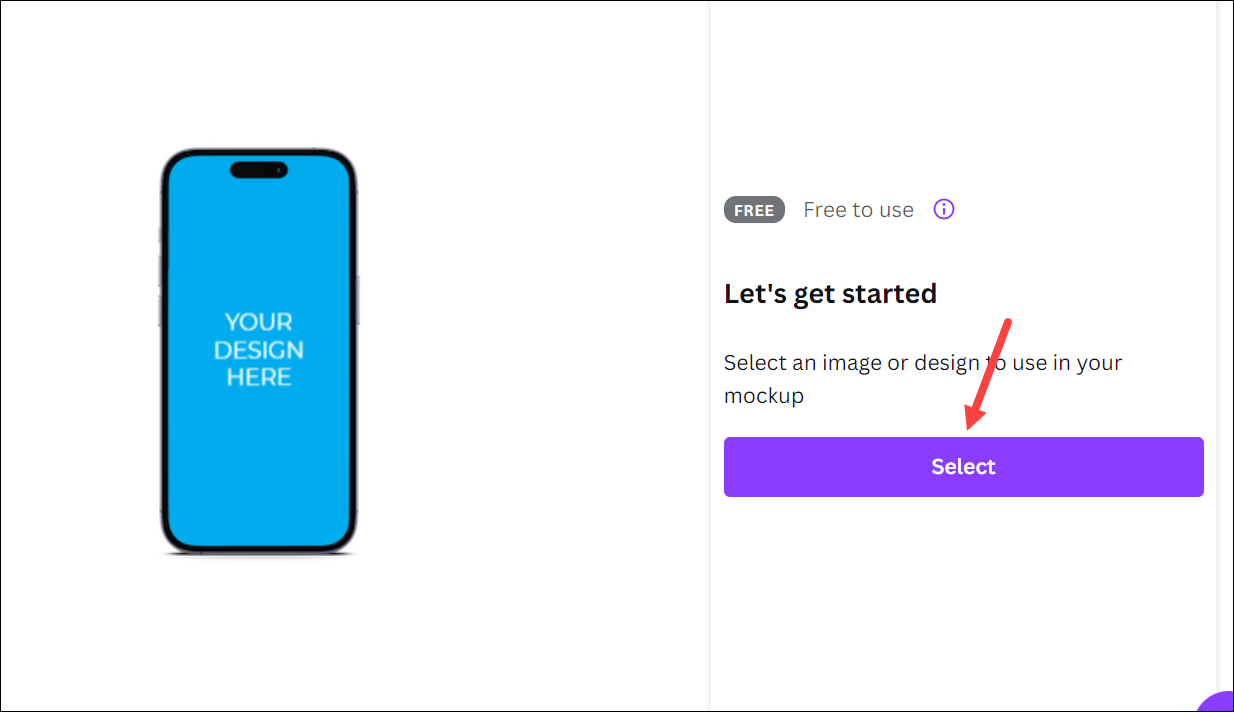
The Smartmockup template will load. Click ‘Select’ to select an image from your uploads or designs and create the mockup.
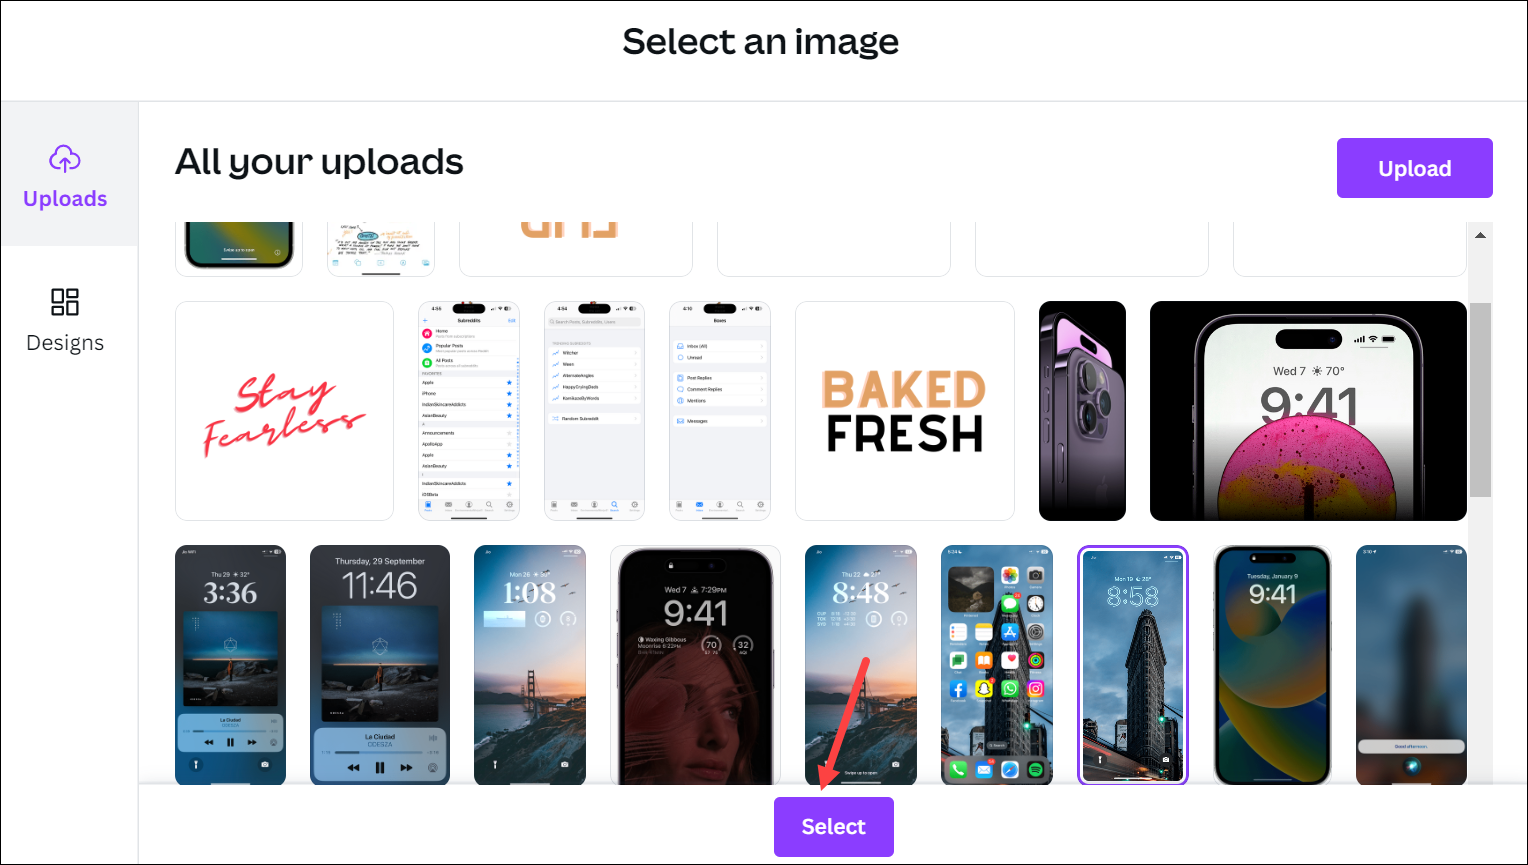
You can either select one of your past designs, an image already in your Canva uploads, or upload a new image from your computer. Select the image and click ‘Select’ to use it.
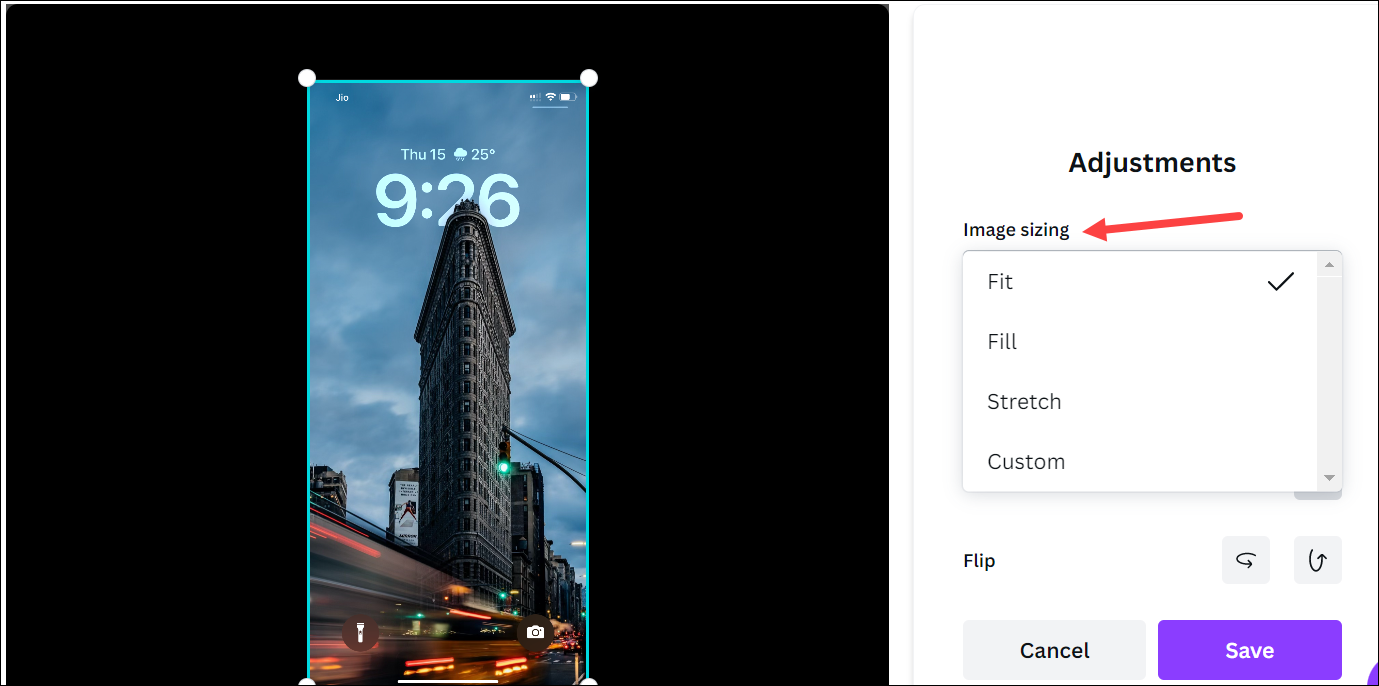
Then, click ‘Adjust Image’ if you want to make any changes.

You can crop the image but it doesn’t let you preview the changes on the design as you can while using the tool on the design page. You cannot edit the color of the object in the mockup either.
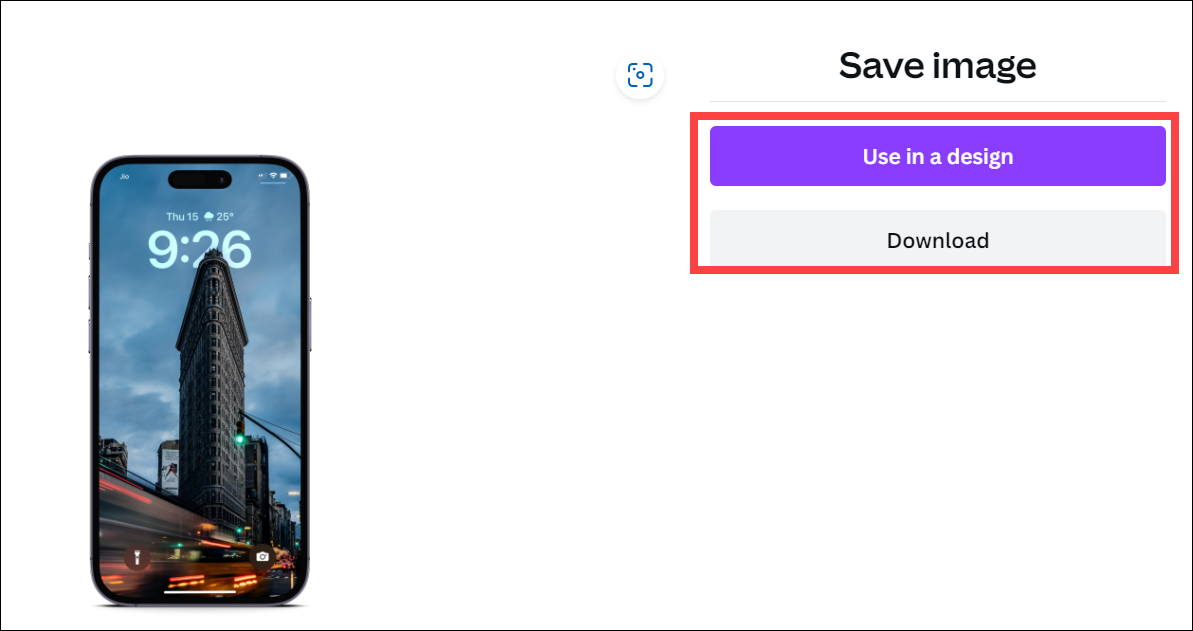
Once you’re happy, click ‘Save Mockup’.
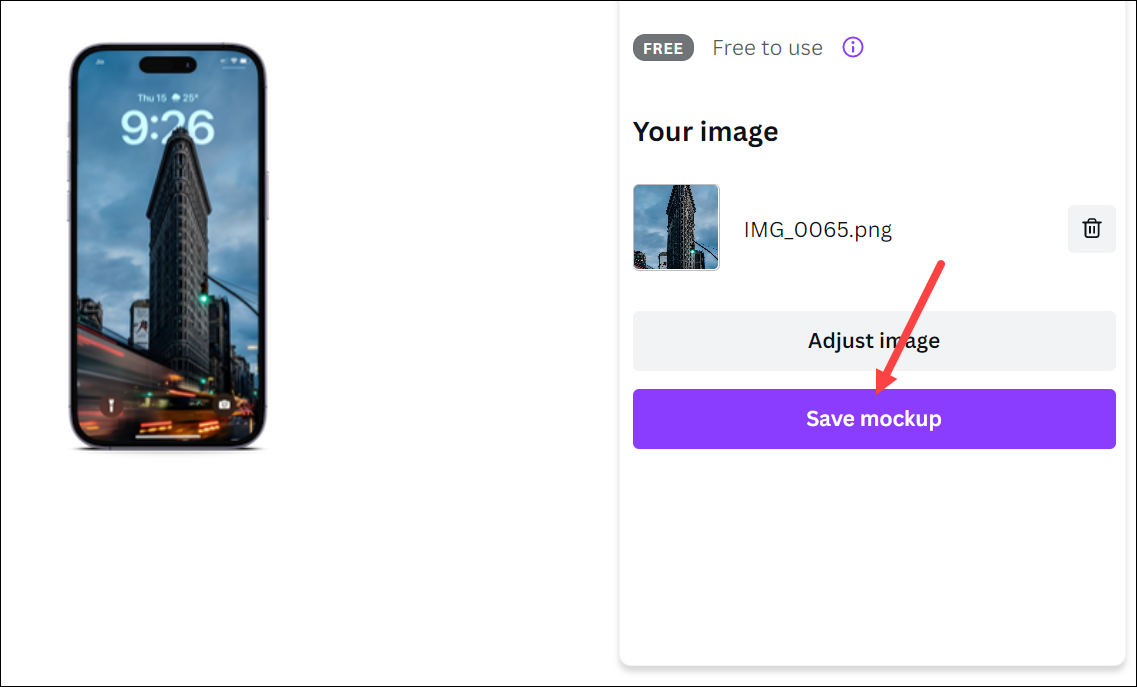
Then, choose if you want to download it or use it in a design. Unlike Canva designs that are saved automatically, mockups from the homepage aren’t saved unless you explicitly save them using either of the two options.
There you go. It’s so easy to create a mockup of any object with the Smartmockup tool in Canva. Whether you’re a creator or a small business owner, you’ll find that Smartmockups makes it extremely easy to create realistic mockups in a fraction of the time that you would have otherwise spent on them.