
The Workstream Collaboration platform Microsoft Teams has greatly changed the way businesses and organizations communicate. More and more businesses are leaning towards apps like these for their communication needs. And now especially due to the pandemic when we are all at home, these apps have been a true savior.
Microsoft Teams’ popularity lies in the fact that organizations can not only collaborate and communicate effectively, but users can create different Teams for different projects and departments with only specific members. Separate teams make remote work more efficient and streamlined.
You can create as many teams on Microsoft Teams as you want and set them up according to your requirements.
How to Create a Team
To get started, open the Microsoft Teams desktop client or the web app by going to teams.microsoft.com and log in to your account. No matter which medium you use, the process will be similar.
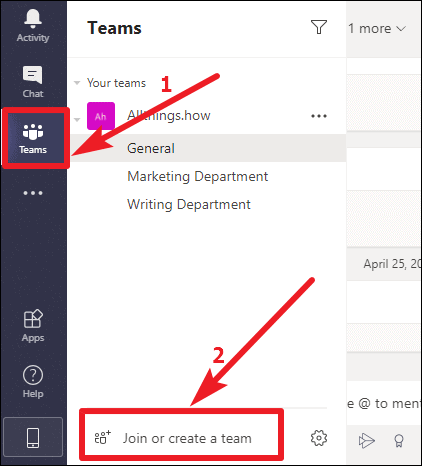
Then, click on ‘Teams’ on the navigation bar on the left. The list of teams will open. At the bottom of this list, you’ll see the option ‘Join or create a team’. Click on it.
Note: Your organization can control who can create teams. If you can’t create a team, it might be disabled for your account. Check-in with your IT admin.
Then, click on the ‘Create Team’ option on the left.
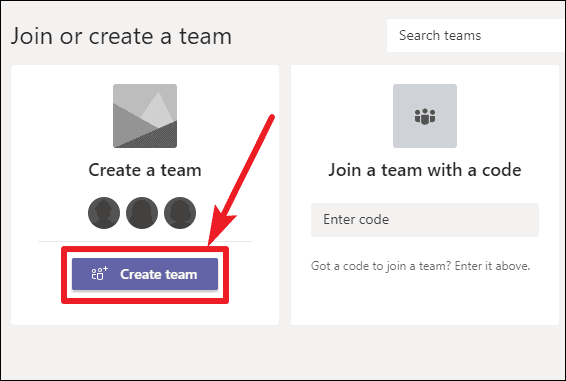
When creating a team, you have a few options at your disposal. You can build the team by yourself or use templates that Microsoft Teams offers.
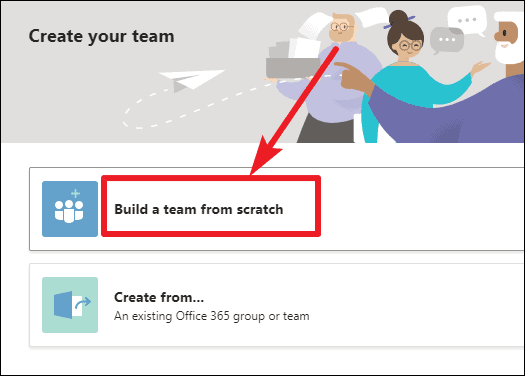
If you want to create the team on your own, Microsoft Teams still offers flexibility in your approach. You will see two options on the first half of the screen: ‘Build a team from scratch’, or ‘Create from an existing Office 365 group or team’. Choose the option that suits you best.
Creating a Team from Scratch
Here, we’ll choose ‘Build a team from scratch’ to build a new team. You can also select the second option if you want to create a team from an existing team or Office 365 group you’re a part of.
When you choose the first option, you’ll have to do everything from scratch, as the name suggests. From creating channels, adding members, choosing team settings, etc., this option is great when you’re first starting.
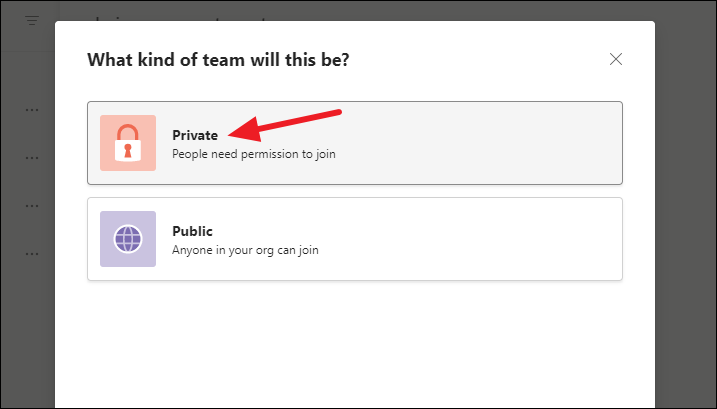
Next, select the privacy options for your team. Your team can either be ‘Private’ so people will need permission to join it or ‘Public’ where anyone from the organization can join the team.
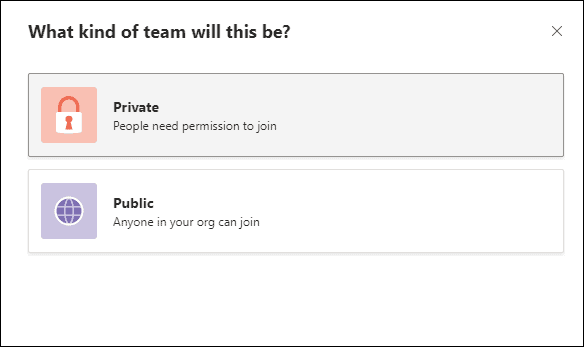
If you are an admin, there will also be an option to create an ‘Org-wide’ team where everyone in the organization automatically joins.

After selecting the team type, enter a name for the team and a description if you want and click on ‘Create’.

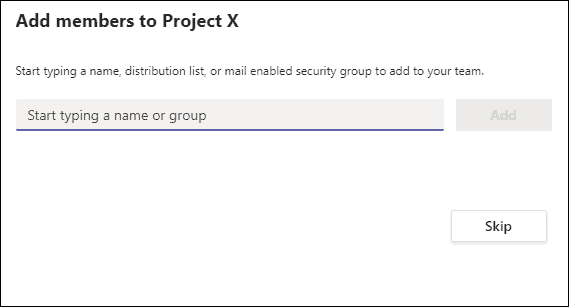
Then enter the name of members you want to add to the team or click on ‘Skip’ at the bottom of the screen to add members later on.
Create a Team from an existing Group or Team
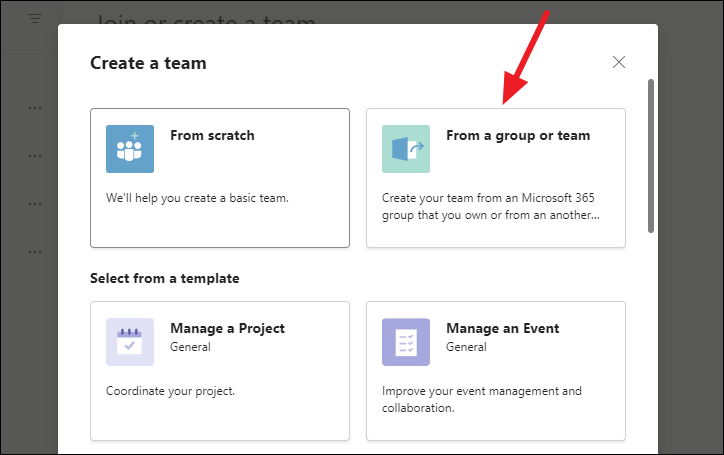
If you choose the option ‘From a group or team’ while creating the team, you further have two options: you can either create a team from an existing team or from a Microsoft 365 group you own.
To create a team from a Microsoft 365 group you own, click the option for ‘Microsoft 365 group’.

You’ll see the list of available groups, if any, on the next screen.
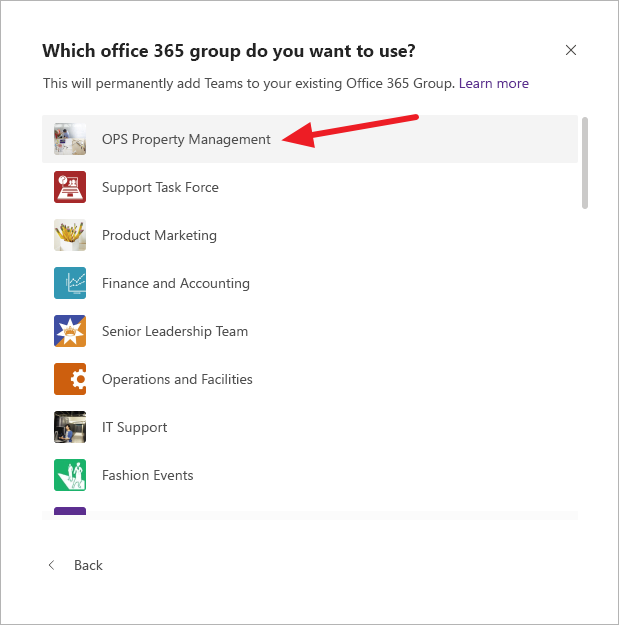
You can create teams from those groups that already don’t have a team associated with them and have less than 10,000 members. Select the group. A team with the same name will be created. It will also have the same members and group privacy (public/ private) as the group.
You can also choose to create a team from an existing team. Select the option ‘Team’ on the screen to create a team from something you already own. This uses the existing team as a template for the new team.

The list of existing teams that you own will appear. Select the team you want to use as a basis for creating the new team. This won’t affect your existing team in any way. It will only copy apps, settings, and channels from your existing team over to the new team. Any messages, files, or content from the existing team won’t be copied over to the new team.

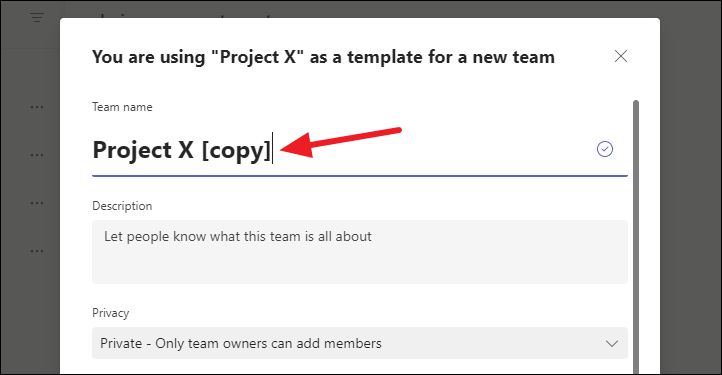
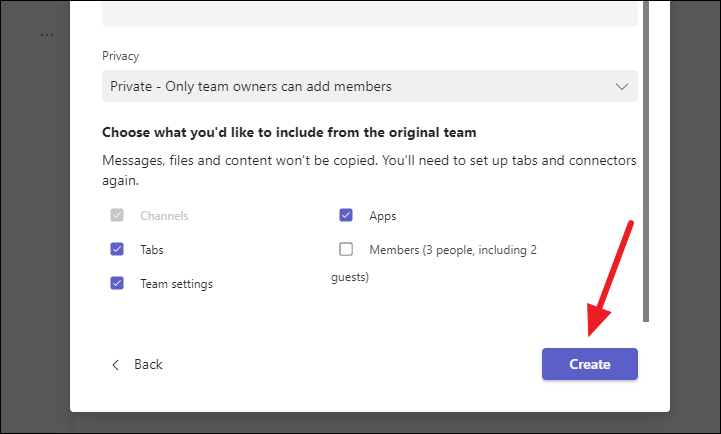
You can edit the name and description on the next screen. By default, Microsoft Teams will display the same name as the existing team with the word “[copy]’ appended after it. You can also edit the privacy settings.
Teams will by default choose certain settings that it’ll bring over from the existing team to the new team. This includes ‘Channels’, ‘Tabs’, ‘Apps’, and ‘Team settings’. You can deselect any of these except for channels. You can also choose the option for ‘Members’ which is not included by default. Click ‘Create’ to create the team.
Creating a Team Using Templates
Microsoft Teams introduced the option for templates upon intensive user request. Templates offer a great way to create teams for some of the most common scenarios or industries. When you use a template, Microsoft Teams automatically does the work of creating associated channels and adding relevant apps to the team. This reduces your workload drastically.
After reaching the ‘Create a Team’ screen, refer to the lower half portion of the overlay window. There are several templates available to choose from, with each offering a structure for a particular type of event, like Event management or industry, like retail or hospitals. Currently, pre-defined templates from Microsoft Teams include:
- Manage a project
- Manage an event
- Onboard employees
- Adopt Office 365
- Organize help desk
- Incident Response
- Crisis communications
- Manage a store
- Bank branch
- Patient care
- Hospital
- Quality and safety
- Retail for managers
- Manage volunteers
Note: In addition to these templates from Microsoft Teams, your organization can create templates for you. The IT admins for an organization can create templates if they want the employees to have a basic structure to follow for team creation. These templates will appear above the rest of the templates and can be used in a similar fashion.
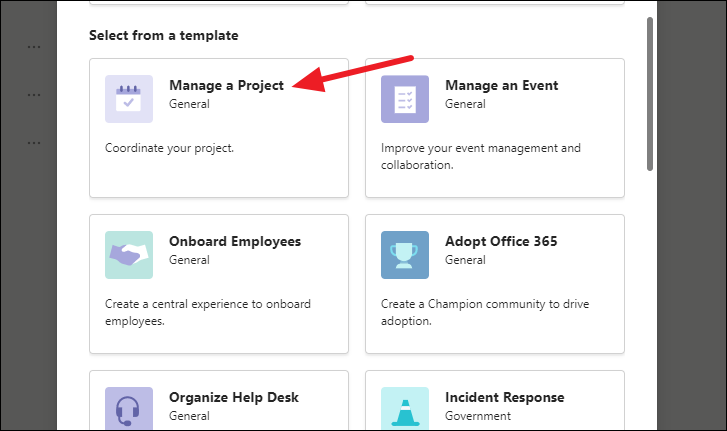
Templates are completely customizable, so you can rename the team name, channels, or tabs while still having a structure to follow. Choose the template you want to use.
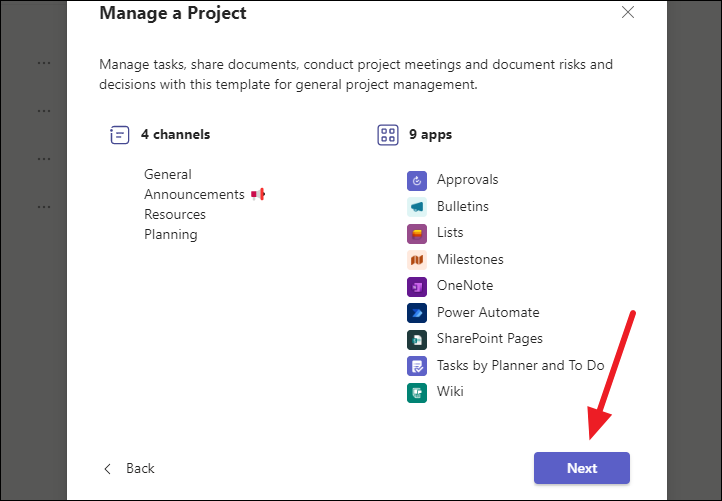
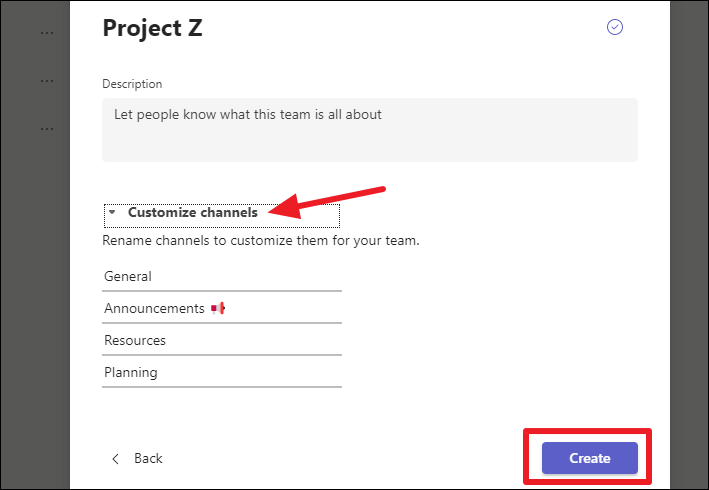
Here, we’ve chosen the template for ‘Manage a Project’.
It has 4 channels and 9 apps that Teams thinks will be useful. You can edit these later. Click ‘Next’ to proceed.
Then, just like any other team, you can choose the team type – Public or Private.
Enter the name and description (optional) for the team. Here, you can also customize the channels. Click the option for ‘Customize channels’ to expand and edit them. ‘General’ channel, which is common to every team, cannot be edited. Click the ‘Create’ button to create the team.
It can take a few minutes for the team to be completely set up. Once the team is created, you can manage it just like any other team.
How to Add Members to the Team
When you create a team, you become its owner. You can invite other people to the team and manage its permissions and settings.
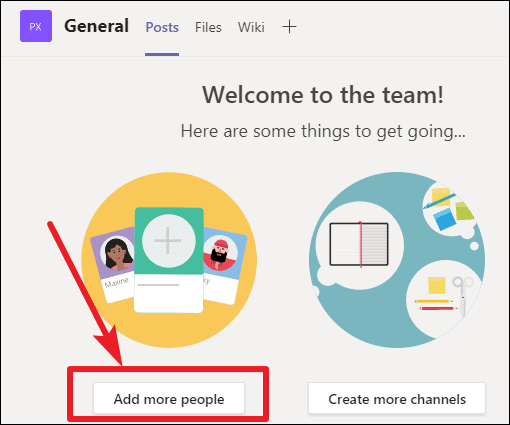
You can add members to the team while creating the team as shown above, or at any point in time later on. When the team is new, you will see the ‘Add More People’ option in the Posts tab in the General channel. Click on it to quickly add more people to the team.
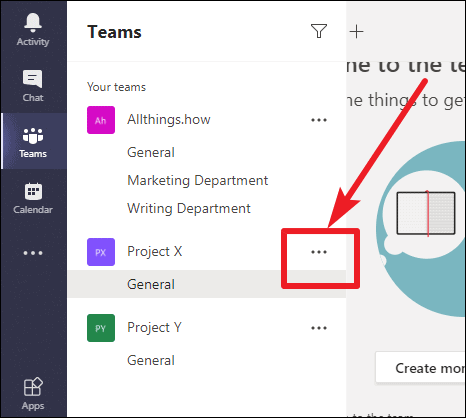
You can also add people to the team from the list of teams on the left anytime. To see the list of teams, click on the ‘Teams’ tab on the navigation bar on the left. Now, click on the ‘More options’ icon (ellipses) on the right of the team name.
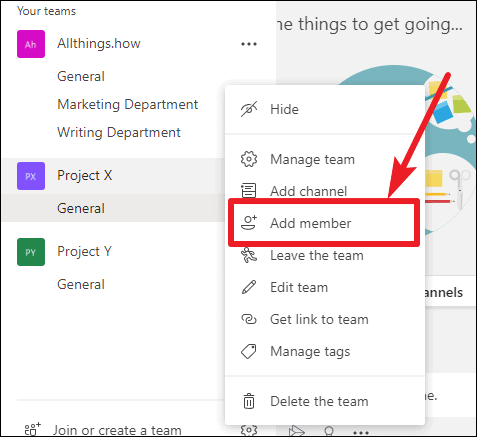
A context menu will appear. Click on ‘Add member’ from the menu.
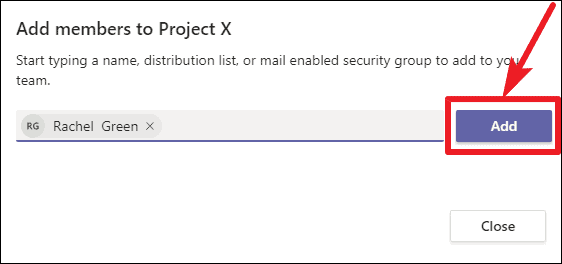
The Add member screen will open. Type the names of the members you want to add and click on the ‘Add’ button.
Managing your Team
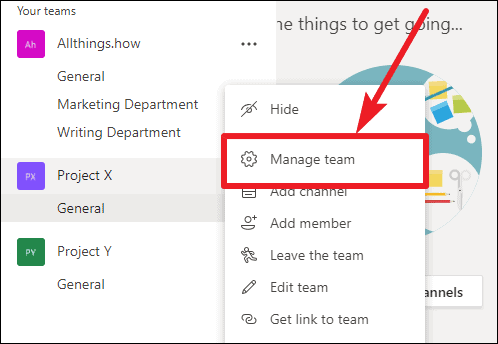
Microsoft Teams makes it very easy to manage teams for the team owners. Click on ‘Teams’ on the navigation bar on the left to open the team list. Then, click on the ‘More options’ icon and select the ‘Manage Team’ option from the context menu.
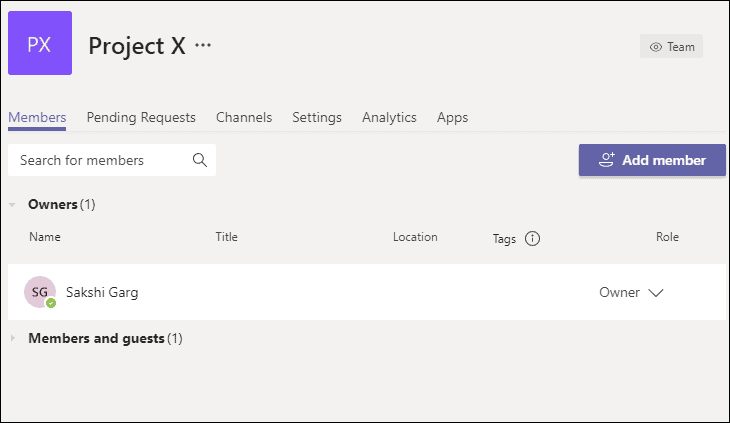
It will take you to the screen where you can manage different aspects of your team like team members, channels, apps, and various team settings like member permissions, guest permissions, etc. You can also designate the roles of ‘Member’ and ‘Owner’ to the team members from here.
Creating Team Channels
You can do a lot of things after you’ve created a team. The team can have channels for different purposes. All teams have a ‘General’ channel by default. You can create as many channels in the team as you want.
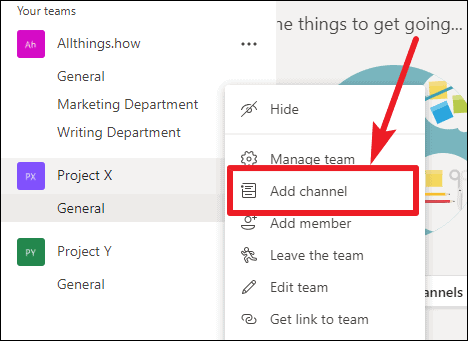
Click on the ‘More Options’ icon on the right of the team name, and select ‘Add channel’ from the context menu.
The create channel window will open. Add a name and description for the channel, and select its privacy settings. Channels can be ‘Standard’ that are accessible to every member of the team, or ‘Private’ that can only be accessed by specific team members that you choose. Click on the ‘Add’ button.

Using Team Channels
You can create different channels for different departments, or topics as per your team requirements. Channels help give an organized structure to your team so team members can work efficiently.
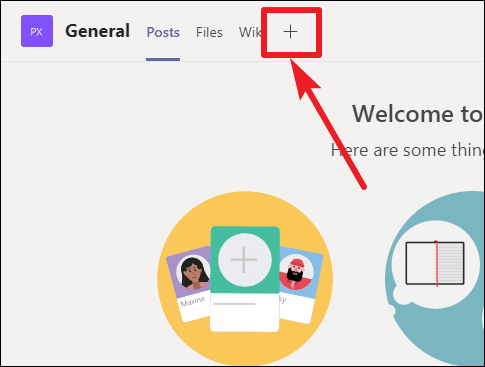
Channels can have different tabs in them. Tabs are the different categories at the top of each channel that provide you quick access to files, apps, and services. Each channel has ‘Posts’, ‘Files’, and a ‘Wiki’ tab by default. You can add integrated apps, or files as tabs to a channel to offer quick access to often used services to the team members. Click on the ‘+’ icon next to the tabs to add a new tab to a channel.
If your organization allows it, anyone can create new teams in Microsoft Teams. Creating different teams for different purposes really helps work efficiently and more productively. Teams also offer many different features like team communications, file sharing, collaboration, and team meetings.