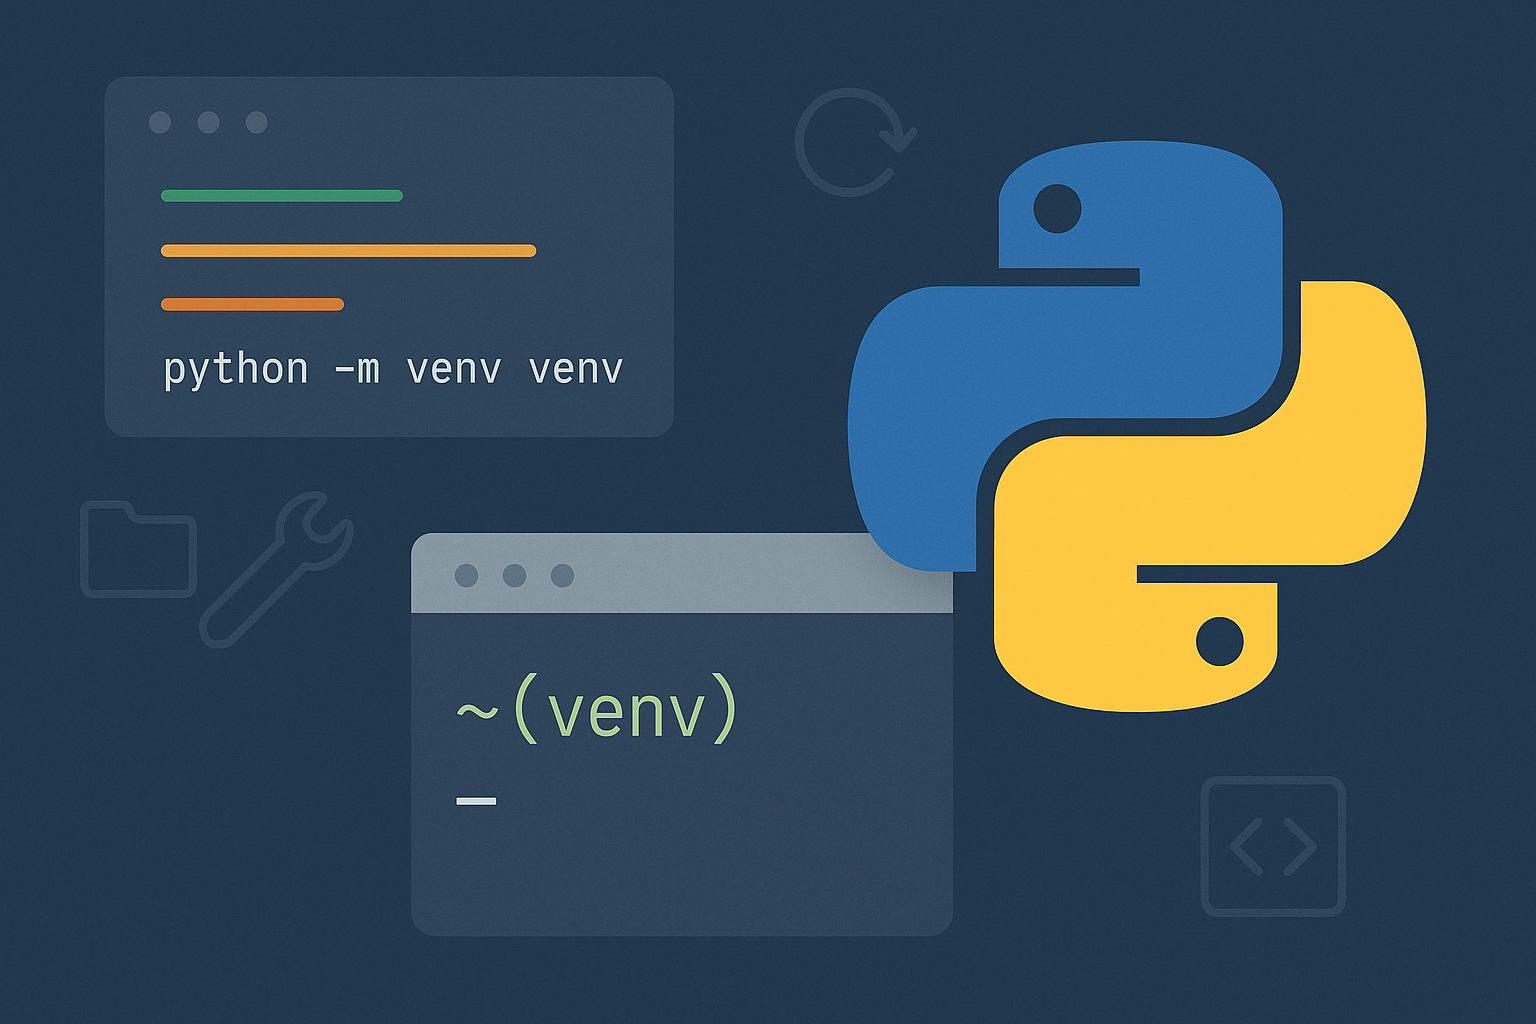
Python virtual environments prevent package conflicts in Django projects. Creating one with the standard library’s venv module gives each project its own interpreter and set of packages, so upgrades in one project don’t break another.
Method 1 — Use Python’s built‑in venv (recommended)
cd /path/to/your/project# macOS/Linux
python3 -m venv .venv
# Windows (PowerShell or CMD)
python -m venv .venv# macOS/Linux (bash/zsh)
source .venv/bin/activate
# macOS/Linux (fish)
source .venv/bin/activate.fish
# macOS/Linux (csh/tcsh)
source .venv/bin/activate.csh
# Windows PowerShell
.\\.venv\\Scripts\\Activate.ps1
# Windows CMD
.\\.venv\\Scripts\\activate.batSet-ExecutionPolicy -Scope CurrentUser -ExecutionPolicy RemoteSigned# macOS/Linux
which python
# Windows PowerShell
Get-Command pythonpython -m pip install --upgrade pippython -m pip install requestspython -m pip install -r requirements.txtpython -m pip freeze > requirements.txtdeactivateecho ".venv/" >> .gitignoreNotes: You can run a script with the venv’s interpreter directly (for example, ./.venv/bin/python app.py) without activation. Virtual environments are disposable; if you move the project path, recreate the venv and reinstall from requirements.txt.
Method 2 — Create and use a venv in Visual Studio Code
# Keyboard shortcut
Ctrl+Shift+P  (Windows/Linux)
Cmd+Shift+P (macOS)# macOS/Linux
which python
# Windows PowerShell
Get-Command pythonpython -m pip install "fastapi[standard]"If activation fails in PowerShell, apply the execution policy from Method 1 (Step 5). If VS Code doesn’t discover your venv, use Python: Select Interpreter and browse to .venv/Scripts/python.exe on Windows or .venv/bin/python on macOS/Linux.
Method 3 — Create a venv with the virtualenv package
python -m pip install --user virtualenv# Use default python3 on macOS/Linux
virtualenv -p python3 venv
# Or point at an exact interpreter
virtualenv -p /full/path/to/python venv# macOS/Linux
source venv/bin/activate
# Windows PowerShell
.\\venv\\Scripts\\Activate.ps1# macOS/Linux
which python
# Windows PowerShell
Get-Command pythonTip: For new Python 3 projects, the built‑in venv module (Method 1) is preferred, but virtualenv remains useful in some setups.
Optional — Create a Conda environment (if you use Anaconda/Miniforge)
conda create --name myenv python=3.11conda activate myenvconda install numpy
# or
python -m pip install requestsWhy this improves your workflow
Before using virtual environments, package installs land in the global Python and clash across projects. After adopting venv, each project gets its own interpreter and site‑packages directory, which prevents version conflicts, simplifies upgrades, and makes builds reproducible via requirements.txt.
That’s it—create the venv, activate, install your packages, and commit your code without the environment. You’ll spend less time debugging version conflicts and more time shipping features.