A server on Discord is a network that can be invite-based or open to anyone. It is a communicative space for people who share personal or professional interests. Discord is a great platform to interact with a community, via audio, video, or textual conversations.
Users can create organizational, institutional, or informal circles of communication for strangers, acquaintances, colleagues, or friends. It’s the perfect place to host a massive crowd – a Discord server can accommodate 500,000 members.
What is a Discord Server
It is a public server that users can create as a meeting place for people who have a shared interest. Each server is composed of broad ‘Categories’ that further have ‘Channels’ that host members and/or roles. Channels can be general, i.e., open to all, or private, i.e., restricted to a few. A single server can have 50 categories and 500 channels at the maximum.
Discord servers are most popular with gamers, but you can create servers based on any theme, like films, books, comics, music, etc., to create a community based on that particular interest.
Creating a Discord Server
To create a server on Discord, first, you need to install the platform or go to the web app. Discord is available for all major platforms – Windows, Mac, iOS, and Android. Or, you can go to discord.com and click the ‘Open Discord in browser’ button. Then, you’ll need to create an account if you don’t already have one.
If you already use Discord, simply launch the platform on your device. Then, click the ‘+’ button on the left.

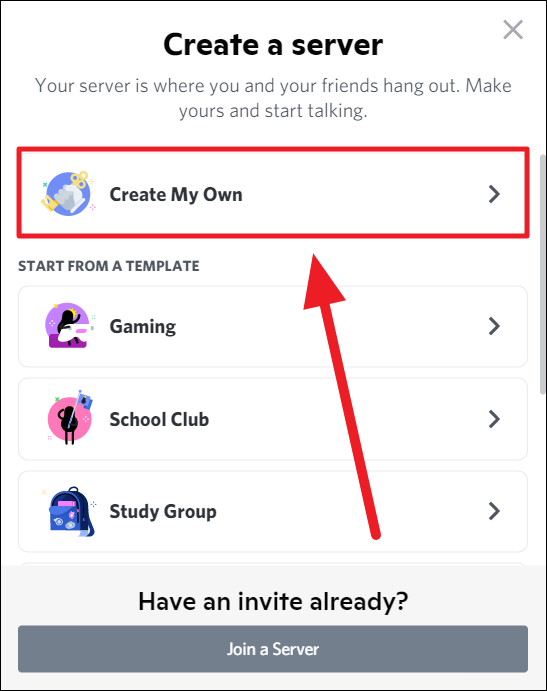
You’ll now see a ‘Create a server’ dialog box. You can either create a server from scratch or use a template. Discord provides six generic templates – Study Group, Music, Local Community, Gaming, Friends, and Artists and Creators. Templates will have pre-set categories, channels, roles, and permissions, that you can further edit and personalize to your needs.
If you want to make your own server, select the ‘Create my own’ option. Else, choose a template that suits the purpose of the server.
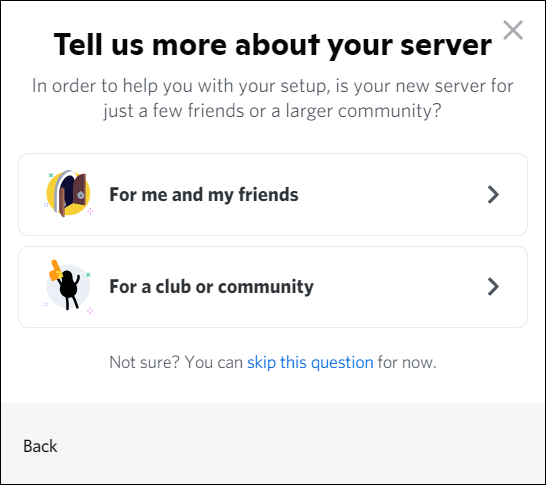
The next step is to choose your audience. If you’re creating an informal server, select – ‘For me and my friends’. If it’s a public server that’s more formal, with a strict purpose, and the intention of hosting a large audience, select ‘For a club or community’.
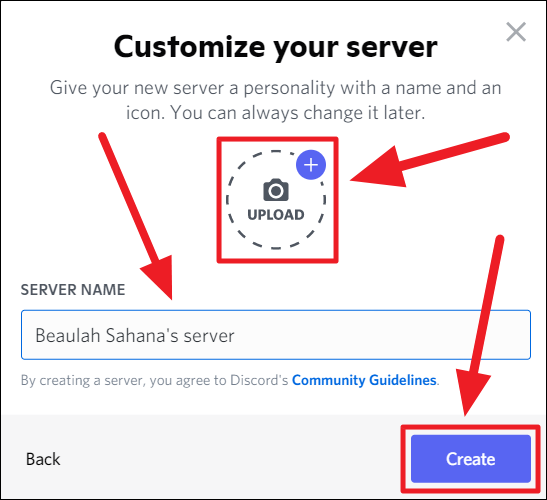
Now, it’s time to give your server an identity. Enter your server’s name in the ‘Server Name’ text box on the following ‘Customize your server’ dialog. You can also add a picture to better identify your server. Click the ‘Upload’ dotted circle and choose an image from your computer. Before proceeding to create the channel, thoroughly go through Discord’s community guidelines. Then, click ‘Create’.
You’ve created your Discord server! Now invite your audience to join the server.
Change Server’s Name and Image
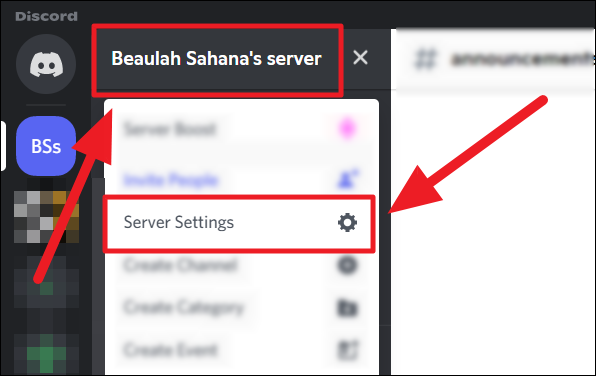
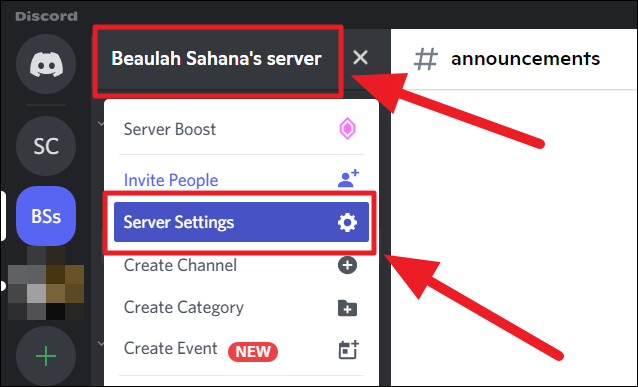
To edit your server’s name after it’s created and add or change the server’s image, click the server’s existing name to the top left. Select ‘Server Settings’ from the menu.
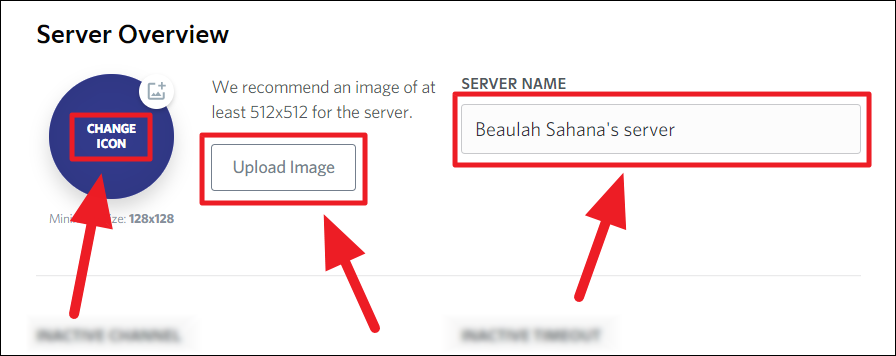
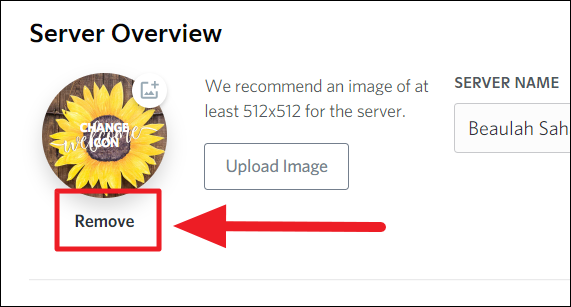
You’ll directly land on the ‘Server Overview’ page. Stay on this screen. Change your server’s name in the ‘Server Name’ textbox. To add or change the profile image of your server, click ‘Upload Image’. You can also hover the cursor over the circle with an existing image (or your initials) and click ‘Change Icon’. Both lead to the same result.
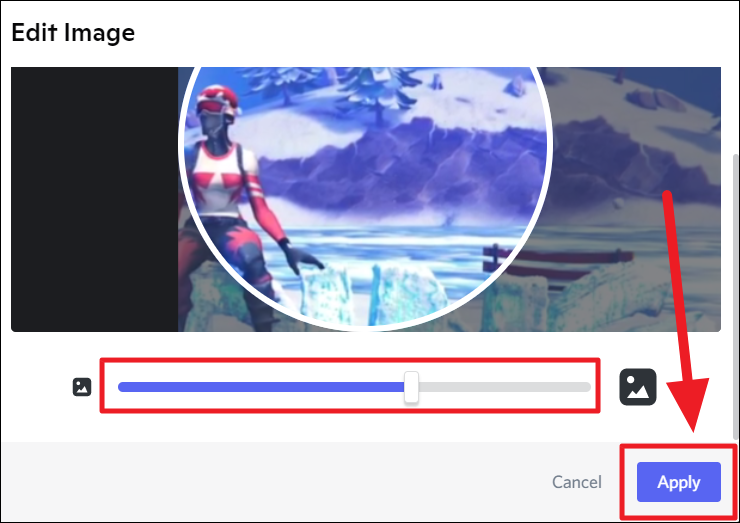
Next, choose an image from your computer and click ‘Open’. An ‘Edit Image’ box pops up. Here, you can zoom an image by dragging the toggle on the image slider. Move the image with the hand cursor to fit it correctly into the cropping dimension (if necessary).
Once the image is to your liking, hit ‘Apply’.
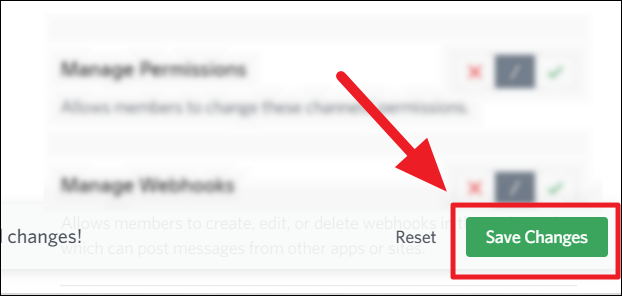
After making the changes, click the ‘Save Changes’ button in green.
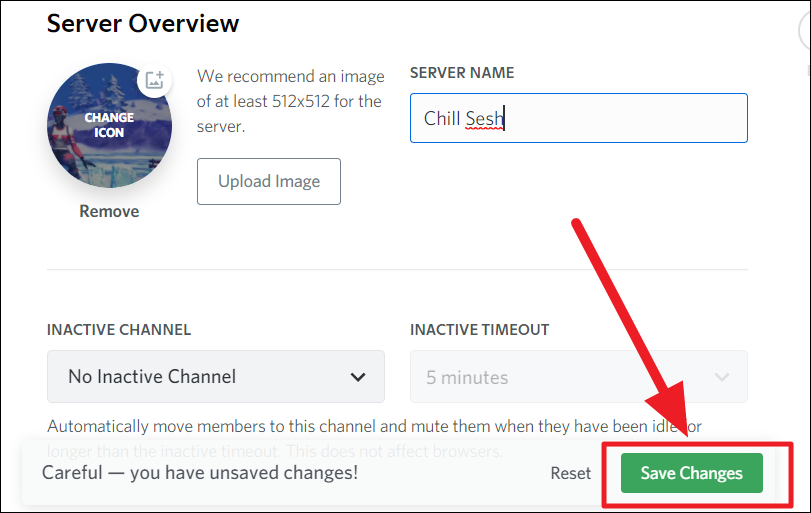
If you want to remove your server’s image, head back to the ‘Server Overview’ page in the same way as explained before and click the ‘Remove’ option below the image circle.
Inviting People to Your Discord Server
This is an important part of setting up your discord server — inviting people into the network! There are two ways you can invite people to your server – via direct invites and a ‘Join’ link. Inviting members is a continuous process. Even after setting up your server, you may find the need to invite new members — these instructions cover that too.
Direct invites are sent to your Discord friends. If the people joining the server aren’t among your friends, you need to copy the link to your server, paste and send it as a ‘Join’ link in a sharing medium. Recipients can then join the server.
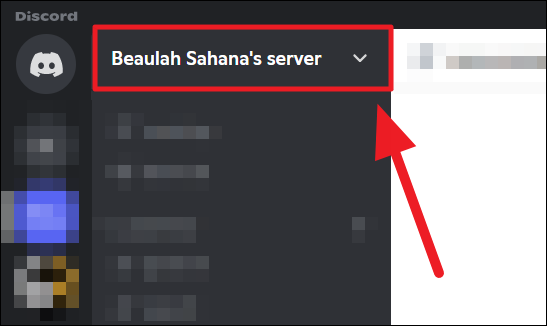
To get started, click your server’s name in a drop-down box at the top left part of the screen. Select ‘Invite People’ from the drop-down menu.

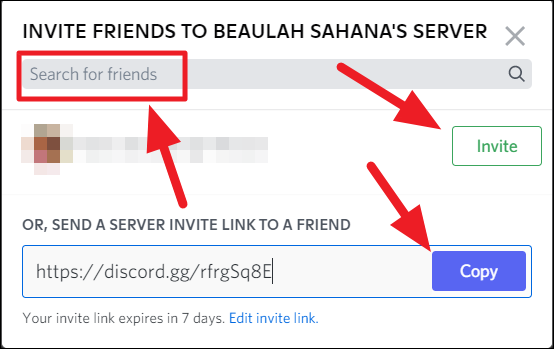
Next, you’ll see an ‘Invite friends to <servername> server’ dialog box. Here, you can search for your friends in the ‘Search’ box and then send individual invites. Or, hit the ‘Invite’ button next to the respective friend in the list visible.
If you’re sharing a link to your server, click the ‘Copy’ button. Then, paste and send it.
The invitees will shortly join your server. Meanwhile, it’s important to create roles for all or some of the invited members. Roles help designate work across the server. They’re also helpful while adding people to a category/ channel and assigning permissions.
What are Discord Roles?
Each person on the server can either stay a member or be promoted to a ‘Role’. On Discord, roles are special positions given to members on the server. These positions correspond to the ‘role’ they’ll be playing in the server. Thereby, roles will have special privileges, responsibilities, or powers that aren’t open to everyone. For example, you could create a role for “moderators” that’ll let you assign responsibilities, like banning users or deleting messages, to certain users.
Roles are useful in better identifying members and allocating them into categories/channels. They make it easier to add people to a private space. You can create new roles, edit existing ones, add/edit/remove permissions, and delete a role.
When you’re the server creator, you don’t need to assign a role to yourself. You’ll invariably have access to everything on the server.
Creating a Role on Discord
To create a role, click your server’s name in the top left corner of the screen, and select ‘Server Settings’ from the drop-down menu that opens.
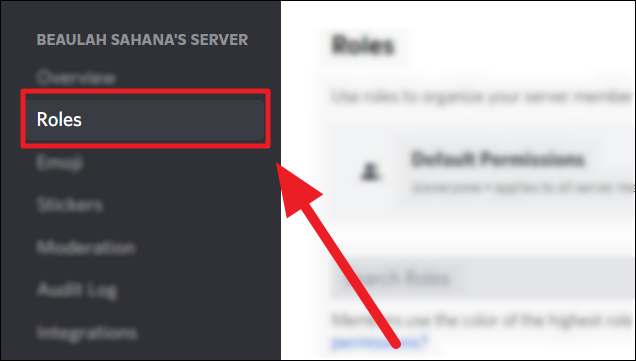
Select ‘Role’ from the list of options in the left sidebar on the following screen.
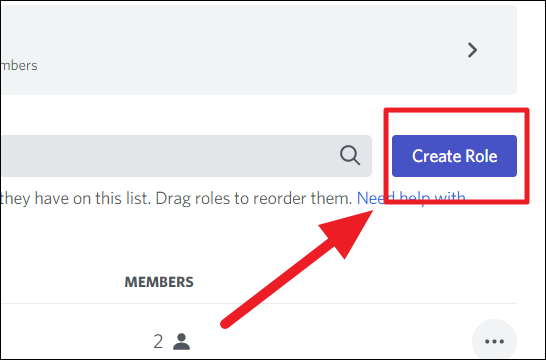
Now, click the ‘Create Role’ button in blue on the right.
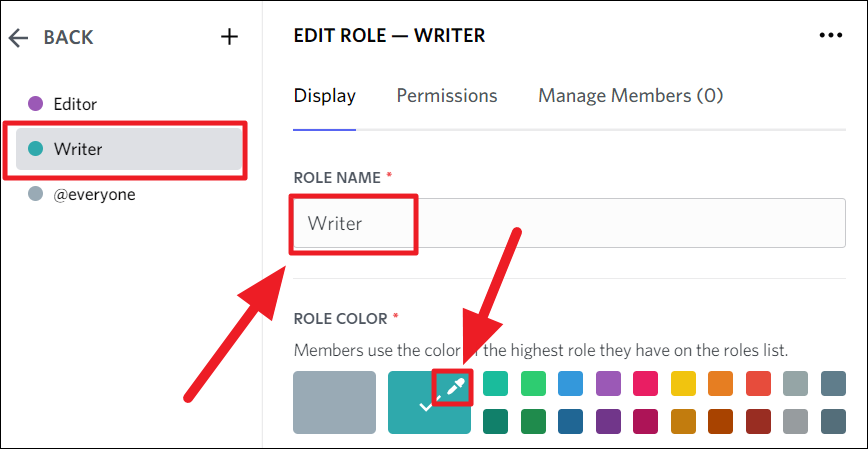
Type out the new role’s name in the text box below ‘Role Name’. It’s mandatory to assign a color to the role. This helps in better identification. Choose a color from the ‘Role Color’ section. You can also pick your own color with the color picker.
The new role’s preview with the name and color is shown in the highlighted tile on the left. Adding a role image is a paid feature.
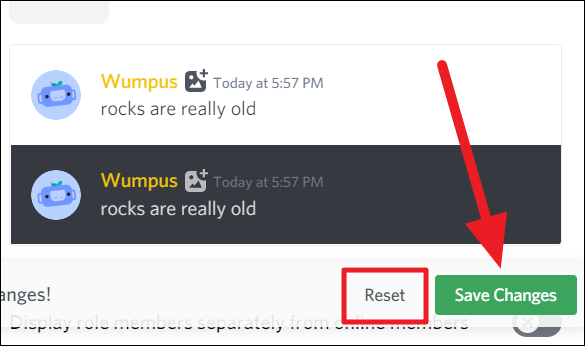
Once you’re done, click the ‘Save Changes’ button at the bottom. If you want to redo the role’s name and/or color, hit ‘Reset’.
Adding Role Permissions
Role Permissions are essentially actions or responsibilities granted to roles. You can customize permissions for new roles as well as edit them for existing roles. These permissions allow the said roles special permissions and access to different aspects of the server.
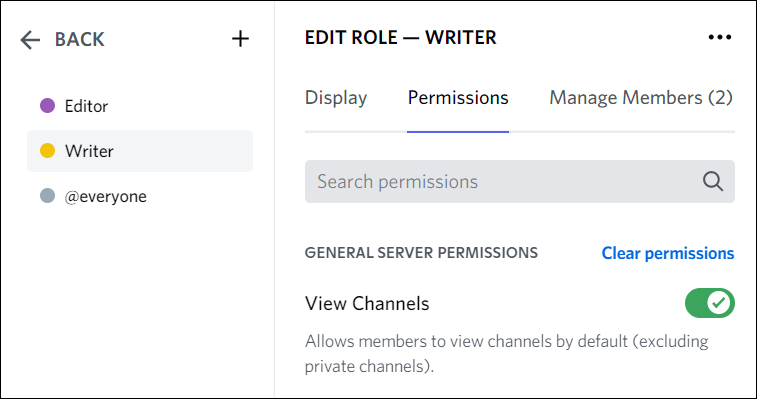
Give permissions to new roles: To allow a new role some privileges on the server, click the ‘Permissions’ tab on the same ‘Edit Role’ screen. Scroll through the list of permissions and click the toggle button next to the actions that would fit the new role or are essential to it.
There are about 6 categories of role permissions — General Server, Text Channel, Voice, Channel, Events, and Administrative Permissions. Each consists of relevant privileges and responsibilities. Discord warns against granting Administrative permissions — as roles with this permission can enter private channels they’re not allowed into.
If you want to reset the chosen permissions, click ‘Clear Permissions’ and start over.

Give permissions to existing roles: To edit permissions of existing roles, head back to the ‘Roles’ option on ‘Server Settings’. Now, hover the cursor over the specific role whose abilities you wish to modify, and on the right, click the ‘Edit’ button (pencil icon).

You’ll reach the same ‘Edit Role’ page for the chosen role where you can modify permissions by going to the ‘Permissions’ tab and enabling/ disabling the desired options.
Adding Members to a Role
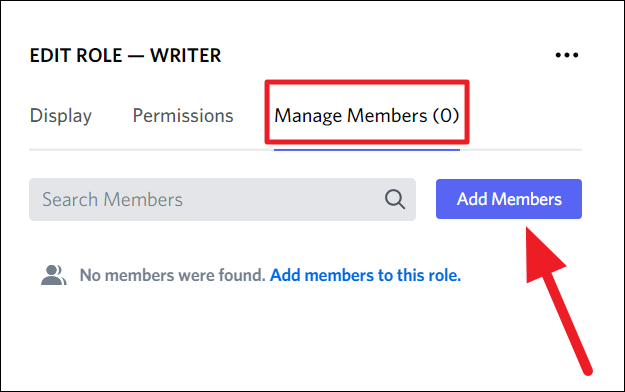
When you create a new role, you must add members to it. This can be done on the same ‘Edit Role’ page. Click the ‘Manage Members’ tab and hit the ‘Add Members’ button.
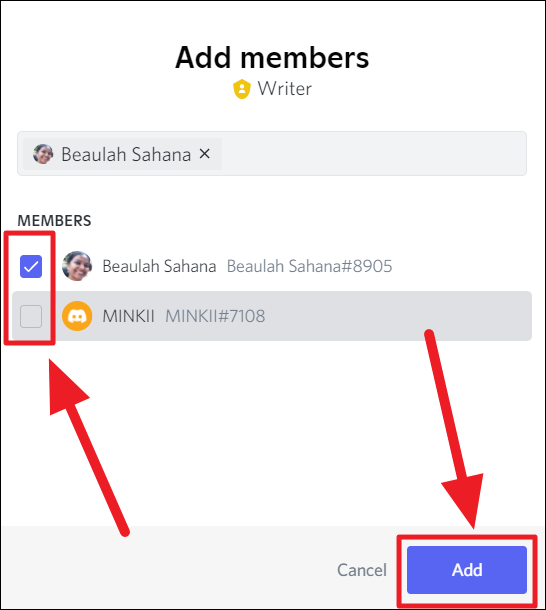
Now, click the tickbox in front of the users on the ‘Members’ list to add them to the role. To remove a member, simply uncheck the tickbox or click the ‘X’ button next to their name in the text box above. Once the members are selected, click ‘Add’.
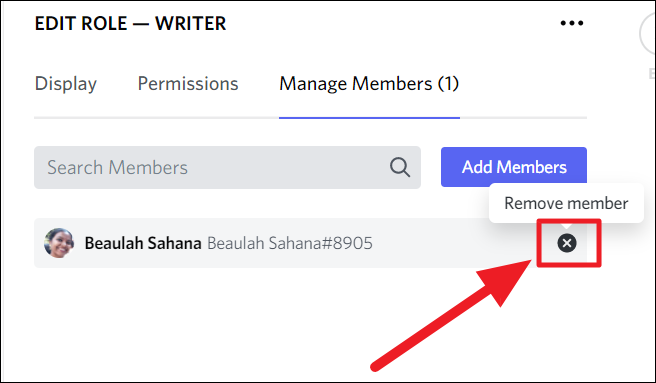
To remove a member from a role after adding them, click the ‘X’ (Remove member) button next to their name on the list.
Deleting a Role
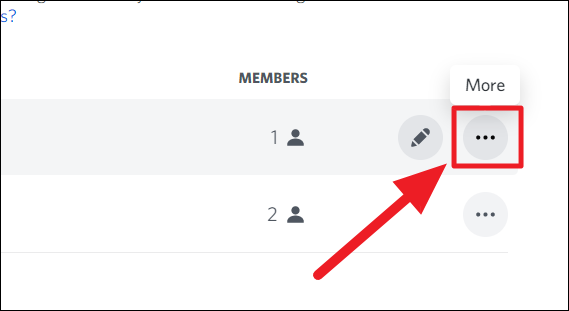
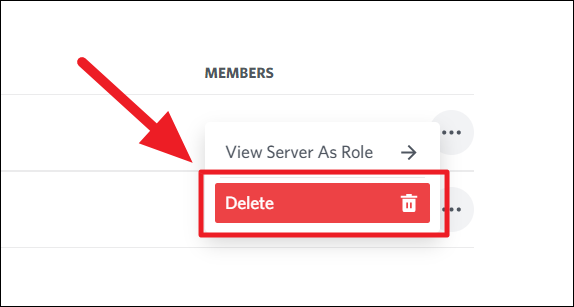
To delete a role, open ‘Roles’ in the ‘Server Settings’ by following the same path explained earlier. Once you’ve reached the ‘Roles’ screen, click the ‘More’ button (three vertical dots) next to the role you want to delete.
Select ‘Delete’ in the context menu.
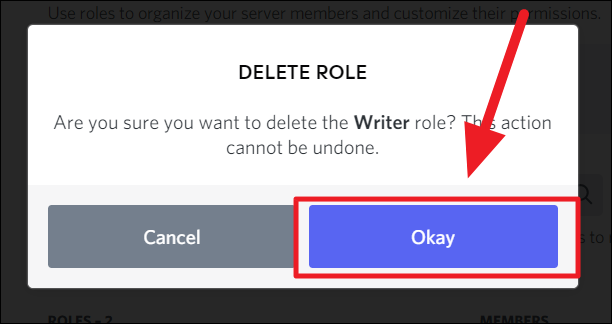
Confirm the deletion by clicking ‘Okay’ in the following confirmation prompt.
The role is now out of your server.
What are Categories on Discord?
Categories, as mentioned previously, are sets of channels. These umbrella spaces define the purpose of the channels and roles it’d further house. A category only makes sense when it hosts channels that fit its purpose. However, you can have ‘Random’ categories hosting random channels too.
When you create your own server, you’ll see two default categories – Text Channels and Voice Channels. The names and nature of these categories can be customized or the category itself can be deleted.
A template server will not have categories named ‘Text Channel’ and ‘Voice Channel’. They’ll have pre-determined names comprising pre-set channels as well.
Customizing Default Categories
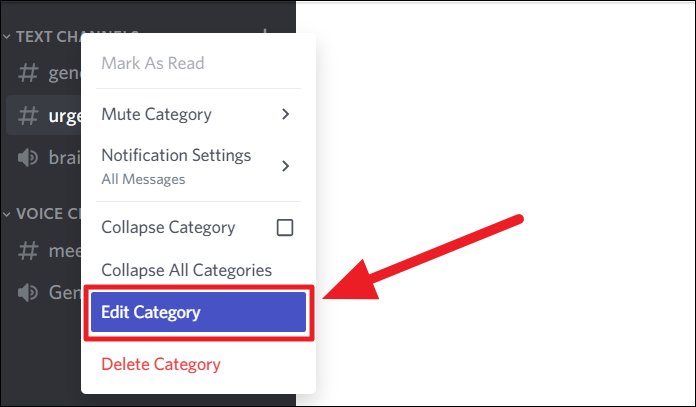
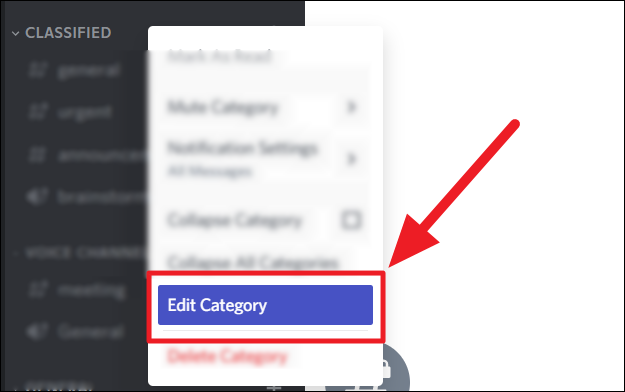
If you want to continue with the existing categories and only change their names and/or permissions to suit your needs, double-finger tap or right-click on it and select ‘Edit Category’. This method applies while editing any category in the future as well.
You’ll land first on the ‘Overview’ tab. Here, you can change the category’s name in the ‘Category Name’ text field.
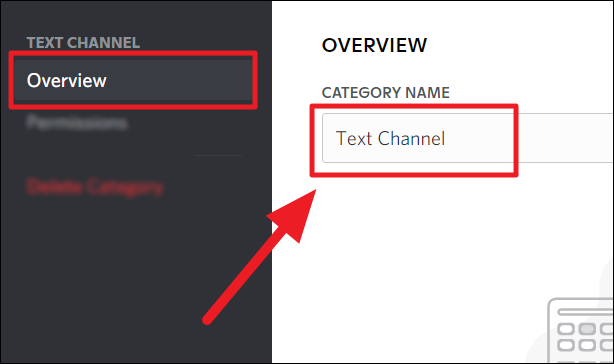
Click the ‘Save Changes’ button at the bottom to save the category’s new name.
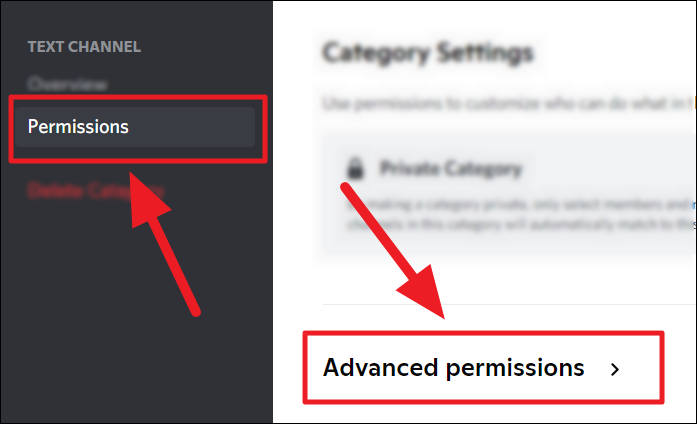
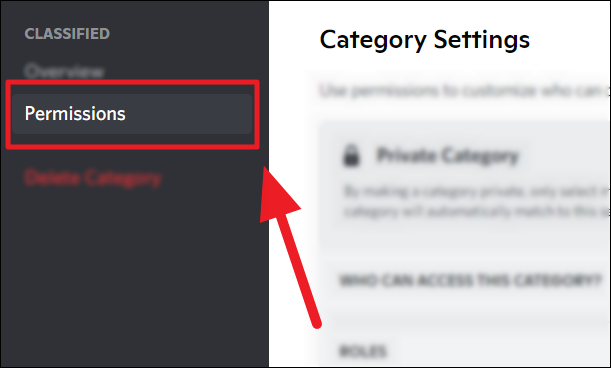
To change the permissions of the default category, click the ‘Permissions’ tab below ‘Overview’ and click ‘Advanced Permissions’ on the right.
You can now go through the permissions of the default category and change them (if need be) accordingly. Click the green tick mark to enable a permission and the red ‘x’ (cross) mark to disable it. Once you’re done, hit the ‘Save Changes’ button.
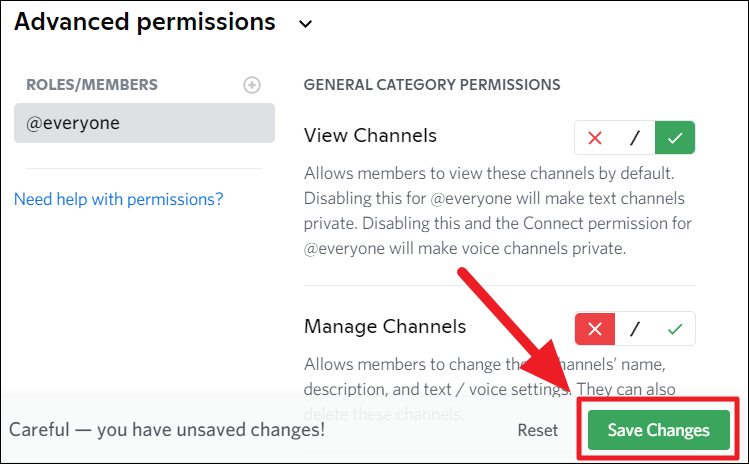
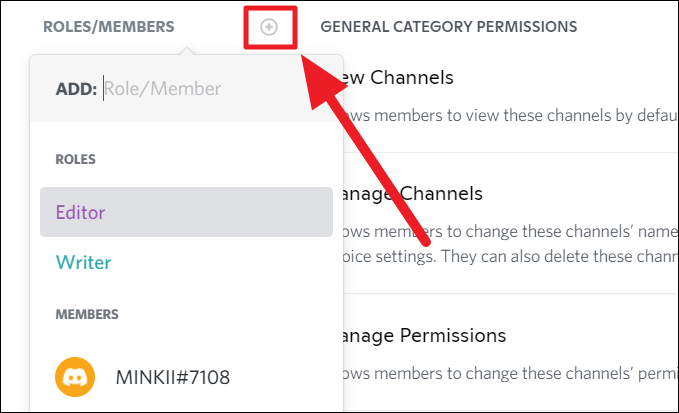
The first set of permissions is always directed to everyone in a category by default. If you want to add separate permissions for specific members and roles in the category, then, click the tiny ‘+’ button next to ‘Roles/Members’ under ‘Advanced permissions’.
Now, either click to select the visible roles and members or search for them by typing a role or member in the ‘Add:’ box and then selecting the appropriate result.
Make a default category ‘Private’
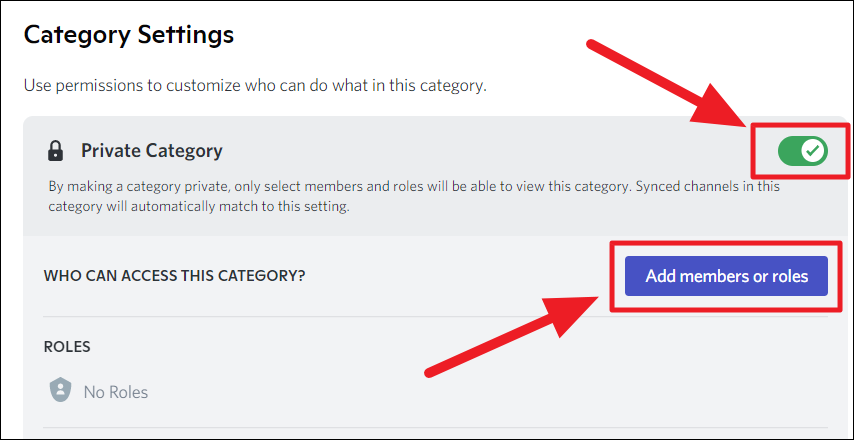
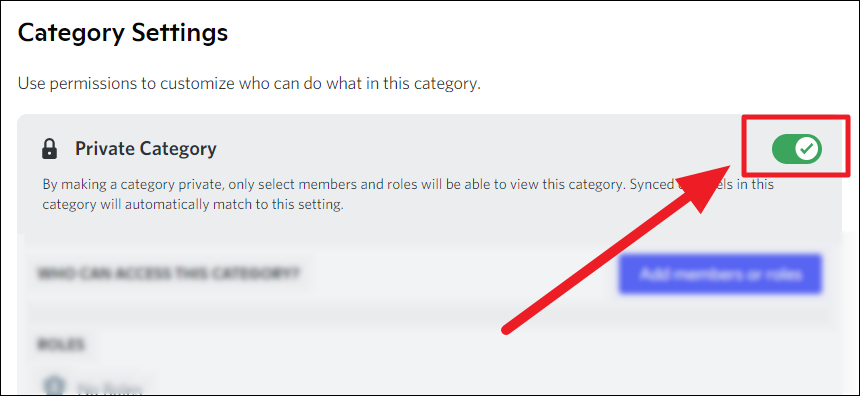
If you want to change the type of the default category, stay on the same ‘Category Settings’ screen. Now, click the grey toggle button next to ‘Private Category’ to turn it green. Default categories are always general categories.
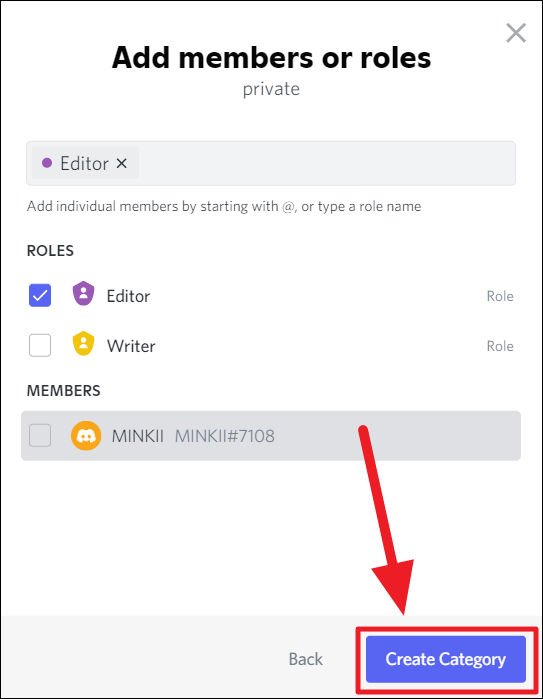
This will trigger a ‘Who can access this category’ section. Here, click the ‘Add members or roles’ button to add the people who will be allowed into your private category. This will apply to the channels that follow as well.
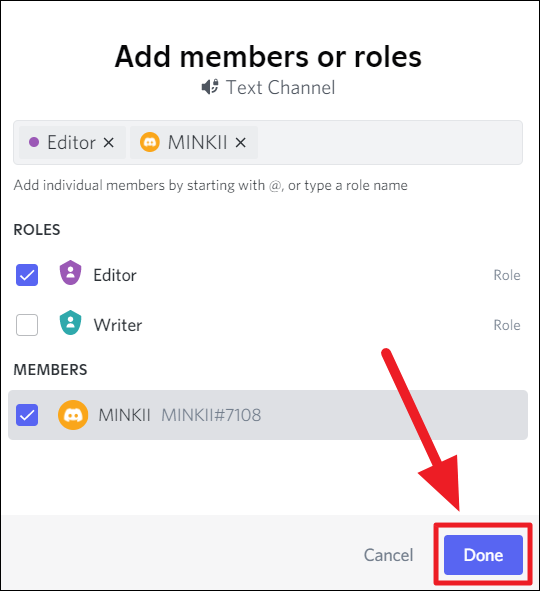
Select the roles and/or members needed in the private category and click ‘Done’
Once you’re back to ‘Category Settings’, click the ‘Save Changes’ button. And that’s it. You have customized an existing category to your requirements. However, if you don’t want that, and want to create your own category instead, here’s what you do.
Create a New Category on Discord
To create a brand new category, first, click your server’s name to the top left of the screen.
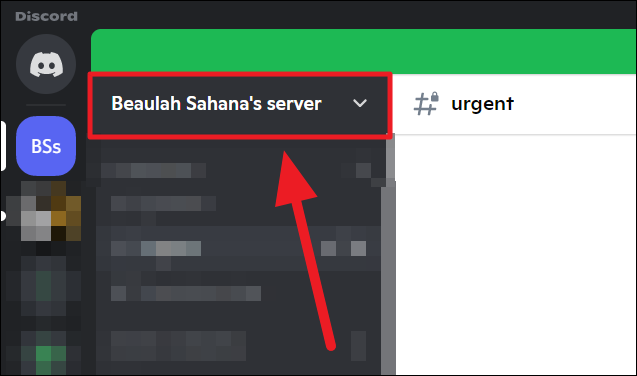
Select ‘Create Category’ in the drop-down menu.

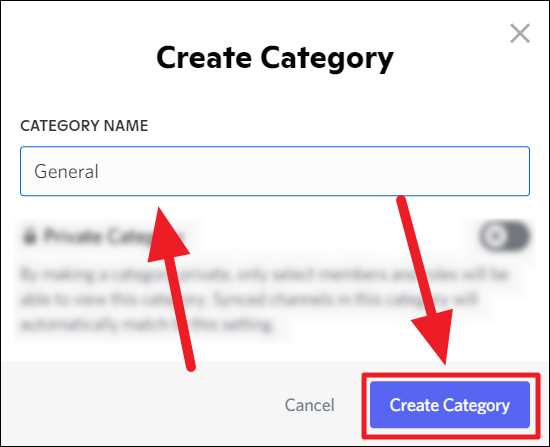
Now add a name in the ‘Category Name’ textbox on the upcoming ‘Create Category’ box. Hit the ‘Create Category’ button once done.
A category is created. All categories are made general, i.e., accessible to all, by default. If you want to make a category private right in the creation stage, click the ‘Private Category’ toggle button after entering the category’s name on the ‘Create Category’ box. Then, hit the ‘Next’ button to proceed.

Now, choose the members and/or roles allowed in the private category. Then, click ‘Create Category’.
A private category is created!
To add permissions for the newly created category, you must take the ‘Edit Category’ route (as explained at the start of this section). There’s no direct way right from the ‘Create Category’ box.
Making a private category ‘General’
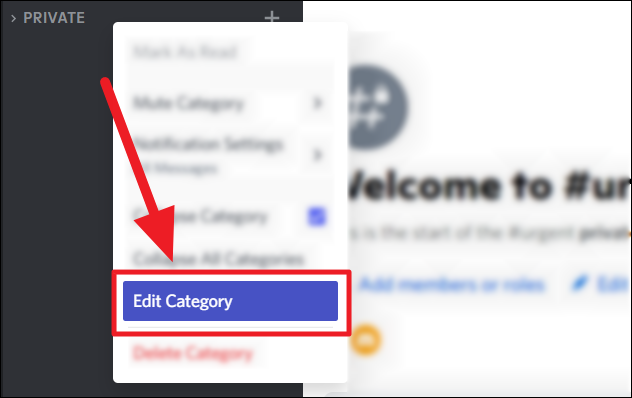
Once you’ve created a private category, it’s not mandatory for it to stay that way. You can change it back to a general category, if necessary. So, in the rare case of wanting to convert a private category and opening it up to general access, double-finger tap/right-click on it and select ‘Edit Category’ from the drop-down menu.
Select ‘Permissions’ from the left sidebar.
Click the ‘Private Category’ green toggle button to turn it grey.
Hit the ‘Save Changes’ button at the bottom.
The private category is now a general category.
Deleting a Category on Discord
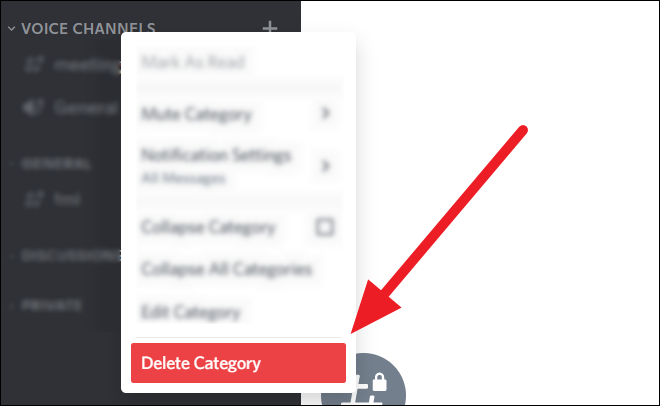
To delete a category, double-finger tap or right-click on the category’s name and select ‘Delete Category’ in the drop-down menu.
You can also select ‘Edit Category’ in the menu.
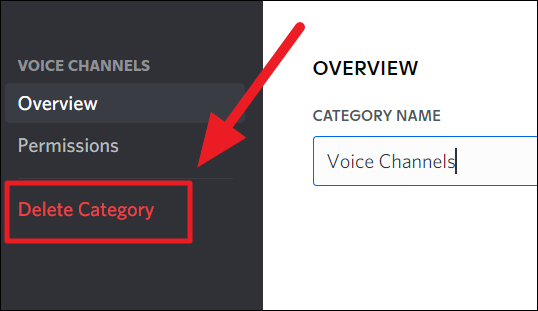
And then select ‘Delete Category’ from the left sidebar on the following screen.
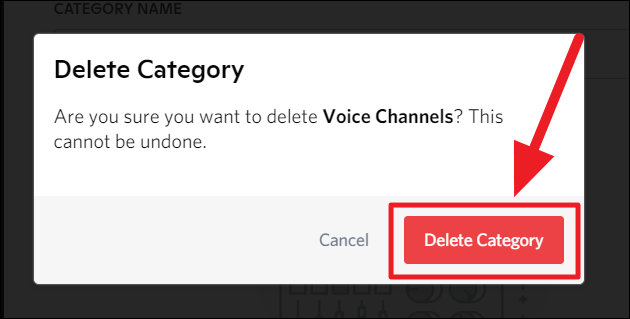
Hit ‘Delete Category’ in the prompt that follows to confirm your decision.
What are Discord Channels?
Channels are subsets of categories. Each category is made up of channels that are relevant to its purpose. Channels are common hubs for members and roles in the server coming together for reasons that align with its intent. It’s where category/channel-related communication and activity take place.
There are two types of channels – text channels and voice channels. Each channel can either be general or private. Though a category determines its channels’ settings, a channel can always have individual customizations.
Creating a Channel on Discord
Before moving on to the channel creation process, it’s important to understand what each channel means and what it is for.
- Text Channel – A text channel allows its members to share and communicate textually – sending images, gifs, text messages, etc. — anything that doesn’t involve voice/video communication or screen sharing.
- Voice Channel – A voice channel allows communication only via voice/video calls or screen sharing. You cannot have textual communication in a voice channel. The moment you click on a voice channel, it instantly starts a voice call.
Both channels can be either general or private regardless of the category they fall under.
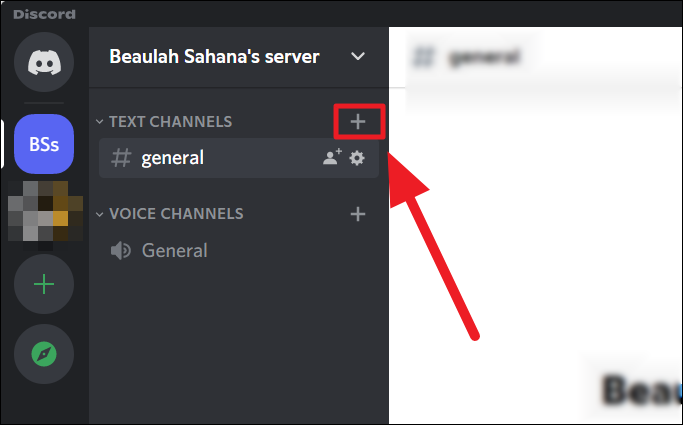
To create a channel, first, choose the category you want to create the channel in and click the ‘+’ button next to the category’s title.
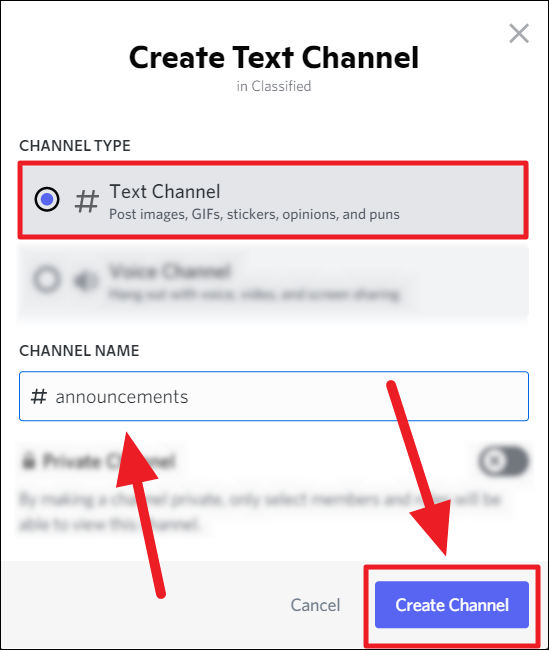
You’ll now see a ‘Create Text Channel’ box as ‘# Text Channel’ is chosen by default. If you want to make the channel a voice channel, select ‘Voice Channel’. If not, continue with the same ‘Text Channel’ selection.
Enter the name of the channel in the ‘Channel Name’ text box. All text channel names are in hashtags. Therefore you cannot use capital letters. Voice Channels can have capital letters. A voice channel is determined with a ‘Loudspeaker’ icon.
Once done, hit the ‘Create Channel’ button.
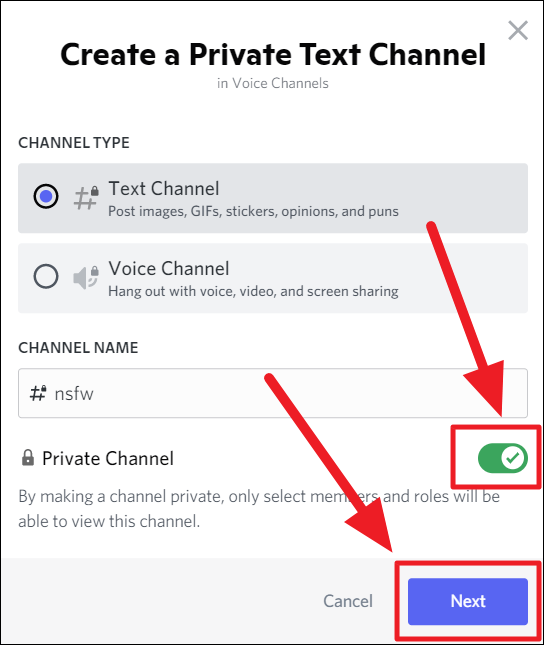
If you want to make it a private channel: Click the toggle button next to ‘Private Channel’ before clicking ‘Create Channel’. Then, click ‘Next’ which is now in place of the ‘Create Channel’ button.
Now, check the tickbox next to the necessary members and/or roles to add them to the private channel. When you’re done, click ‘Create Channel’.
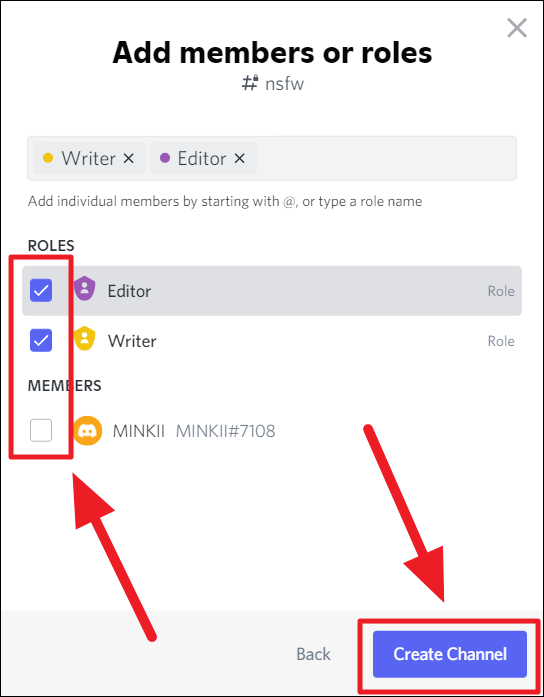
You’ve created a private channel. It is distinguished with a tiny lock icon in the name.
Customize a Channel For Better Suitability
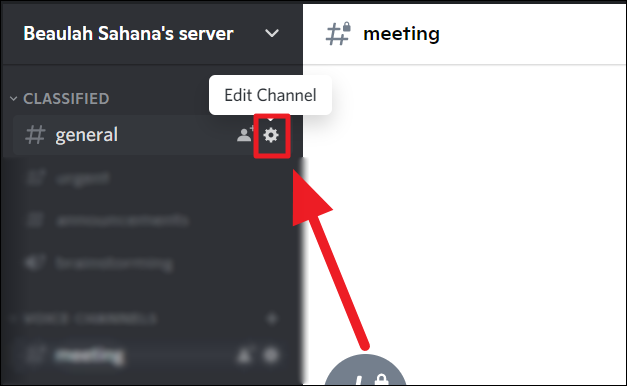
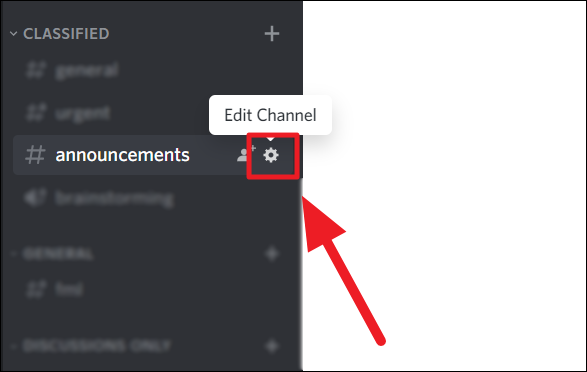
Regardless of the type of channel or whether it’s new or existing, there’s only one way to edit a channel. Hover the cursor over the channel and click the ‘Edit Channel’ button, shown as a gear icon.
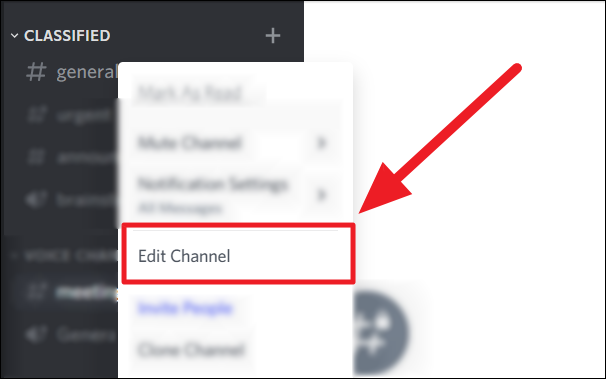
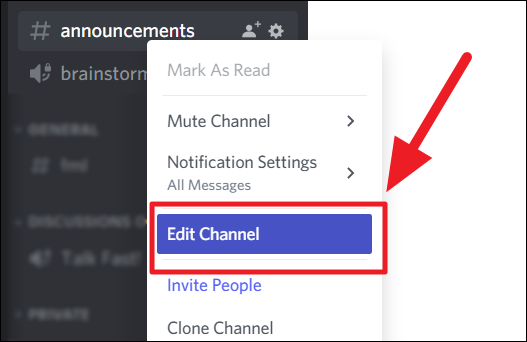
You can also double-finger tap/right-click on the channel and select ‘Edit Channel’ in the drop-down menu.
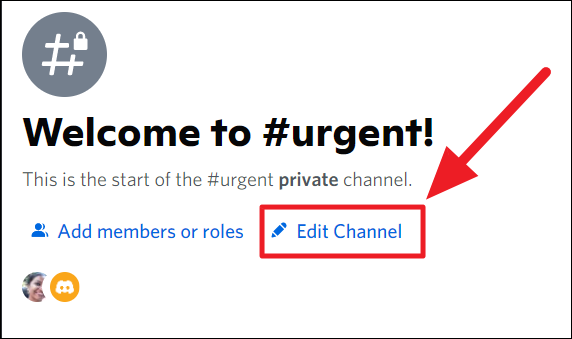
Or, open the channel and then select ‘Edit Channel’ on the right. For this, it must be a brand new channel with little or no messages. Else, you cannot see the button.
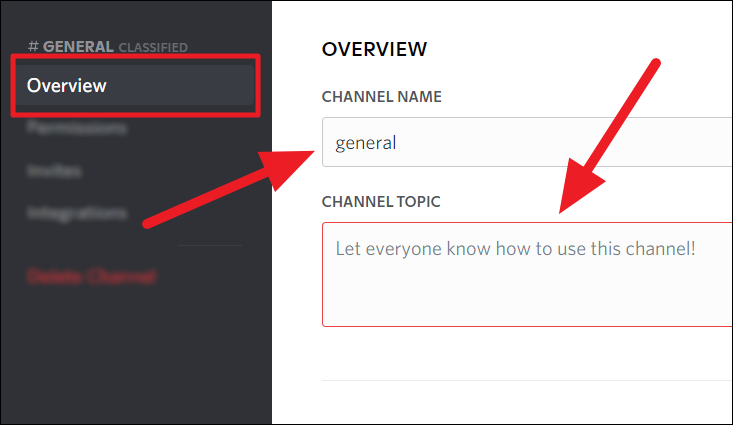
You’ll now land on the ‘Overview’ tab of the channel settings. Here, you change the channel’s name, add a channel topic, enable slow mode, and NSFW channel. You can also choose to archive texts after a period of inactivity on the channel.
Channel Topic
To change your channel’s name, stay on the same ‘Overview’ tab and make your edits in the ‘Channel Name’ textbox. You can also describe your channel in the ‘Channel Topic’ textbox. A description gives members a strict definition of the channel and how to use it.
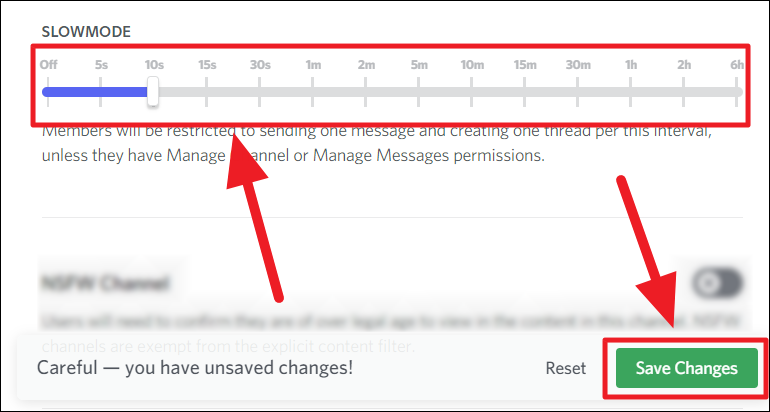
Slow Mode
‘Slow Mode’ is a messaging interval on Discord, during which, members can send only 1 message and create 1 thread — unless they have permissions to ‘Manage channel’ or ‘Manage Messages’. It helps slow the flow of textual communication on a channel — which would otherwise be flooding. This ensures no message/thread goes unnoticed.
The ‘Slow Mode’ is disabled by default on every channel. To enable it, simply drag and drop the toggle on the slider below ‘SLOWMODE’ to reach the desired interval. This will halt members from sending more than a single message or creating more than a single thread during that interval. Hit ‘Save Changes’ at the bottom.
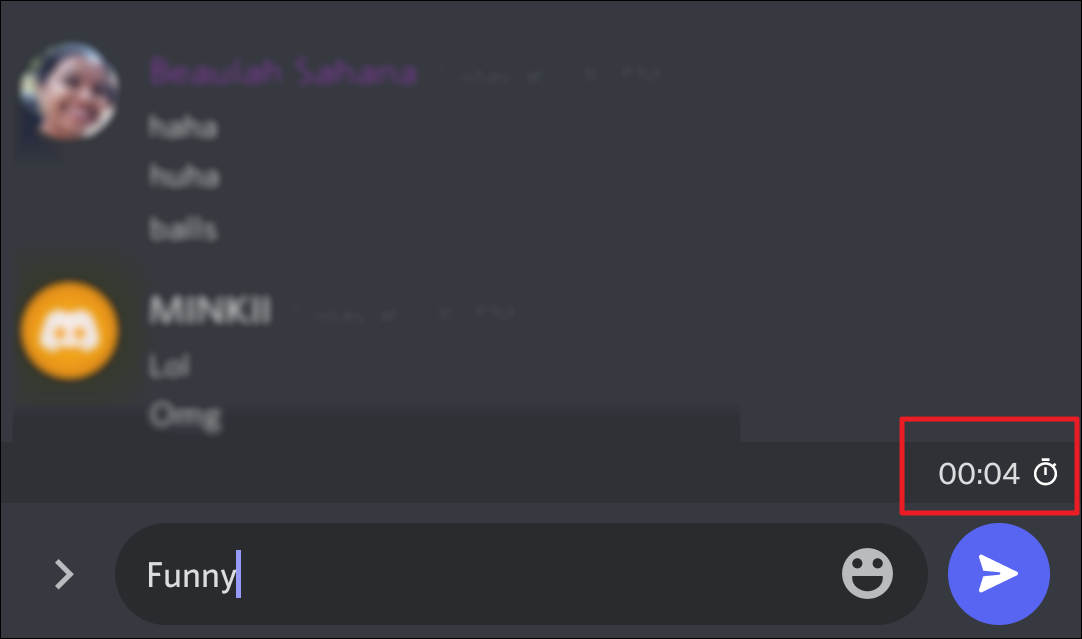
The server’s creator is immune to slow mode but other members will see a timer before sending a second text in a row.
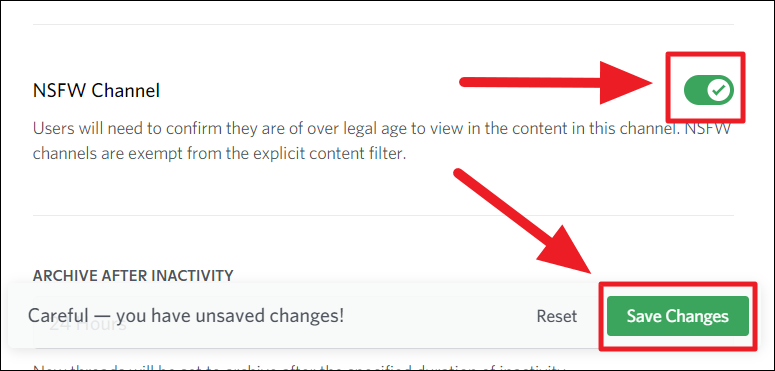
NSFW Channel
If a channel is informal, has lots of explicit, filterless content going to and fro, then you must enable this feature. The defining factor of an NSFW channel is sharing adult content in any form – sexual references, innuendos, crass/crude language, etc. Enabling this feature alerts members before viewing an NSFW channel.
To enable the NSFW channel, stay on the same ‘Overview’ tab and click the ‘NSFW Channel’ toggle button to turn it green with a tickmark. Click ‘Save Changes’ to confirm and apply the changes.
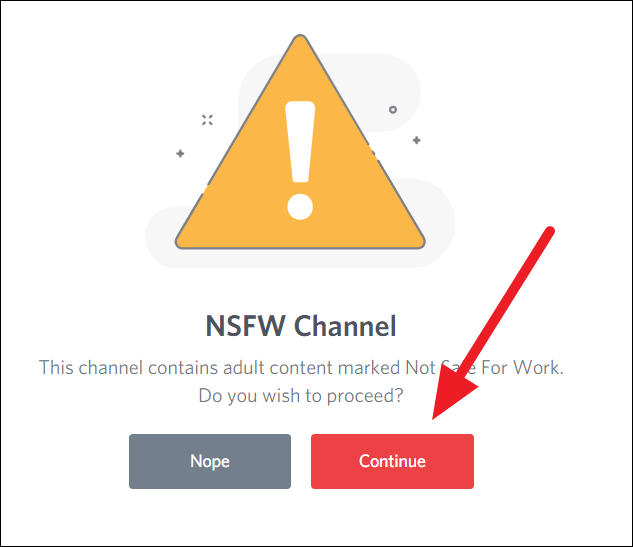
When you make a channel NSFW, members will need to pass a prompt before opening it. They can click ‘Continue’ if they’re okay with the fact that the channel would contain adult content, and ‘Nope’ if they don’t want to view the channel.
Archive After Inactivity
A typical Discord channel could have tons of text messages and threads – most of which become redundant after a while. Stacking up on old messages is a cluttered situation. The default ‘Archive After Inactivity’ feature is designed for such a situation. It helps save on space, keep a channel consistently relevant, and get rid of old or inactive chats.
The default archiving period is 24 Hours of inactivity, but you can change it. To change the period of inactivity after which the messages and threads on a channel will be archived, click the ’24 Hours’ drop-down box. Now, choose the time interval before archiving. The interval of 3 days and 1 week are paid options.

Now, when there’s no activity with the text message or in the thread on a channel for the chosen period, that content gets archived.
Channel Permissions
Much like Role Permissions and Category Permissions, Channel Permissions are certain abilities you give to all or some members of a channel. All members could receive some basic powers and/or some members can have special privileges. This applies to both general and private channels.
To give your channel permissions, hover the cursor over the channel and click the ‘Edit Channel’ button (gear icon).
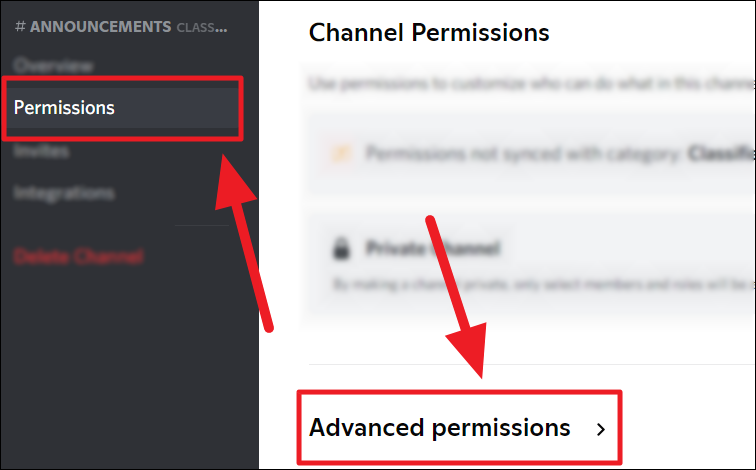
Now, select the ‘Permissions’ option on the left sidebar and click on the ‘Advanced Permissions’ option on the right.
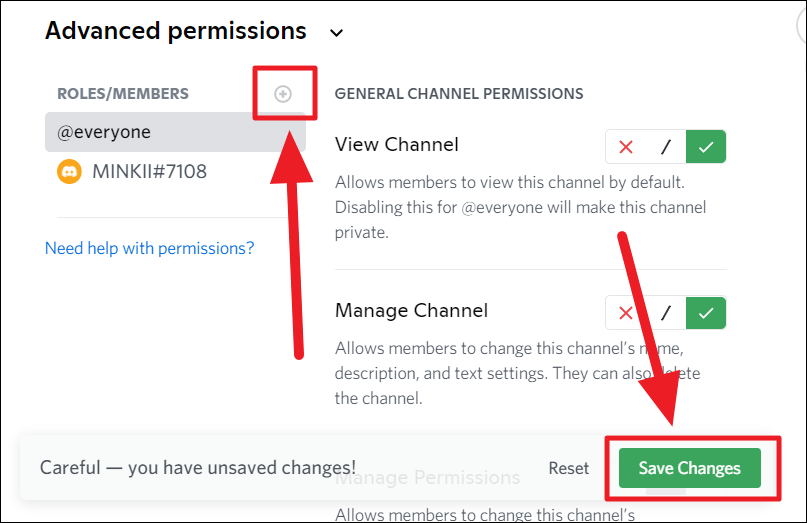
Now, select the category of people you want to allow permissions for on the left. The option ‘@everyone’ (i.e., all members) is selected by default and therefore highlighted. You can also provide specific members and/or roles with certain permissions by clicking the ‘+’ button next to ‘Roles/Members’.
Once you’ve chosen the role/member/everyone, scroll through the list of permissions on the right. Provide permissions suitable to the role/member/general and withhold permissions that aren’t. Hit ‘Save Changes’ to implement the permissions.
What Does ‘Permissions not synched with the category’ Mean?
When both a channel and its category have the same permissions, then it is said that the channel’s permissions are in sync with that of the Category. If not, you’ll see a ‘Permissions not synced with the category’ prompt on the channel’s settings page. This happens when the channel’s permissions do not match the category’s permissions.
This typically happens when the channel and category are of two types. For instance, if a General category has a Private channel, then the channel’s functionality will differ from the category since one is private and the other is not. But mostly, a non-sync situation happens when the channel’s permissions aren’t exactly the same as the permissions of its category.
Delete a Channel
To delete a channel, double-finger tap or right-click on that particular channel and select ‘Delete Channel’ in the menu.

You can also delete a channel from its settings page. Double-finger tap or right-click on a channel and select ‘Edit Channel’. Or hover the cursor and click on the ‘Edit Channel’ button.
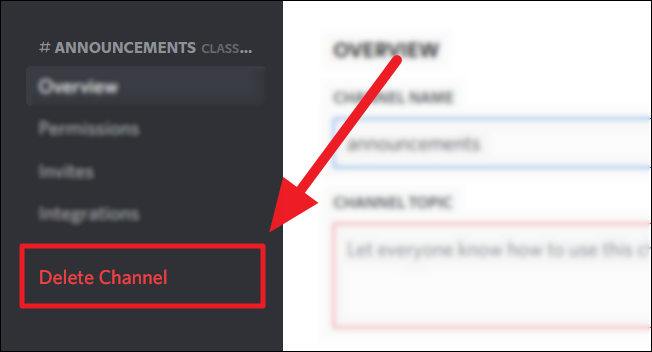
Now, select ‘Delete Channel’ from the left sidebar.
Confirm your decision by clicking the ‘Delete Channel’ button in the prompt.
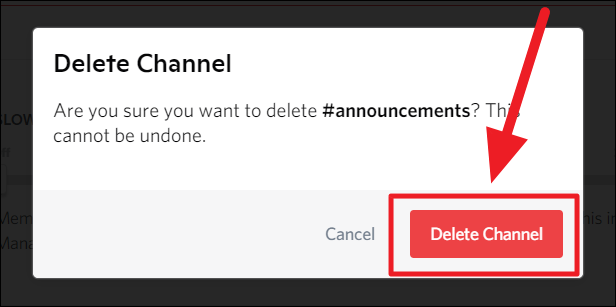
The channel is deleted.
Deleting a Server
If you want to go ahead and delete an entire server, first, click the server’s name in the drop-down box to the top left of the screen.
Select ‘Server Settings’ in the menu.

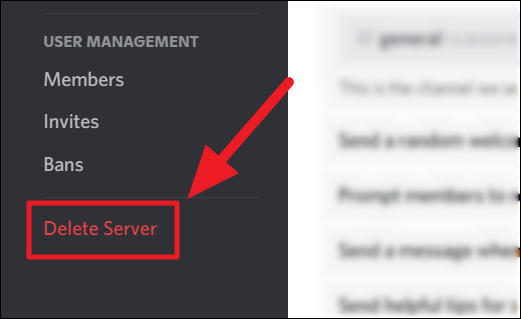
Click on ‘Delete Server’ at the end of the left sidebar.
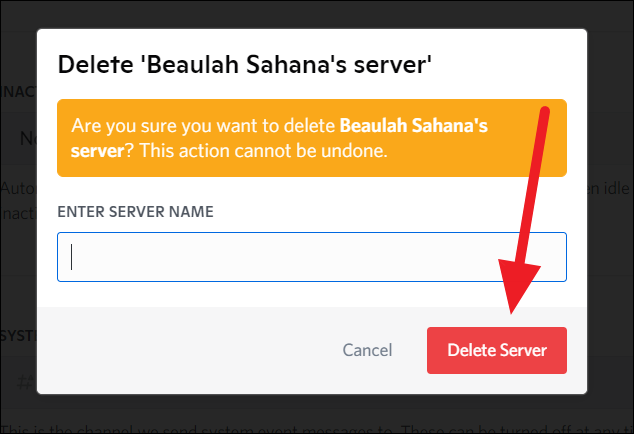
Now, type the server’s name in the ‘Enter Server Name’ textbox and confirm with the red ‘Delete Server’ button.
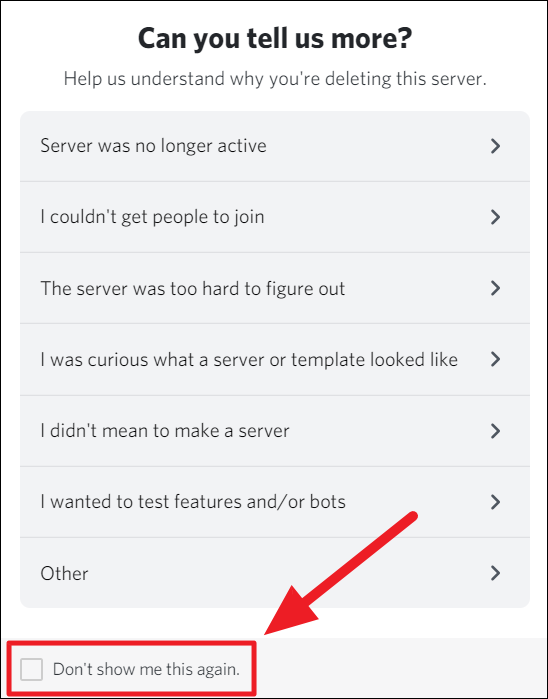
The server is deleted and you’ll receive a prompt from Discord enquiring about the reason for deletion. Give your reasons, if any. If you don’t want to see this prompt again, check the ‘Don’t show me this again’ box at the bottom.
And that’s it about creating and managing a Discord server! Discord may seem like a complicated platform, but when used right, it can be a really efficient option while managing communication across larger groups. We hope you found our guide useful!


