When you’re using Notion, you might have come across this situation multiple times – you need to include the same content or description multiple times. Including the description is easy enough, you just have to copy-paste.
But editing that information? It can be a nightmare. Can you imagine having to edit every single page where the information is, lest you create irregularities everywhere! But with Notion’s new feature – Synced Blocks – it doesn’t have to be a nightmare.
What are Synced Blocks in Notion?
The various content types you can use in Notion, like Text, Headings, Lists, Databases, Toggle Lists, etc., are called Blocks. Synced blocks, as the name suggests, are blocks that are synced across all your Notion pages. These blocks sync and update in real-time. As you update the information in one block, it updates automatically in all the synced blocks.
Previously, users had found an elaborate hack, known as Global Blocks, to link different blocks across their Notion pages. But as hacks tend to be, this workaround too was a mix of messy and time-consuming. Synced Blocks are way more elegant and intuitive. They might yet have a long way to go, but even in their present form, they can be game-changing.
There are many instances where Synced Blocks can be useful. You can use them in headers or footers to include contact information or navigation links across pages without worrying about updating them. It’s just one instance. The possibilities are endless. You can use them to include your company mission, even have them in your template blocks. Synced blocks can make life easier for you.
How to Create Synced Blocks in Notion
There are several ways to create a synced block. You can create them from scratch or convert existing blocks to synced blocks. Synced Blocks can also exist on the same page or on different pages, and you can include as many instances as you want.
Creating a Synced Block from Scratch
To create a synced block from scratch, click the ‘+’ button to the left of blocks to create a new block.
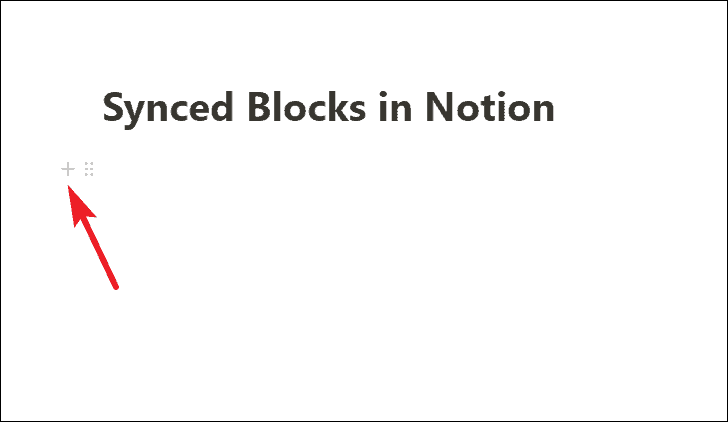
You can also type / on an empty line instead of clicking ‘+’ to create a new block.
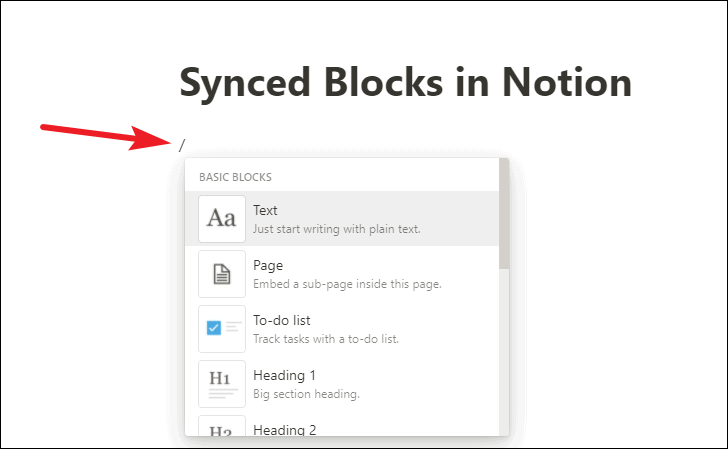
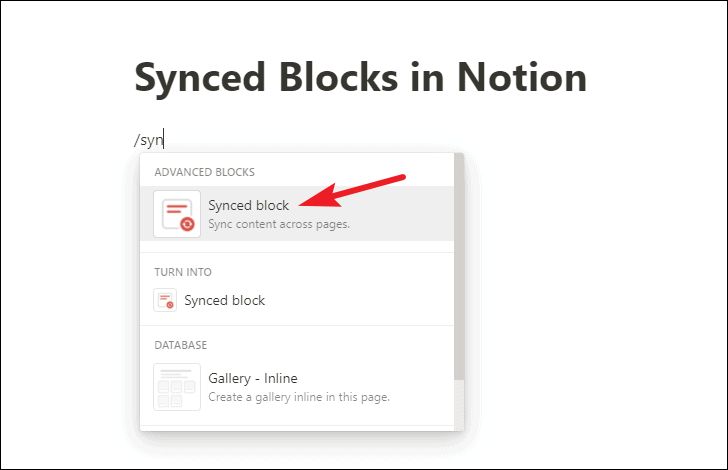
Whichever way you created the block, now, either scroll all the way down to ‘Advanced Blocks’ or type synced blocks to search for it. Click ‘Synced Blocks’ from the options or press Enter when Synced Blocks is highlighted to create a synced block.
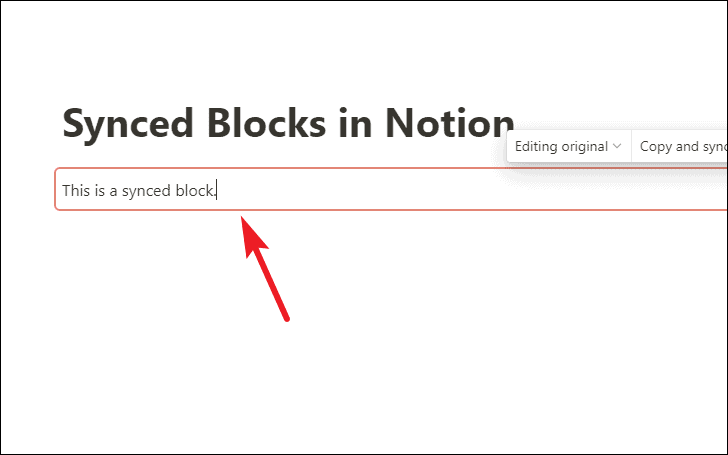
Synced Blocks have a red outline around them when your cursor is on them so you can easily identify them.
Creating a Synced Block from Existing Blocks
You can also convert an existing block or multiple blocks on your page to a synced block.
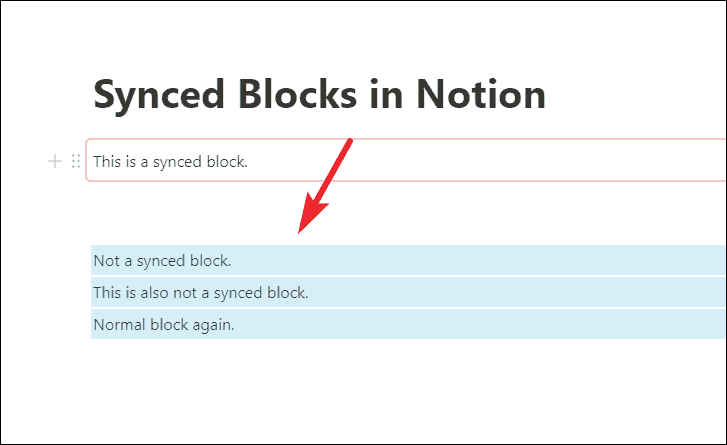
First, select the block or blocks you want to convert to synced blocks. Click the left mouse button and drag across the blocks to select them. Make sure you have selected the full blocks and not the internal content.
Then, click the ‘Block Handle’ (six dots) to the left of the blocks.
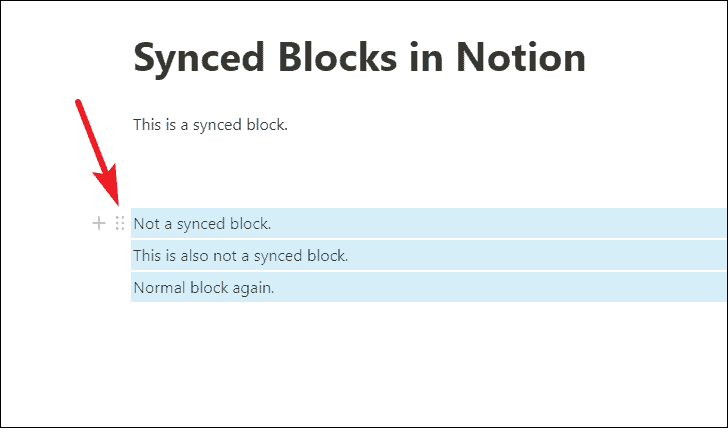
Tip: To select a single block, you can also simply click the Block Handle.
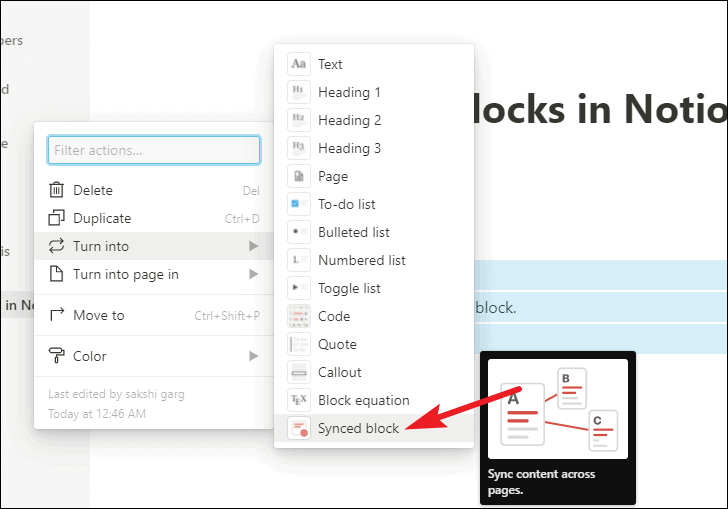
Clicking the block handle will show a menu. Go to ‘Turn Into’ from the menu.
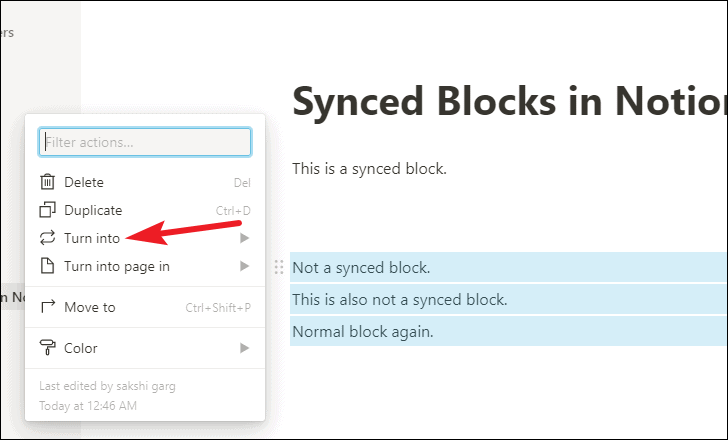
A sub-menu will open. Select ‘Synced Blocks’ from the options.
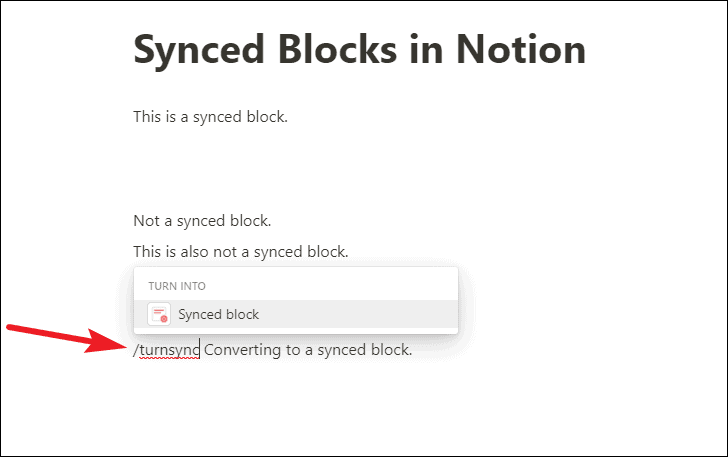
Note: To convert a single block to a synced block, there’s another quick way. Go to the beginning of the block and type /turnsync. The option for Synced Blocks will appear in suggestions; click it. Your block will be converted to a synced block.
Creating Instances of Synced Blocks
The Synced Block created above is the original block. But the whole point of having synced blocks is so you can have multiple instances of the same block. Again, there are multiple ways of creating instances of synced blocks throughout your Notion pages.
The only drawback is that you have to go to open one of the synced blocks to copy it to another page. Unlike some other platforms, you can’t directly choose which block to embed in the new page from the page itself.
Copying a Synced Block
When you’ve already created a synced block using one of the methods defined above, it’s easy as hell to create more instances of it.
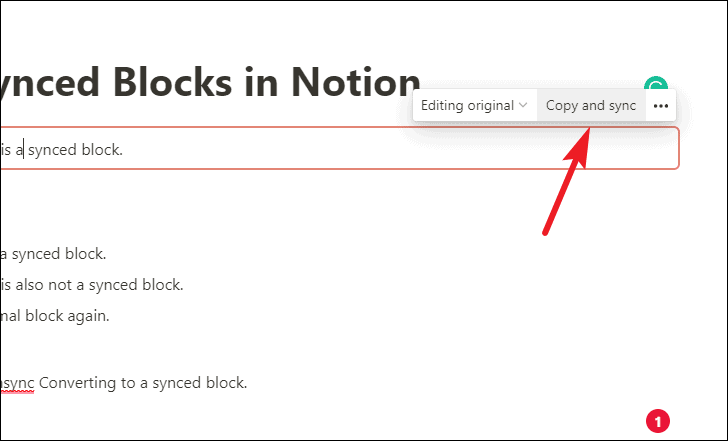
Go to the synced block and click anywhere within it. Additional options will appear above the block. Click ‘Copy and sync’ from these options.
Then, go to the page you want to paste it to. You can paste it on the same page, or another page across your Notion workspace.

Syncing Normal Blocks
You can create instances for blocks that aren’t already synced blocks. Select the block or blocks you want to sync to another page. Make sure that you select the complete blocks, and not the content within. Then, copy them using Ctrl/ Cmd + C keyboard shortcut.
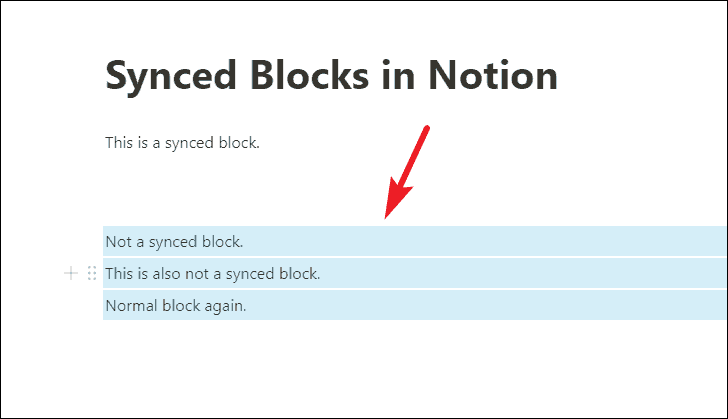
Now, go to the page and paste them using Ctrl/ Cmd + V. Couple of options will appear. Select ‘Paste and sync’ to sync the blocks.
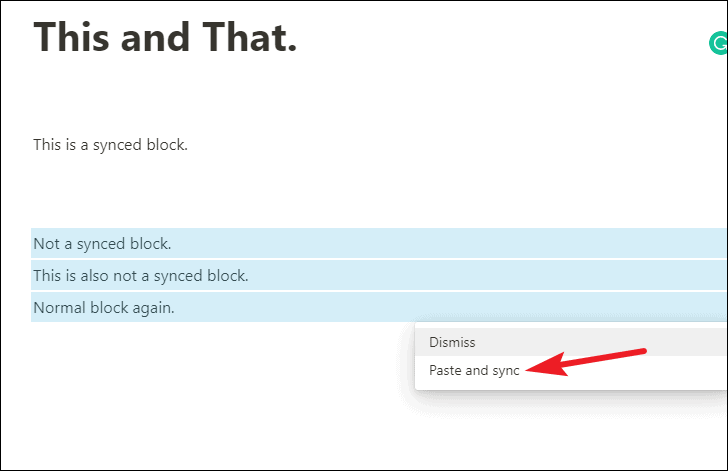
The one you copied from will become the original synced block and the new one will become a synced instance of the block.

Using Synced Blocks
Synced blocks will have a red outline around them so you can easily identify them on any page. To edit a block, you can edit any instance of them. You don’t have to necessarily edit the original and all blocks will be edited.
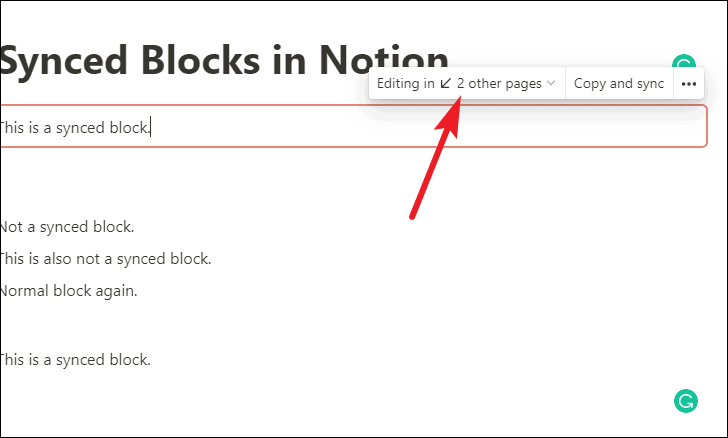
Go to a synced block and you’ll also be able to see how many more pages do the same block appears in. Above the block, the option for ‘Editing in [n] other pages’ appears.
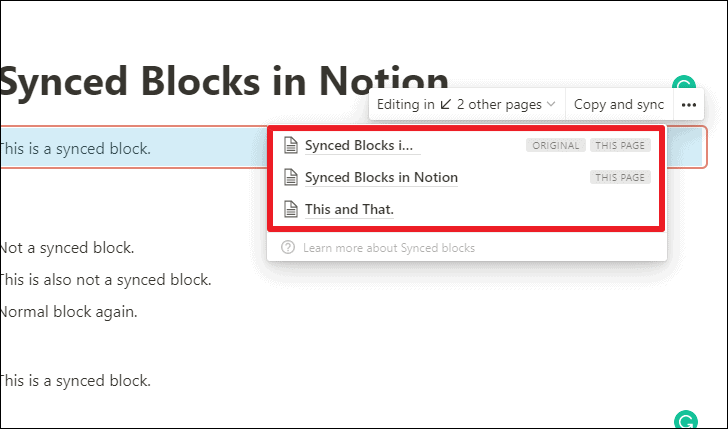
Click it and you can see complete details of the pages the block appears in and which block is the original. You can click these links to navigate to any of the pages.
Un-Syncing the Blocks
What if you want to edit a single block but don’t want those changes to reflect anywhere else? You can simply unsync it from the rest of the blocks.
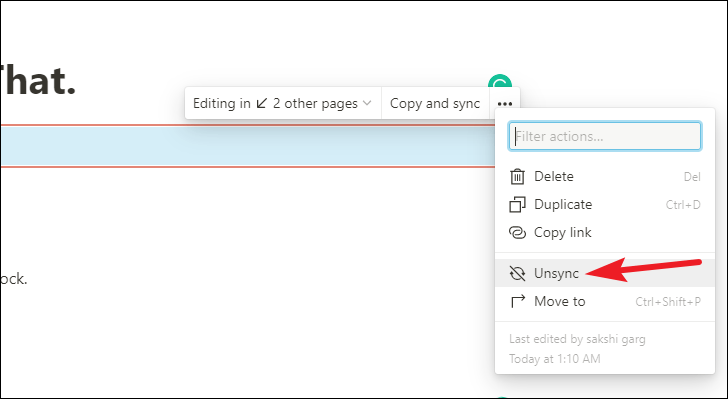
Go to the block you want to unsync and click the three-dot menu towards the top-right corner of the block.
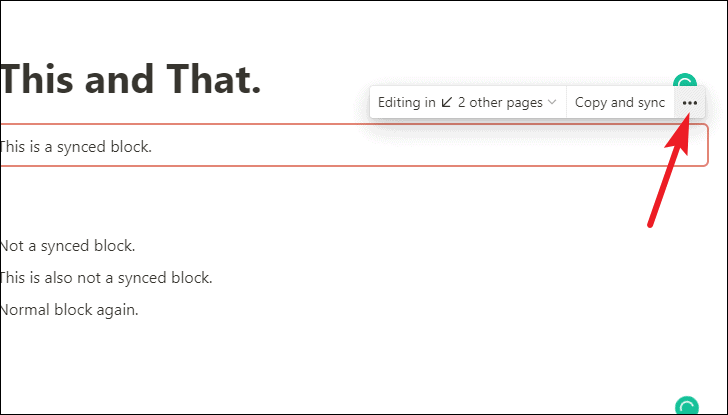
Then, click ‘Unsync’ from the menu.
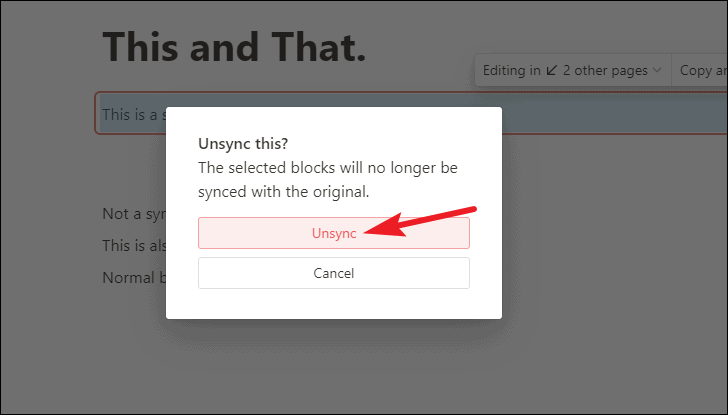
A confirmation pop-up will appear. Click ‘Unsync’ to confirm.
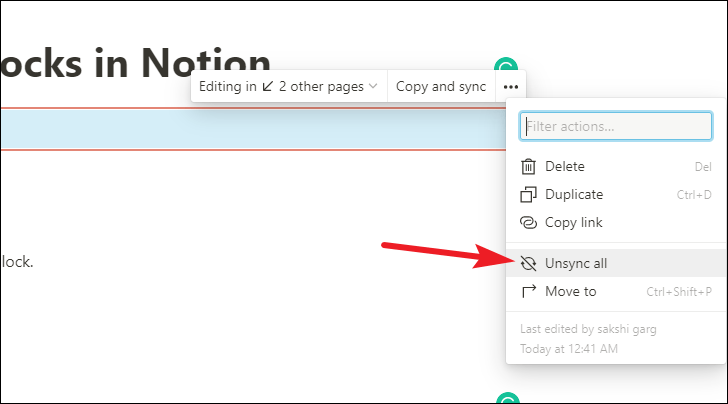
If you want to unsync all the blocks in one go, go to the original block. Then, click the three-dot menu and select ‘Unsync all’ from the menu.
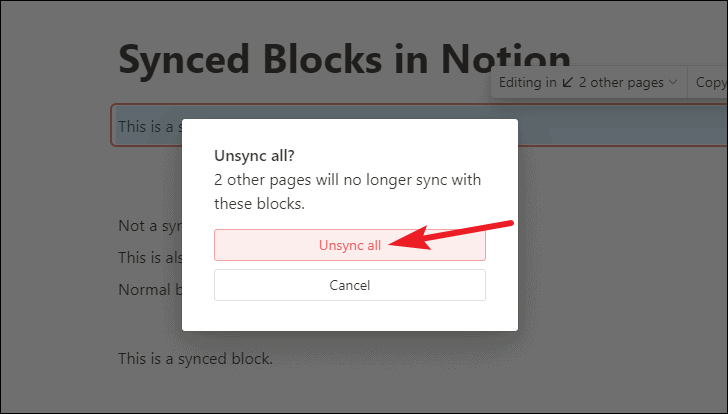
A confirmation pop-up will appear on your screen. Click ‘Unsync all’ from the prompt to proceed.
Deleting Synced Blocks
You can also delete any synced block from a page where you no longer need it without it affecting other synced blocks. But when deleting synced blocks, you have to take care to delete the entire block. Otherwise, if you delete the content within the block while it is synced with other blocks, you’d end up deleting it from all the blocks.
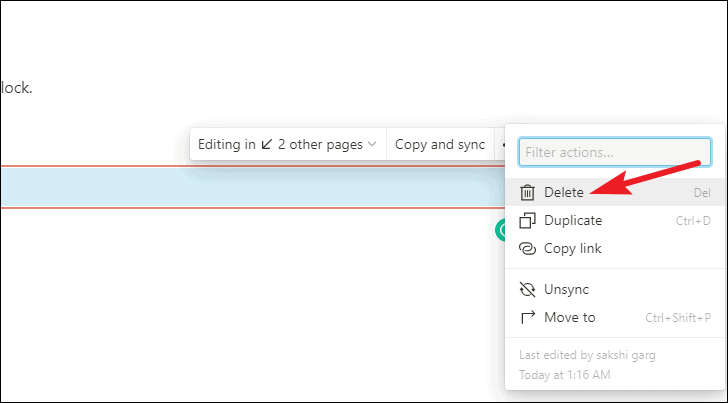
To delete a block, either drag and select the entire block and click the ‘Delete’ button from your keyboard. Or, click the three-dot menu and select ‘Delete’ from the menu.
This will simply delete the concerning instance of the synced block.
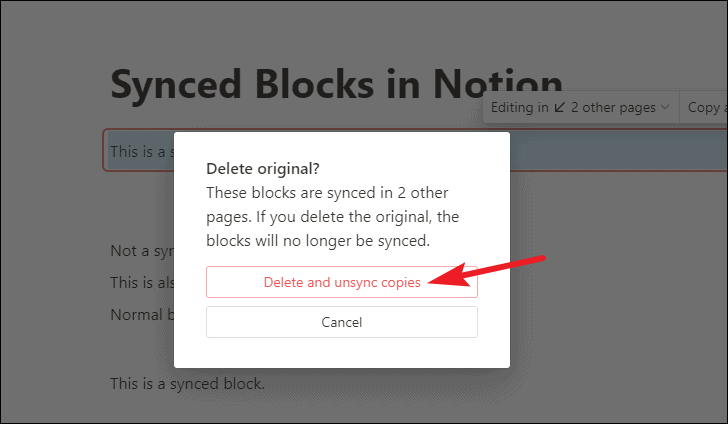
Note: If you delete the original synced block, it’ll unsync all the other blocks but not delete them. Only the original block will be deleted.
Synced blocks in Notion can be very useful. Whether you’re creating a company wiki or knowledge database, want synced checklists on your Workspace, or want to include headers and footers, synced blocks are the way to go.


