Easy ways to turn off or manage iMessage notifications on your Mac so you can work better and bump up your productivity.
Easy ways to turn off or manage iMessage notifications on your Mac so you can work better and bump up your productivity.
by Parth Sawhney
When you’re focused on work, iMessage notifications on your Mac can interrupt your concentration. Fortunately, you can disable these notifications to minimize distractions.
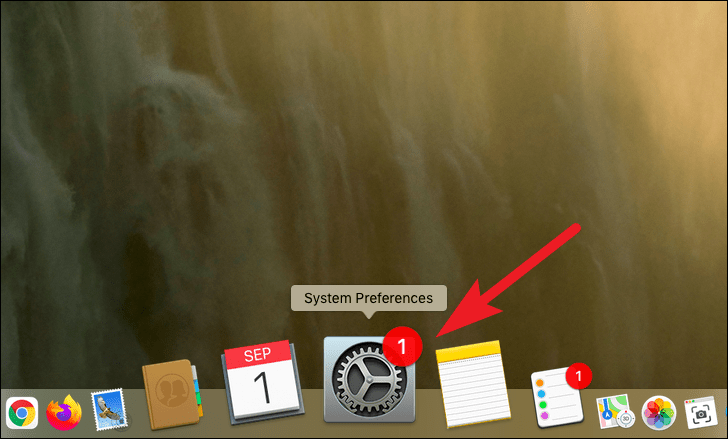
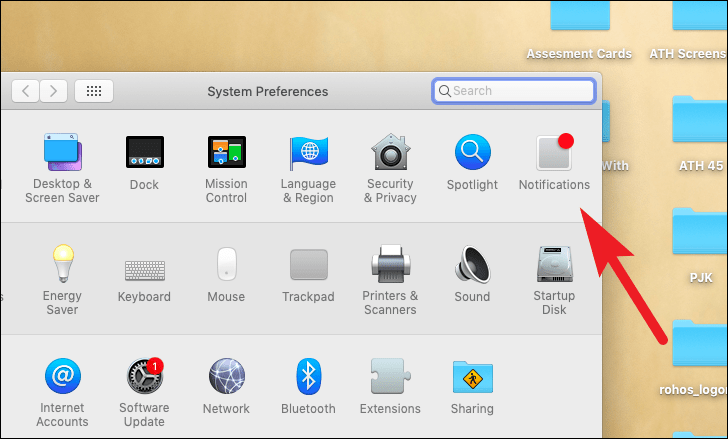
Disable iMessage Notifications via System Preferences
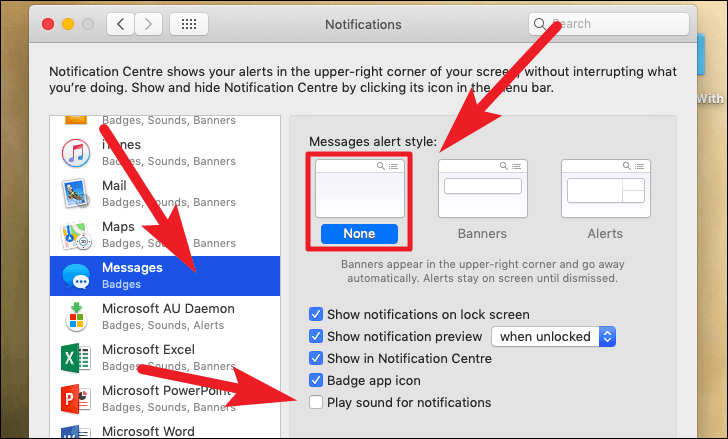
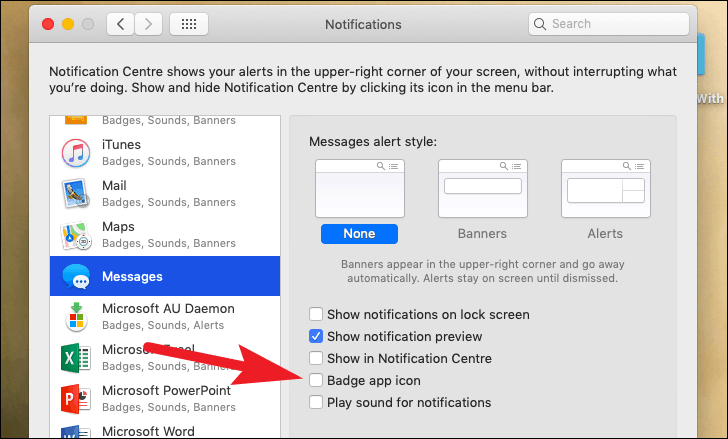
In the left sidebar, scroll down and select Messages. Then, under the “Message alert style” section, choose None. To disable sound notifications, uncheck the box next to Play sound for notifications.
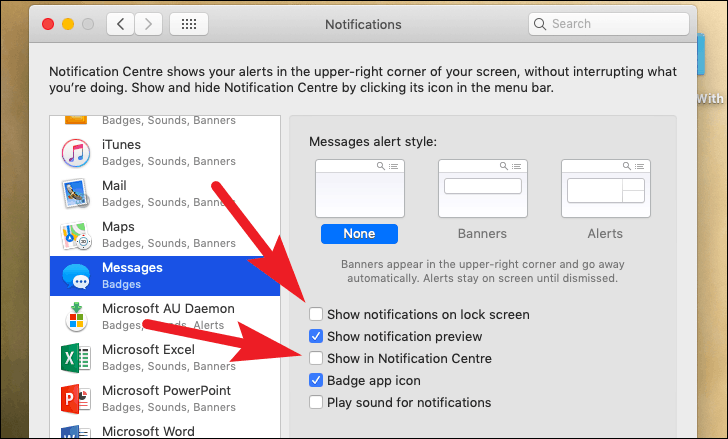
To prevent message notifications from appearing in the Notification Center and on your lock screen, uncheck the boxes for Show in Notification Centre and Show notifications on lock screen.
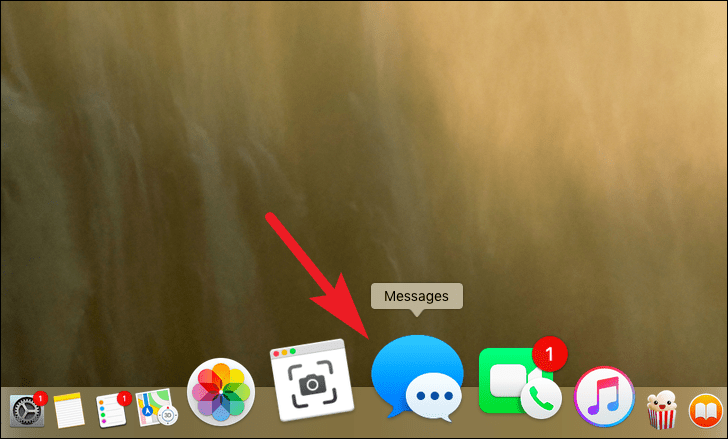
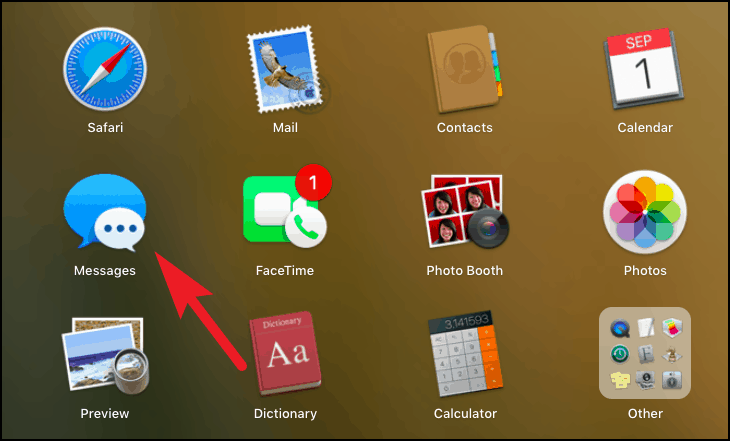
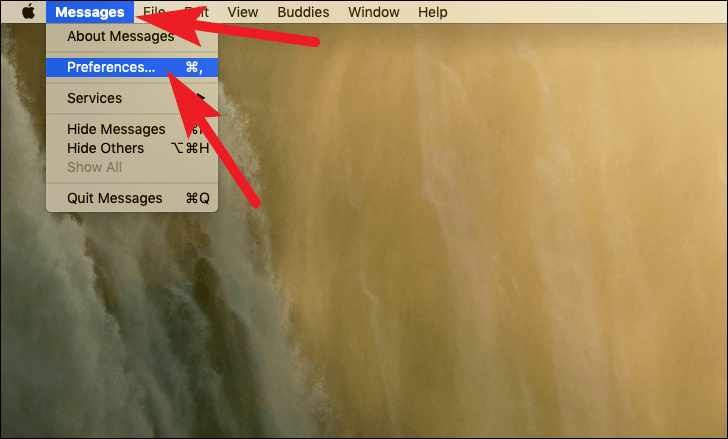
In the menu bar at the top of the screen, click on Messages, then select Preferences. Alternatively, you can press Command+, on your keyboard to open Preferences quickly.
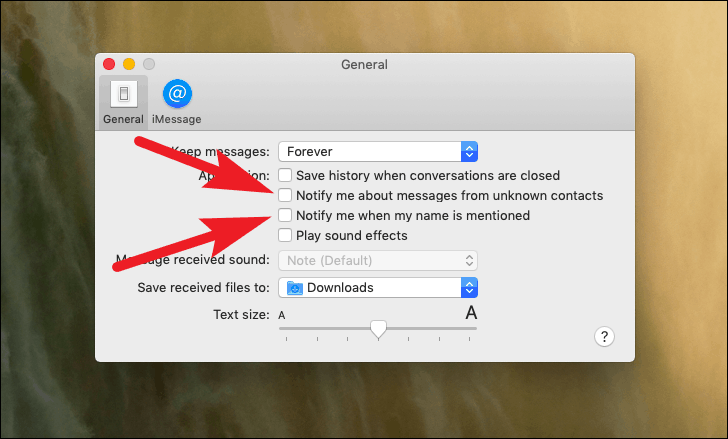
To prevent notifications when someone mentions your name, uncheck the box for Notify me when my name is mentioned. If you don’t want to be notified about messages from unknown contacts, uncheck Notify me about messages from unknown contacts as well.
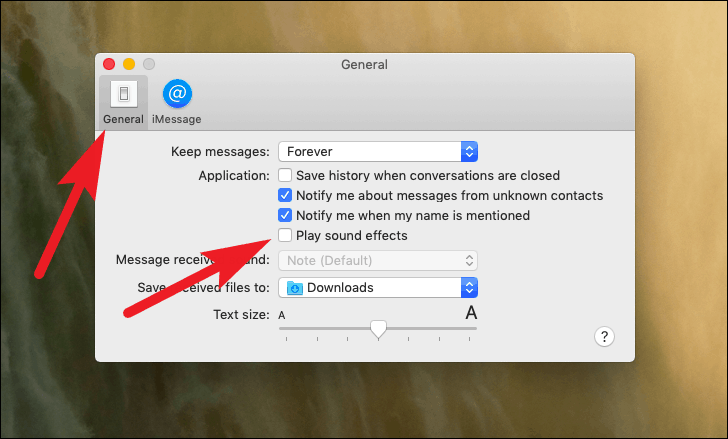
With these settings, you’ll still see visual notifications but won’t hear any sound alerts when messages arrive.
Block a Contact in iMessage
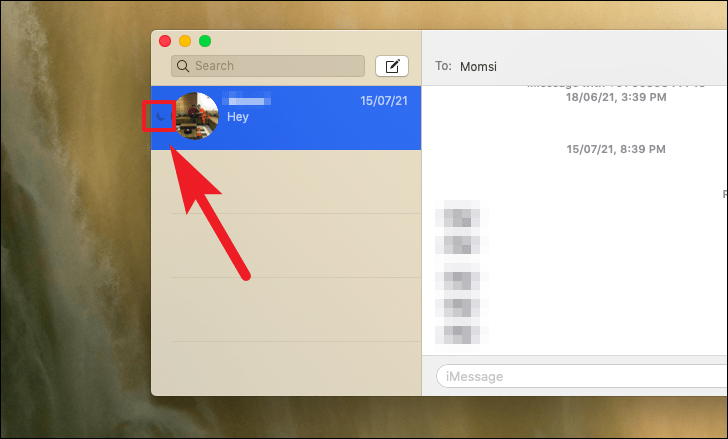
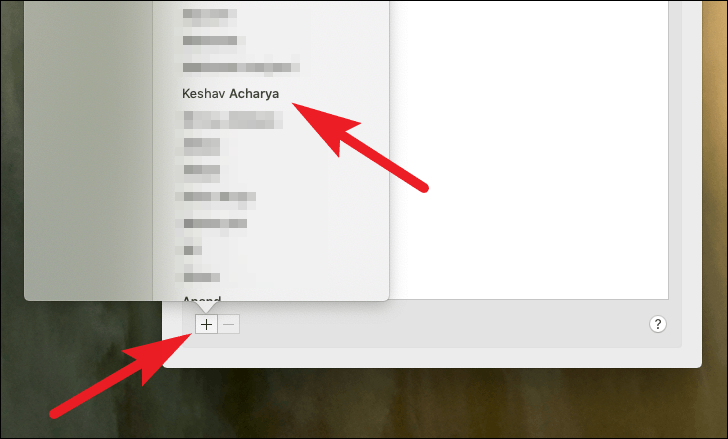
If you’d rather stop receiving messages from a specific person altogether, you can block them in the Messages app.
Click the + button at the bottom-left corner of the window. This will open your contacts list. Select the contact you wish to block.
The selected contact is now blocked and won’t be able to send you messages. To unblock them later, return to this menu, select their name, and click the – button.