
Wide tables, large images, or detailed charts often require more horizontal space than portrait pages allow. In Microsoft Word for Windows 11, you can rotate just one page to landscape orientation while keeping the rest of your document in portrait mode. This process relies on section breaks and specific orientation settings to isolate the change to only the desired page.
Change a Single Page to Landscape Using the Layout Tab
Step 1: Select the content that you want on the landscape page. This could be a table, image, or block of text. Highlighting ensures that only the selected portion will receive the new orientation.
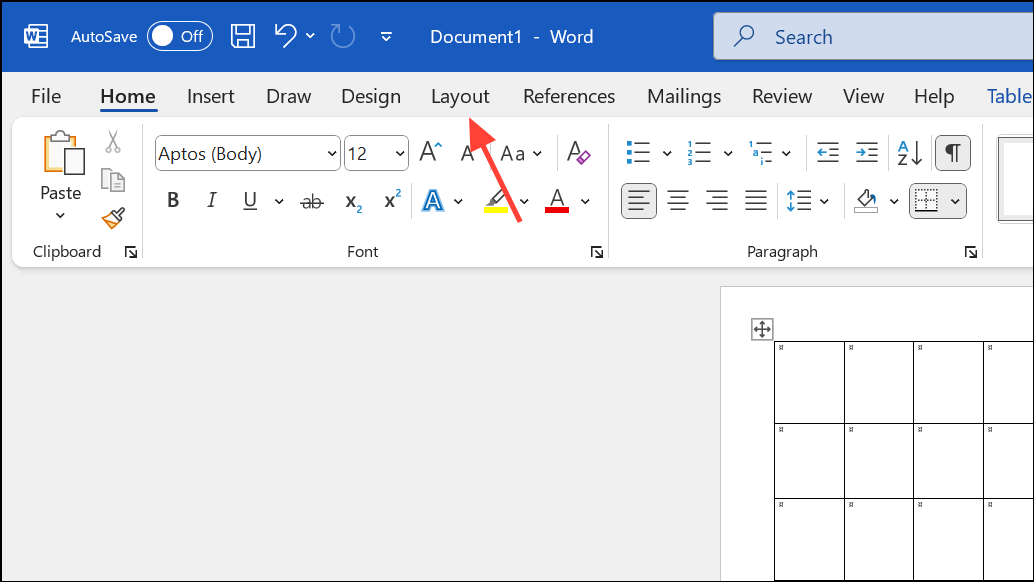
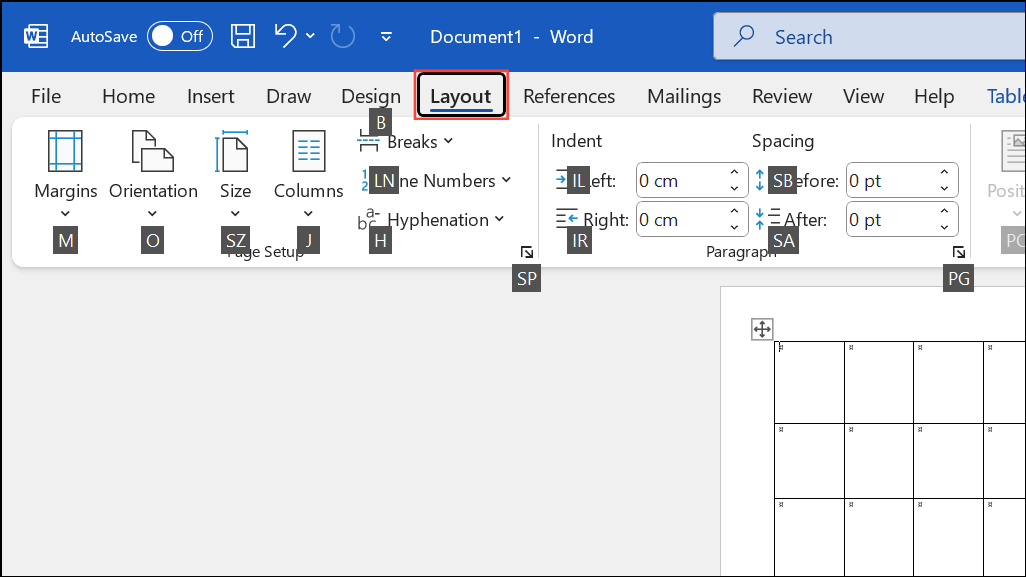
Step 2: Click the Layout tab at the top of the Word window. This tab contains all options related to page formatting and setup.
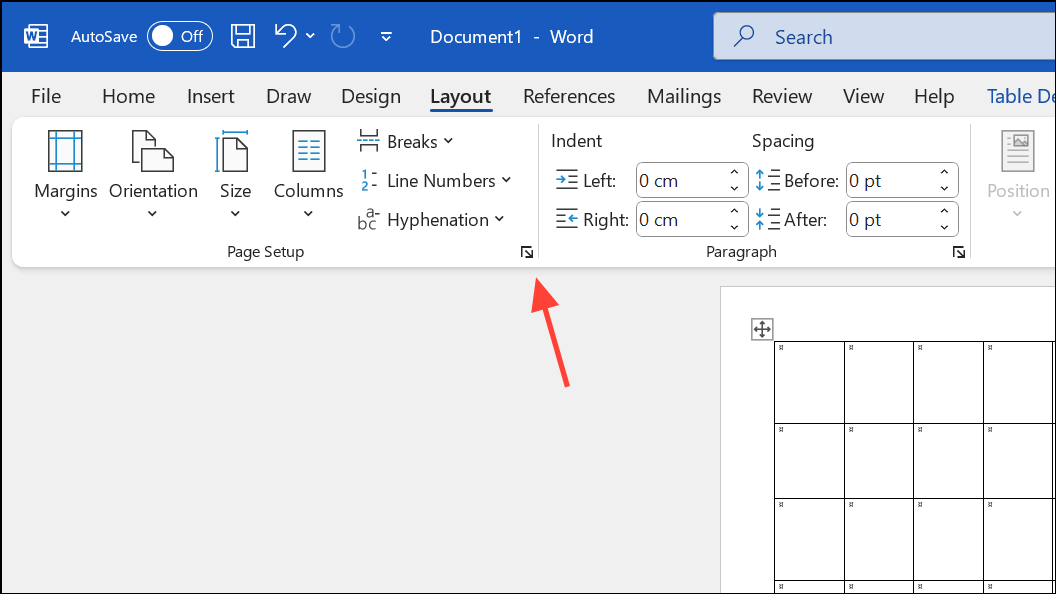
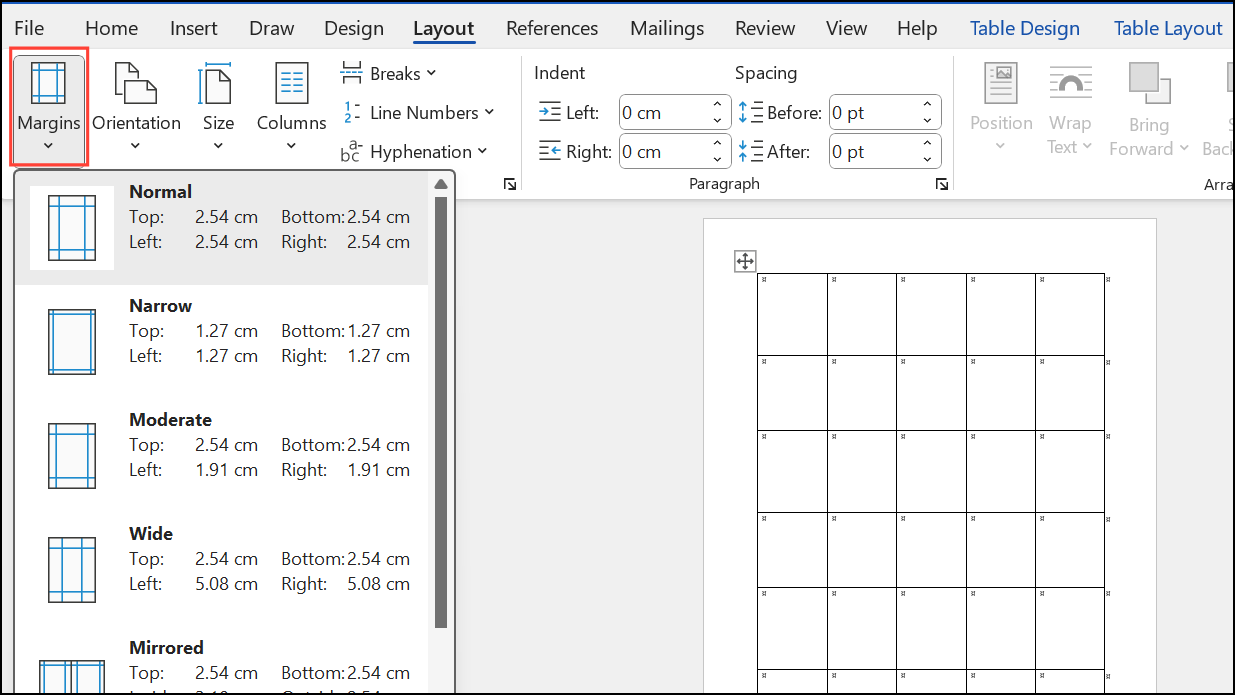
Step 3: In the Layout ribbon, click the small arrow in the bottom right corner of the Page Setup group. This opens the Page Setup dialog box, which provides more detailed control than the default ribbon buttons.
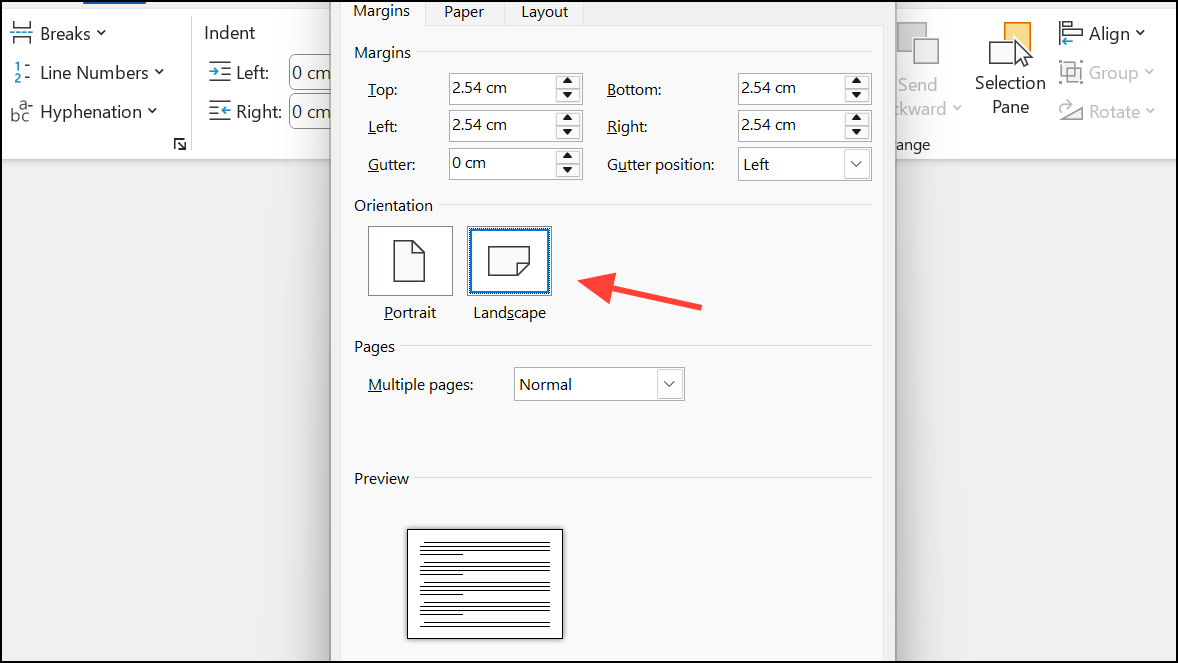
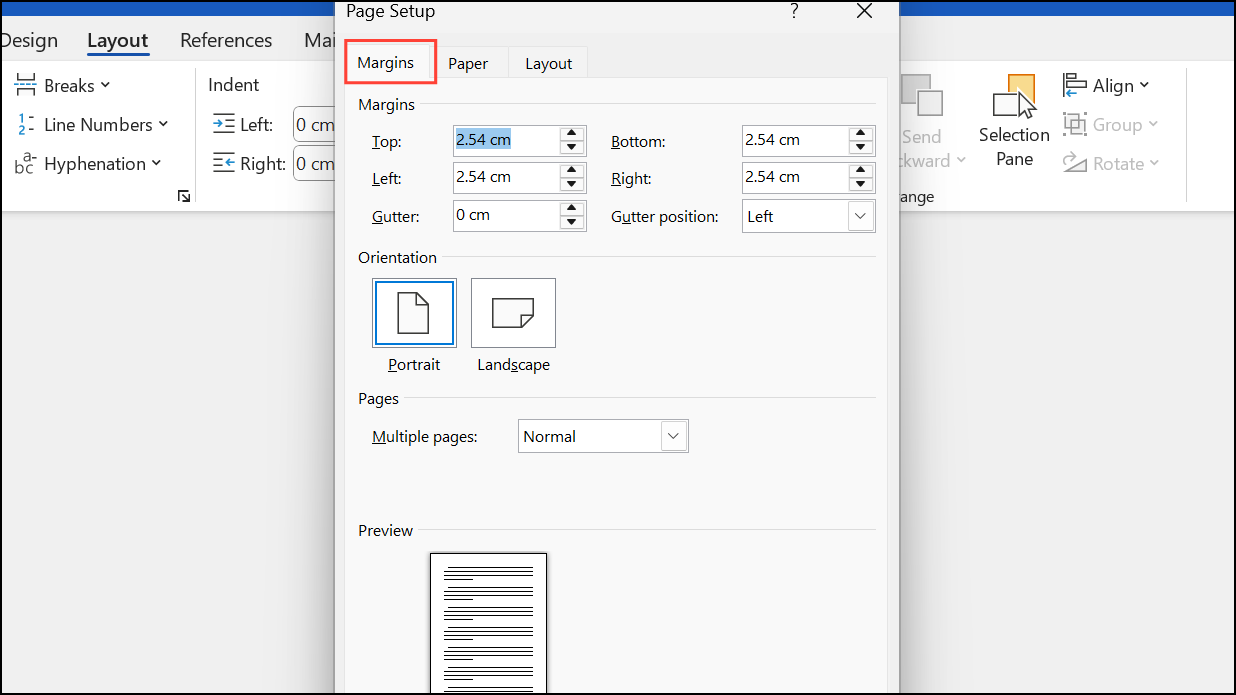
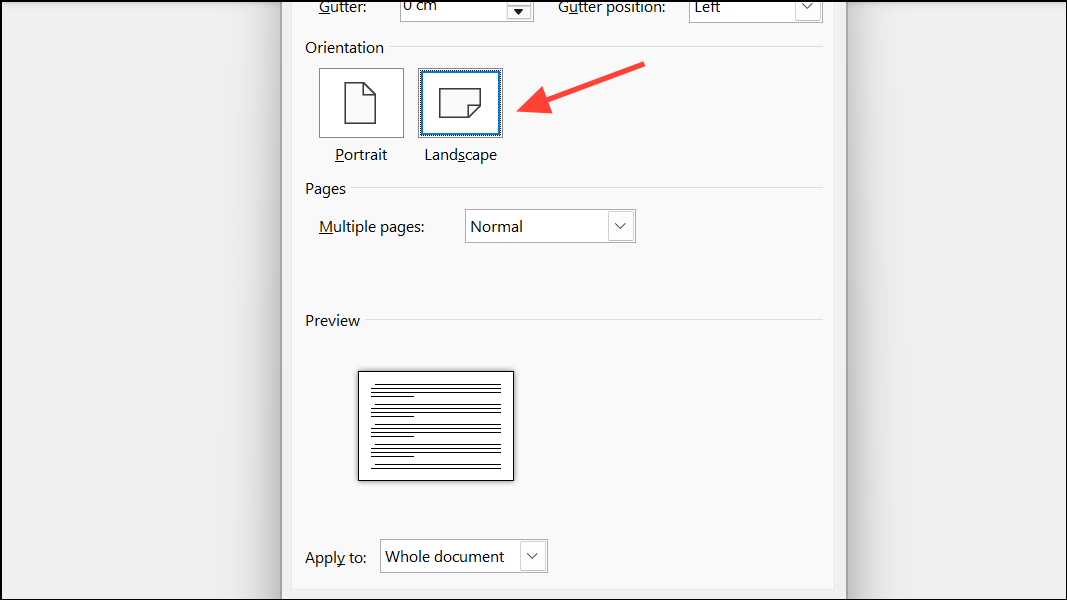
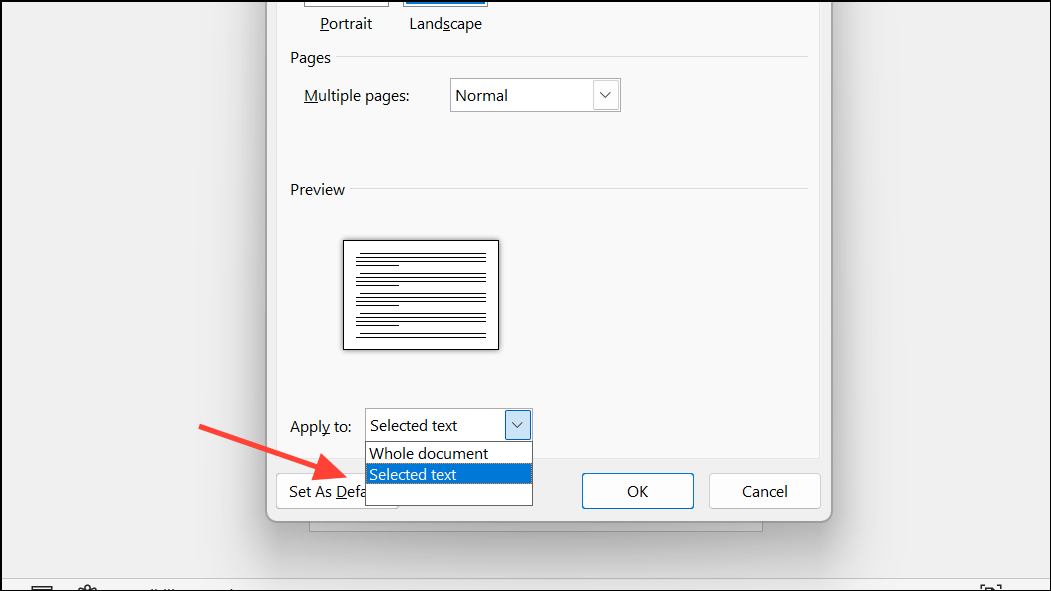
Step 4: In the Page Setup dialog, select Landscape under Orientation. This changes the page direction for the selected content.
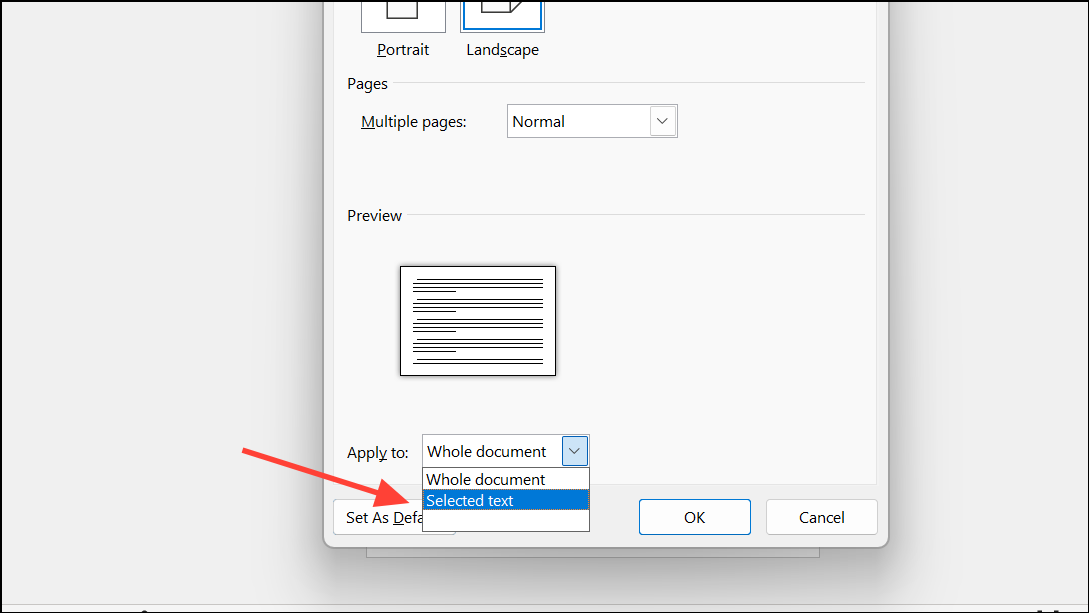
Step 5: At the bottom of the dialog, find the Apply to dropdown menu. Choose Selected text. This option inserts section breaks before and after your selection, isolating the landscape orientation to just those pages. Click OK to apply the setting.
Word automatically adds section breaks and places your selected content on a new landscape-oriented page. The rest of your document remains in portrait orientation. You can now resize or adjust your content to make the best use of the available space.
Switch One Page to Landscape Using Keyboard Shortcuts
For those who prefer to use keyboard shortcuts, this method can speed up the process and reduce reliance on the mouse.
Step 1: Highlight the text, image, or table you want to appear on a landscape page.
Step 2: Press Alt then P to switch to the Layout tab.
Step 3: Press M to open the Margins dropdown menu.
Step 4: Press A to select "Custom Margins…" and open the Page Setup dialog box.
Step 5: Press Alt + S to select the Landscape orientation.
Step 6: Press Alt + Y to move to the Apply to field, then use the down arrow key to select Selected text. Press Enter to confirm, and Enter again to apply the setting.
This shortcut-driven method achieves the same result as the point-and-click approach but can be completed in less time once you’re familiar with the key sequence. It’s especially useful for users who want to work more efficiently or reduce wrist strain from excessive mouse use.
Important Notes and Troubleshooting
Word applies orientation changes to sections, not individual pages. If you want only one page in landscape, ensure you use section breaks (not page breaks) before and after the content you want to rotate. Word automatically handles this when you select "Selected text" in the Apply to dropdown, but if you manually insert breaks, choose Section Break (Next Page) from the Layout tab’s Breaks dropdown.
Word Online currently recognizes section breaks and can display landscape pages if the document was created in the desktop app. However, adding new section breaks and changing orientation on a per-page basis is best done in the desktop version of Word for Windows 11 for full control and reliability.
After converting a page to landscape, review your document for any unintended formatting shifts. Adjust section breaks or content placement as needed to maintain flow and appearance.
Switching a single page to landscape in Microsoft Word streamlines document formatting for wide content without disrupting the rest of your work. Mastering both the dialog box and keyboard shortcut methods gives you flexibility and speed for future projects.