
Polls are a great way to make virtual meetings more interactive. And everyone knows we need more of that. Virtual meetings can be stiff as hell after all. Hosts can use polls in meetings to gather feedback, test knowledge, take votes, or just have some light-weight fun.
Webex makes it rather easy to conduct polls in a meeting, enabling you to ask questions and collect responses in real-time. But seeing as you have to go through some hoops to use the feature in Webex, many users stay entirely unaware of its existence.
Enabling Polling in Webex
Like many other features in Webex, polls are not directly a part of the meeting experience. To use them in Cisco Webex Meetings, you first need to enable them. And that’s precisely the reason why many users are only just discovering them.
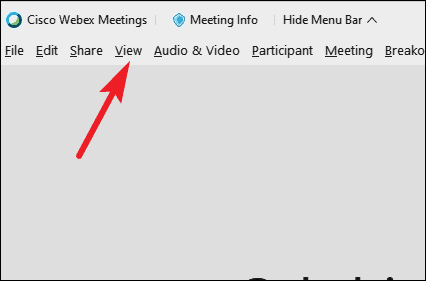
To enable polls, go to the menu bar of the meeting window, and click the option for the ‘View’ menu item.
Then select ‘Panels’ from the menu that appears.
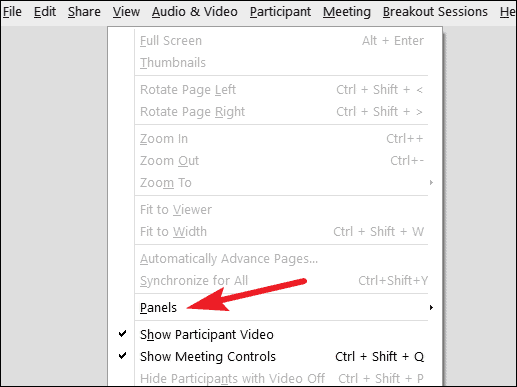
It’ll expand into a sub-menu. Select ‘Manage Panels’ from it.

A sub-window for managing panels will appear. You’ll find ‘Polling’ under the option ‘Available Panels’. Select it and then click the ‘Add’ button.
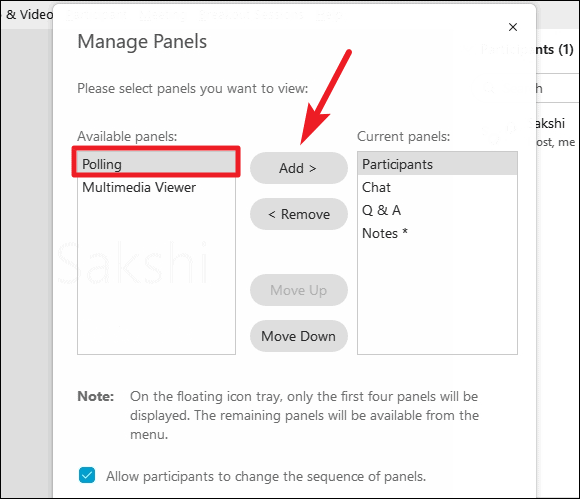
Polling will move to the ‘Current Panels’ section.
In Webex meetings, only the first 2 panels are listed under the Current Panels section are accessible from the floating icon tray. The rest of the panels are available from the menu. So, if you have more than 2 panels active after adding the panel for Polls, you need to decide where you want it.
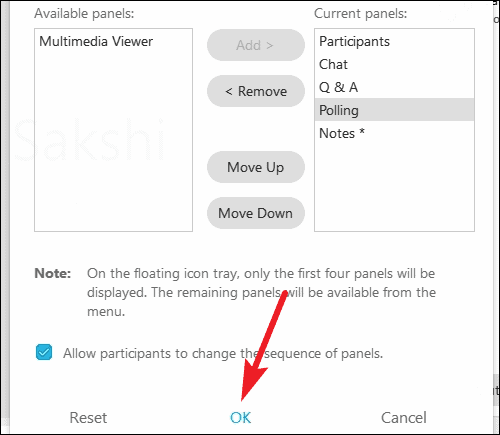
If you want it to be accessible from the floating icon tray, rearrange it among the top 2. Select the option for ‘Polling’ and click ‘Move Up’ until it’s at the desired position.

Finally, click ‘OK’ to save the changes.
How to Conduct Polls
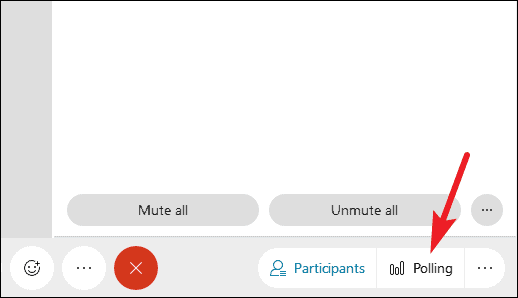
The polling panel will appear on the right side of the window as soon as you add the panel. To access it in future meetings, click the floating tray icon for ‘Polling’ if you so arranged it.
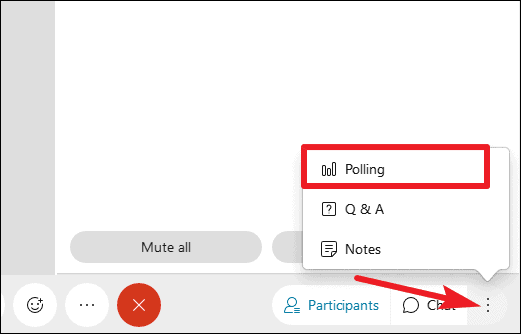
Otherwise, click the ‘Panel Options’ icon (three-dot menu) at the bottom-right corner of the screen and select ‘Polling’ from the options.
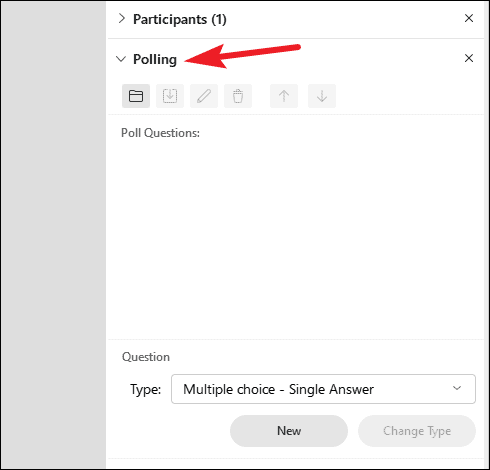
Once the Polling panel is active, you can start creating questions for your polls.
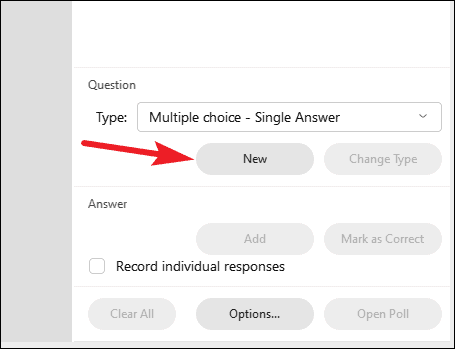
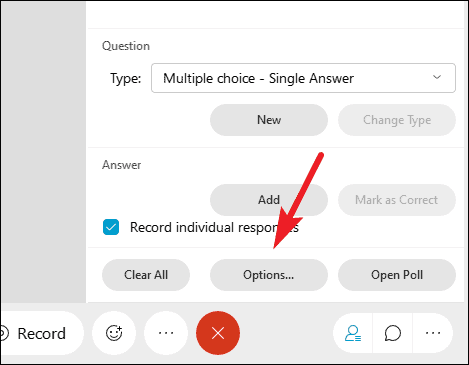
Select the type of question by clicking on the drop-down menu underneath the section ‘Questions’. There are three types of questions available to create: Multiple Choice with a single answer, Multiple Choice with multiple answers, and Short Answers.
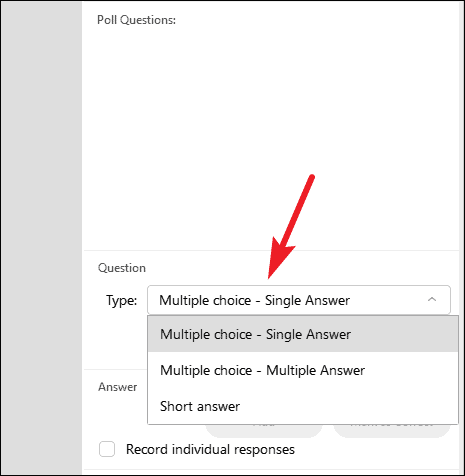
Click the option you wish to choose and then click the ‘New’ button.
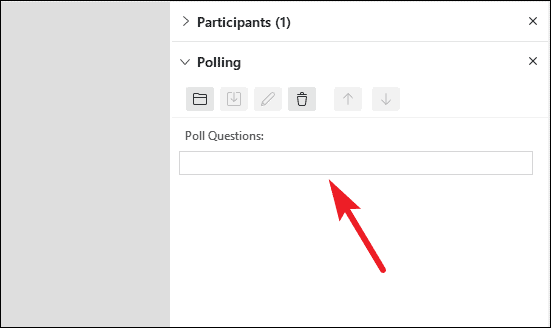
A textbox would become active under the ‘Poll Questions’ section where you can enter the question. Type the question in the box and press Enter.
Then type the option for a possible answer in the next textbox that appears and press Enter. Each time you hit Enter, a new textbox will appear for Multiple Choice Questions. Type the options you want for the possible answers in the text boxes. You can have as many options as you like.

If this is a quiz, select one of the options you added, and click the ‘Mark as Correct’ button from the ‘Answers’ section.
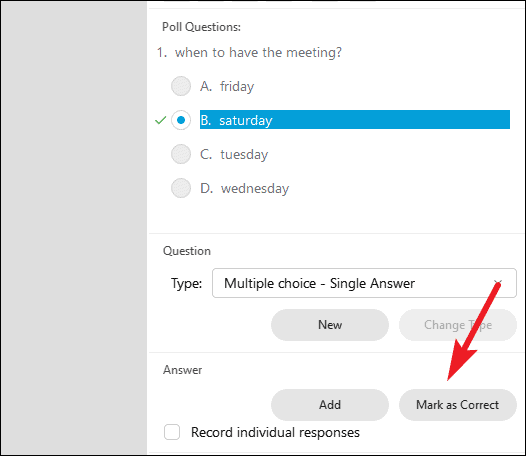
If it were a Multiple Choice question with multiple answers, you can select multiple answers and mark them as correct.
To add another question, click the ‘New’ button from the ‘Questions’ section.
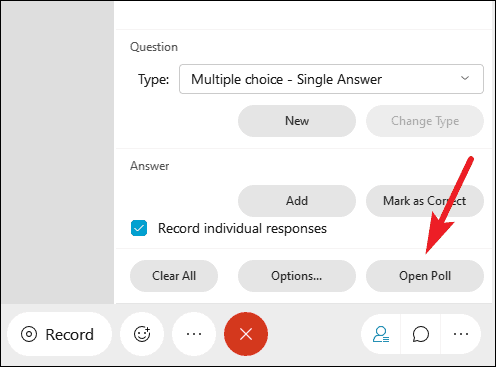
Check the box for ‘Record Individual Responses’ if you want to see who answered what.
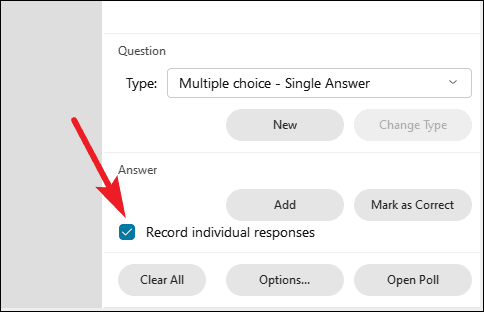
Then, click the ‘Open Poll’ button to open the poll to meeting participants once you’ve added all the questions.
When the poll is active, you can keep tabs on its status to see how many attendees have finished, not yet started, or are in the middle of answering from the polling panel.
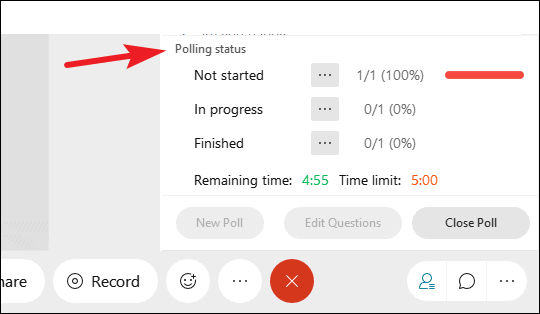
Click the ‘Close Poll’ button when you want to close the poll. If the poll is timed, it’ll close automatically when the timer expires.

Configuring Other Settings for a Poll
There’s much more to polls in Webex than just creating questions. And knowing all these settings will make it a much smoother experience for you and other participants. You can use these settings to make changes to a poll before you open it.
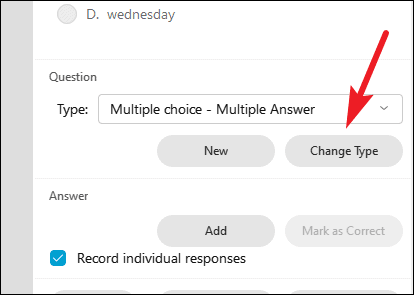
Change the Question Type: After you’ve created a question, you can change its type. Select the question, then select the new question type from the drop-down menu. Then, click the ‘Change Type’ button.
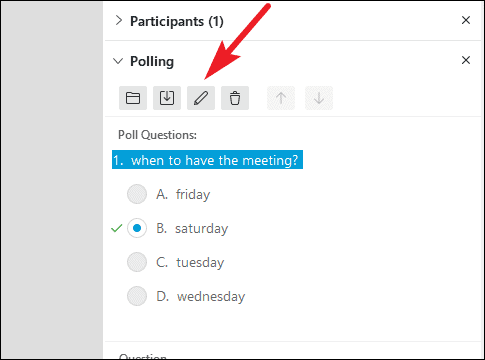
Edit a Question or Answer: Select the question or answer you want to edit and click the ‘Edit’ button from the options on the Polling panel. Then, re-type the question/ answer and press the Enter key to save changes.
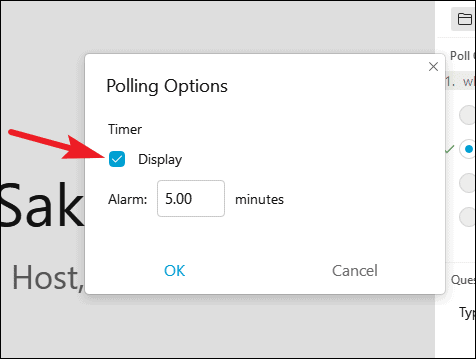
Display Timer during a Poll: Click the ‘Options’ button on the polling panel.
Then, select whether you want to display a timer for a poll by checking the option for ‘Display’. You can also edit the time for the timer. If you’re using a timer, you won’t have to close the poll manually. But, if you want, you still can close it before the time runs out.
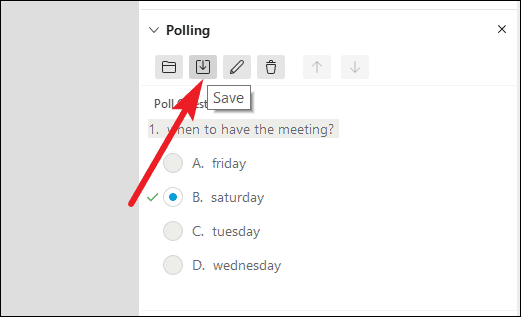
Save Polls: Click the ‘Save’ icon on the polling panel to save your poll. If you only want to save the questions, you can click the save button before opening the poll. The questions are saved in a file with the “*.atp” extension so you can open them again in a future meeting. But once the poll is closed, the save button will save both questions and answers in separate files.
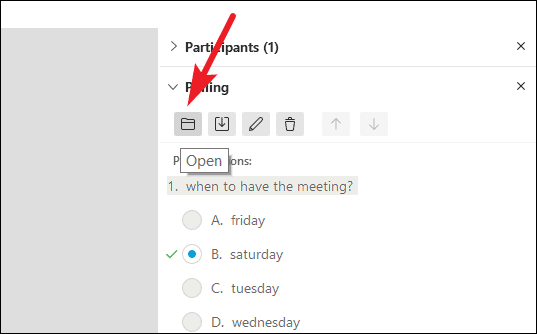
Open Poll Questionnaire: You can also open a file containing poll questions in a meeting instead of creating new polls. Click the ‘Open’ icon and select the file with the “*.apt” extension to display questions from the file on your polling panel.
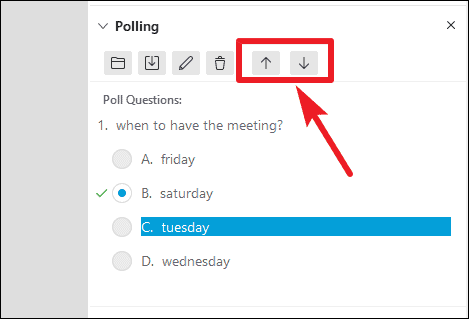
Arrange Poll Questions/ Answers: Click the ‘Move Up’ or ‘Move Down’ buttons after selecting a question or answer to rearrange its order.
Share Results with Participants: After the poll is closed, you can share the poll results –either complete or only each individual’s – with the participants if you want. Check the box for ‘Poll Results’ or ‘Individual Results’ under the “Share with Attendees” option and click the ‘Apply’ button.
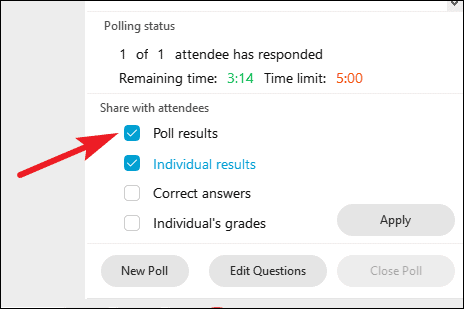
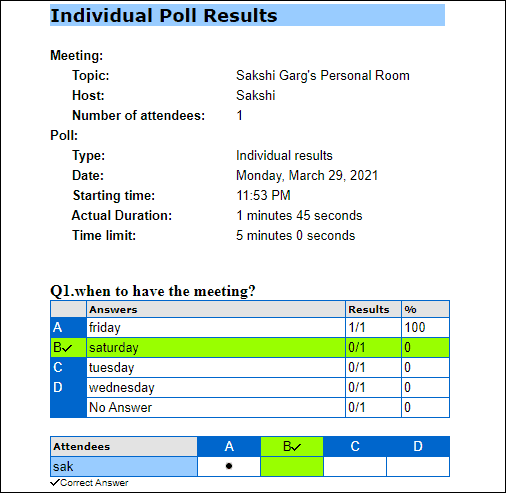
Note: The option for ‘Individual Responses’ is only available when you check the option to record individual responses before opening the poll. Clicking the ‘Individual Results’ option that is highlighted in blue will open the individual poll results in your browser.
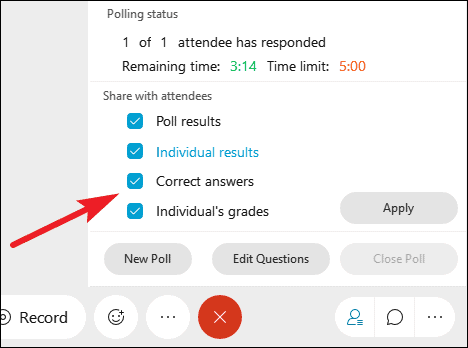
And if it were a quiz, you can also share correct answers and participants’ grades with them. Check the boxes for each option and click the ‘Apply’ button.
Polling in Webex is a great way to keep your meetings lively and interesting. And although it may seem that there is a lot to learn when it comes to conducting polls, taking things one step at a time would make you a pro in no time.


