Screenshots can come in really handy in multiple situations, maybe you need to share a malfunctioning feature on your device, or perhaps a new feature you discovered, or probably that sick meme with your friend who isn’t on any social network.
Whatever be your reason, cropping and editing a screenshot on your macOS device is a breeze. Moreover, you don’t even need a third-party app or tool to crop or edit the screenshots you take since the ‘Preview’ app on your Macbook fulfills the majority of the elementary needs.
Now you must be really eager to jump right into the action, but before you do so a quick refresher on taking a screenshot on a Macbook definitely cannot hurt.
Different Ways to Take a Screenshot on Mac
On Macbooks, you can either use a keyboard shortcut or you can use the ‘Screenshot’ app in order to quickly take a screenshot.
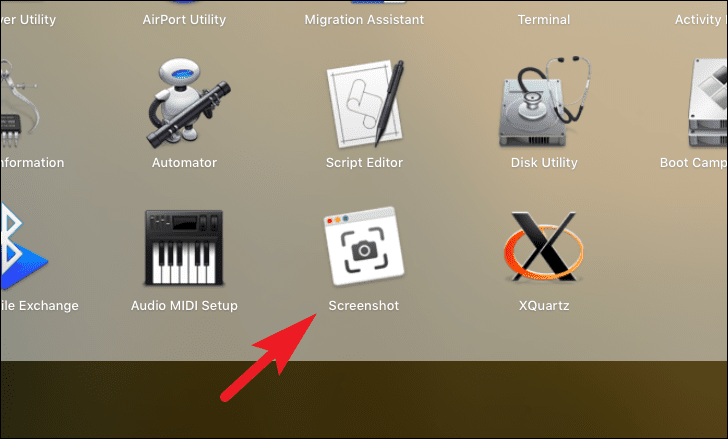
To take screenshots using the Screenshot app, open the launchpad on your macOS device. Then, open the ‘Other’ folder from it.
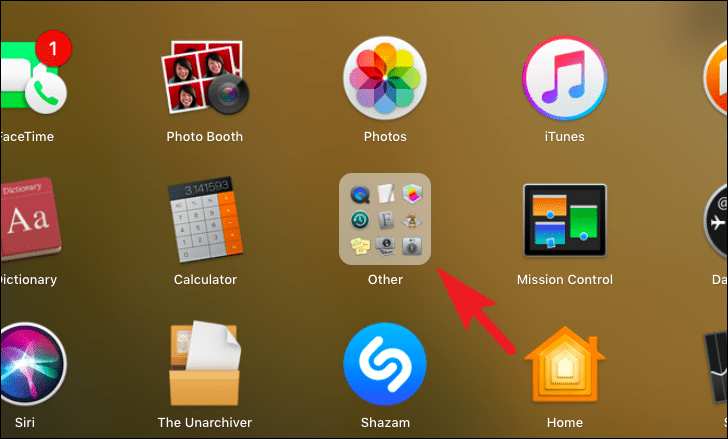
Then, click on the ‘Screenshot’ app to launch it.

Now, you can choose if you wish to take an entire screen screenshot or a screenshot of a specific window, or manually draw a portion over the screen to capture it by clicking on individual options. Once selected, click on the ‘Capture’ button to click a screenshot.

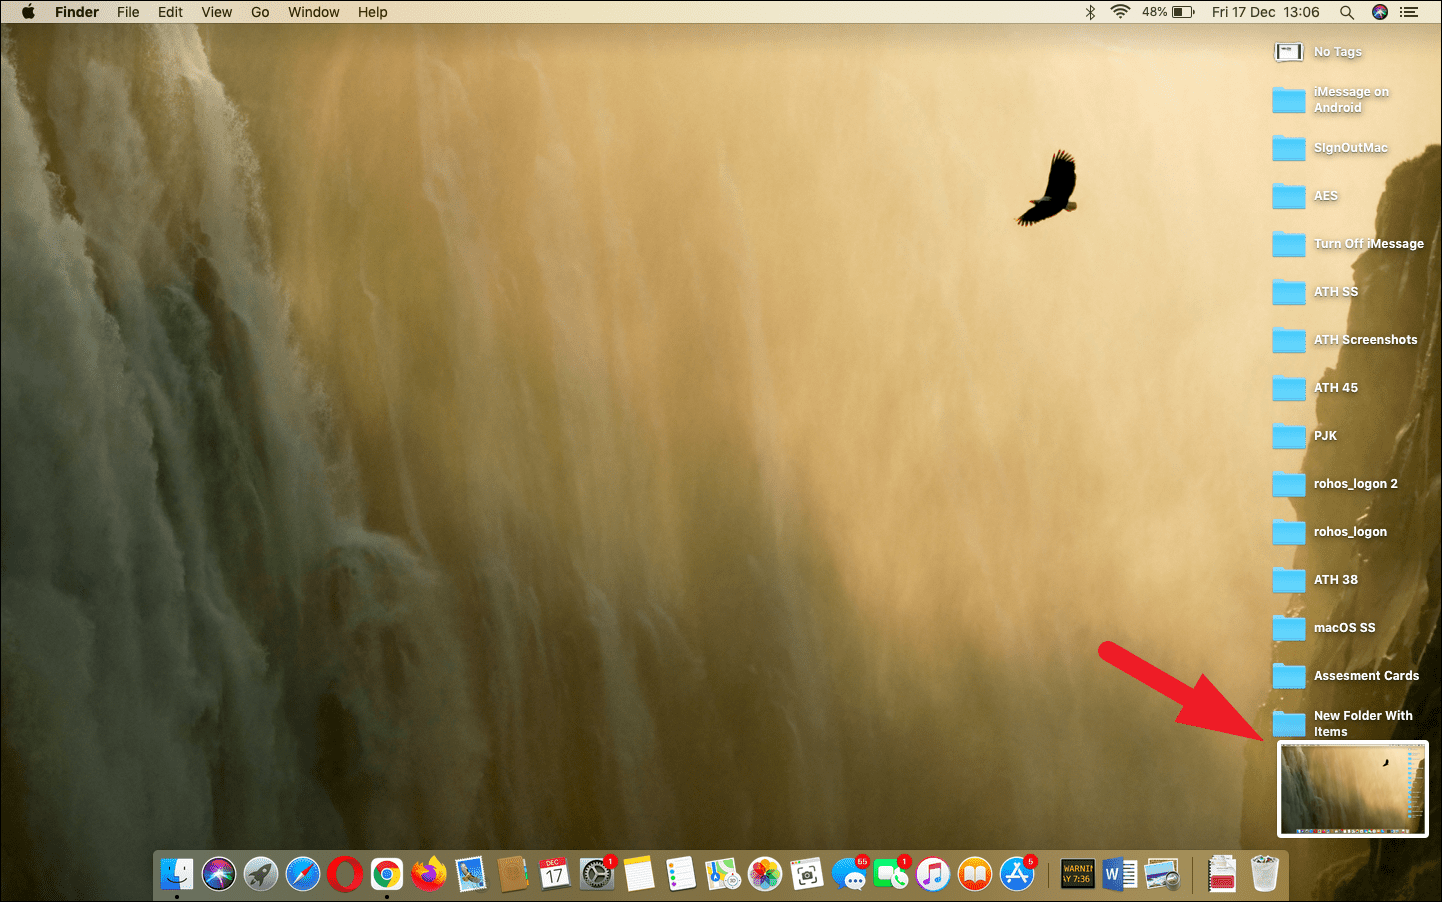
To take a screenshot of the whole screen, press the Shift+Command+3 keys on your keyboard together. You will be able to see the thumbnail of the screenshot at the bottom right corner of your screen.
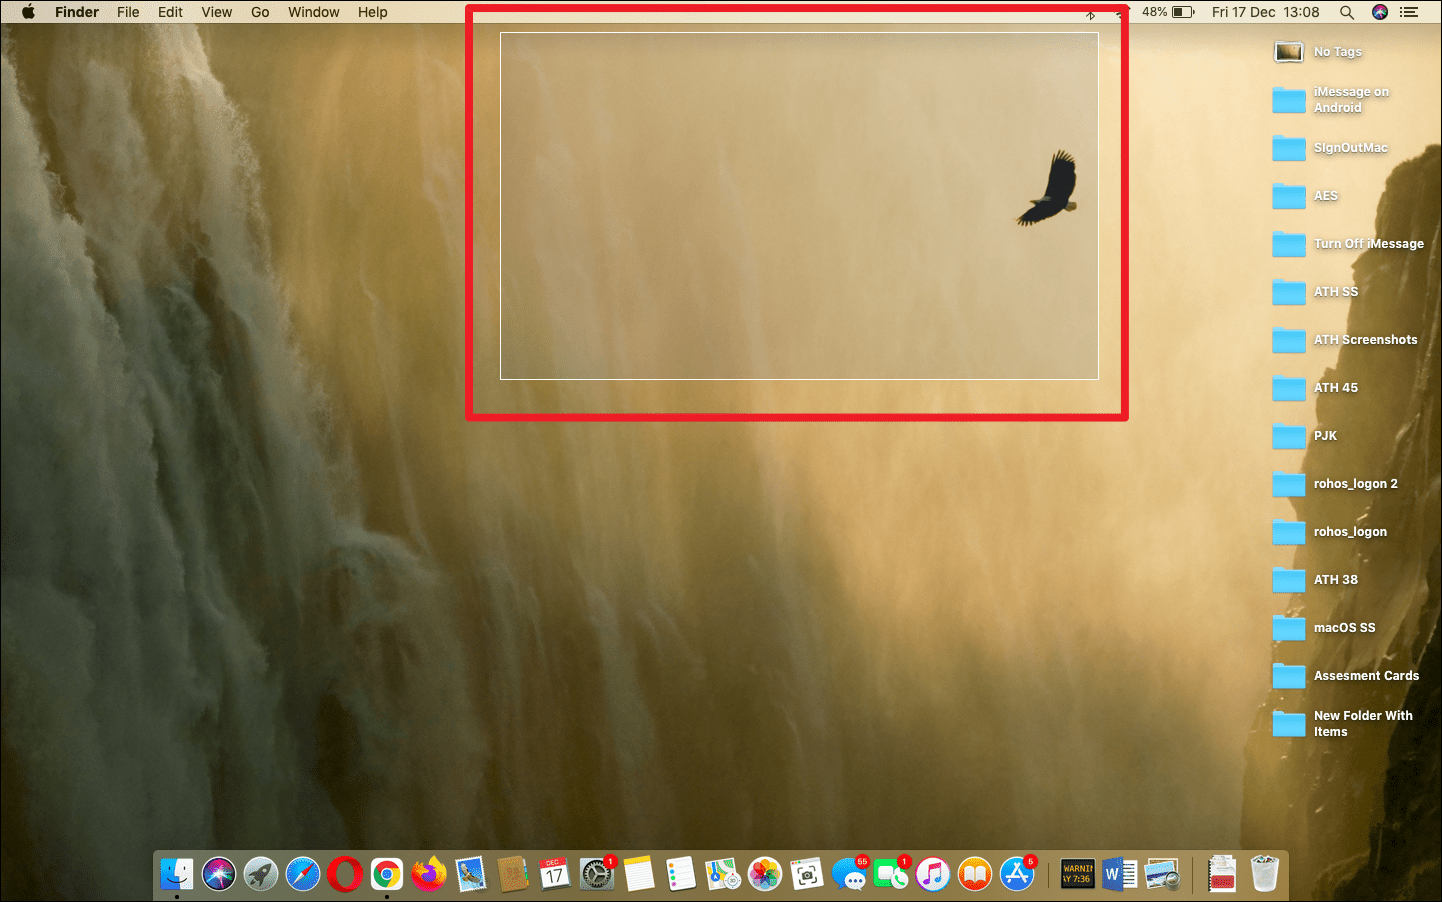
To take a screenshot of a portion of the screen, press the Shift+Command+4 keys on your keyboard together. Then, click and hold the right mouse button and drag the crosshair across the screen to select your desired area; release the mouse button to capture the screenshot.
To take a screenshot of a particular window, press the Shift+Command+4+Spacebar keys on your keyboard together. Then, hover your mouse over the window you wish to screenshot and click on the highlighted window to capture the screenshot.
And that’s about all the ways you can take a screenshot on your Macbook.
Use Preview App to Crop and Edit a Screenshot
Once you have grabbed some screenshots, you can quickly edit or make changes to them using the Preview app that came pre-installed with your macOS device.
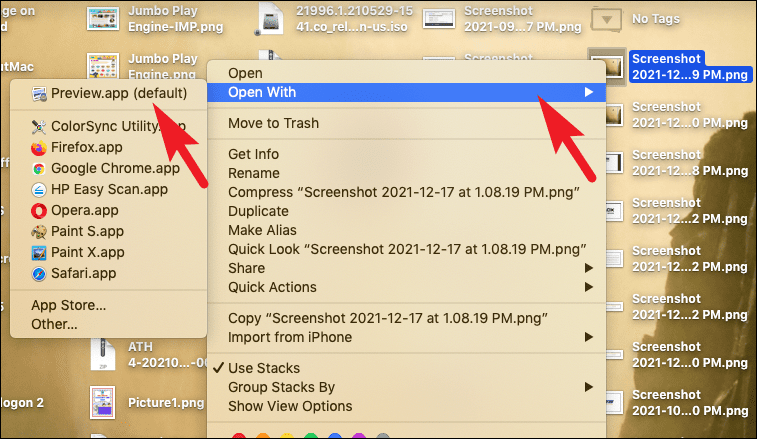
To open your screenshot in the Preview app, right-click on the screenshot thumbnail and hove over the ‘Open with’ option and then select the ‘Preview’ option from the list.
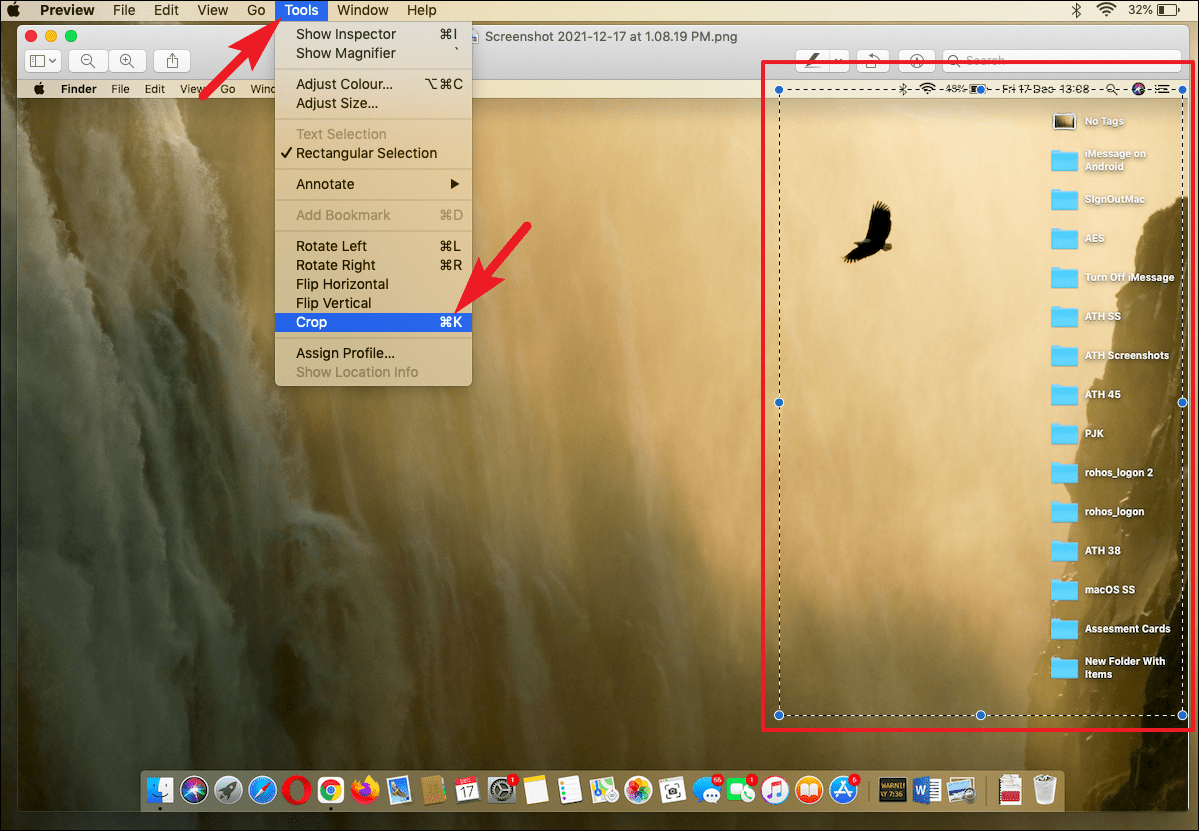
To crop an image, click hold your right mouse button and drag it across the screenshot to select the area you wish to crop out of the whole screenshot. Then, click on the ‘Tools’ option present on the Menu bar. Next, select the ‘Crop’ option from the list. Alternatively, after the selection, you can also press the Command+K keys on your keyboard to crop the image.
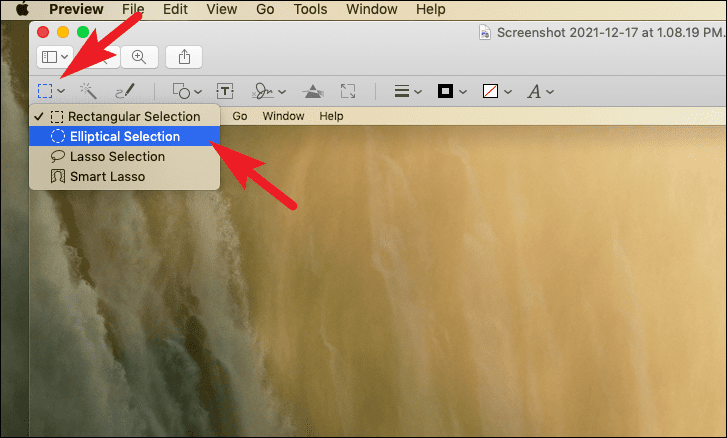
By default, the Preview app only lets you crop in rectangular selection mode. To use elliptical or lasso selection, click on the ‘selection’ tool and select the type of selection as per your need by clicking on one of the options. Then, you can select your desired area and crop the image as shown earlier in this guide.
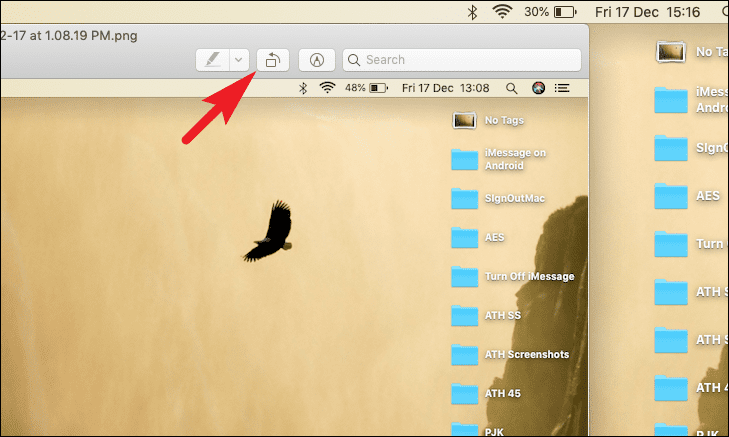
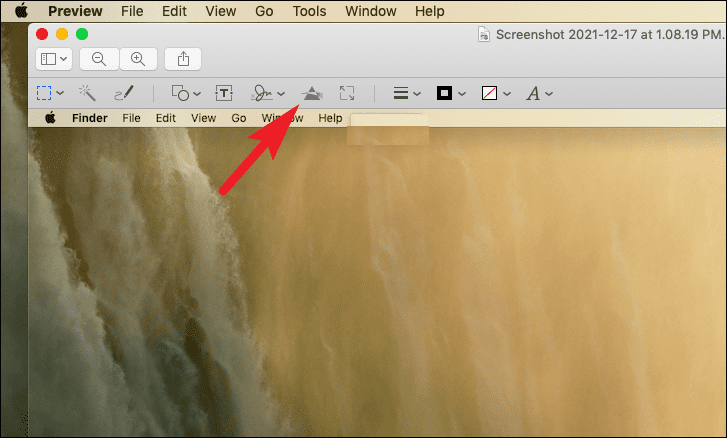
To rotate a picture, click on the ‘Rotate’ icon situated right beside the ‘ Show Markup Toolbar’ toggle icon. This will by default rotate your image to the left by 90 degrees. You can also press the Command+R shortcut key to rotate the image right or the Command+L shortcut key to rotate the image to the left.
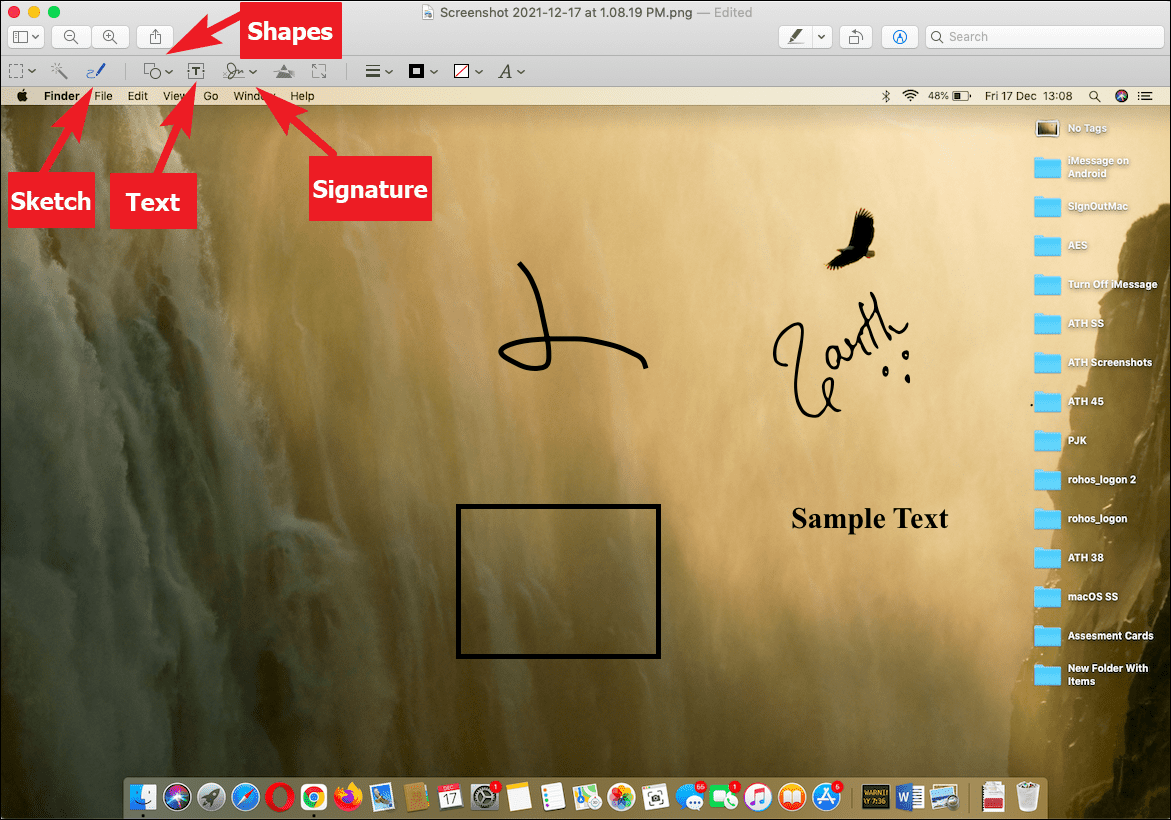
There are various markup tools available in the Preview app to help you annotate the images as per your need. You can use the marker tool to draw on the image, or you can use the text tool to insert text onto the image, you can insert shapes, and you can even digitize your signature and insert it on a picture or PDF to save yourself some hassle.
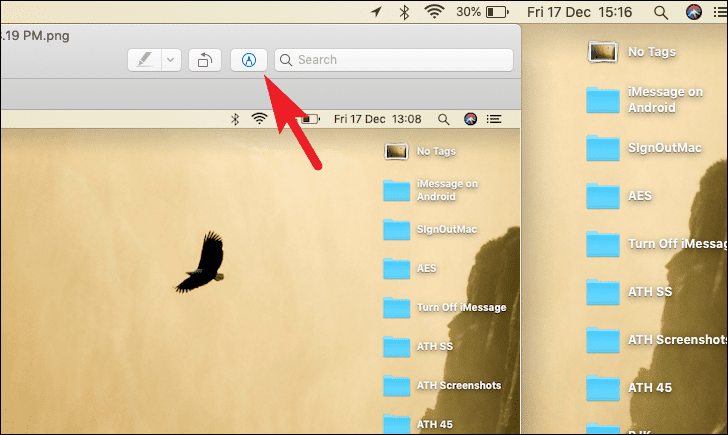
To annotate a picture, click on the ‘Show Markup toolbar’ button to bring up the markup toolbar. Alternatively, you can also press the Shift+Command+A shortcut on your keyboard to do so.
Then, you can click on the ‘Sketch’ button to draw something over the image, or you can click on the ‘Shapes’ button and select one of the shapes to insert in your screenshot. Moreover, you can also text by clicking on the text button and add your saved signature by clicking on the ‘Signature’ button.
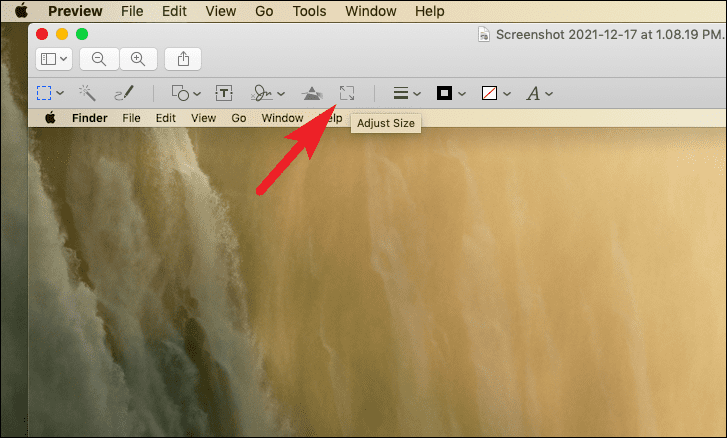
Along with annotating you can also resize the screenshot should there ever arrives the need to do so.
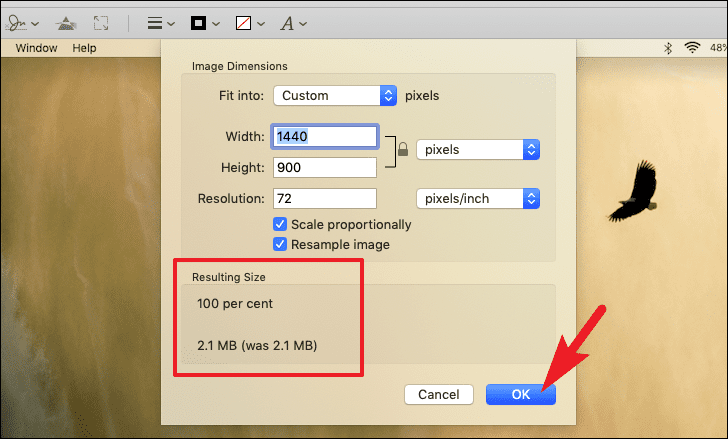
To resize an image, from the markup toolbar, click on the ‘adjust size’ button. This will open a separate window pane on your screen.
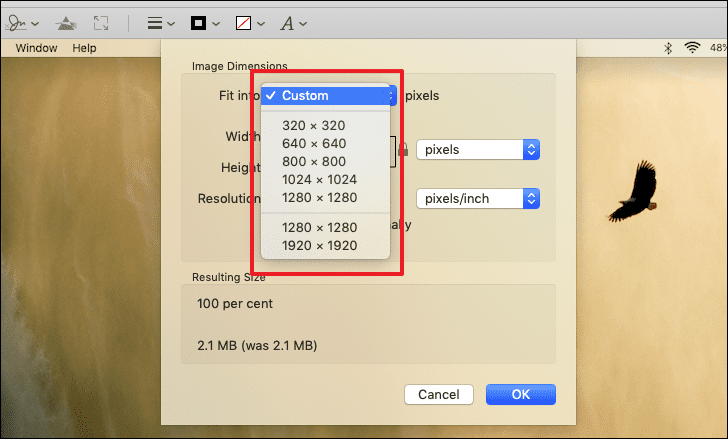
Then, from the separately opened pane, you can choose a pre-defined size from the list by clicking on the drop-down menu following the ‘Fit into:’ label.
Otherwise, you can also define the custom height and width of the images by entering a value in the respective fields. Moreover, you can also change the unit of values that you define by clicking on the drop-down menu present right beside the ‘Height’ and ‘Width’ options.
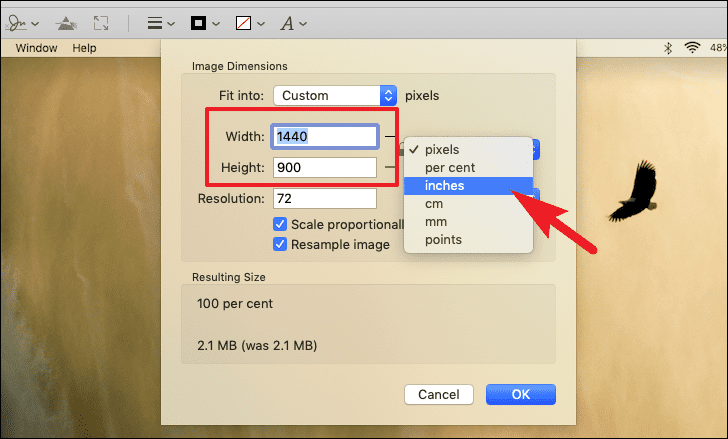
The Preview app will also display the resulting file size according to your current settings. To apply, click on the ‘OK’ button present at the bottom right corner of the pane.
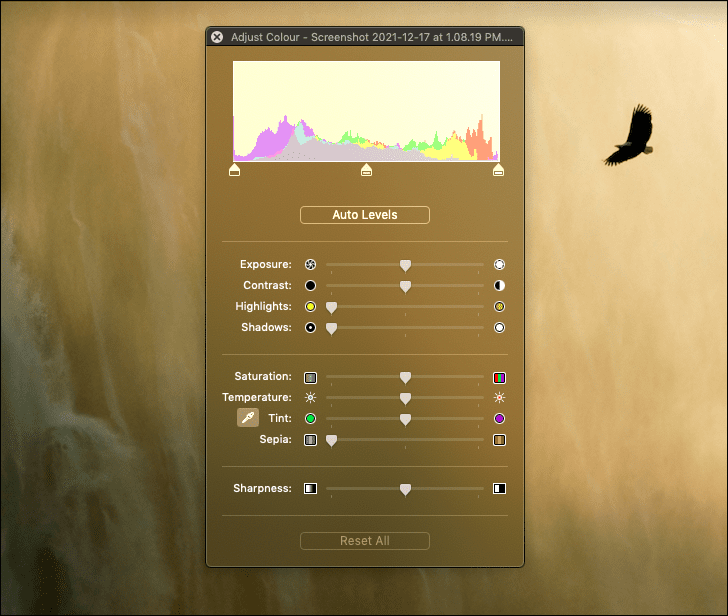
You can also adjust the color spectrum of your screenshot, to do so, click on the ‘Adjust color’ button on the markup toolbar. This will open a separate window pane on your screen.
Then, from the separately opened window, you can adjust ‘Exposure’, ‘Contrast’, ‘Highlights’, ‘Shadows’, ‘Sharpness’, and many more components by dragging their individual sliders. Once set as per your preferences, close the window by clicking on the ‘X’ button.
How to Adjust Screenshot Settings
You can also adjust settings for taking a screenshot such as defining a folder to save screenshots or even setting a timer to click screenshots.
To adjust screenshot settings, open the launchpad on your device. Then, locate and open the ‘Other’ folder from it.

Next, click on the ‘Screenshot’ tile from the grid of options to launch the app.
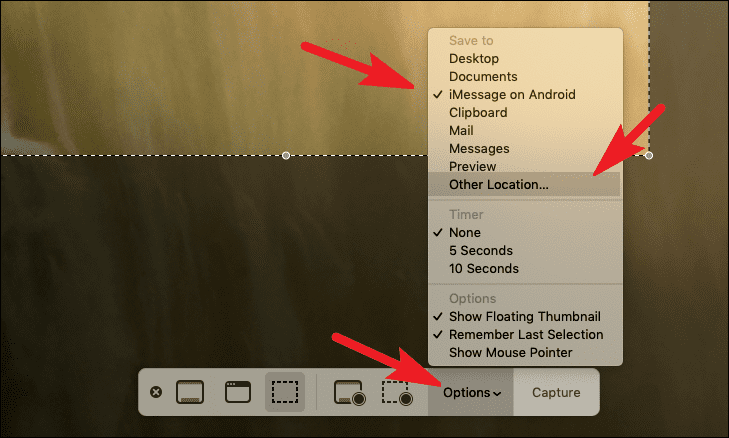
Now, from the bottom bar, click on the ‘Options’ tab. Then, from the overflow menu, choose the folder you wish to save your screenshots in present under the ‘Save To’ section. To manually select a directory, click on the ‘Other location’ option and select a directory using the Finder.
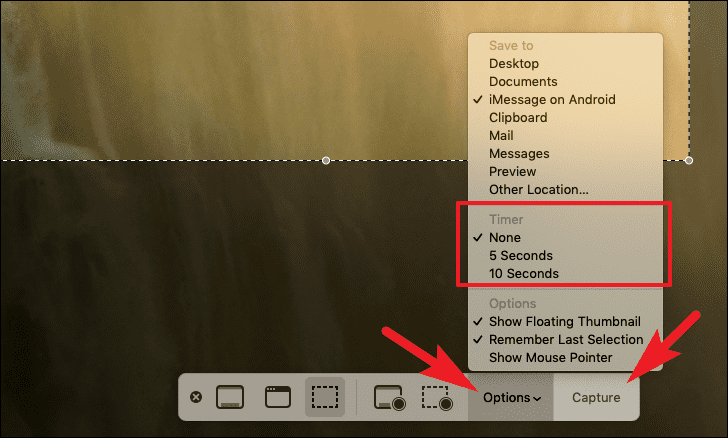
To set a timer for a screenshot, from the ‘Options’ menu, click on your desired option present under the ‘Timer’ section. Then, click on the ‘Capture’ button to click a screenshot after the set duration.
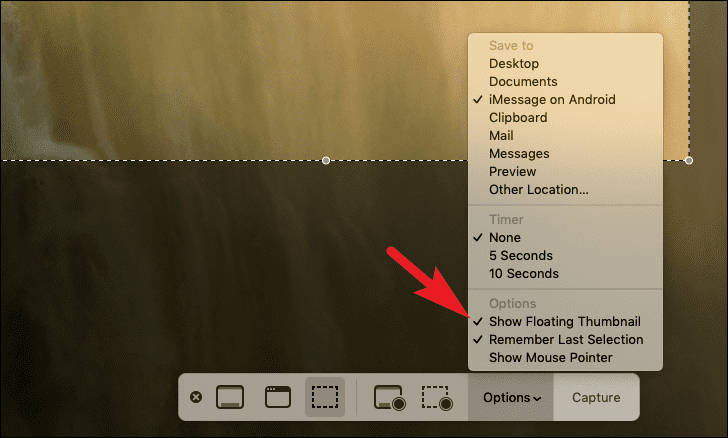
In case you do not wish to see the floating thumbnail of the recently taken screenshot, click to deselect the ‘Show Floating Thumbnail’ option present in the ‘Options’ menu.
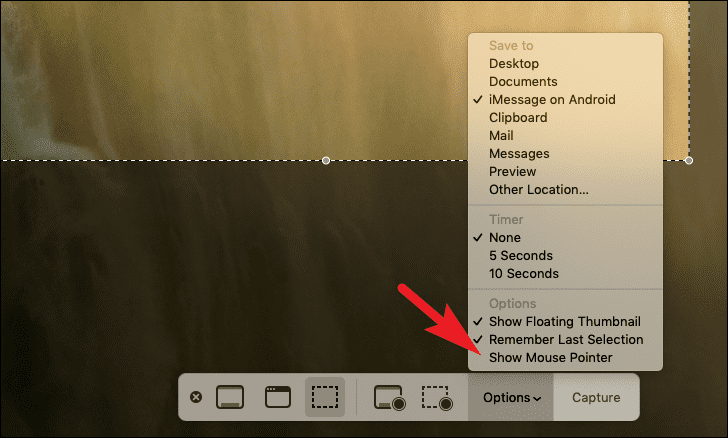
Similarly, by default, the mouse pointer is not visible in the screenshots you take on your Macbook. If the need arises, you can always enable it by clicking on the ‘Show Mouse Pointer’ option.
There you go folks, Preview is an amazingly powerful app that you can utilize to edit and crop your screenshots without relying on any third-party app.