
There are several situations when you may want to delete one or more drivers from your Windows 11 PC. Certain drivers may be outdated leading to problems, or a newer version may be available that offers better performance which you may be planning on installing. Whatever the reason, there are several methods by which you can delete drivers from your computer. Depending on your preference, you can use any of them to uninstall drivers from your computer.
Method 1: Using the Device Manager
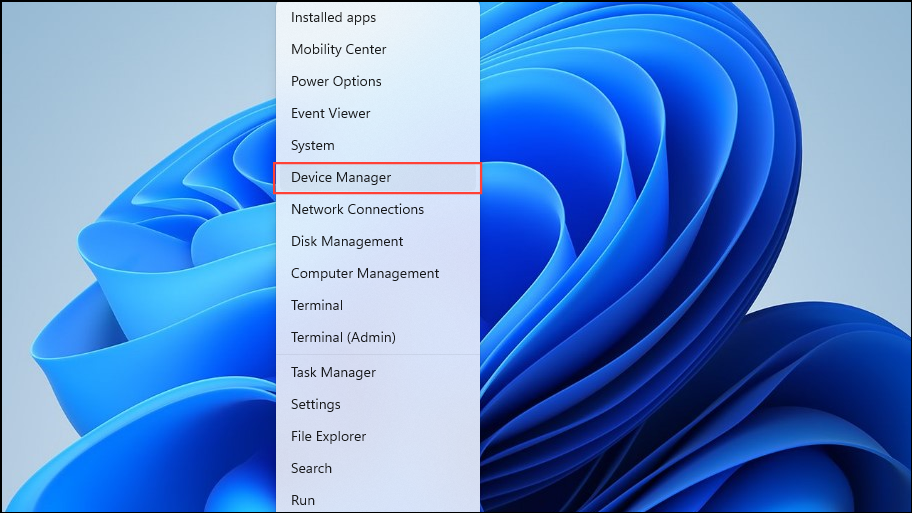
- Right-click on the Start button and click on 'Device Manager' in the menu that appears.
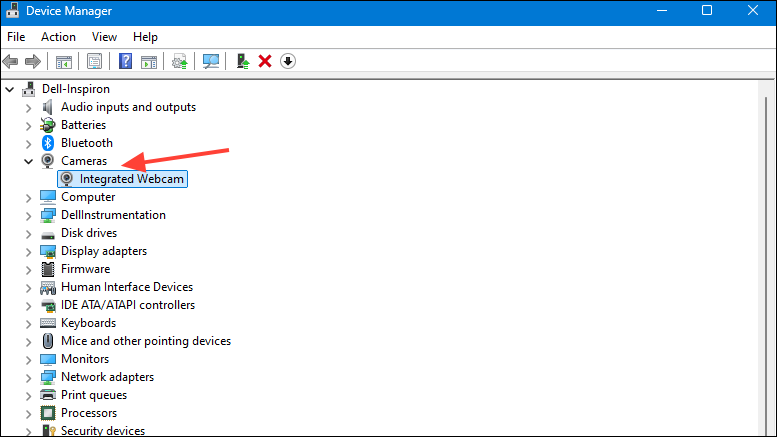
- When the Device Manager opens, click on the device whose driver you want to remove to expand it.
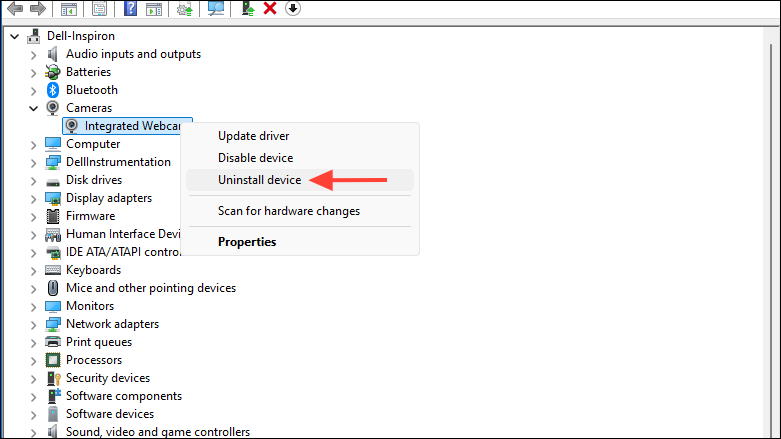
- Then right-click on the driver and click on 'Uninstall device'.
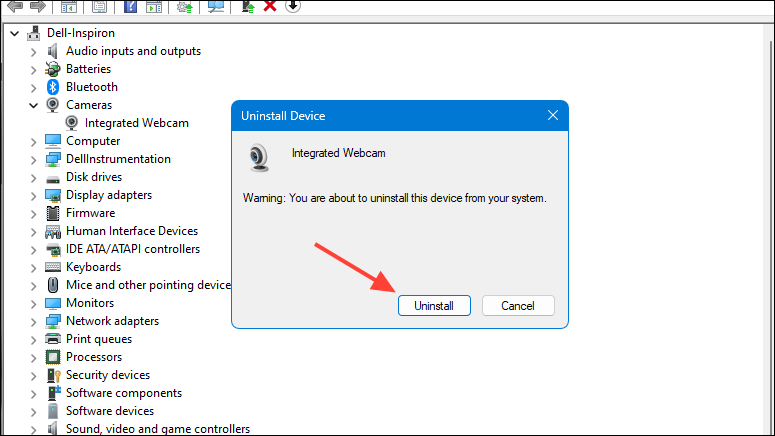
- Click on the 'Uninstall' button when the prompt appears. Then reboot your PC to complete the process.
Method 2: From the Settings app
You can also uninstall device drivers from the Settings app in Windows 11.
- Open the Settings app using the
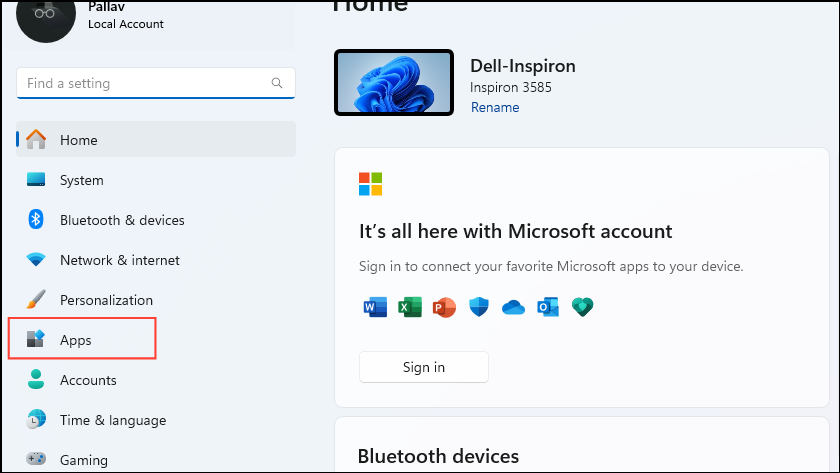
Win + Ishortcut and click on 'Apps' on the left.
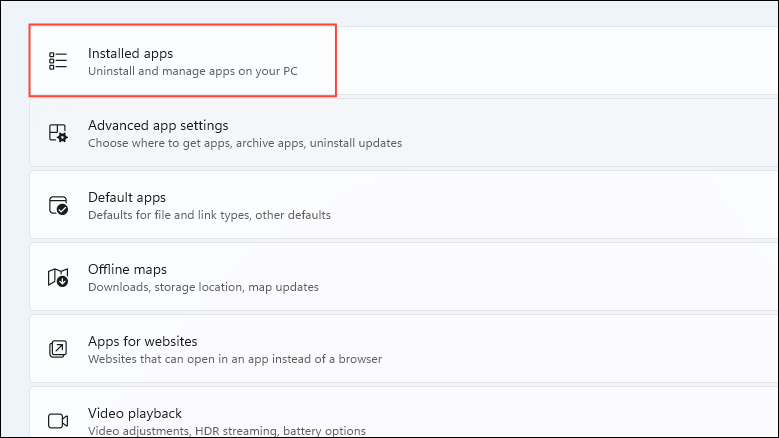
- On the Apps page, click on 'Installed apps' at the top.
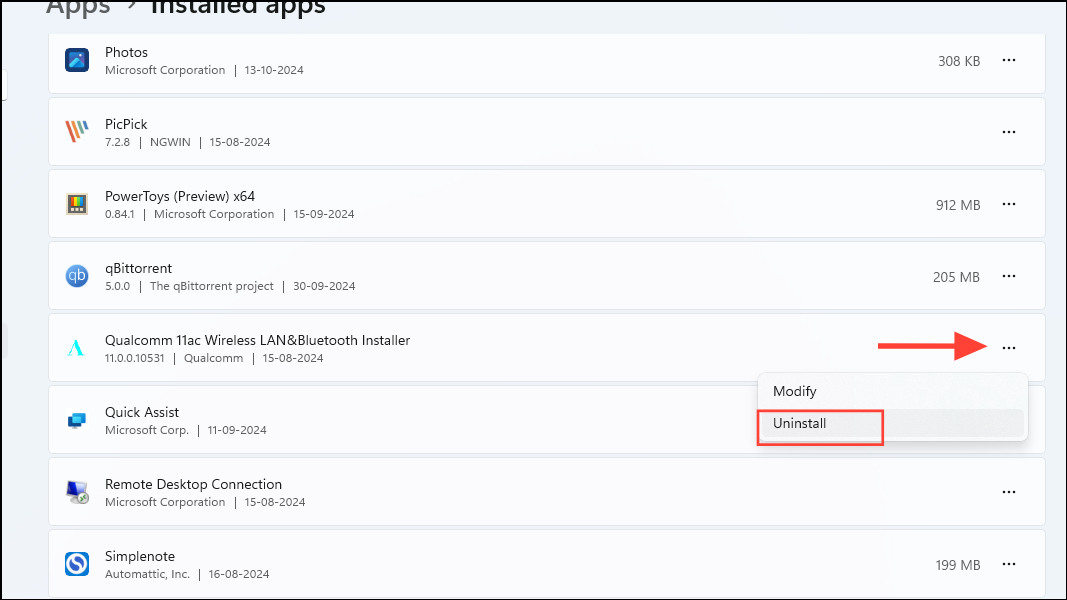
- Now, you can either use the search bar at the top or scroll down and look for the driver you want to remove. Once you've found it, click on three dots on its right and then click on 'Uninstall'. Click on 'Uninstall' once again to confirm.
Method 3: From the Control Panel
If you prefer the old-school method of removing programs and drivers from your Windows computer, you can use the Control Panel to do so.
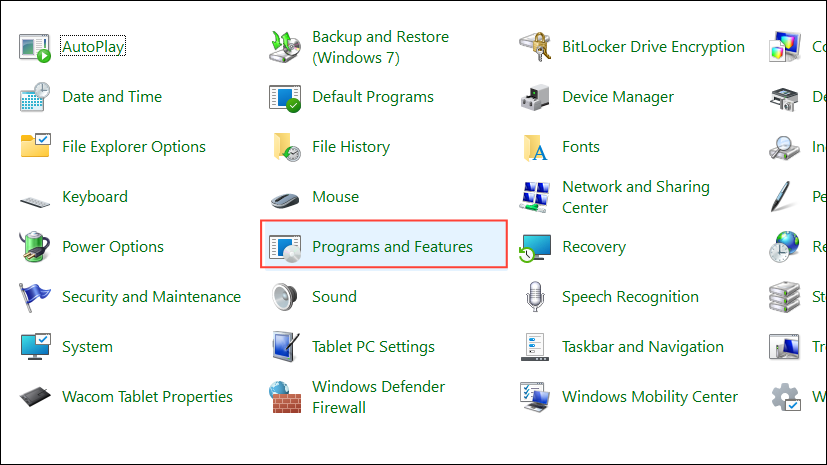
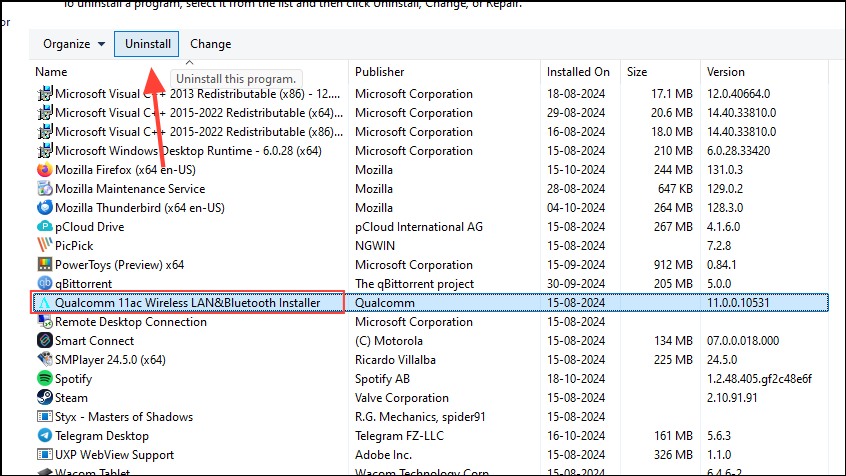
- Open the Control Panel from the Start menu and click on 'Programs and Features'.
- You will see a list of all installed programs here. Scroll down to the driver you want to remove and click on it before clicking on the 'Uninstall' button at the top.
Method 4: Using Command Prompt
You can even uninstall drivers using the Command Prompt in Windows.
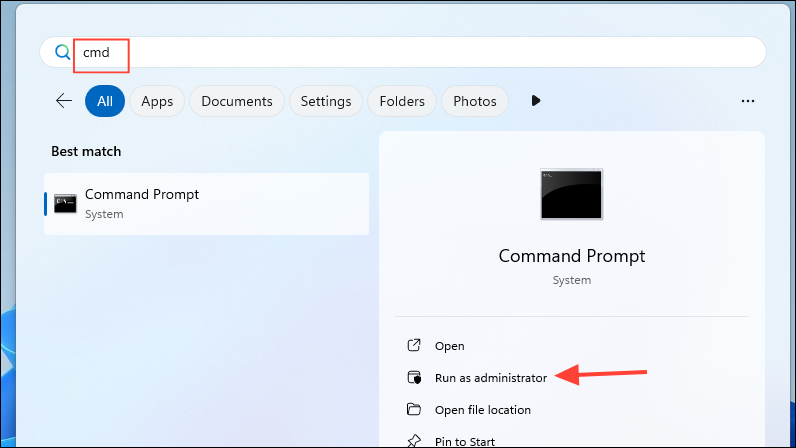
- Open the Start menu, type
cmdand click on 'Run as administrator'.
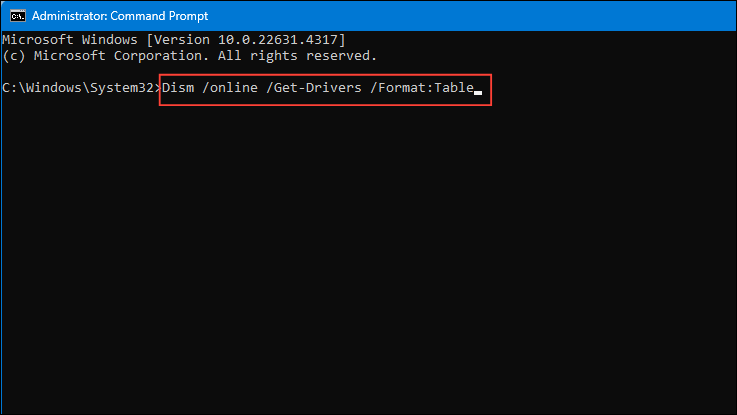
- Now paste the following in the command prompt window:
Dism /online /Get-Drivers /Format:Tableand press Enter. This will show you a list of all the drivers on your PC.
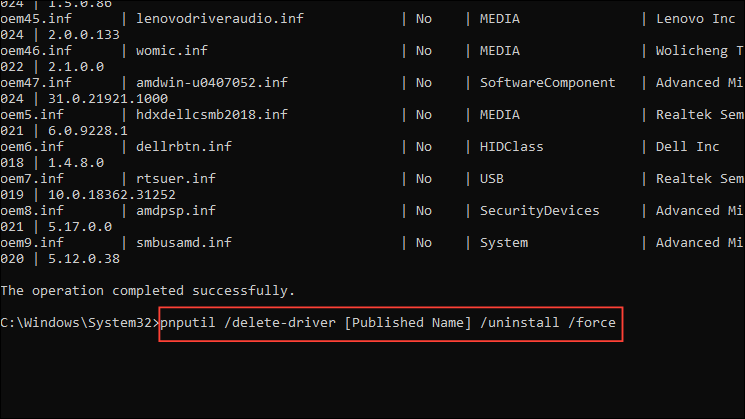
- Pay attention to the Published Name of the driver you want to remove. Then type
pnputil /delete-driver [Published Name] /uninstall /forcereplacing the [Published Name] with the name of the driver to be removed.
Method 5: Using Autoruns
The Autoruns utility in Windows lets you manage services, close background applications, and remove drivers. However, you need to download and install it on your machine before you can use it.
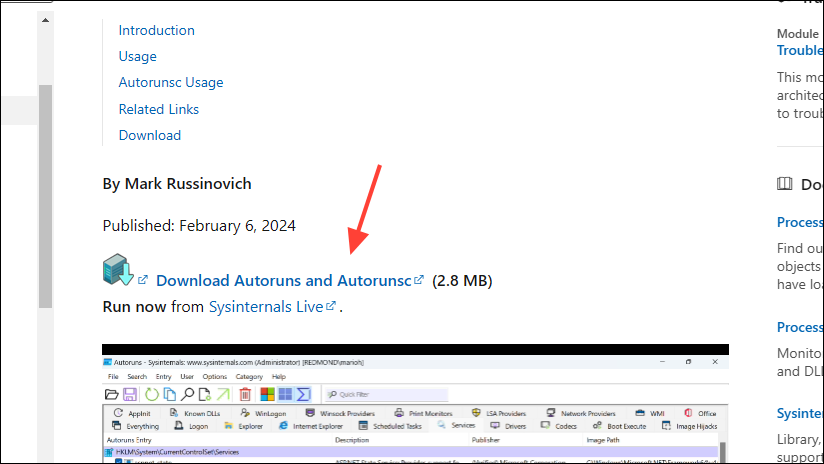
- First, visit the Autoruns website and click on the 'Download Autoruns and Autorunsc' option to download the utility.
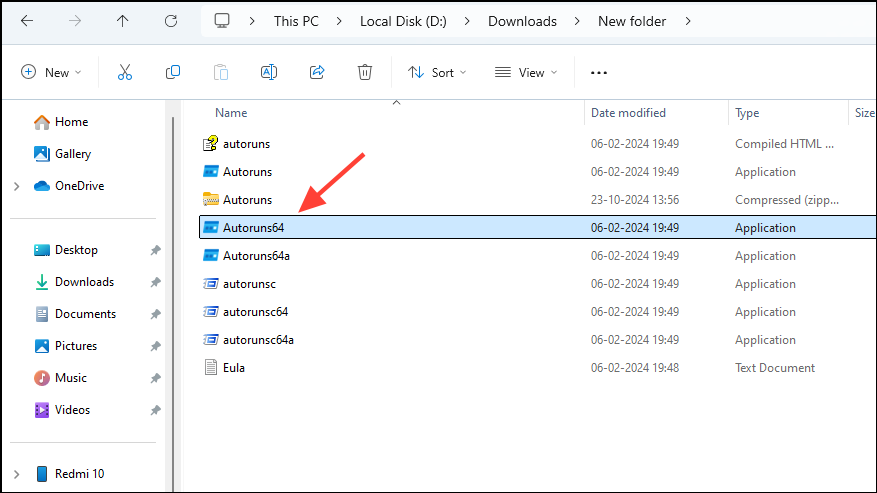
- A .zip file will be downloaded to your PC. Extract it and then double-click on 'Autoruns64.exe'.
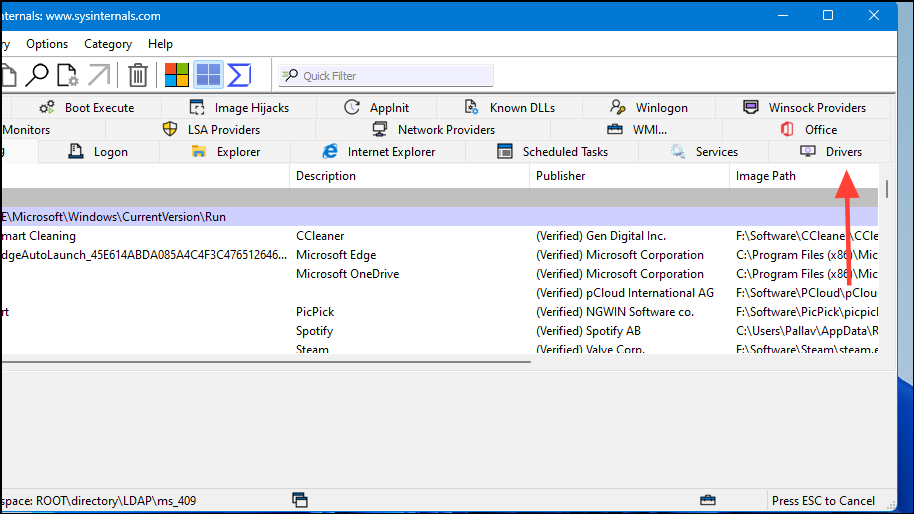
- When the Autorun utility launches, click on the Drivers tab on the extreme right.
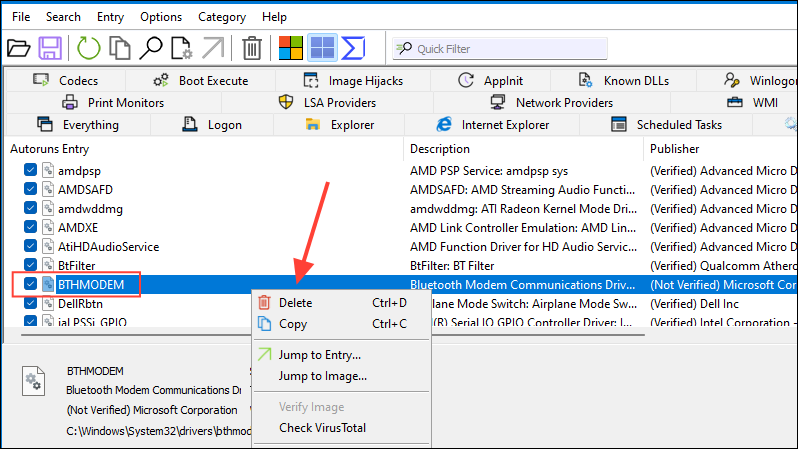
- Then right-click on the driver you want to uninstall, and click on 'Delete' and click on the 'Yes' button to confirm.
Things to know
- Besides being able to remove drivers, you can even update or roll back drivers using the Device Manager.
- If you're removing the driver for a hardware peripheral or accessory, it is a good idea to first unplug and remove that device before proceeding with the uninstall.
- You can create a restore point using the System Restore feature which can come in pretty handy if something goes wrong after uninstalling a driver. This will make it easy to revert the changes if any problems occur.
- Proceed with caution when removing drivers such as a network or graphics driver, as that can make your computer unusable. So, make sure to have a suitable driver ready for reinstallation.