
With iCloud Photos, iPhone users get the option to save their photos to Apple’s cloud service, iCloud. But iCloud Photos aren’t another storage service. It is a syncing service instead. And when the sync is turned on, all the photos deleted from your iPhone will also be removed from iCloud.
iCloud syncing is an elegant option as you can sync photos across your Apple devices, make sure your photos survive in case anything happens to the device, and save space on your device with the Optimise Storage option. But it can be irksome when you wish to save on-device storage space while keeping your gallery intact on the cloud.
Though there is no direct way to do that, there are multiple workarounds for it. And for your ease of convenience, we are going to discuss all of them in this guide.
1. Turn Off iCloud Syncing
This is the least cumbersome option of the lot. Do note that once the iCloud syncing is turned off, new pictures will not be uploaded to iCloud. But the pictures that were already in iCloud will not be affected. Before turning off syncing, ensure all the photos in your library have completed uploading to iCloud.
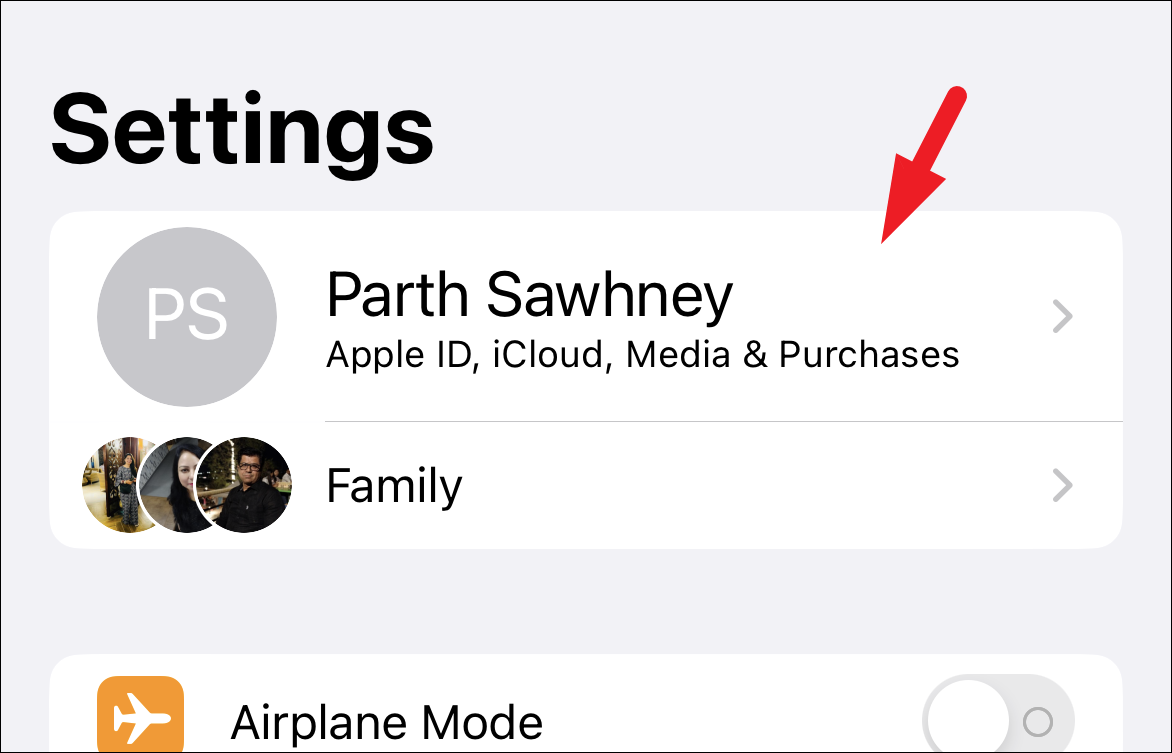
Then, on your iPhone, head to the ‘Settings’ app either from the Home Screen or the App Library.

After that, tap on the Apple ID Card to proceed.
On the next screen, tap on the ‘iCloud’ tile to continue.
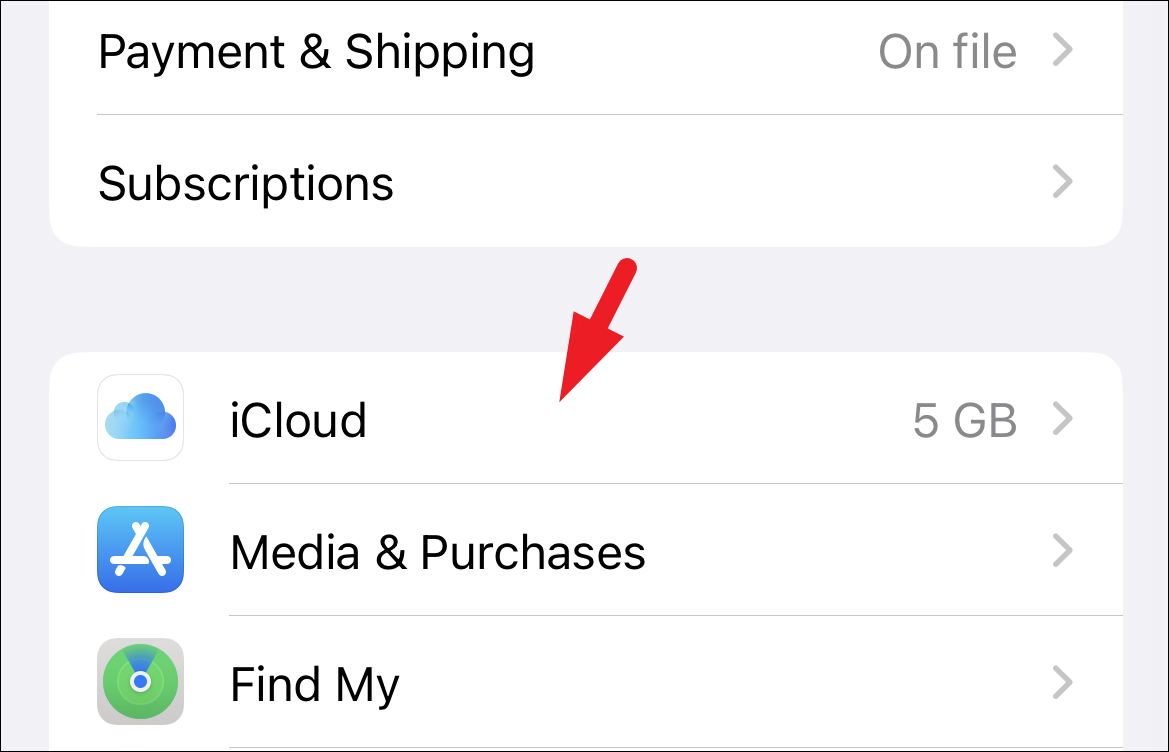
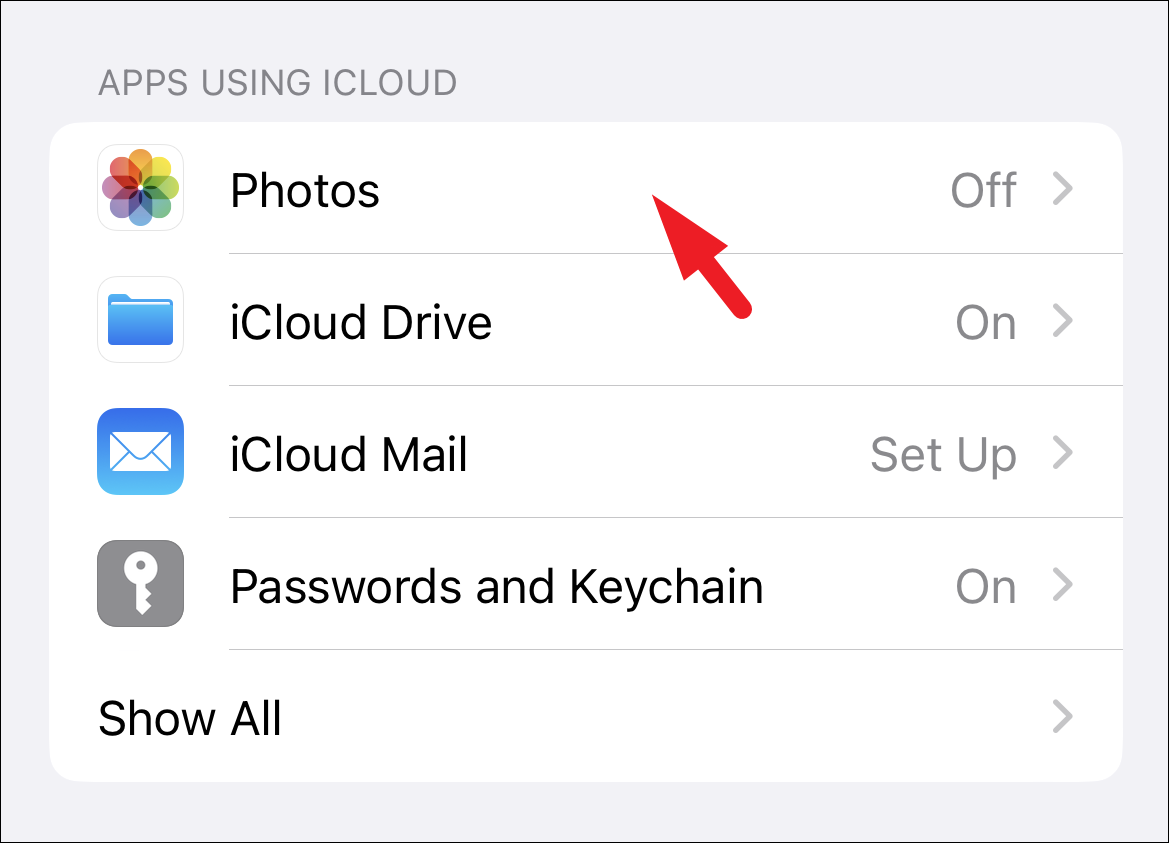
Then, tap on the ‘Photos’ option.
Now, turn off the toggle for ‘Sync this iPhone’ under iCloud Photos.
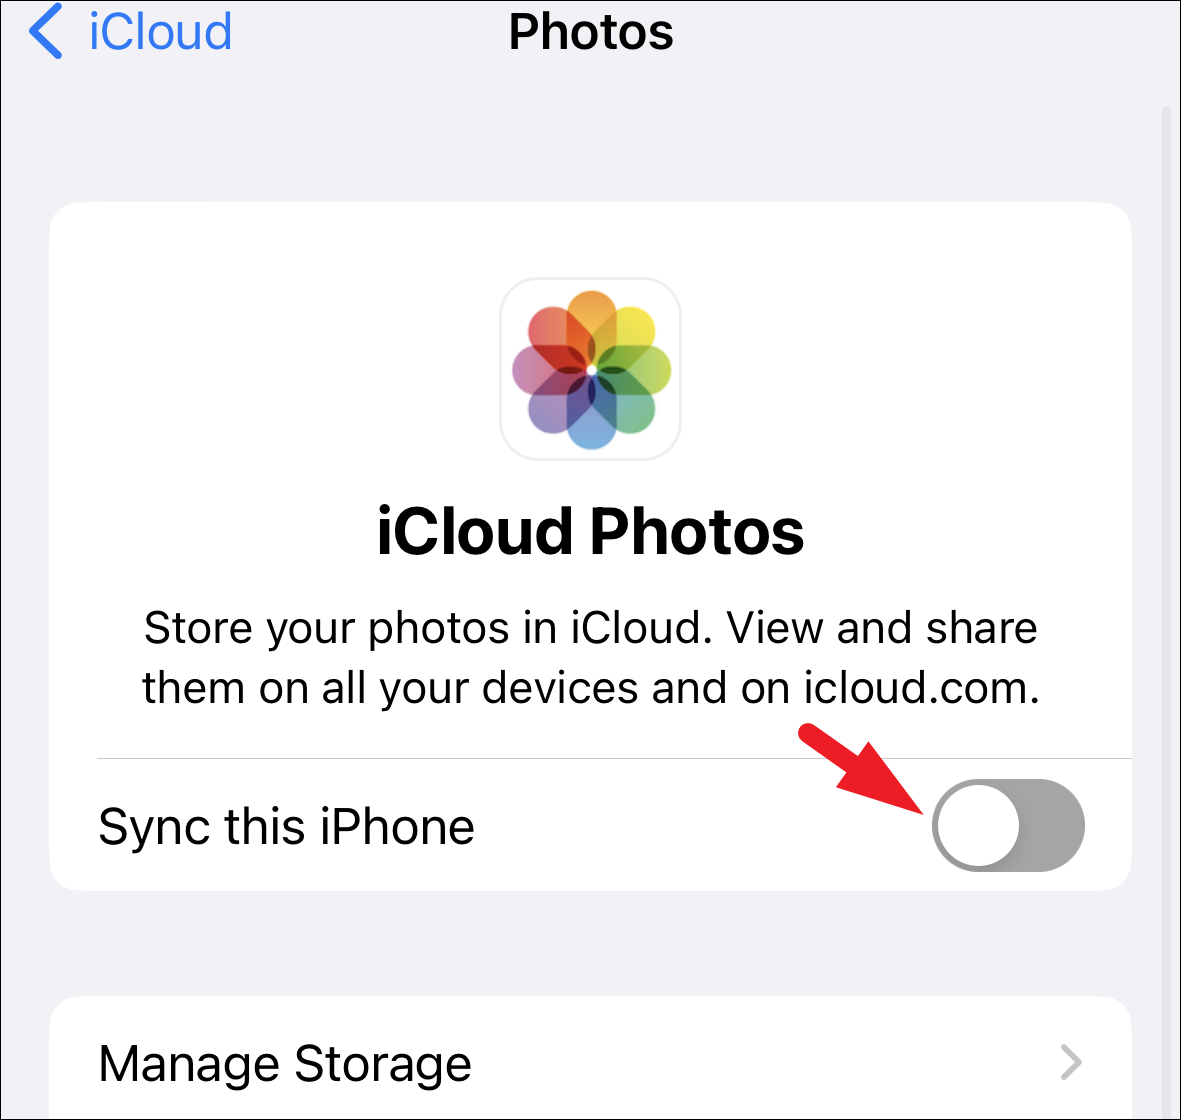
That’s it; the syncing is now turned off. You can delete the pictures from your iPhone now without worrying about them being deleted from iCloud.
2. Sign in to a Different Apple ID
This workaround can get messy as you are logging out of one Apple ID and signing into another one. That being said, it will preserve your already synced photos. However, photos will be deleted from the new iCloud account once the photos are synced.
First, head to the ‘Settings’ app from the Home Screen or the App Library.
After that, tap on the Apple ID card to proceed.
Next, scroll down to the bottom of the page and tap on ‘Sign Out’.

Once signed out, log in with another Apple ID. Now you can delete photos from the gallery. Photos already synced to iCloud will not be affected.
3. Use Another Cloud Service
In case you want to have a solution for once and all, you could subscribe to another cloud service. Alternate options include Google Photos, Dropbox, and Windows OneDrive. For this instance, we will use Google Photos to showcase the process.
If the app is not installed on your iPhone, head to the App Store either from the Home Screen or the App Library.
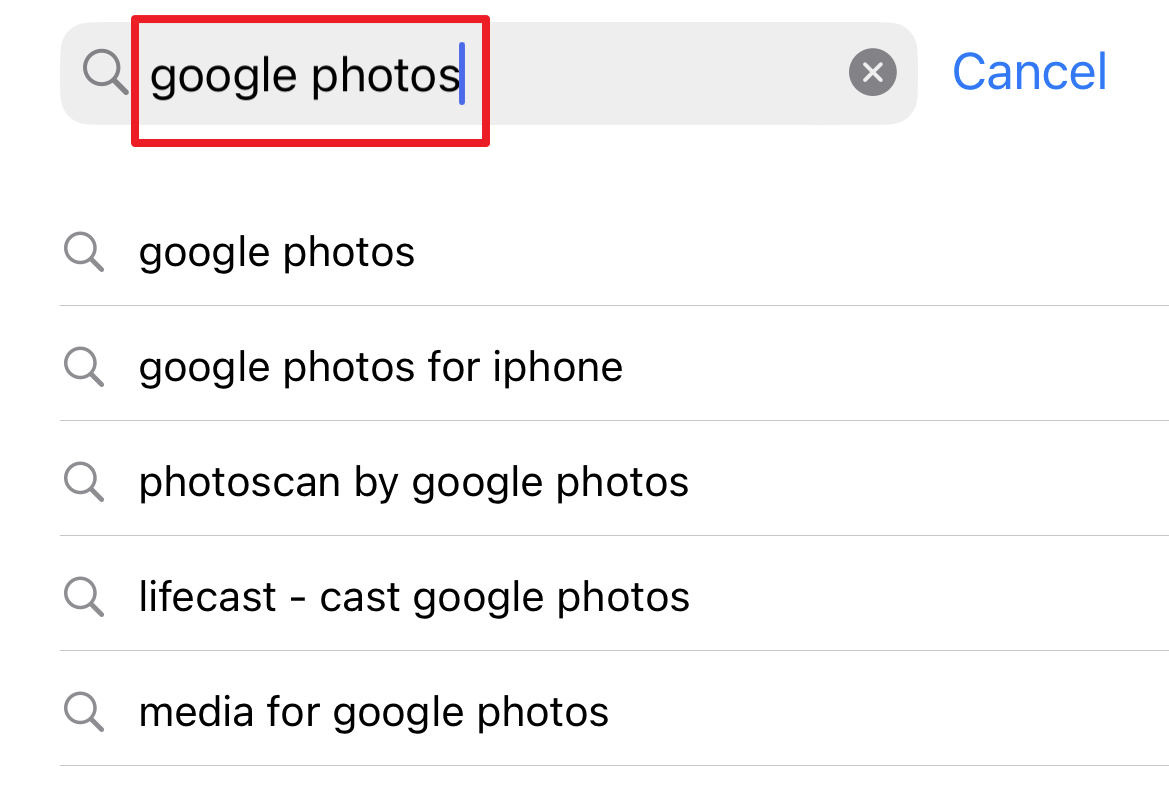
After that, head to the ‘Search’ tab from the bottom right corner of the screen.
Then, type Google Photo to search for it.
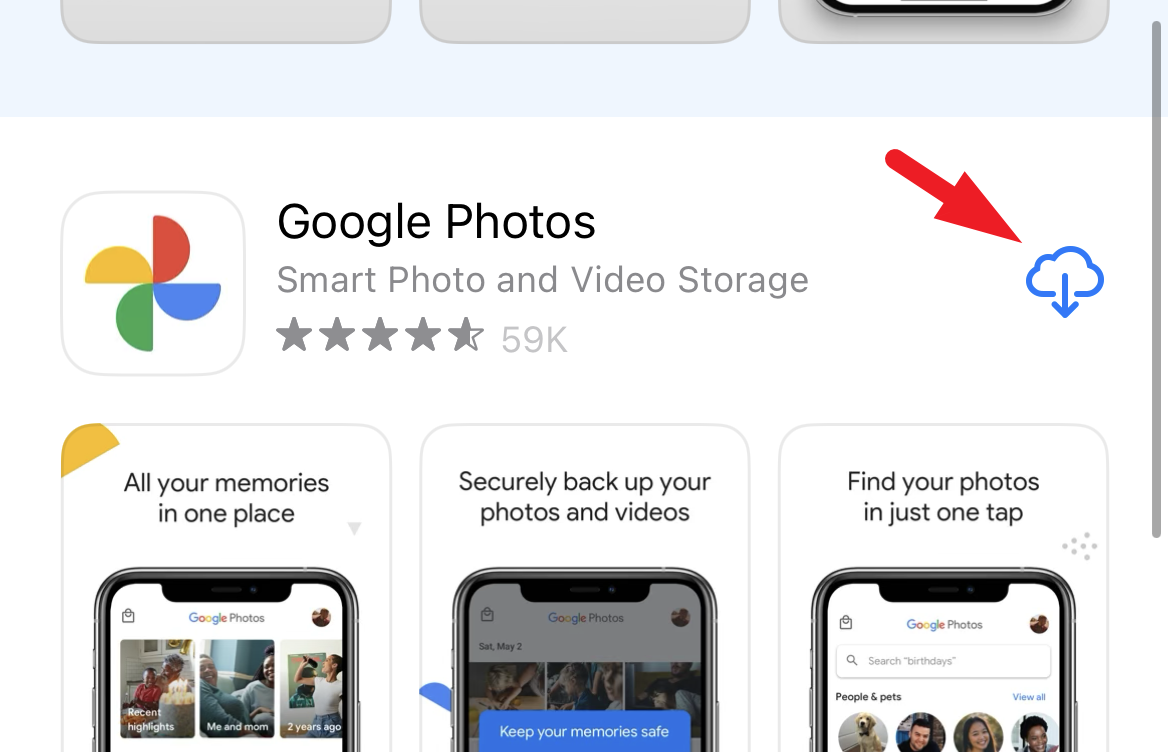
From the search results, click the ‘Get/Cloud’ icon to download and install the app.
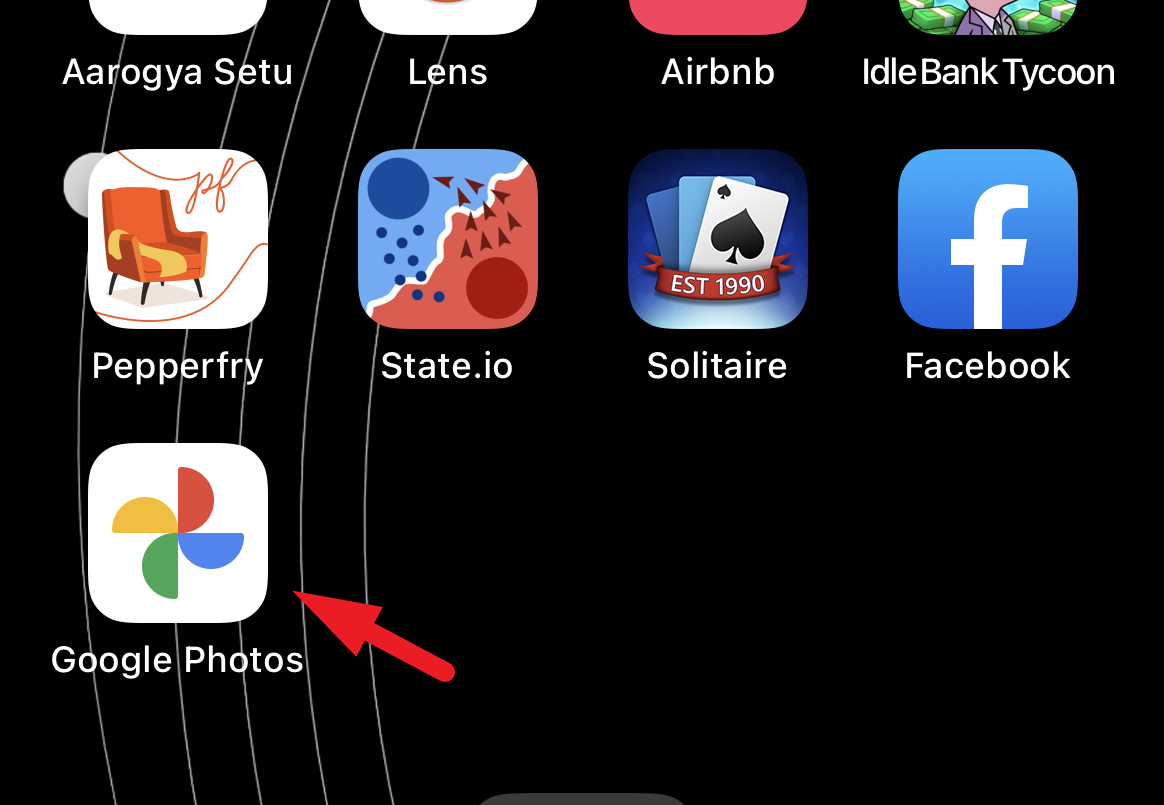
Once installed, launch the app either from the Home Screen or the App Library.
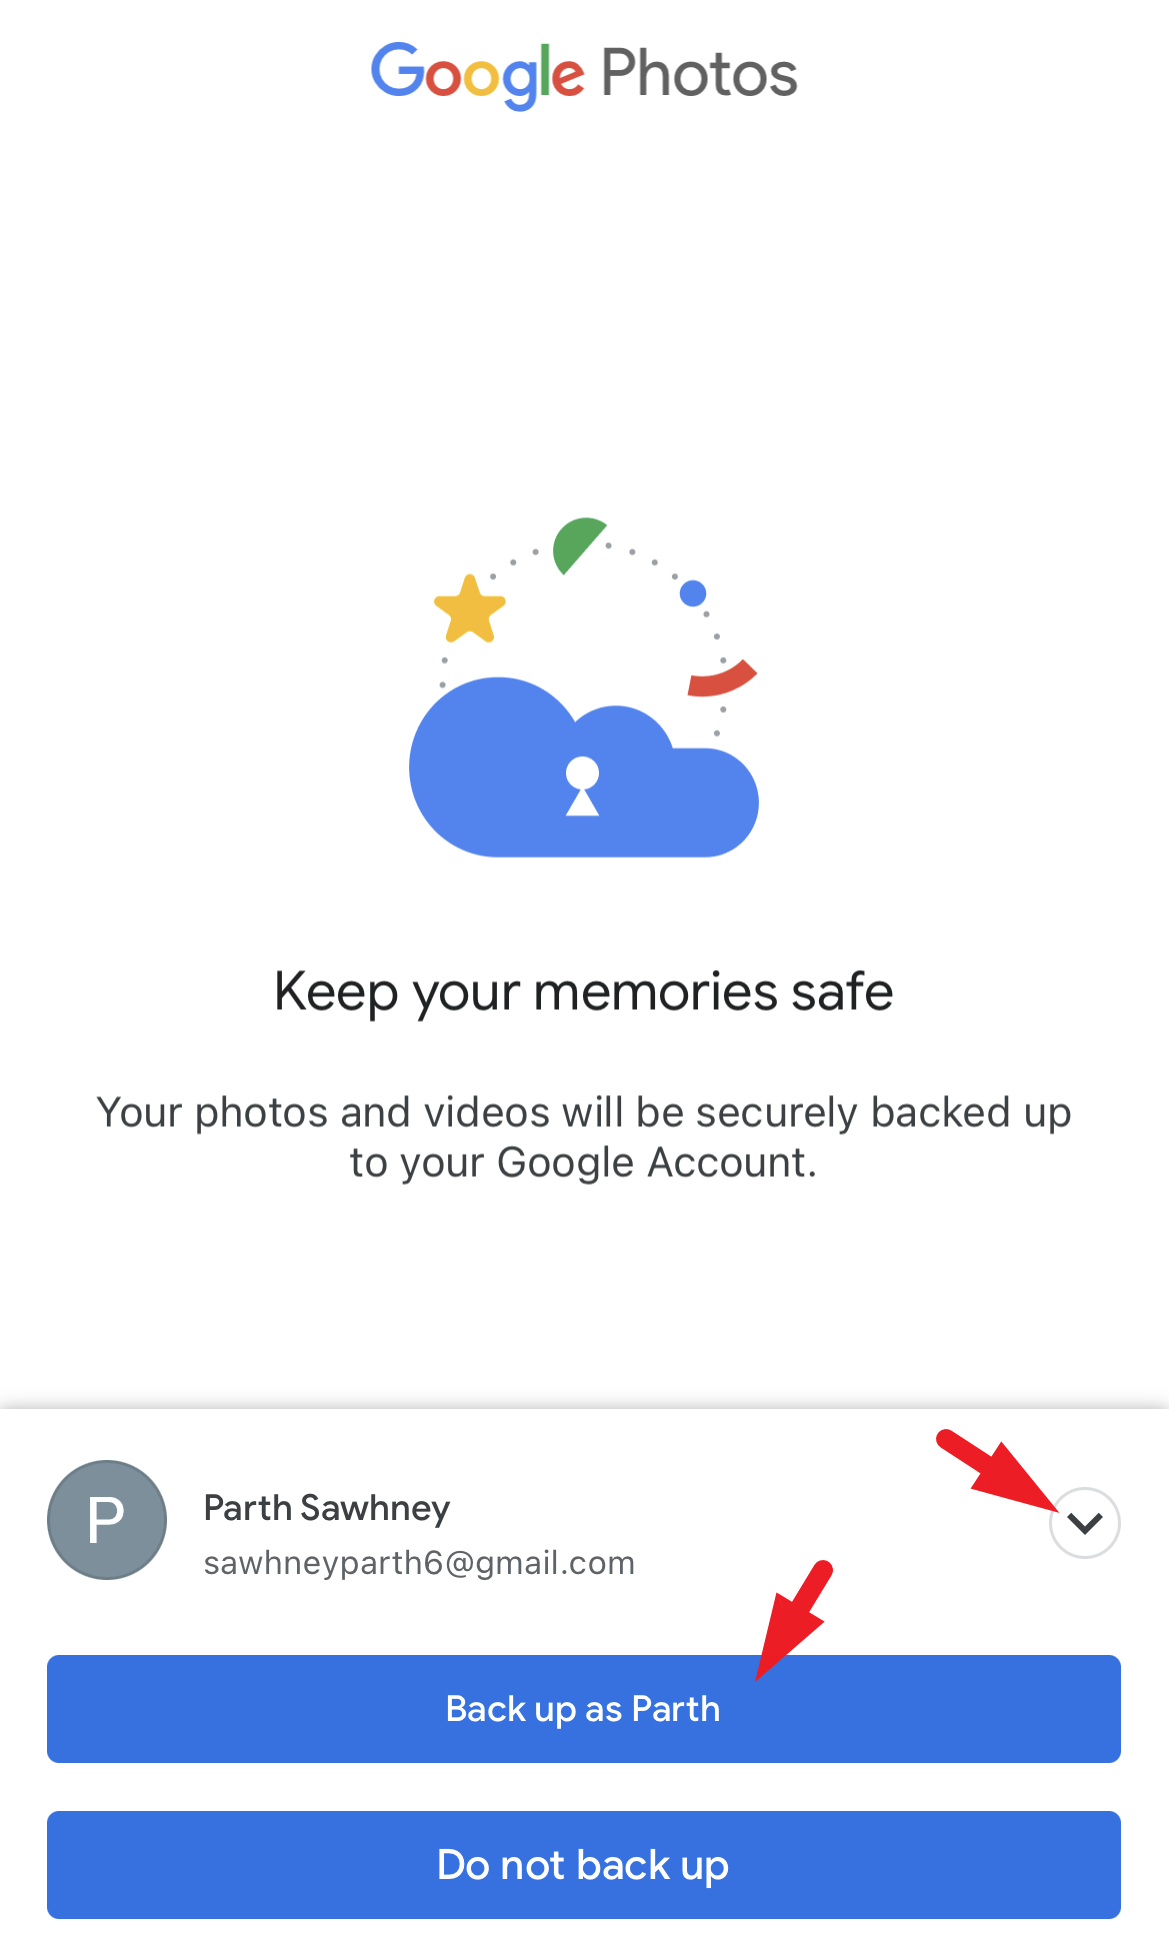
Now, sign in using your Google credentials. If you have any other Google app installed on your iPhone, it will fetch the details automatically. In case you wish to change the account, click on the ‘chevron’ and sign in with the desired account credentials.
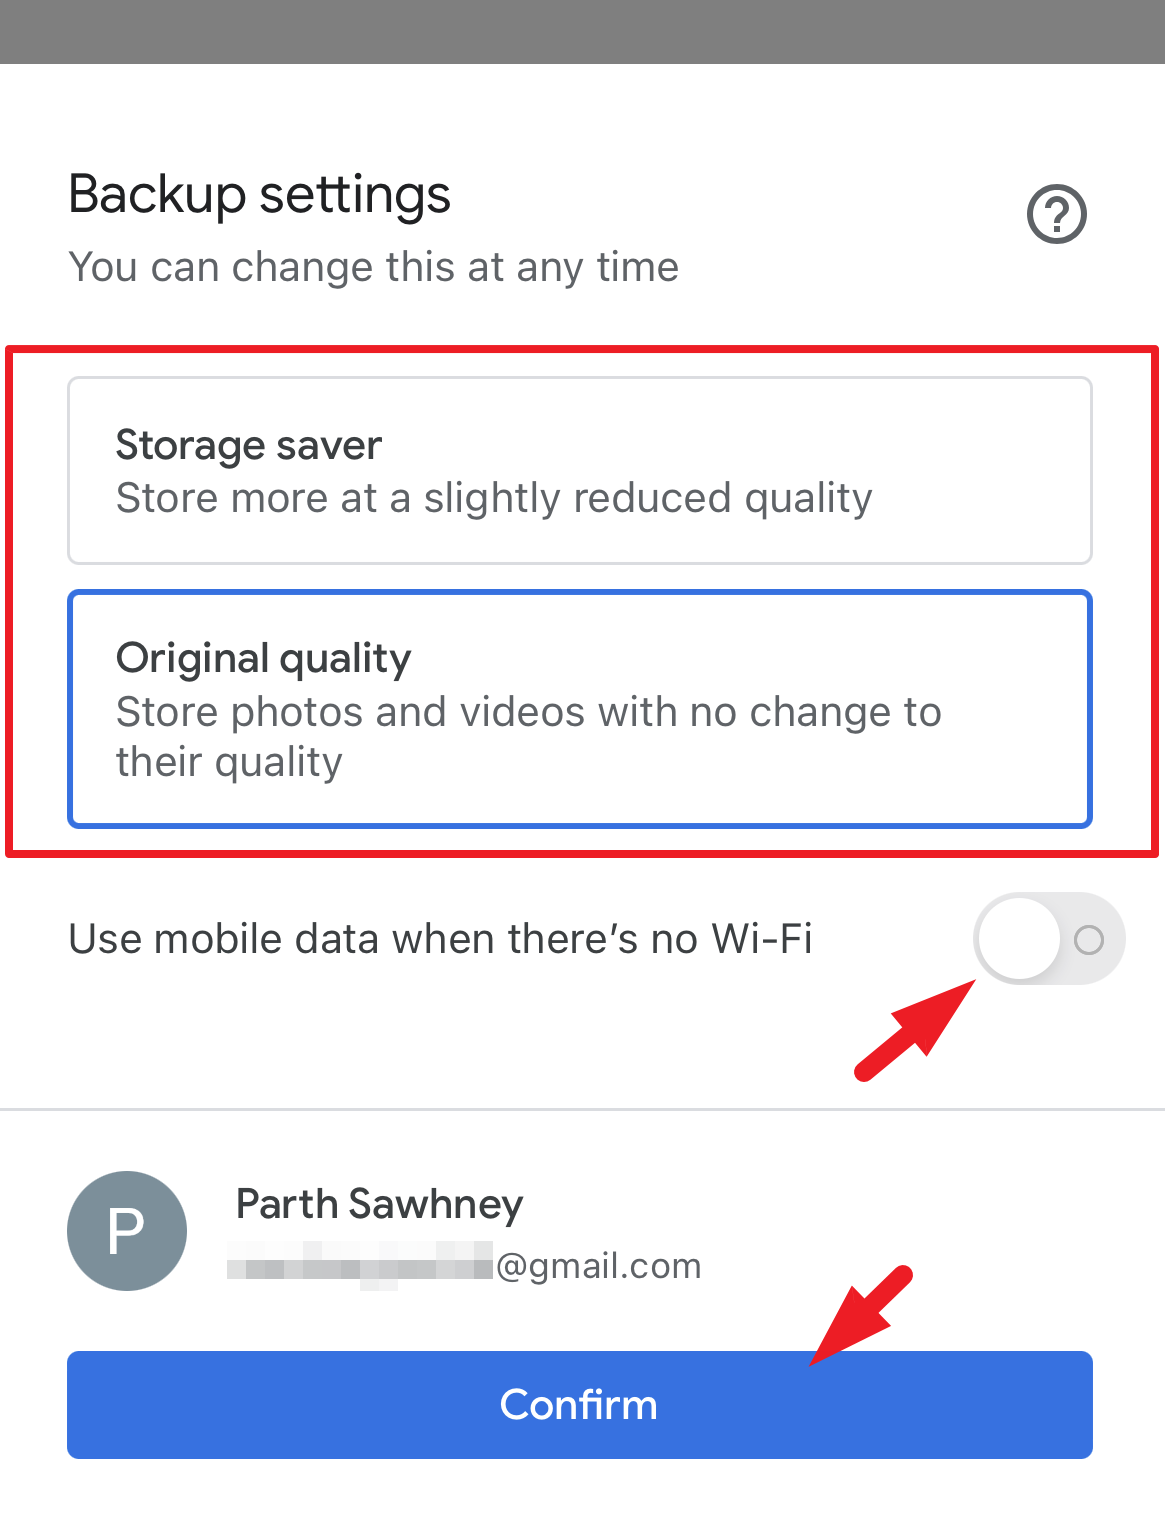
Next, you will need to select the picture quality. You can select the ‘Space Saver’ or the ‘Original Quality’. It is pretty self-explanatory that the ‘Space saver’ option will reduce the quality of photos/videos to reduce their size while the latter option will store them in their original quality.
By default, Google Photos only backs up the photos when connected to Wi-Fi. In case you wish to change that, turn on the toggle for the ‘Use Cellular when Wi-Fi is not available’ option. Once configured, click ‘Confirm’.
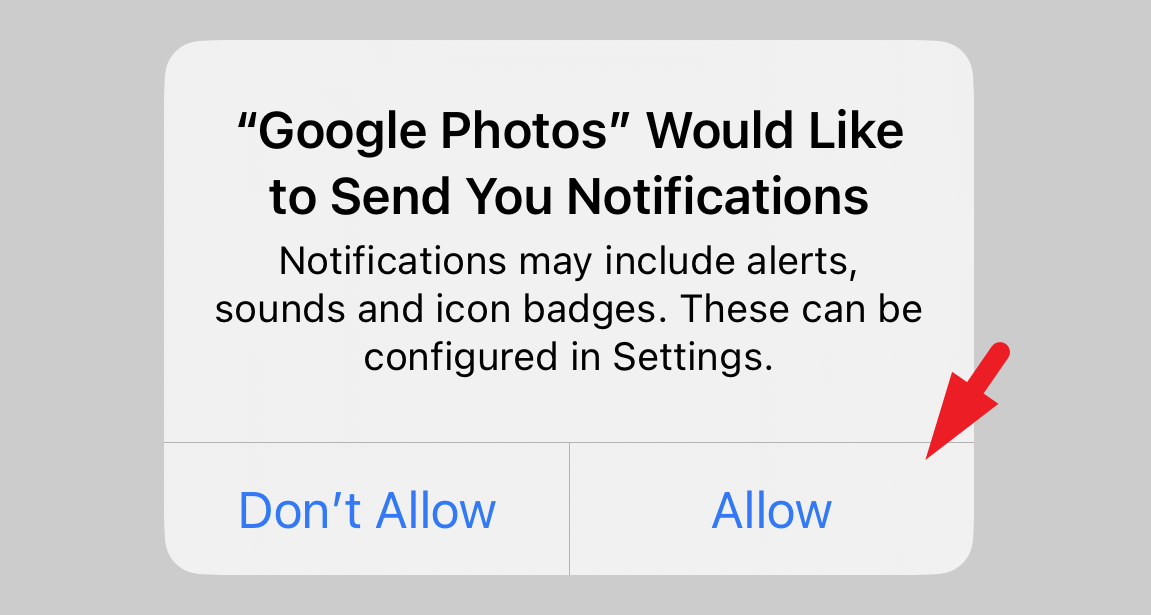
You might receive a prompt to ask for notification privileges. Tap ‘Allow’ to enable them. Otherwise, tap ‘Don’t Allow’.
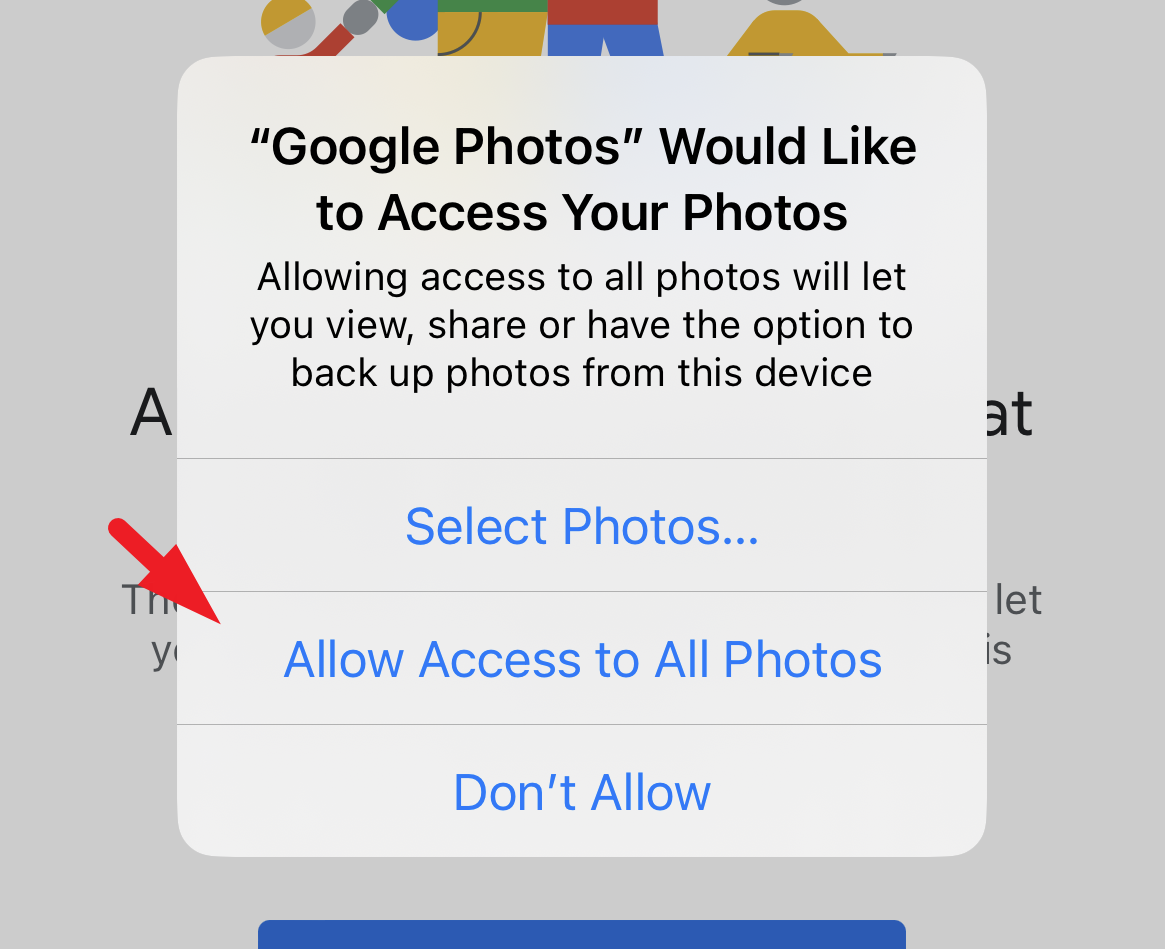
After that, tap on ‘Allow access to all photos’. This will bring a prompt to your screen.
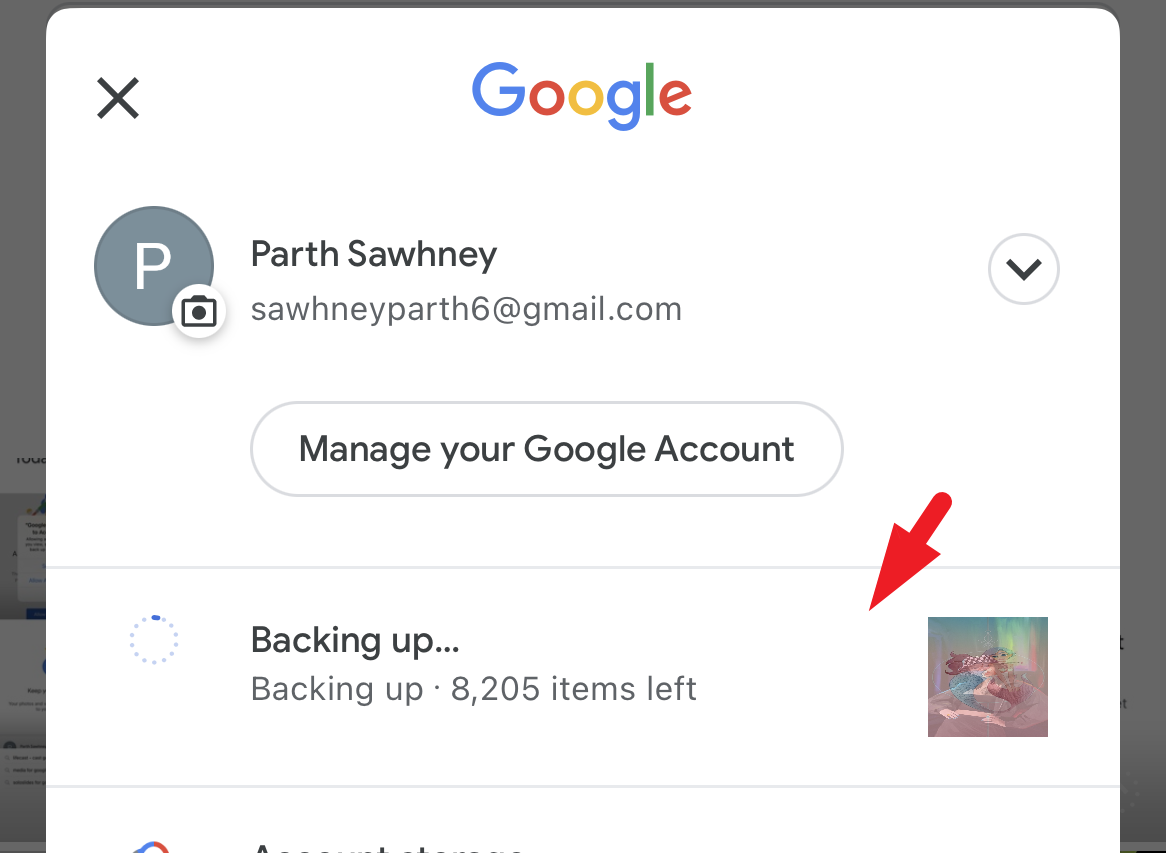
And that’s it, Google will start backing up your pictures immediately. To check the status, tap on your ‘Account picture/initials’ in the top right corner.
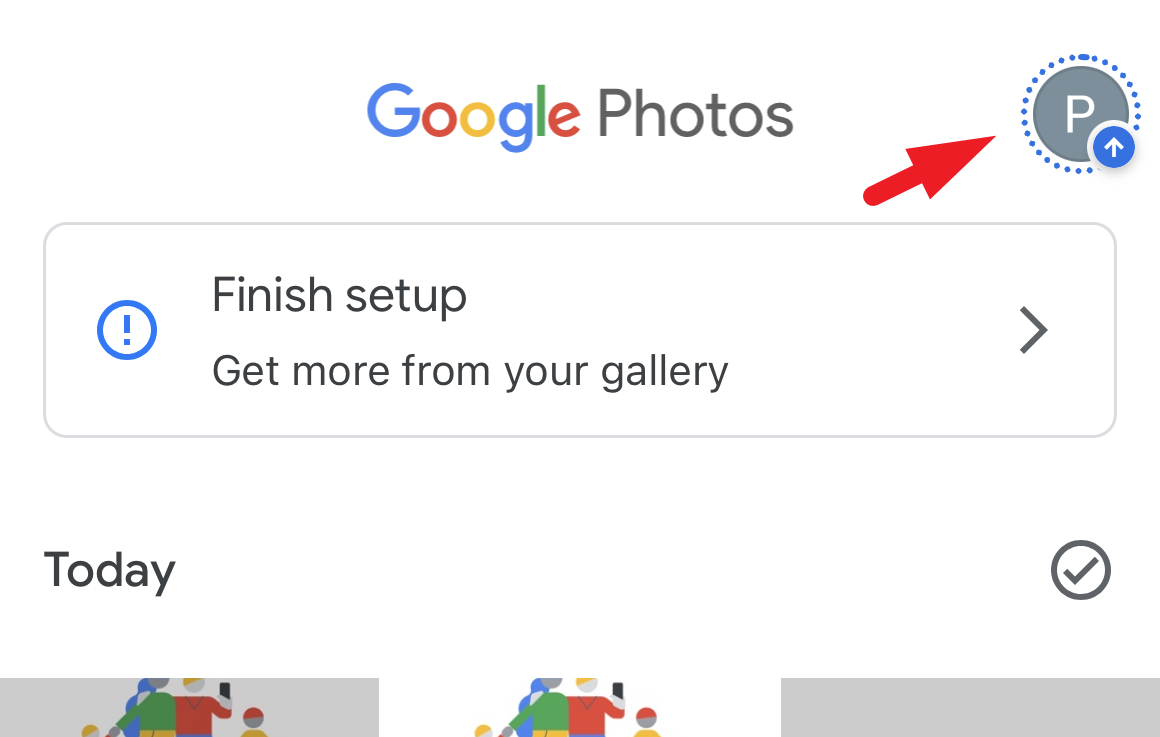
You shall be able to see how many photos are yet to be uploaded.
Once the backup is complete on Google Photos, you can disable the iCloud backup using the steps showcased in the earlier section of the guide and delete pictures from your photo gallery. Even if you do not disable iCloud syncing, your pictures will be safe on Google Photos.
4. Export Photos from iPhone
You can use this option to save on-device storage and export all the pictures from your iPhone to a Windows computer or a Mac. (Here, we have showcased the process on a Windows computer).
This is a three-step process. First, you will need to disable iCloud Photo Sync on your iPhone. Then, install iCloud on your computer (if Windows) and enable Photo Sync there. Next, export all pictures from your iPhone to the computer and erase them simultaneously.
You can disable the iCloud Photo sync by following the steps mentioned in the first section of this guide.
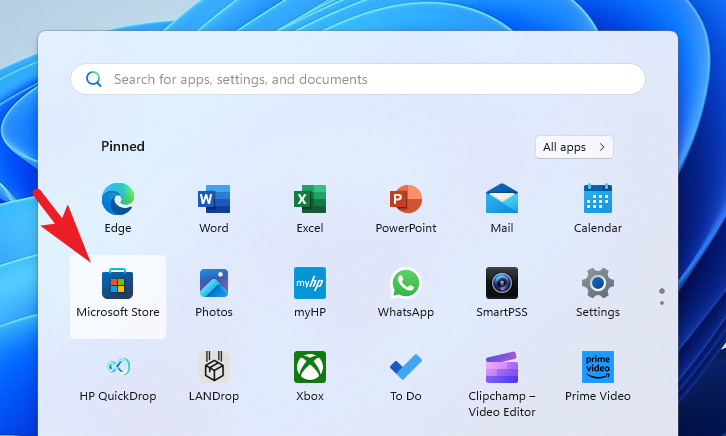
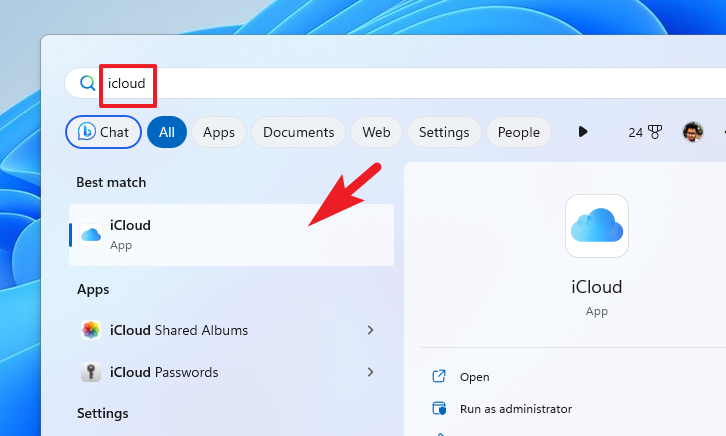
Now, you will need to enable Photos backup from the computer, and you will need the iCloud app. In case you do not have it installed, head to the Start Menu and type Store. Then, from the search results, click on the ‘Microsoft Store’ tile to proceed.
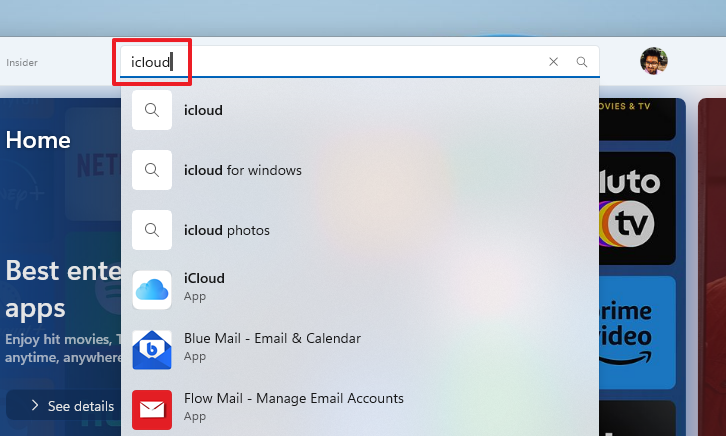
Now, type iCloud in the search bar.
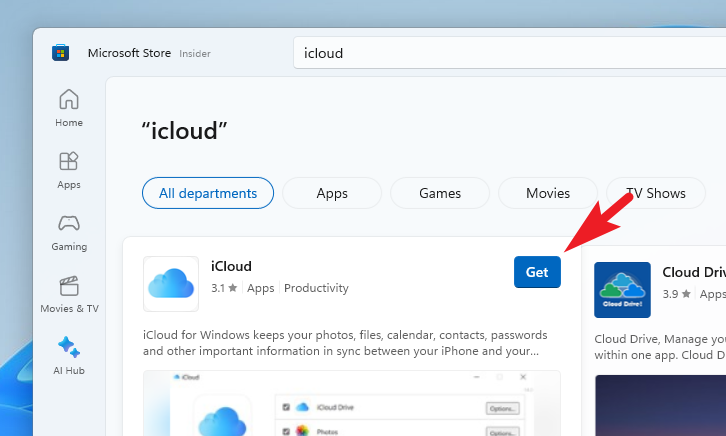
From the results, hover over the ‘iCloud’ tile and click the ‘Get’ button.
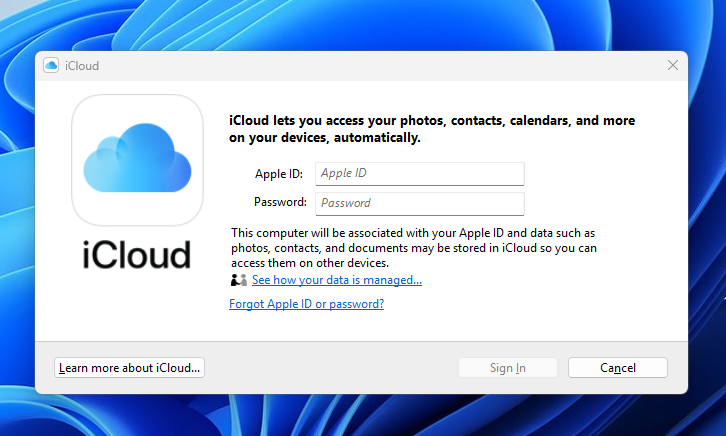
Launch the app from the Start Menu once it has been installed.
Now, sign in using your Apple ID credentials on which you would like to keep the photo backup.
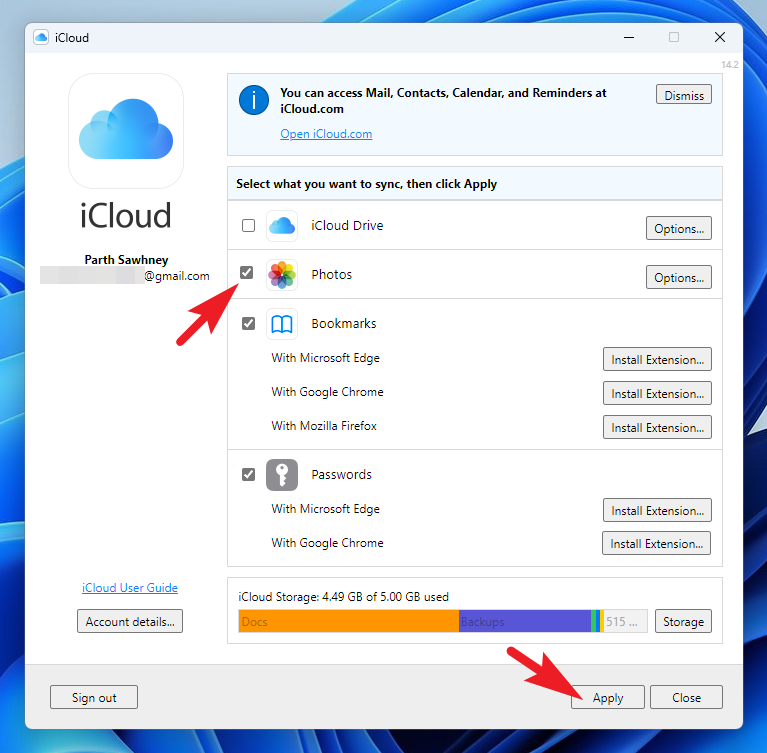
After signing in, you will see the settings screen. Click to check the ‘iCloud Photos’ option. By default, iCloud will make its own directory, and pictures placed in them will be synced.
As soon as you will connect your iPhone to a Windows computer, you will receive a prompt on your iPhone. Tap on ‘Trust this Computer’ to proceed.
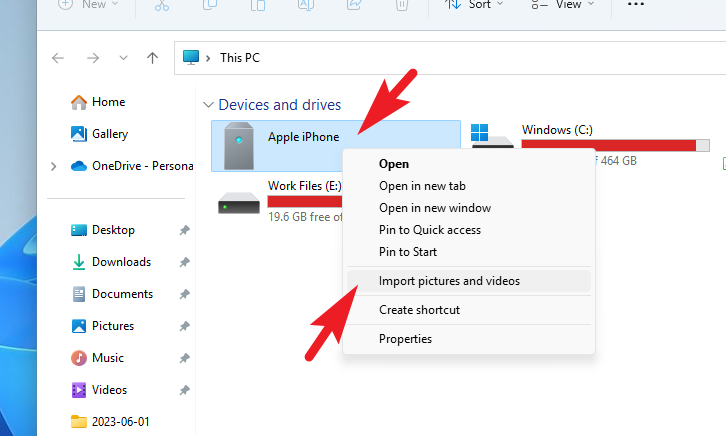
After that, on the Windows computer, either double-click on the ‘This PC’ icon or press the Windows+E keyboard shortcut.

Next, right-click on the ‘Apple iPhone’ drive and select the ‘Import pictures and videos’ option. This will open a separate window on your screen.
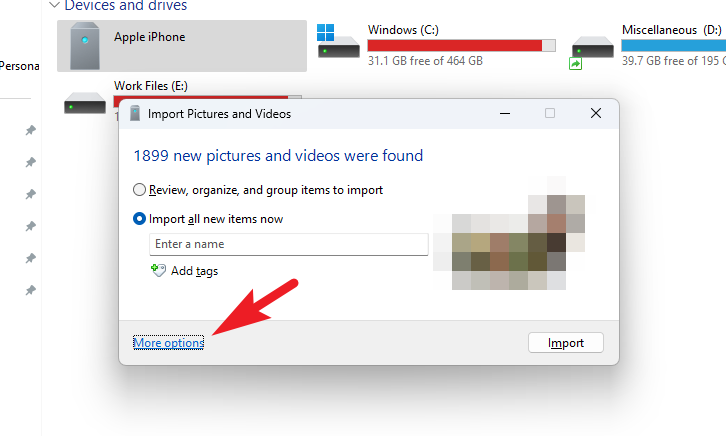
Once Windows has scanned all the pictures, it will display the total number of pictures and videos to be imported. Now, click ‘More options’ to proceed. This will open a new window on your screen.
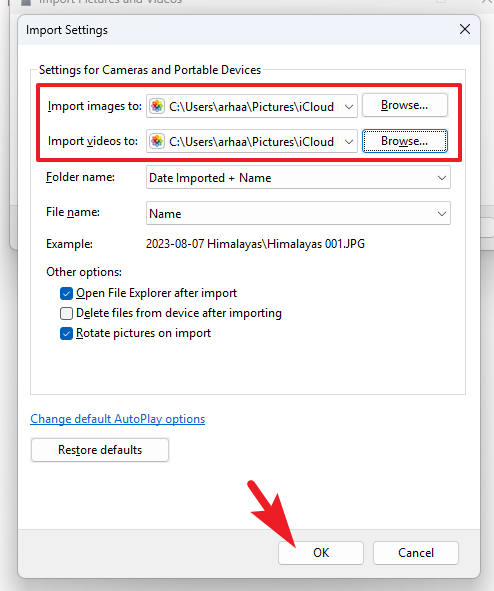
On the new window, click on the ‘Browse’ button following the ‘Photos’ and ‘Videos’ options and select the ‘iCloud’ directory using the File Explorer window that opens. Once done, click ‘OK’ to save changes.
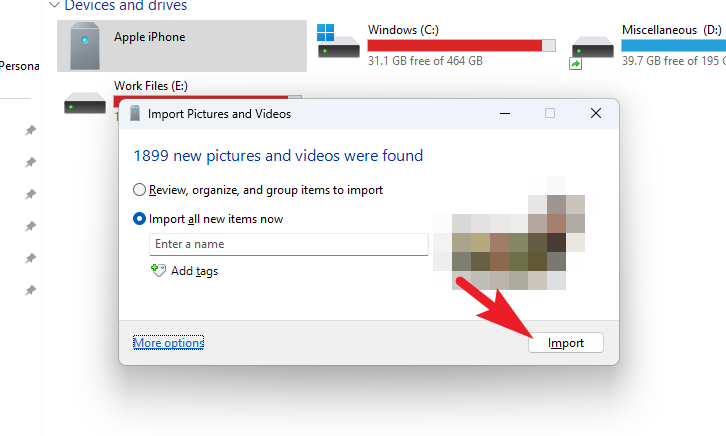
Finally, click ‘Import’ to start importing all the pictures and videos to your computer.
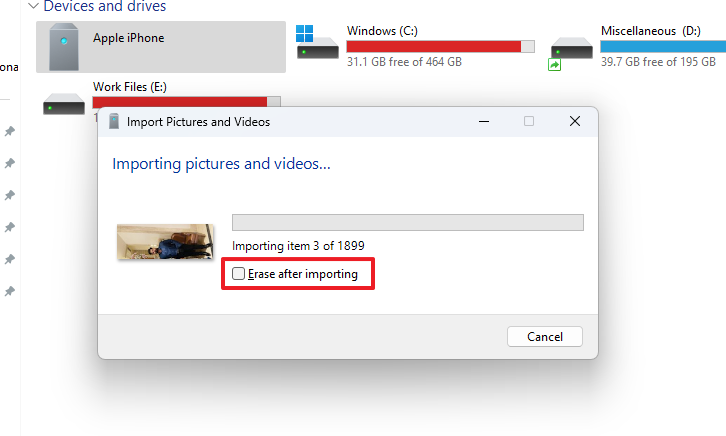
Now, on the import window, click the ‘Erase after importing’ checkbox to erase all the pictures once the computer is done importing.
iCloud Photo Sync is no doubt a great feature, but it can get really frustrating when you wish to delete photos from your iPhone and not from iCloud. Although there is no direct way to achieve it, there are many workarounds in this guide that can help you with it, thankfully.


