
OneDrive, integrated into Windows 11, provides seamless cloud storage and synchronization across devices. However, if you prefer using other cloud services or want to manage your files locally, you might consider disabling or removing OneDrive from your PC. This guide outlines several methods to help you disable or uninstall OneDrive according to your preferences.
Uninstall OneDrive from Windows 11
If you decide that OneDrive isn't necessary for your workflow, you can completely remove it from your system. Here's how to uninstall OneDrive from your Windows 11 PC.
Uninstall OneDrive via Windows Settings
Step 1: Press Windows + I to open Windows Settings.
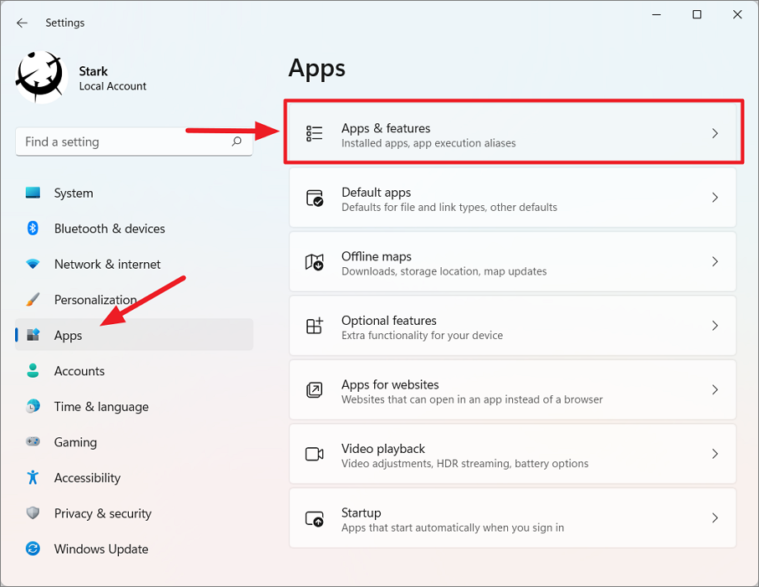
Step 2: In the Settings window, select Apps from the left sidebar, then click on Apps & features on the right.
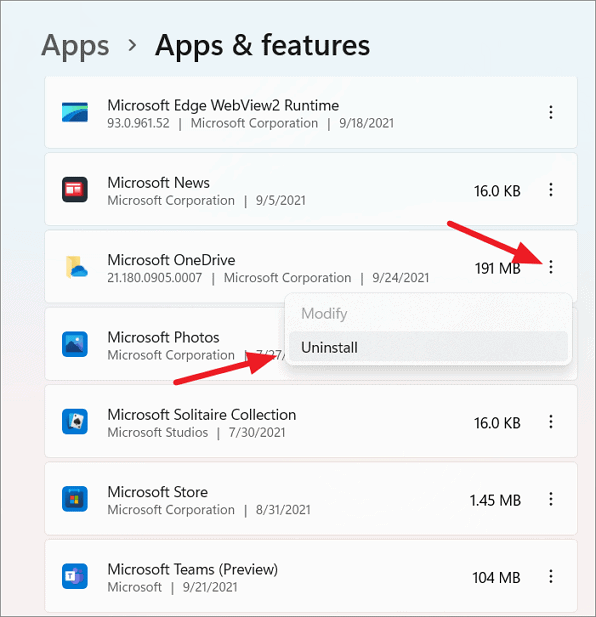
Step 3: Scroll through the list of installed apps to find Microsoft OneDrive. Click on the three vertical dots next to it and select Uninstall.
Step 4: Confirm the action by clicking Uninstall again when prompted.
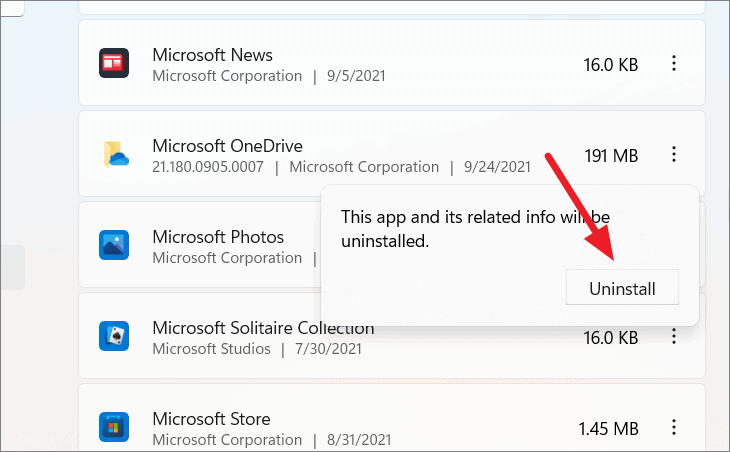
This process will completely remove OneDrive from your computer.
Uninstall OneDrive Using Command Prompt
If you prefer using Command Prompt, you can uninstall OneDrive by executing a few commands. Before proceeding, determine whether your Windows 11 is a 32-bit or 64-bit operating system.
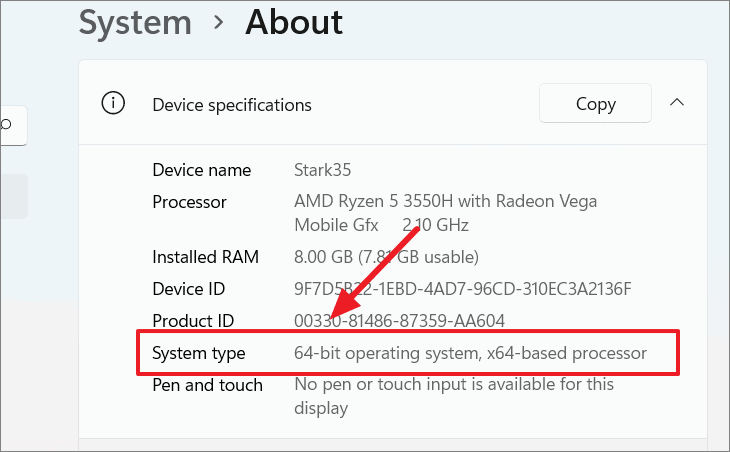
Step 1: Open Windows Settings by pressing Windows + I. Select System from the left sidebar, then scroll down and click on About.
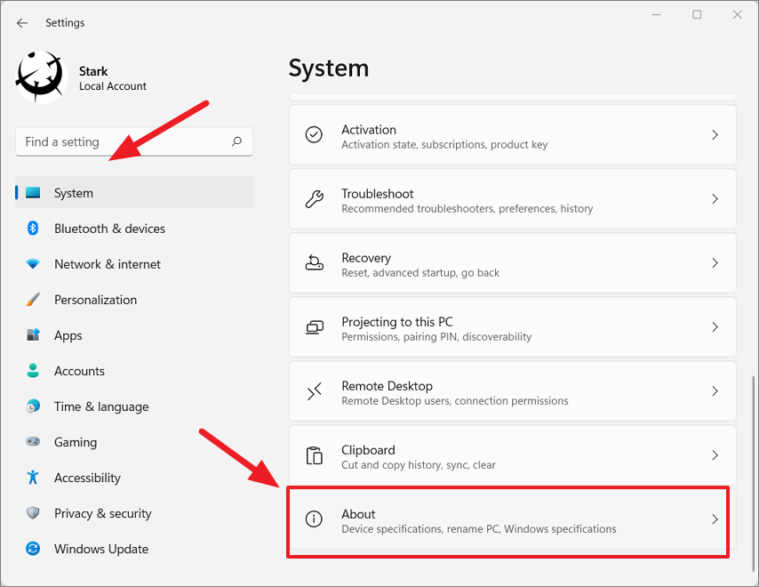
Step 2: Under Device specifications, check the System type to find out if your system is 32-bit or 64-bit.
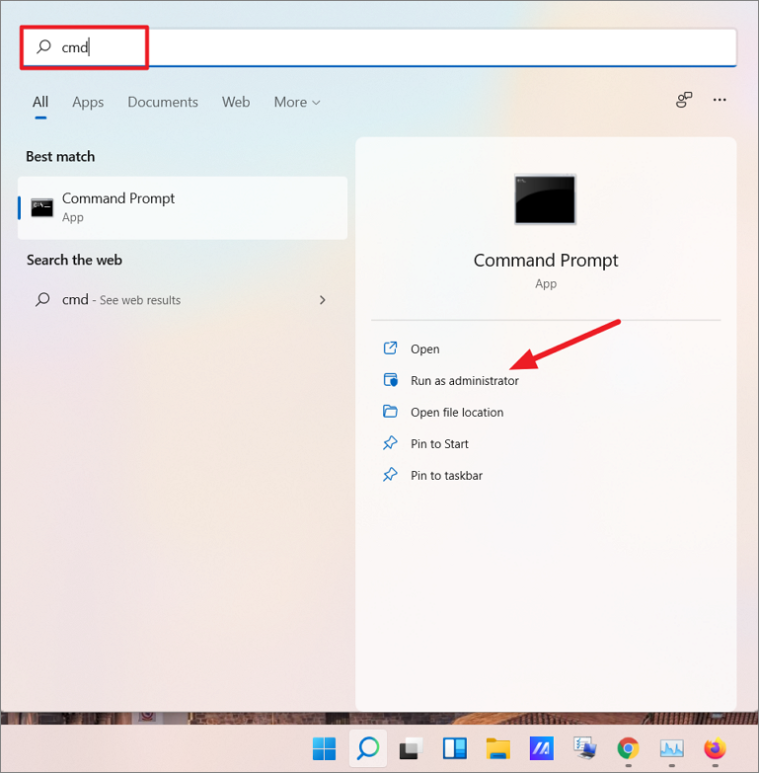
Step 3: Open Command Prompt as an administrator. Click the Start menu, type CMD or Command Prompt, then select Run as administrator on the right.
Step 4: In the Command Prompt window, enter the following commands one by one, based on your system type:
For 64-bit systems:
taskkill /f /im OneDrive.exe%SystemRoot%\SysWOW64\OneDriveSetup.exe /uninstallFor 32-bit systems:
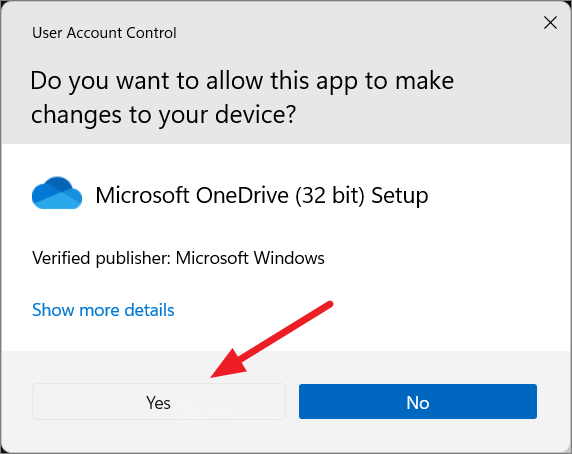
taskkill /f /im OneDrive.exe%SystemRoot%\System32\OneDriveSetup.exe /uninstallStep 5: If prompted by User Account Control, click Yes to allow the changes.
These commands will terminate any running OneDrive processes and uninstall the application from your system.
Disable OneDrive via Group Policy Editor
If you're using Windows 11 Pro, Enterprise, or Education editions, you can disable OneDrive using the Group Policy Editor.
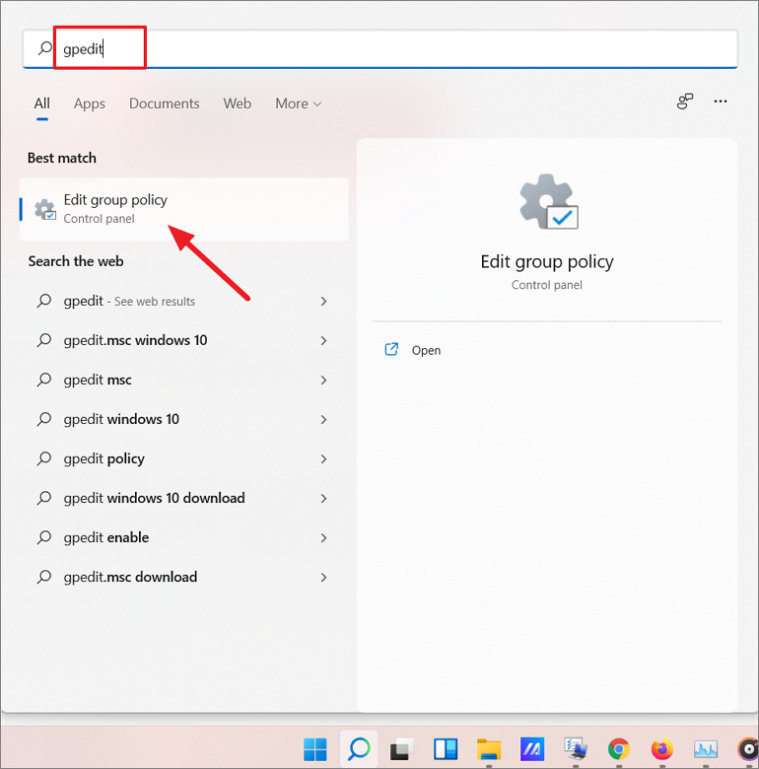
Step 1: Click the Start menu, type Group Policy Editor or gpedit.msc, and select Edit group policy from the search results.
Step 2: In the Group Policy Editor window, navigate to:
Computer Configuration > Administrative Templates > Windows Components > OneDriveStep 3: In the right pane, double-click on Prevent the usage of OneDrive for file storage or right-click it and select Edit.

Step 4: In the settings window, choose Enabled, then click Apply and OK to save the changes.
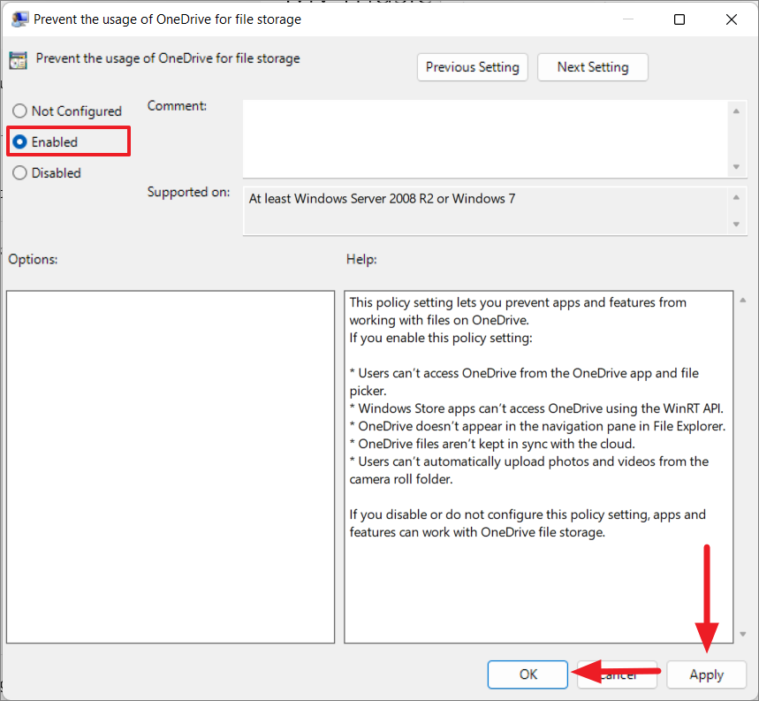
This action will disable OneDrive, preventing it from running and syncing files on your system.
Disable OneDrive via Registry Editor
You can also disable OneDrive using the Registry Editor, which is available in all editions of Windows 11.
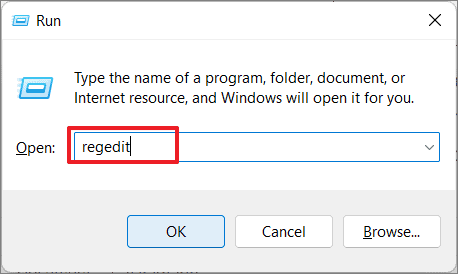
Step 1: Press Windows + R to open the Run dialog box, type regedit, and press Enter to launch the Registry Editor.
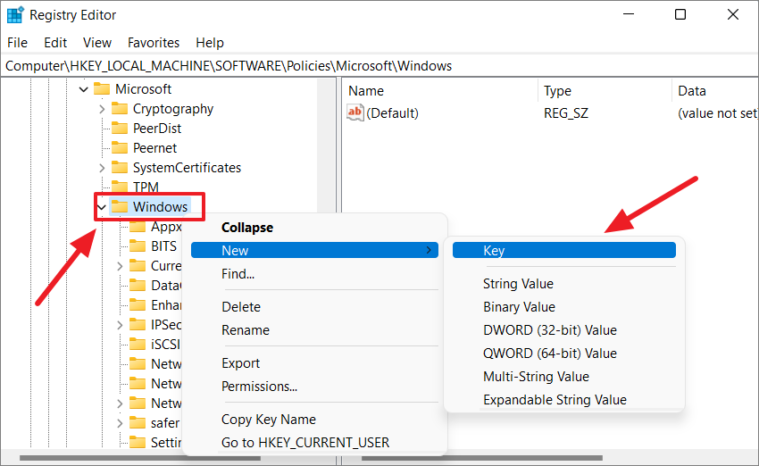
Step 2: Navigate to the following path:
HKEY_LOCAL_MACHINE\SOFTWARE\Policies\Microsoft\Windows\OneDriveStep 3: If the OneDrive key doesn't exist, right-click on the Windows key, select New > Key, and name it OneDrive.
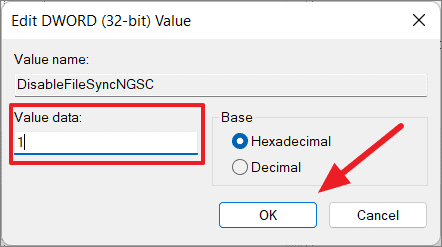
Step 4: Right-click on the OneDrive key, select New > DWORD (32-bit) Value, and name it DisableFileSyncNGSC.
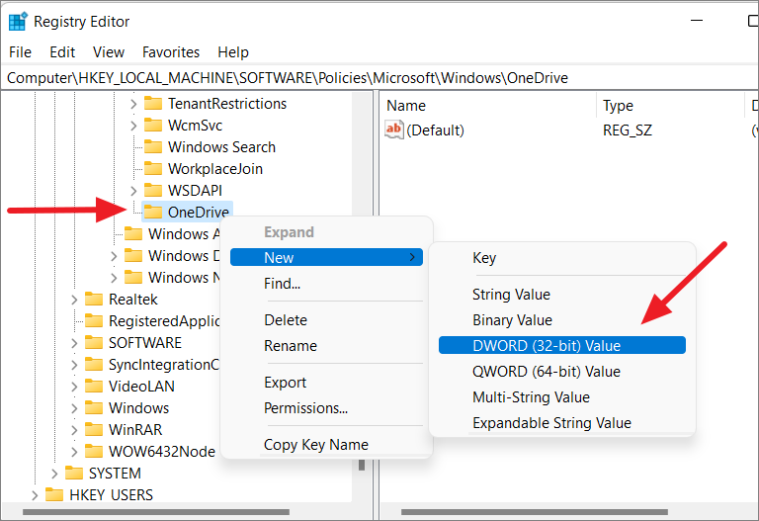
Step 5: Double-click on DisableFileSyncNGSC, set the Value data to 1, and click OK.
Step 6: Restart your computer to apply the changes. OneDrive will now be disabled.
If you wish to re-enable OneDrive in the future, change the Value data of DisableFileSyncNGSC to 0 and restart your PC.
Unlink OneDrive from Your Windows 11 PC
To stop OneDrive from syncing without uninstalling it, you can unlink your PC from your OneDrive account.
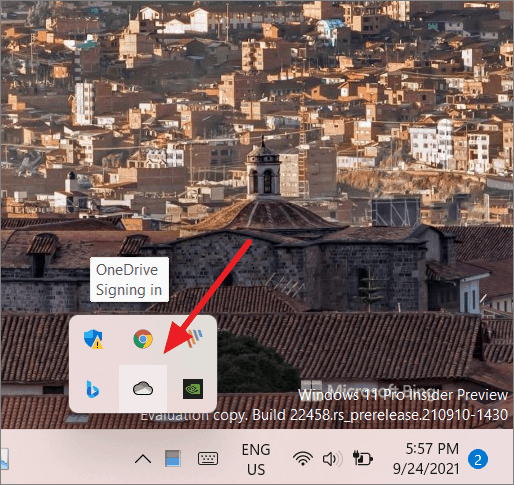
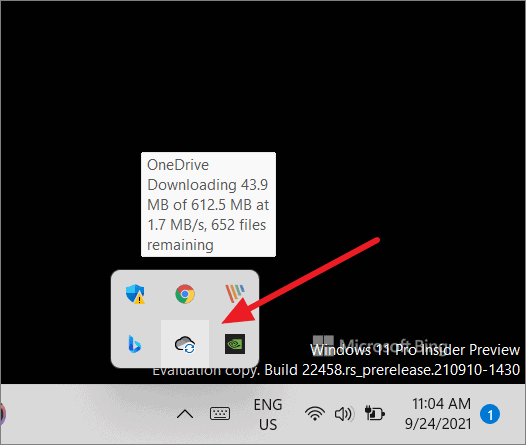
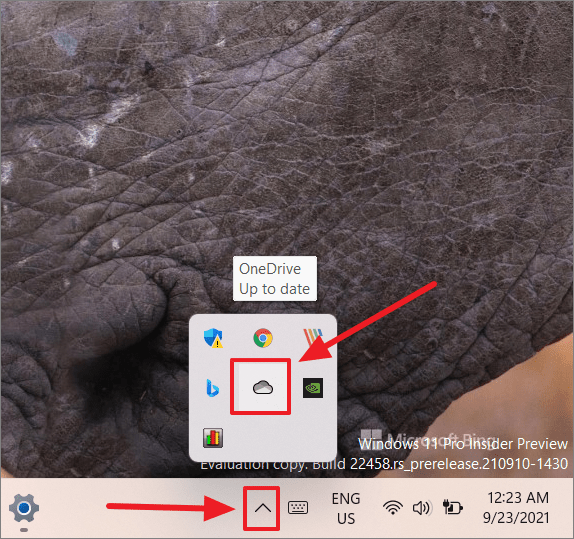
Step 1: Click the Show hidden icons arrow on the taskbar and select the OneDrive icon.
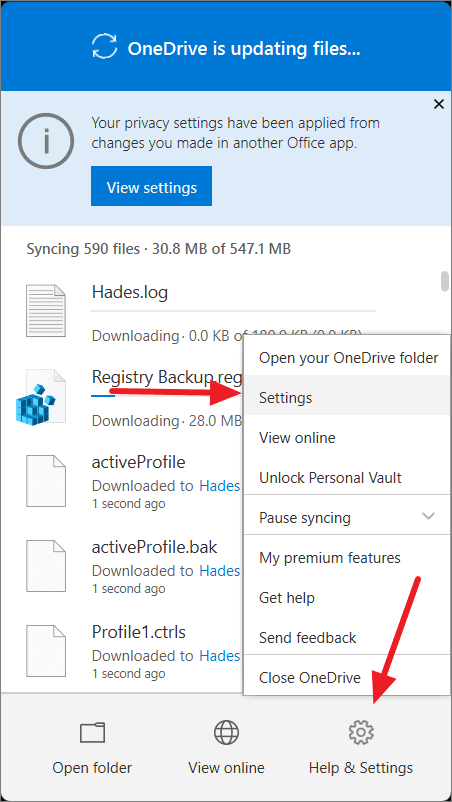
Step 2: Click on Help & Settings and choose Settings from the menu.

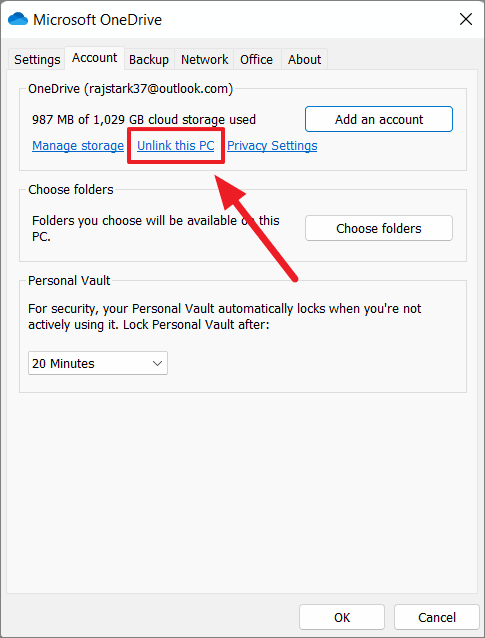
Step 3: In the OneDrive settings window, go to the Account tab and click on Unlink this PC.
Step 4: Confirm by clicking Unlink account in the prompt.
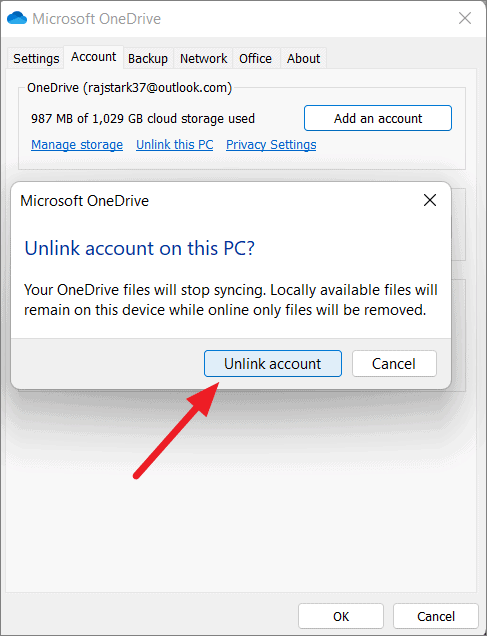
OneDrive will no longer sync files on your PC, but the application will remain installed for future use. You can sign back in at any time to resume syncing.
Prevent OneDrive from Starting Automatically
If you want to stop OneDrive from launching at startup without uninstalling it, you can disable its automatic startup.
Disable OneDrive Startup via Settings
Step 1: Click the OneDrive icon in the taskbar corner overflow area.
Step 2: Select Help & Settings and click on Settings.
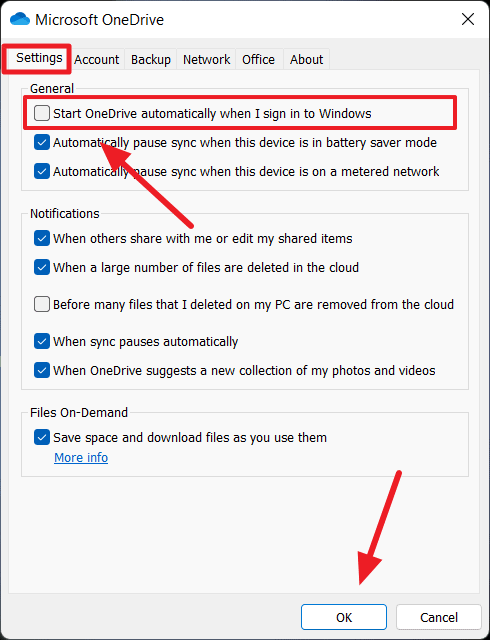
Step 3: In the Settings window, under the Settings tab, uncheck the box for Start OneDrive automatically when I sign in to Windows, then click OK.
Disable OneDrive Startup Through Windows Settings
Step 1: Open Windows Settings by pressing Windows + I.
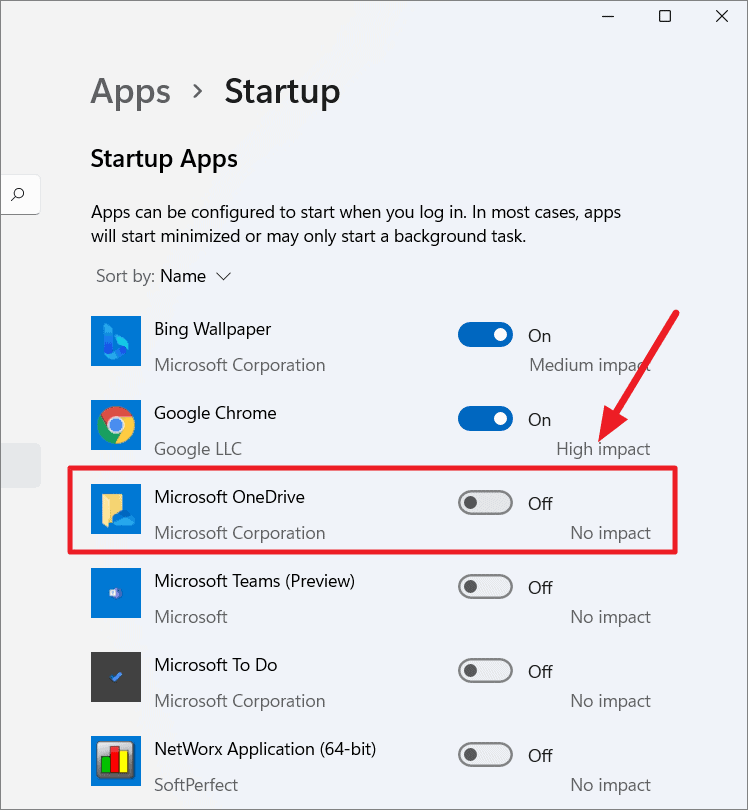
Step 2: Click on Apps in the sidebar, then select Startup on the right.
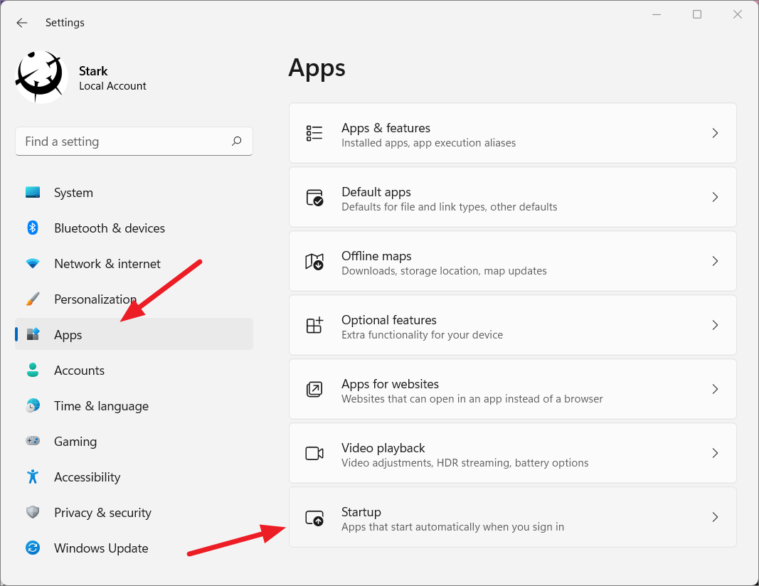
Step 3: Locate Microsoft OneDrive in the list and toggle it Off.
Disable OneDrive Startup Through Task Manager
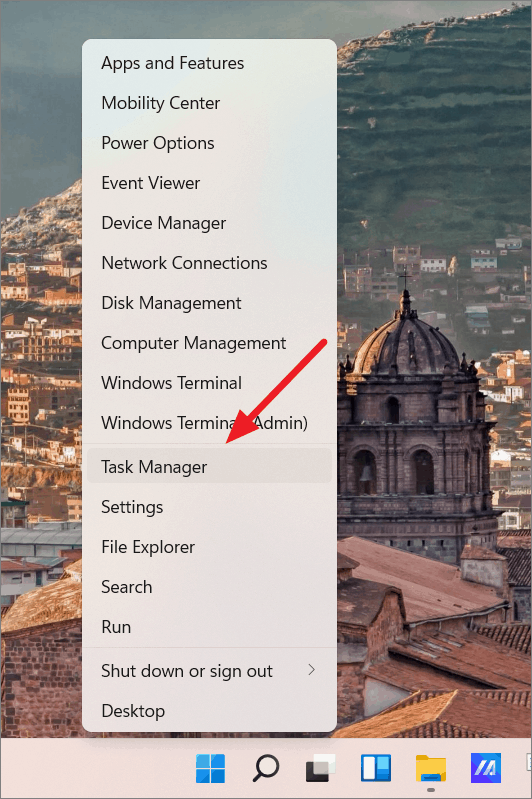
Step 1: Open Task Manager by pressing Ctrl + Shift + Esc or by right-clicking the Start button and selecting Task Manager.
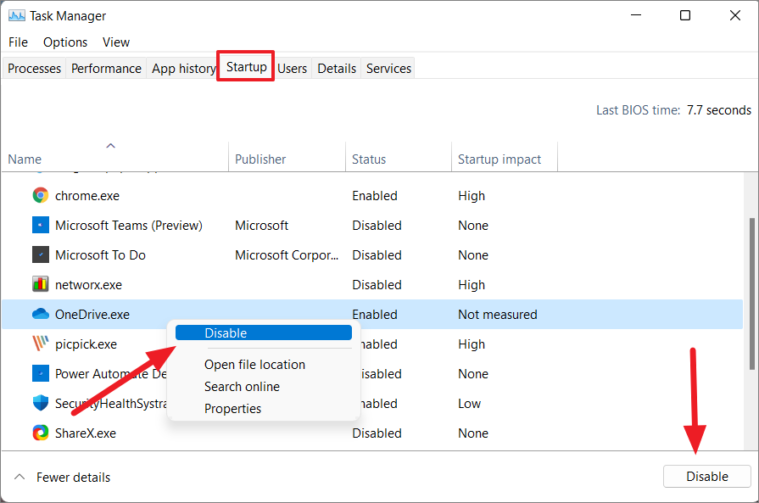
Step 2: Navigate to the Startup tab.
Step 3: Find Microsoft OneDrive in the list, right-click it, and choose Disable. Alternatively, select it and click the Disable button at the bottom right corner.
OneDrive will no longer start automatically when you sign in to Windows.
Pause OneDrive Syncing
If you want to temporarily halt OneDrive syncing, you can pause it for a specified duration.
Step 1: Click on the OneDrive icon in the taskbar corner overflow area.
Step 2: Click on Help & Settings, hover over Pause syncing, and select the desired duration (2, 8, or 24 hours).
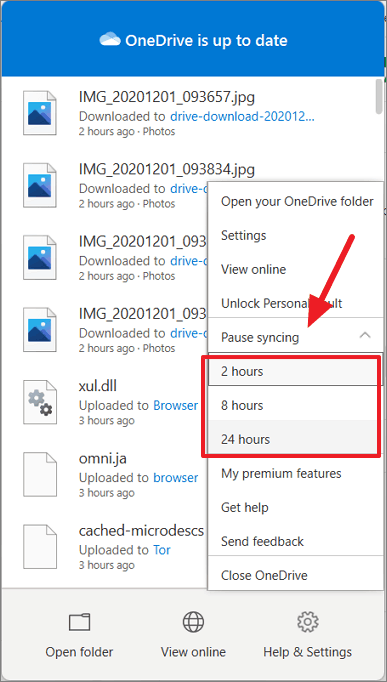
OneDrive will pause syncing for the selected time and resume automatically afterward.
Selective Sync for OneDrive Folders
If you'd like to stop syncing specific folders, you can adjust your OneDrive settings accordingly.
Step 1: Click the OneDrive icon in the taskbar corner overflow area.
Step 2: Select Help & Settings and click on Settings.
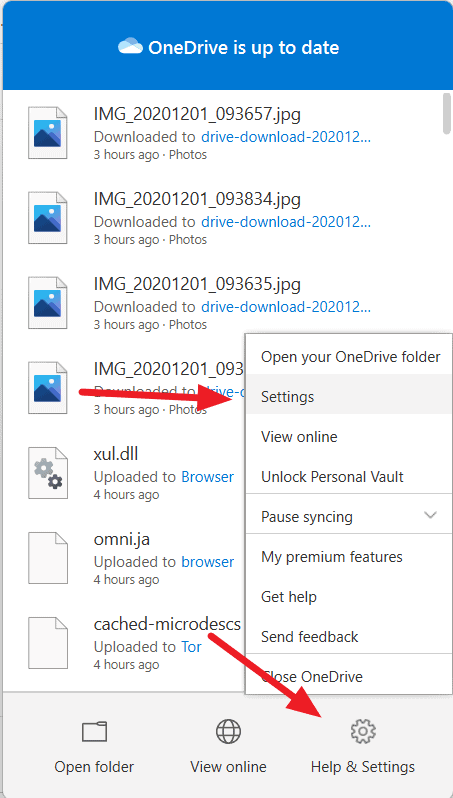
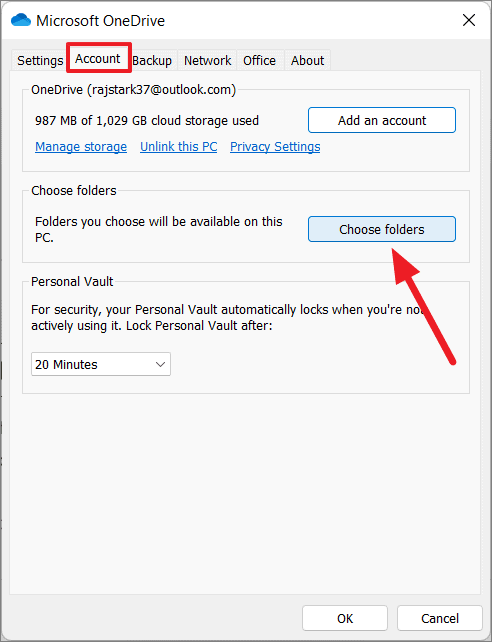
Step 3: In the settings window, go to the Account tab and click on Choose folders.
Step 4: Uncheck the folders you want to stop syncing and click OK. You can also uncheck all folders to stop syncing entirely.
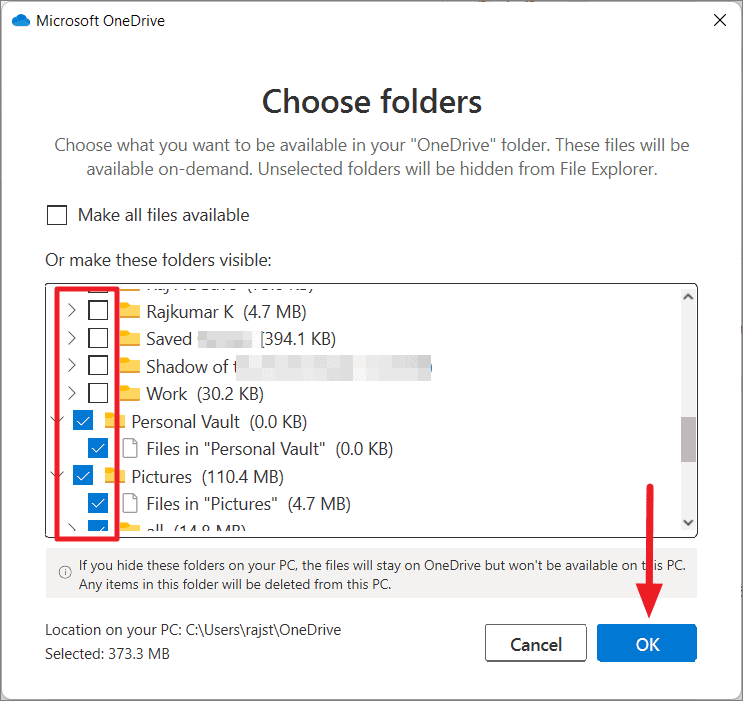
Note that some default folders like Desktop, Camera Roll, and Screenshots may not be available for deselection.
Managing OneDrive on your Windows 11 PC is straightforward with these methods. Whether you choose to temporarily pause syncing, prevent it from starting automatically, disable it, or uninstall it entirely, you can tailor OneDrive's presence to suit your needs.