
Webex meetings desktop app is a great tool to have on your system if you frequently use it to have meetings. But if it’s no longer of use to you, you might want to uninstall it to make some space on your system or for some other reason.
Uninstalling Webex is easy; you can install it just like any other app from your Windows system. But when you uninstall an app, are you sure that all the files associated with it, files that are no longer of any use to you, are also gone. Well, of course, you can’t be sure because that never happens. That’s why you need the Webex Removal Tool.
Webex Removal Tool is a specialist that manually removes all Webex related folders and files (including AA/ RA/ NBR) from your system. All you need to do is run it after uninstalling the Webex desktop app.
Downloading and Using Webex Removal Tool
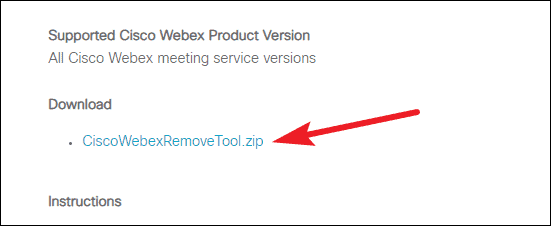
Go to Cisco’s support page here, and click the “.zip” file to download it.
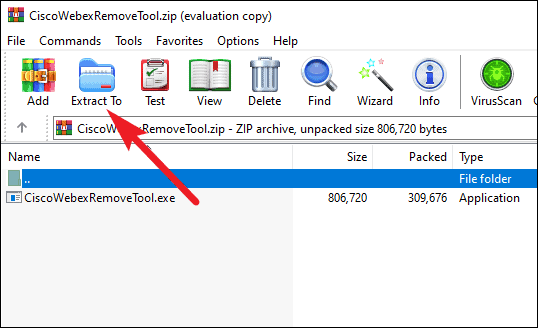
Open the .zip file and extract the ‘CiscoWebexRemovalTool.exe’ file.
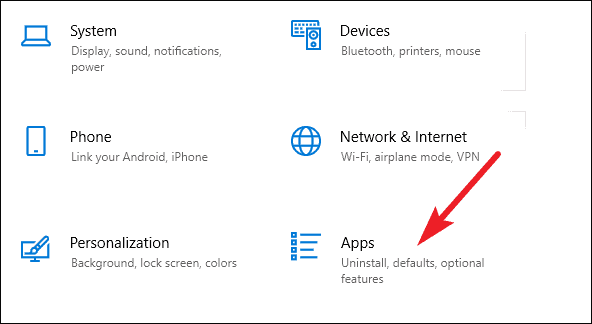
Now, before using the tool, uninstall Webex software from your system. Open your Windows settings, and click the ‘Apps’ option to open it.
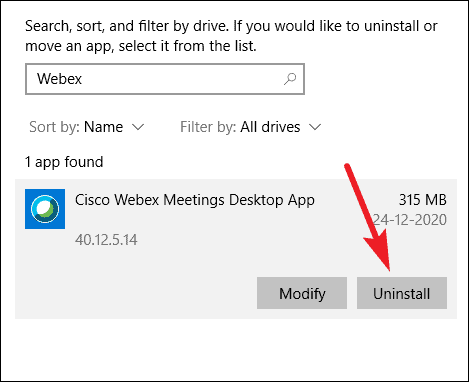
Then, search for ‘Webex Meetings’ under Apps and Features and click the ‘Uninstall’ button. When prompted with User Account Control permission, click ‘Yes’.
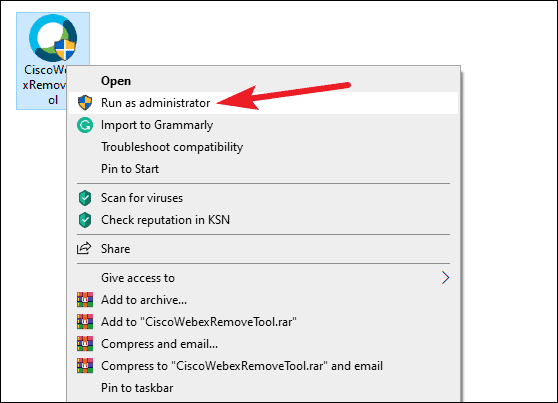
Now, right-click the ‘CiscoWebexRemovalTool.exe’ file you extracted earlier and select ‘Run as Administrator’ from the menu. Click ‘Yes’ on the User Account Control dialog box.
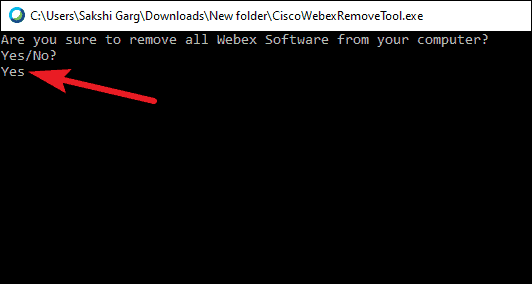
Command Prompt window will open. Type ‘Yes’ and press the Enter key. The software will remove all files and folders related to Webex Meetings.
Whether you just wanted to get rid of all files associated with Webex, or you wanted to perform a clean uninstall in case one of the files was corrupted and causing trouble, Webex Removal Tool is the easiest way to do it.


