People have had a splendid choice of video conferencing apps to choose from this year. But it’s also lead to circumstances where many have had to use multiple apps for different needs, and that can be really daunting. Cisco Webex is one of the apps that has dominated the scene this year.
But if you’re not completely acquainted with the software yet, it can be hard not to struggle during a video call. One of the things everyone struggles with is their video settings during a call – arguably the most important part of a video call. If you, too, are struggling, don’t worry. They are quite easy to get a handle on.
Now, you can change some of your video settings even before joining a meeting. And, you can easily change all of your video settings during the meeting.
Changing your Video Settings Before the Meeting
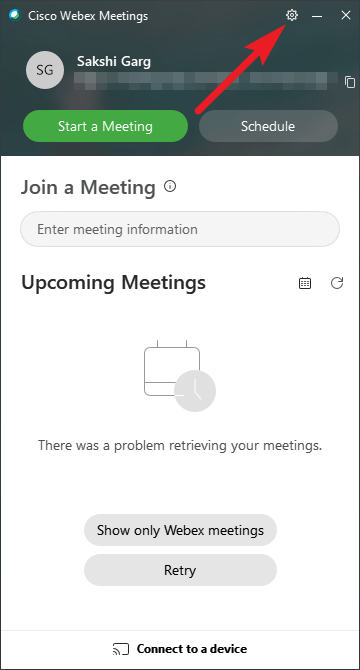
To change your video settings before joining the meeting, go to the ‘Settings’ icon on the taskbar of the desktop app.
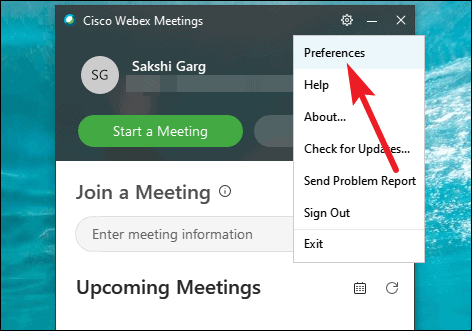
Select ‘Preferences’ from the menu that appears.
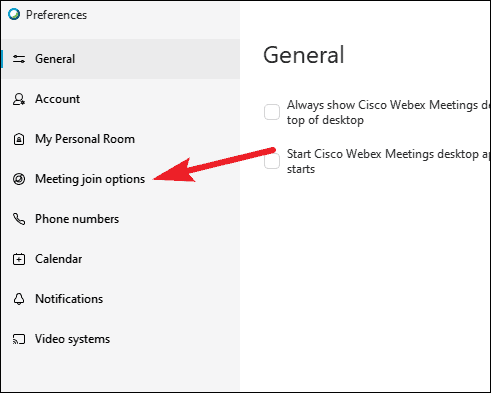
The window for editing your preferences while using the app will open. Go to ‘Meeting join options’ from the navigation menu on the left.
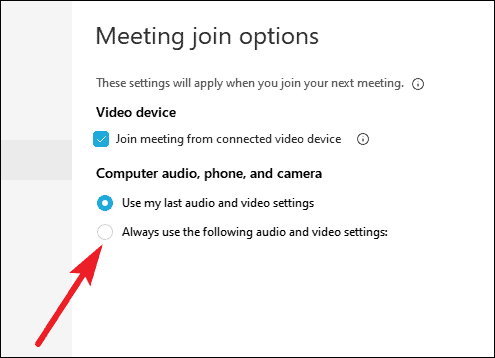
By default, ‘Use my last audio and video settings’ will be selected. Now to change your video settings before joining the meeting, you need to change to ‘Always use the following audio and video settings’. If that’s something you don’t prefer, then you can skip this step. If you do skip it though, you’ll only be able to change your video settings while in the meeting.
If you did select the latter option, then a lot of new options will appear underneath. Scroll down to skip past the audio setting options and go to the video options.
If you want to join the meeting with your camera on, let the toggle for ‘Start my video when I join the meeting’ stay on. Otherwise, turn it off.

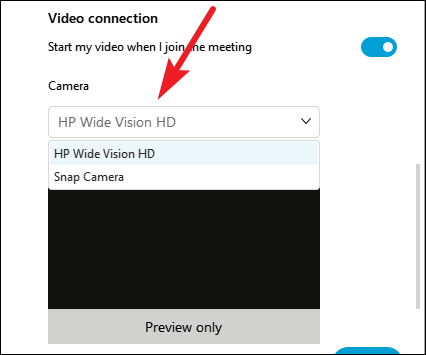
Then, click on the drop-down menu under ‘Camera’ to select the camera that suits you the best. You can see the preview of your video in a little thumbnail below the camera options.
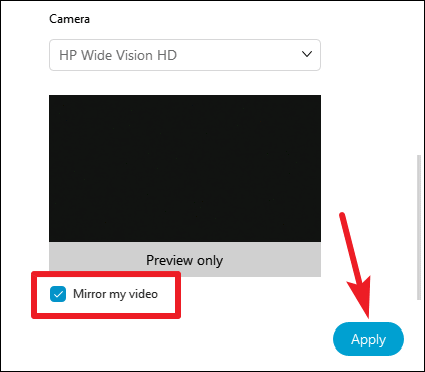
Finally, the last video setting that you can tweak from this window is for whether or not you want to mirror your video. Click the checkbox according to your preference, and then click ‘Apply’.
You cannot change your virtual background or brightness settings from anywhere else other than the meeting.
Changing your Video Settings During the Meeting
You can easily change all of your video settings during the meeting. And when you have the particular setting enabled, these video settings will carry on to your next meeting too.
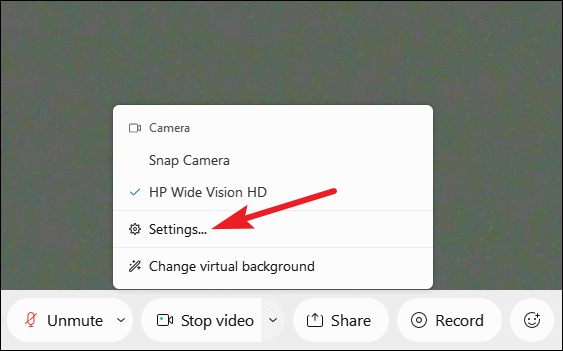
To change your video settings during a call, go to the meeting toolbar and click on ‘Video options’ (downward arrow) next to the camera button.
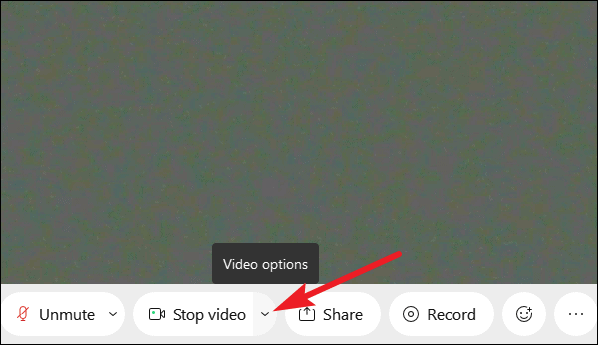
A menu will appear. It provides rather quick access to some of the settings. You can switch your camera to one of the other available cameras quickly from here. You can also change your virtual background settings. To change other video options, click the menu option ‘Settings’.
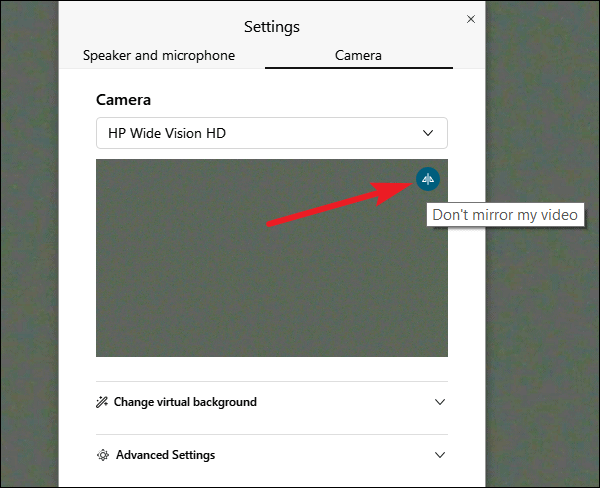
A small window for changing video settings will open. To change mirroring settings, go to the preview thumbnail and click the small icon on the top-right corner.
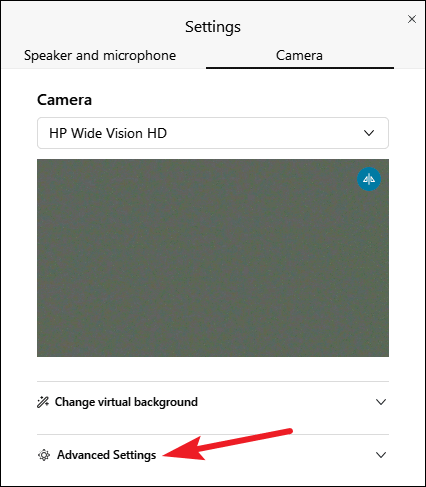
To change brightness settings, click on ‘Advanced settings’.
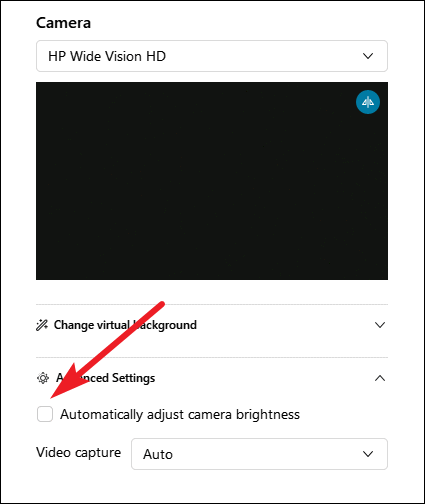
Previously, Webex used to offer manual sliders to change your brightness and contrast. But it now offers automatic adjustment, where Webex automatically adjusts the brightness of your video based on your lighting conditions. Click the checkbox next to ‘Automatically adjust camera brightness’ to enable this option.
Having a good handle on your video settings is a must for having seamless meetings on a video conference app. With this guide, you’ll have everything you need to manage your video settings in Webex meetings.


