Adding your own drawings to a Microsoft Word document can make it more interactive and personalized. Whether you're creating diagrams, illustrations, or hand-drawn shapes, Microsoft Word provides tools that let you draw directly within your document.
Drawing in Microsoft Word
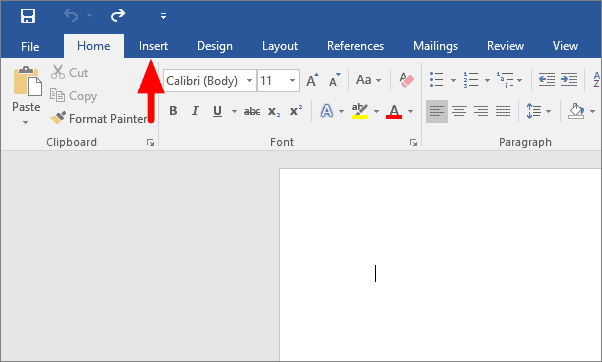
Step 1: Open Microsoft Word and create a new document or open an existing one where you want to add your drawing. On the ribbon at the top of the window, click on the Insert tab.
Step 2: In the Insert tab, look for the Illustrations group and click on the Shapes button to open a drop-down menu of available shapes.
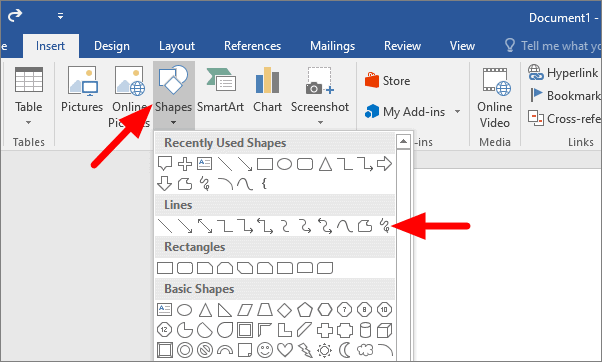
Step 3: Scroll down to the Lines section in the shapes menu, and select the Scribble tool, which is represented by a squiggly line and is typically the last option under Lines.
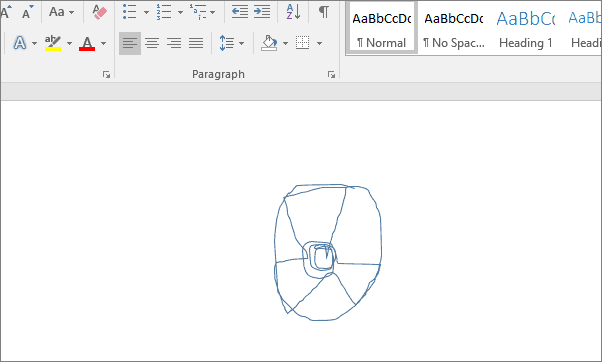
Step 4: Click and hold your mouse pointer on the document where you want to start your drawing. While holding down the mouse button, drag to draw freehand shapes or lines. Release the mouse button when you're finished with your drawing.
Step 5: To customize your drawing, click on it to select it. Then, right-click on the drawing to open a context menu where you can access formatting options like Style, Fill, and Outline.
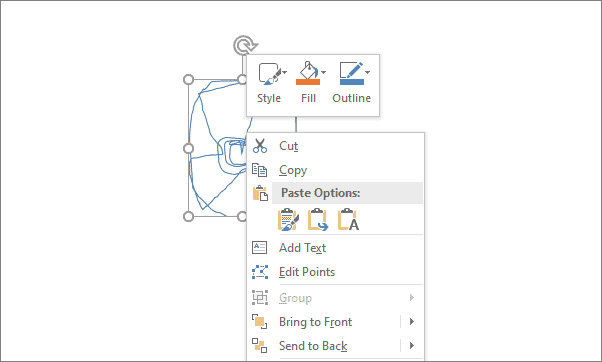
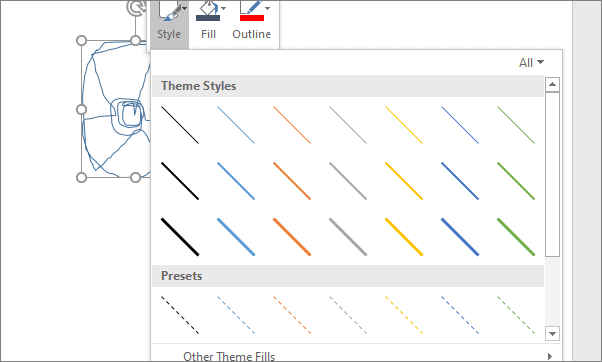
Step 6: Choose the Style option to change the appearance of your drawing's lines. You can select from various line styles, including solid, dashed, or dotted lines.
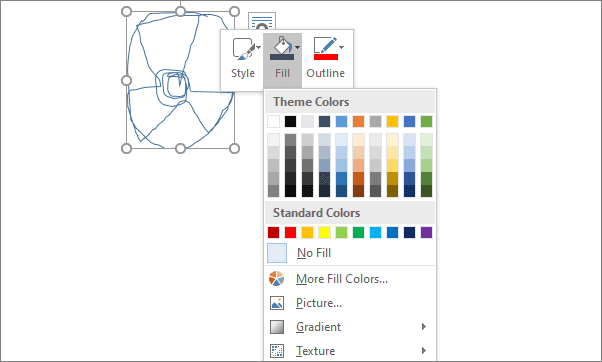
Step 7: Use the Fill option to add color inside your drawing. This is especially useful if your drawing forms a closed shape, as it allows you to fill it with a solid color, gradient, or texture.
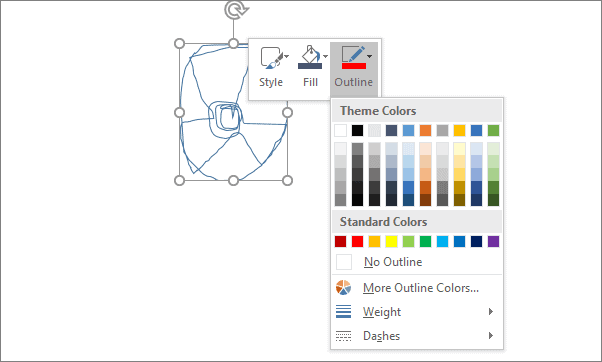
Step 8: Select the Outline option to change the color, weight, or style of the lines that make up your drawing. This lets you emphasize the edges or alter the overall look of your illustration.
By following these steps, you can easily create and customize drawings directly within Microsoft Word to enhance your documents.

