
Partitioning a hard drive in Windows 11 can enhance system performance, improve file organization, and make data management more efficient. By dividing your hard drive into multiple partitions, you can separate system files from personal data, making backups and system restores more straightforward. Windows 11 includes a built-in Disk Management tool that allows you to create, modify, and manage these partitions without the need for third-party software.
When you purchase a new computer or install a new hard drive, it usually has a single partition. Breaking it into multiple partitions can help you organize your data better and can be beneficial for system management. The number of partitions you should create depends on the size of your hard drive and your personal needs.
In Windows, each partition is represented by a drive letter in File Explorer, making it easy to manage different types of data separately. You can create, resize, and delete partitions using the Disk Management tool built into Windows 11.
Why Partition Your Hard Drive? Having separate partitions for your operating system, applications, and personal files can improve system stability and performance. If the operating system is on its own partition, you can reinstall or reset Windows without affecting your personal data. Additionally, keeping programs and games separate from the system files can prevent your computer from slowing down over time due to clutter and fragmentation.
How Many Partitions Should You Have? The ideal number of partitions depends on your hard drive’s capacity. For smaller drives (128GB or 256GB), it’s recommended to limit the number of partitions to ensure there’s enough space for the operating system and essential programs. For larger drives (500GB to 2TB), you can create multiple partitions—for example, one for the OS, one for applications, and others for documents, media, and backups.
Partition hard drive using Disk Management in Windows 11
Using the Disk Management tool in Windows 11, you can create new partitions by shrinking existing ones to create unallocated space. Here’s how to do it:
To begin, you need to shrink a partition to free up unallocated space. Press the Windows key and type disk partitions into the search bar. Click on Create and format hard disk partitions from the search results.

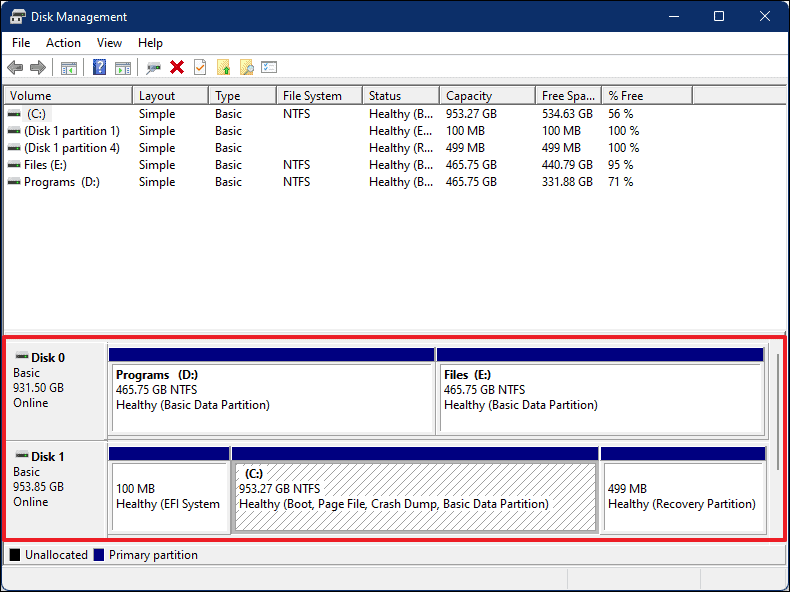
The Disk Management window will open, displaying all your drives and their partitions. Disks are labeled as Disk 0, Disk 1, etc., representing each physical hard drive or SSD in your system.
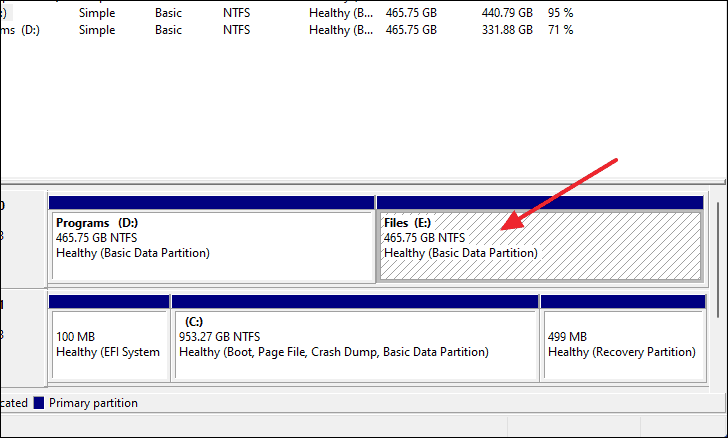
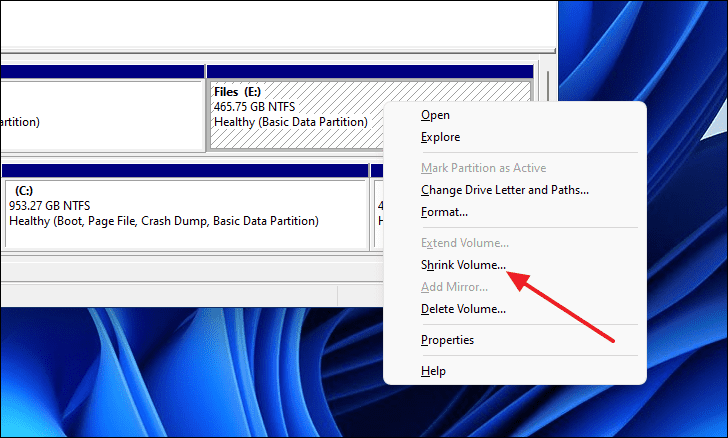
Select the partition you want to shrink by clicking on it—it will be highlighted with a pattern. Right-click the selected partition and choose Shrink Volume… from the context menu.
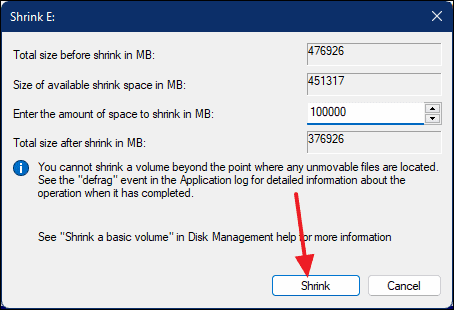
In the Shrink dialog box, enter the amount of space to shrink in megabytes. For example, entering 100000 will shrink the volume by approximately 97.5GB. Click Shrink to proceed.
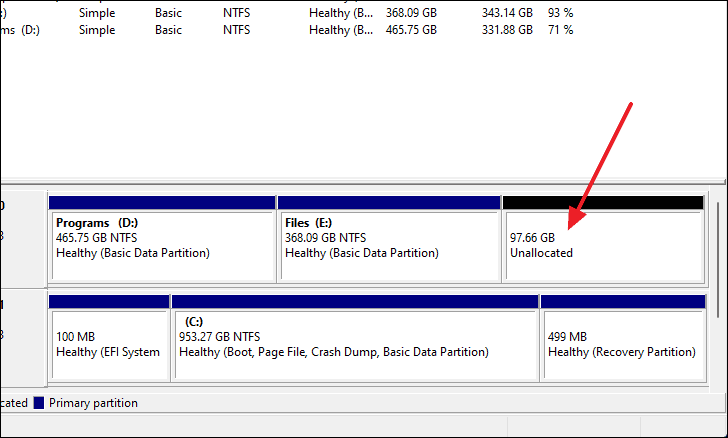
Once the process is complete, you’ll see the unallocated space displayed in the Disk Management window.
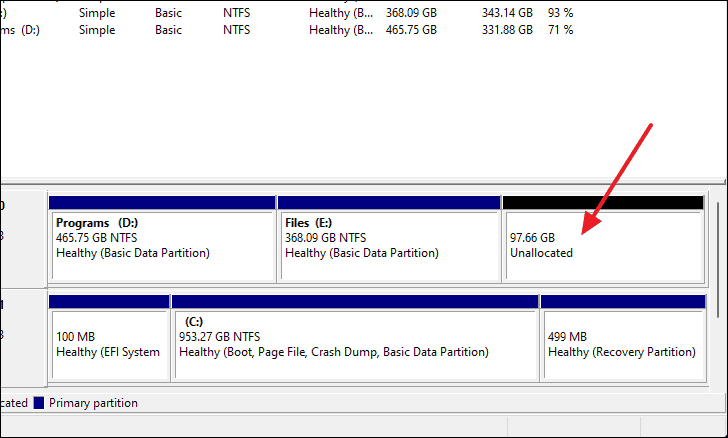
With unallocated space available, you can now create a new partition. Right-click on the unallocated space and select New Simple Volume….

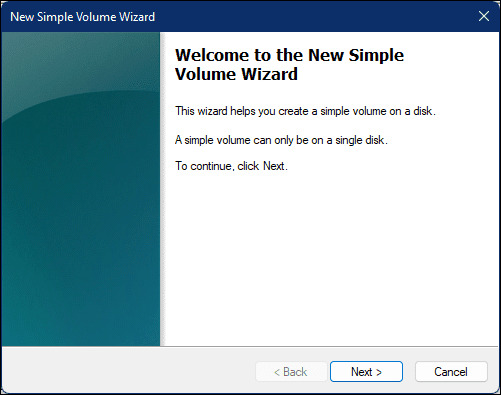
The New Simple Volume Wizard will appear. Click Next to start the process.
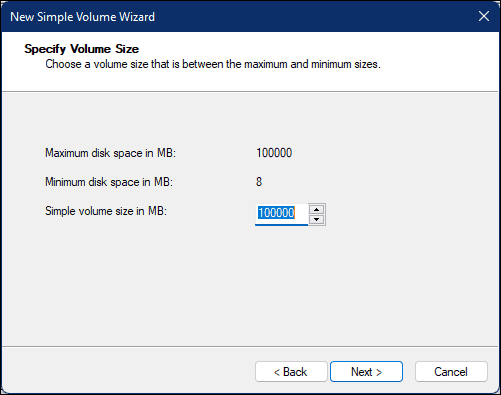
Specify the volume size. By default, it uses the maximum available space. If you want to create multiple partitions from the unallocated space, adjust the volume size accordingly. Click Next when you’re ready.
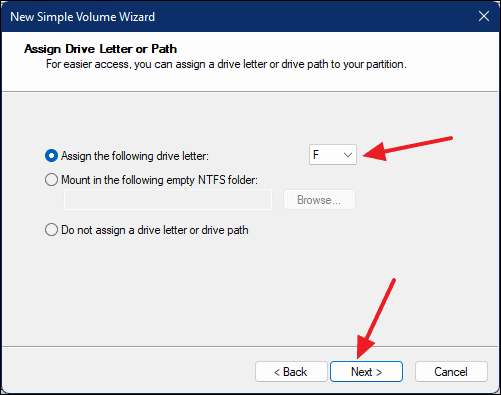
Assign a drive letter of your choice or leave the default selection, then click Next.
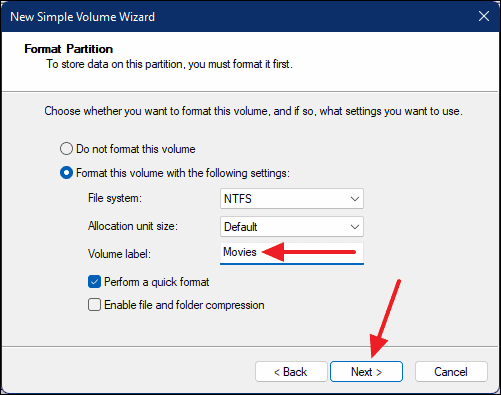
Format the new partition by selecting the file system (usually NTFS) and entering a Volume label to name the partition. Click Next to continue.
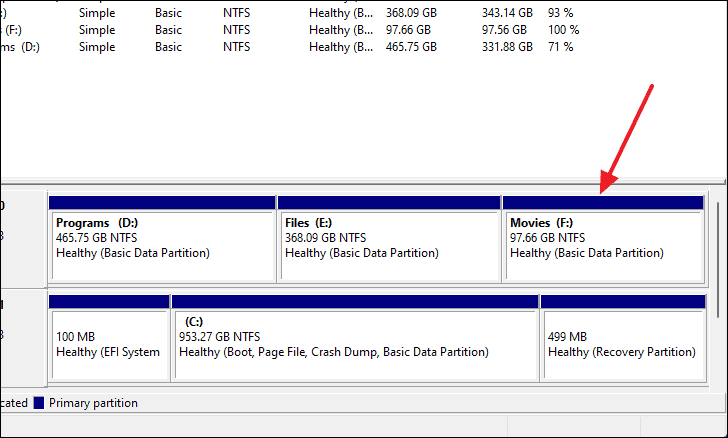
Review your settings and click Finish to create the new partition. The new partition will now appear in both Disk Management and File Explorer.

You can verify the new partition in the Disk Management window.
Increasing the size of a drive by deleting another drive on the disk
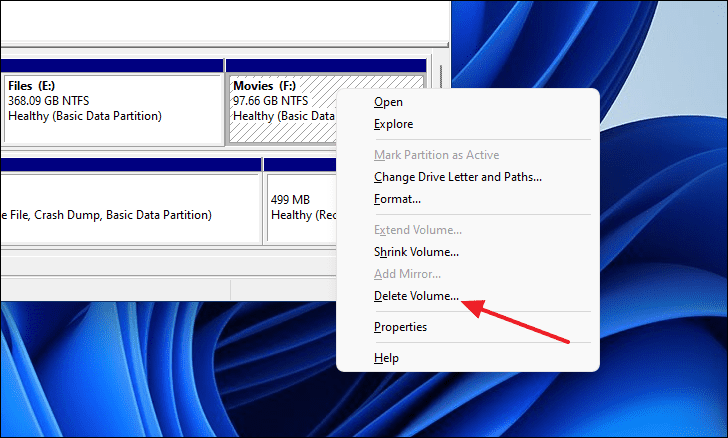
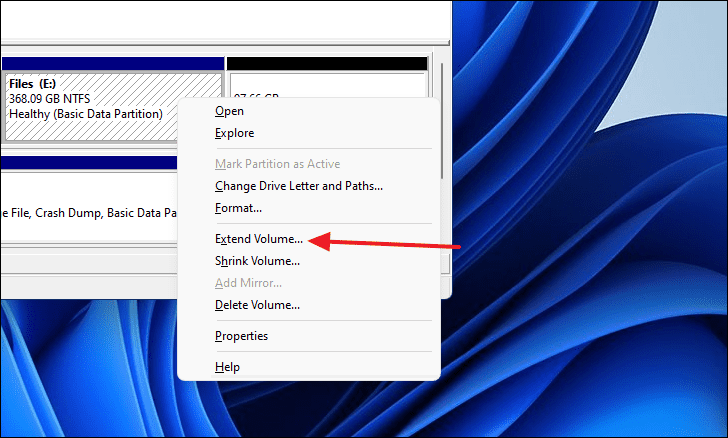
If you need to expand an existing partition, you can do so by deleting an adjacent partition to free up unallocated space and then extending your desired partition into that space.
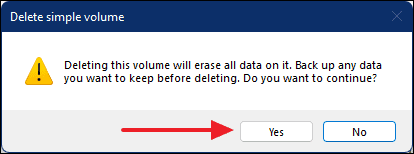
Note: Deleting a partition will erase all data on it. Ensure you’ve backed up any important files before proceeding.
Windows key, typing disk partitions, and selecting Create and format hard disk partitions.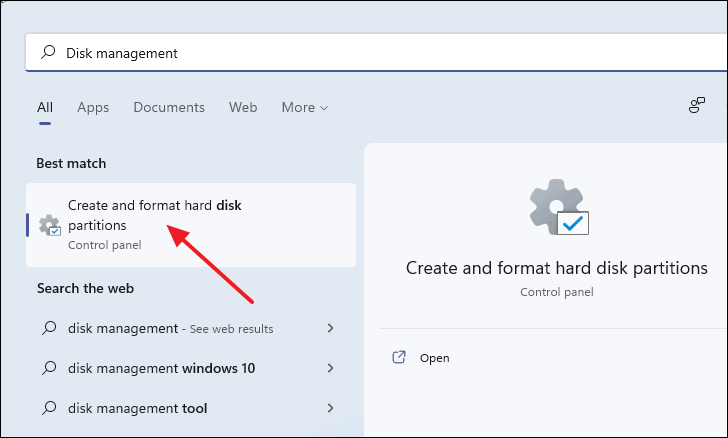
Confirm the deletion by clicking Yes in the warning dialog box.
The deleted partition will now appear as unallocated space.
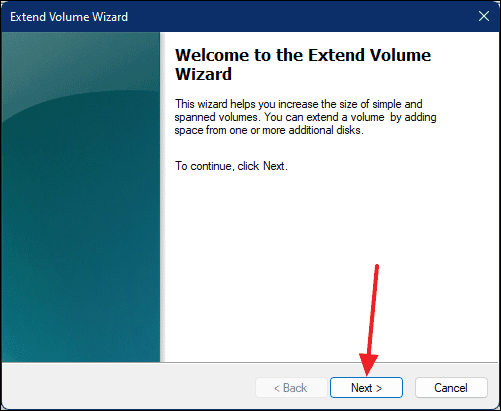
The Extend Volume Wizard will launch. Click Next to proceed.
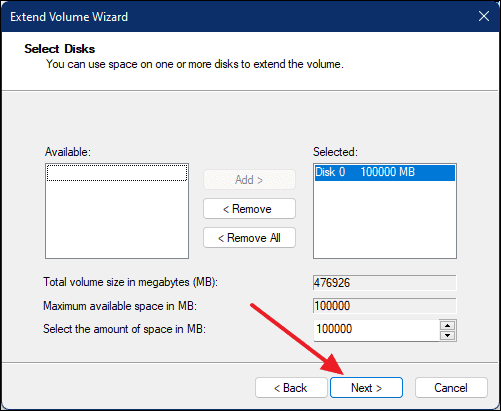
The unallocated space should be selected by default. If not, select it manually. Click Next.
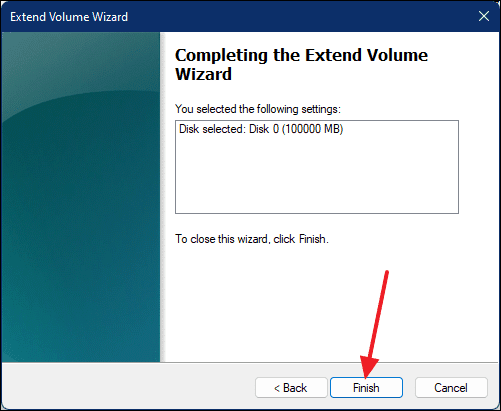
Click Finish to complete the extension process.
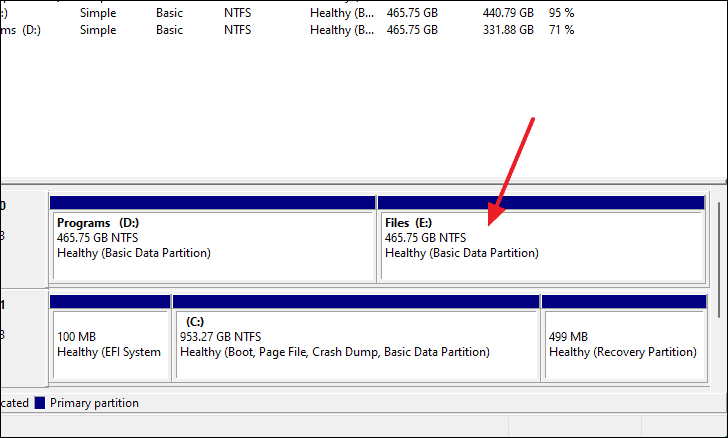
The partition will now include the unallocated space, increasing its size. You can confirm this in the Disk Management window.
By managing your partitions, you can optimize your hard drive’s storage space to suit your needs, whether that means creating new partitions or adjusting the size of existing ones.


