
While modern networking largely relies on DNS servers to resolve hostnames to IP addresses, Windows 11 still maintains a local hosts file. This file allows users to manually map hostnames to specific IP addresses, which can be particularly useful for testing, development, or temporarily redirecting traffic without modifying DNS settings.
Backing Up the Hosts File
Before making any changes to the hosts file, it’s important to create a backup. This ensures you can restore the original file if something goes wrong during the editing process.
Open File Explorer and navigate to the C:\Windows\System32\drivers\etc directory. If your Windows installation is on a different drive, replace C: with the appropriate drive letter.
Alternatively, you can copy and paste the following path into the File Explorer address bar and press Enter:
C:\Windows\System32\drivers\etc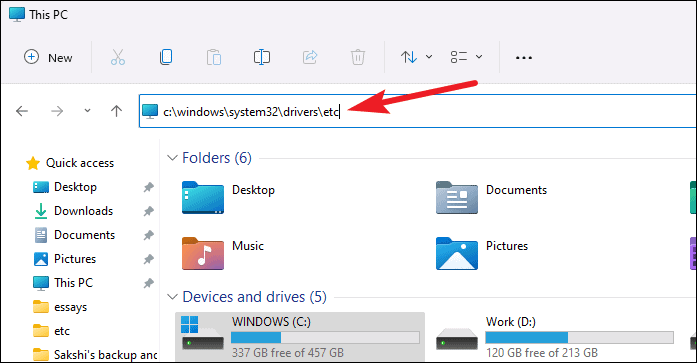
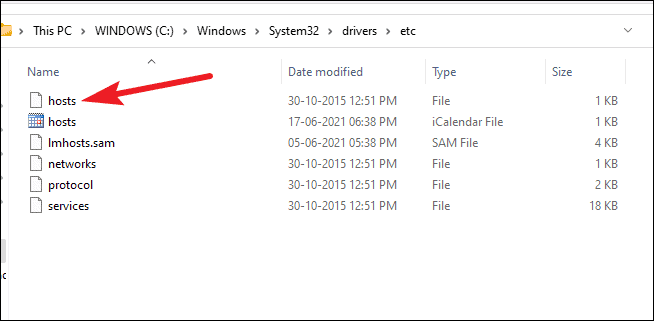
In the etc folder, locate the file named hosts. Right-click on it and select Copy, then paste it to a safe location to create a backup. You can also create a backup within the same folder by renaming the file, though you may need administrative permissions to do so.
Editing the Hosts File Using Notepad
With the backup secured, you can proceed to edit the hosts file using Notepad with administrative privileges.
Method 1: Opening the Hosts File via File Path
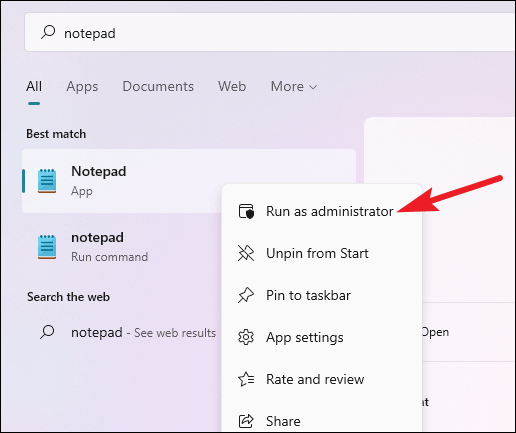
- Click on the Start menu, type
Notepadin the search bar, then right-click on the Notepad app and select Run as administrator.
If prompted by User Account Control (UAC) asking for permission, click Yes to allow Notepad to run with administrative rights.
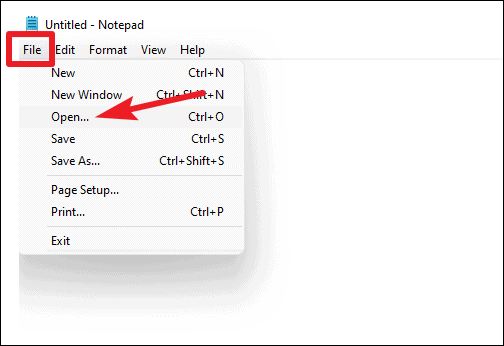
- In Notepad, click on the File menu and select Open, or press Ctrl + O on your keyboard.
- In the Open dialog box, enter the following path in the File name field and press Enter:
C:\Windows\System32\drivers\etc\hosts
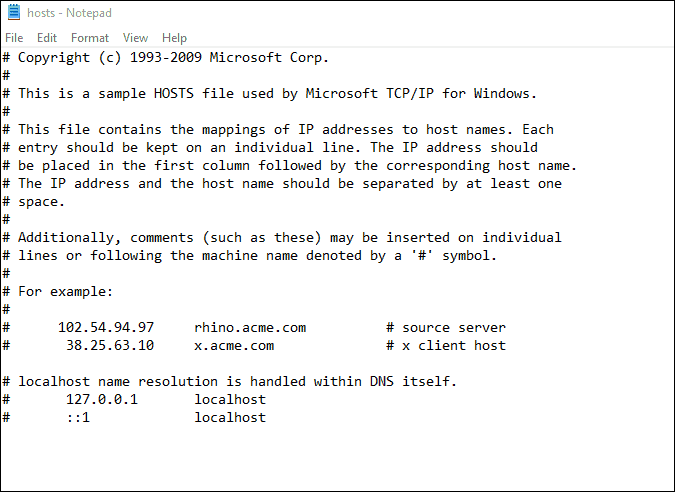
The hosts file will open in Notepad, allowing you to make edits as needed.
Method 2: Manually Navigating to the Hosts File
- In the Open dialog box, navigate to
C:\Windows\System32\drivers\etcby expanding the folder tree on the left or typing the path into the address bar. - Change the file type filter from Text Documents (*.txt) to All Files to display the
hostsfile.
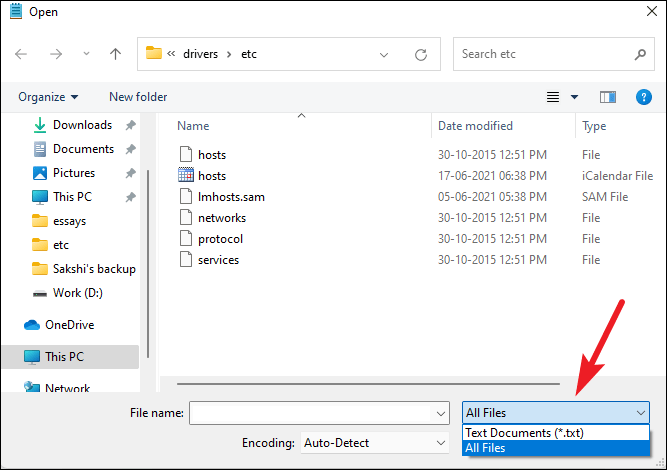
- Select the
hostsfile and click Open.
The hosts file will now open in Notepad, ready for editing.
Modifying the Hosts File
- At the end of the file, add new entries by typing the IP address followed by the hostname you want to map. Ensure each entry is on a new line. For example:
127.0.0.1 example.comThis entry maps example.com to the local IP address 127.0.0.1, effectively redirecting the hostname to your own computer.
- Save the changes by pressing Ctrl + S or by clicking on the File menu and selecting Save.
Since Notepad is running with administrative privileges, the file should save without any permission issues.
By successfully editing the hosts file in Windows 11, you now have greater control over hostname resolution on your system. This can aid in various tasks such as web development, network management, or testing new configurations without affecting global DNS settings.


