
Customizing your mouse pointer in Windows 11 can greatly enhance your user experience. Whether you prefer a different color for better visibility or need to adjust the size for easier tracking, Windows 11 provides straightforward options to personalize your cursor to suit your preferences.
Here’s how you can change the mouse pointer color and size in Windows 11:
Settings app. Click on the Start Menu icon on the taskbar or press the WINDOWS key on your keyboard. Type Settings into the search bar and select the app from the search results.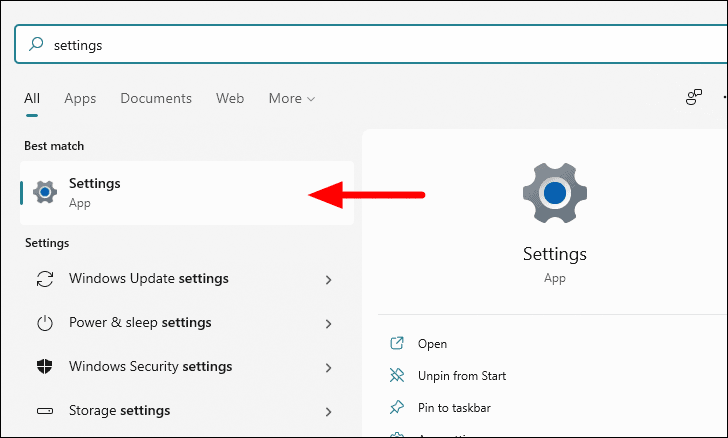
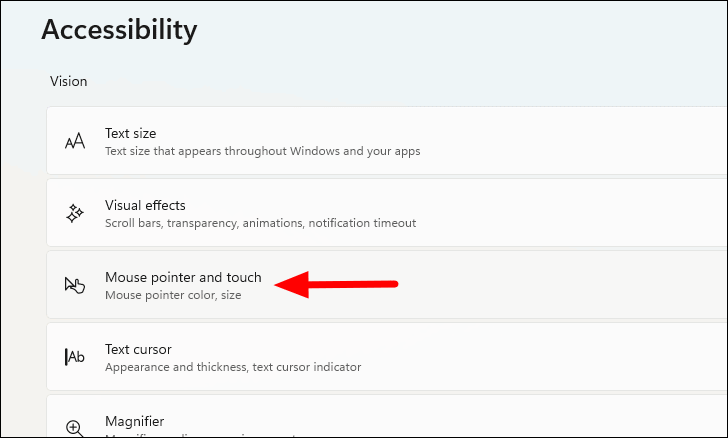
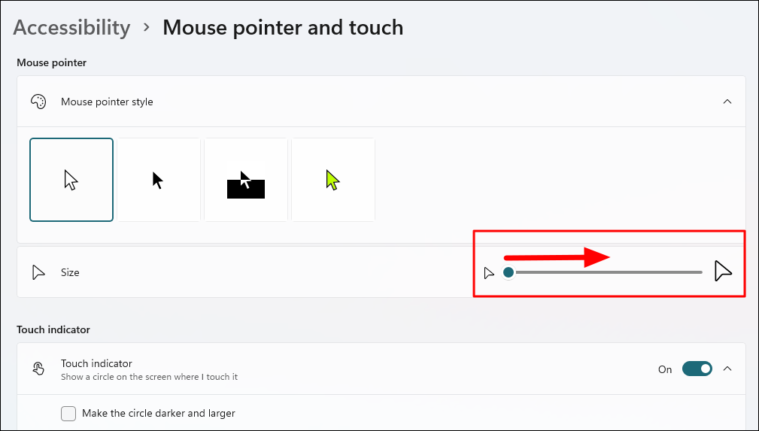
In the Mouse pointer and touch settings, you have the option to modify both the color and size of your mouse pointer.
Changing the Pointer Color
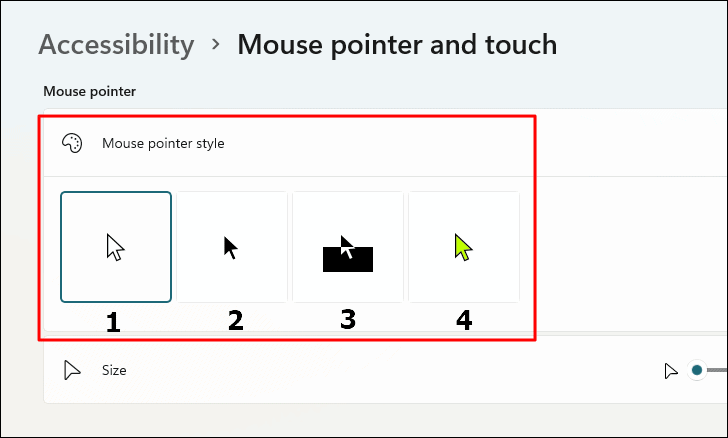
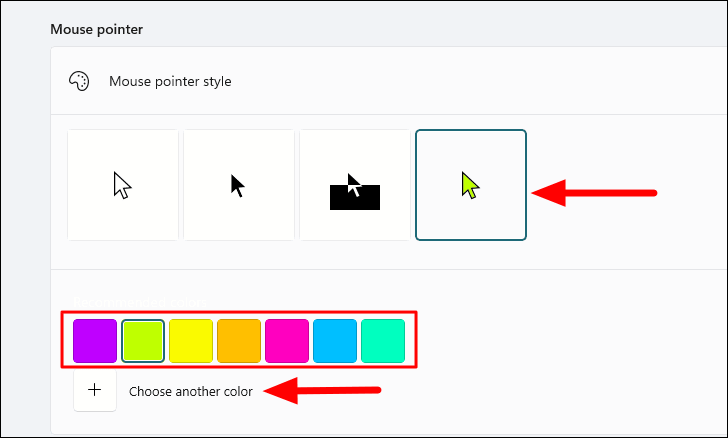
Under Mouse pointer style, you will see four different styles to choose from:
- White: The default setting where the pointer is white.
- Black: Changes the pointer color to black.
- Inverted: The pointer color inverts based on the background; it appears black on a light background and white on a dark background.
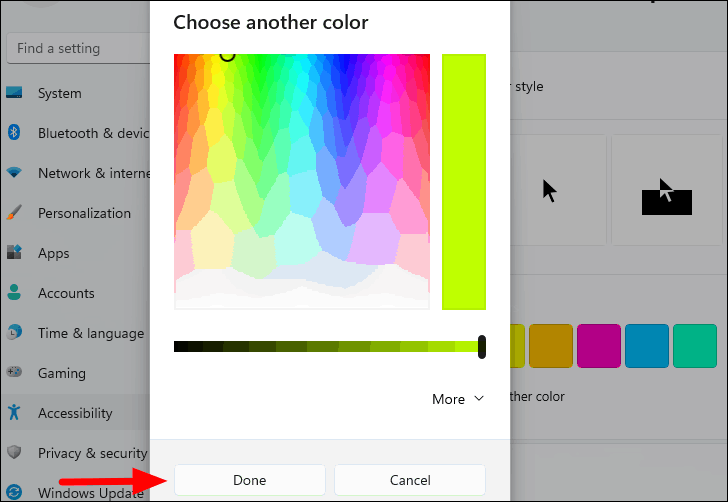
- Custom: Allows you to select a custom color for the pointer.
Changing the Mouse Pointer Size
By personalizing the color and size of your mouse pointer, you can make it more visible and easier to use, enhancing your overall experience with Windows 11. This simple customization ensures that the cursor suits your visual preferences and accessibility needs.


