Content Caching is a unique service by Apple that speeds up downloads of software distributed by Apple. Content Caching is extremely useful if you own multiple Apple devices in your household as it enables redistribution of already downloaded software.
Though the only caveat of enabling content caching is, it uses some storage space on your macOS device but at the same time, it makes updating and downloading apps on all of your Apple devices significantly faster.
However, before you jump on enabling it on your Macbook, let’s understand exactly how Content Caching works.
What is Content Caching and How it Works?
When enabled, Content Caching will allow you to keep a copy of major software upgrades as well as apps and content stored on iCloud on your Macbook. Which then can be distributed to all supported iOS and iPadOS devices available on your local network via a wireless or tethered mode of transmission.
To understand it better, imagine you have multiple iOS and iPadOS devices and wish them to upgrade to the newest OS released by Apple. Now in a normal scenario, you will have to download the latest OS individually on each device in order to upgrade them.
This is where Content Caching comes in, if you have enabled content caching on your Macbook, you will only have to download an upgrade once on a device, and since a copy of the downloaded upgrade will be stored on your macOS device, every other supported device will download the upgrade using the local MacBook instead of the internet which is much faster and also saves you a significant chunk of data as an added bonus.
However, as mentioned earlier, Content Caching will use up some space on your MacBook boot volume in order to distribute the content. Though, you don’t need to worry about running out of space since macOS automatically deletes older content to make space for new requests.
Also, in order for Content Caching to work, both the devices, the host (MacBook with Content Caching enabled), and the client (iOS, iPadOS devices) will need to be connected to the same local network.
Now that you are acquainted with Content Caching, let’s move on to enable it on your macOS.
Set Up and Enable Content Caching from System Preferences
Content Caching can be quickly enabled from the System Preferences app on your macOS device. Moreover, you can also set how much space you wish to utilize for Content Caching.
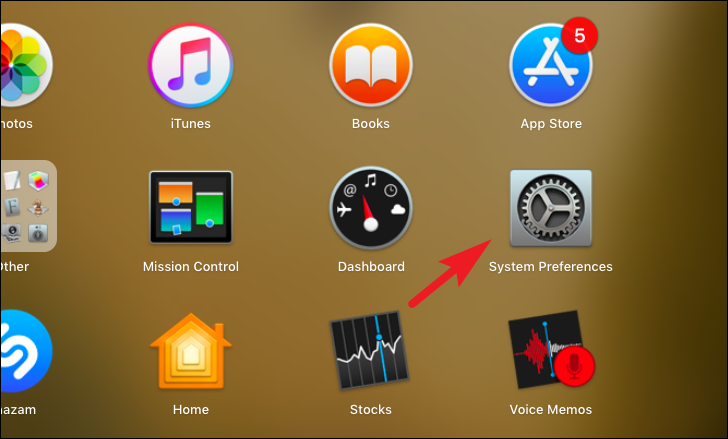
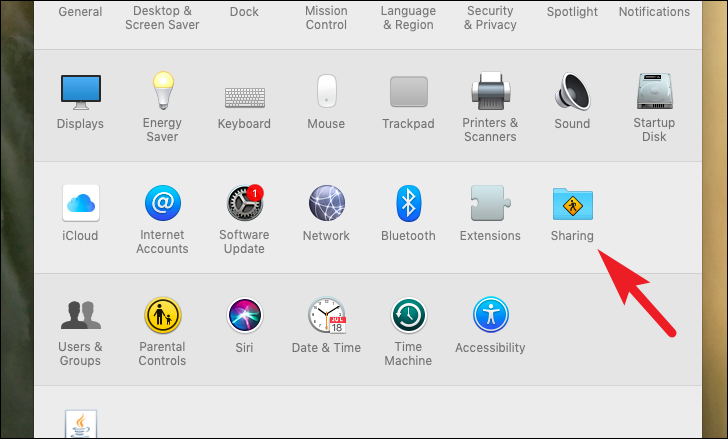
To do so, head to the ‘System Preference’ app either from the dock or from the launchpad of your macOS device.
Then, click on the ‘Sharing’ tile from the grid of options to continue.
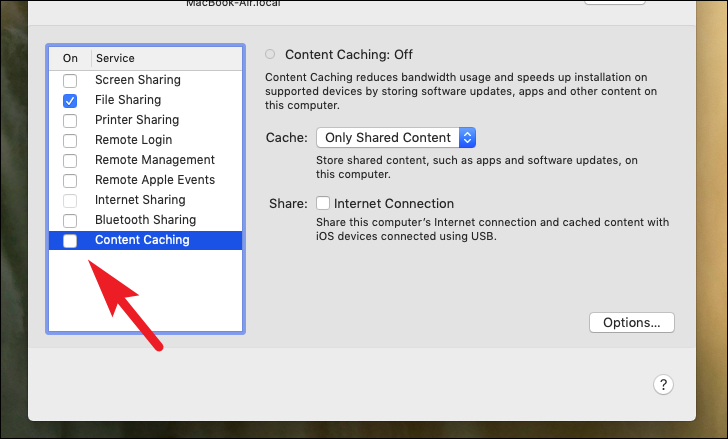
After that, locate the ‘Content Caching’ option from the list present on the left sidebar. Then, click on the checkbox preceding the option to continue. This will open a separate pane on your screen.
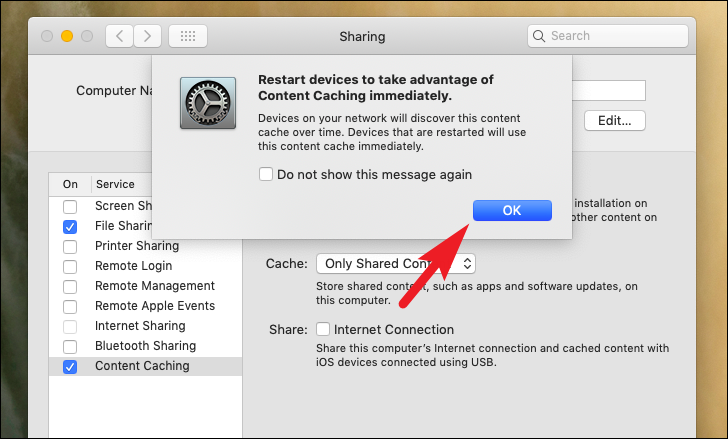
Read the information on the separately opened pane and then click on the ‘OK’ button. If you wish to use Content Caching immediately on your connected device it is recommended to restart them. However, in case you do not wish to restart your devices they will discover the functionality over time.
After that, locate the ‘Cache:’ option and click on the dropdown menu situated right beside it.
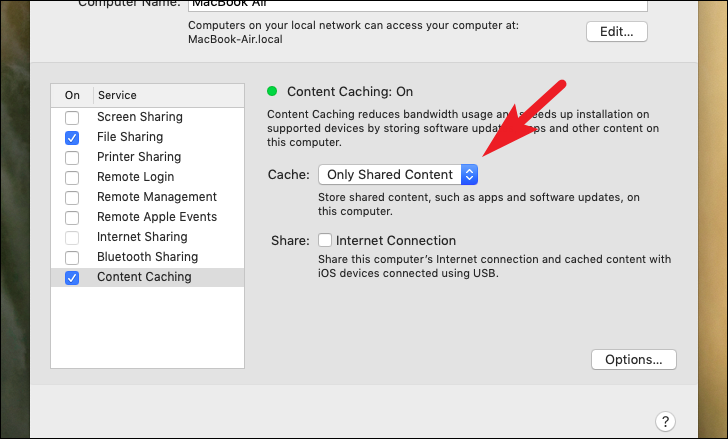
Then, choose an option from the menu as per your preference. If you wish to share only iCloud Content such as photos and documents, select the ‘iCloud Content’. In case you wish to share only software updates and apps, select the ‘ Only Shared Content’ option. Otherwise, if you wish to cache both types of content, select the ‘All Content’ option.

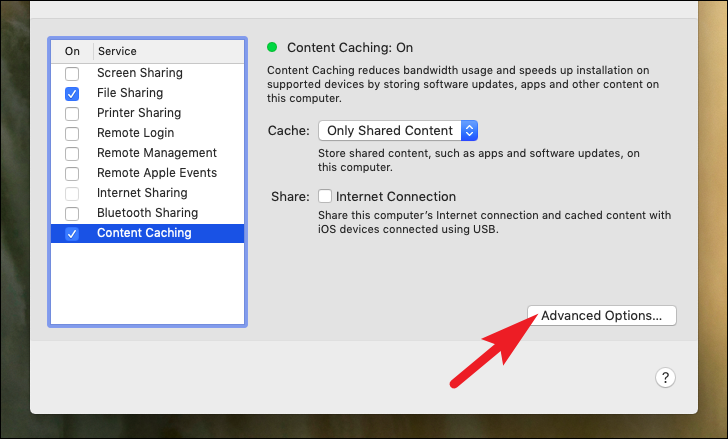
Now, to access all the settings regarding the Content Cache, press and hold the Option key on your keyboard and then click on the ‘Advanced Options’ button present at the bottom right corner of the window. This will bring up a separate window pane on your screen.
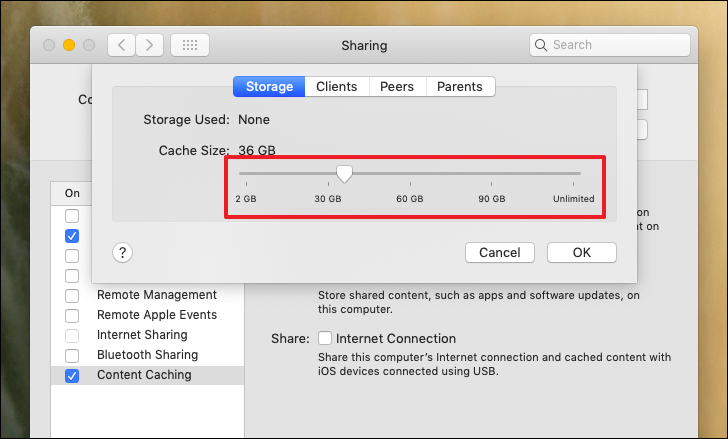
From the separately opened pane, the first tab will be for ‘Storage’ settings for Content Caching on your macOS device. Adjust the storage you wish to dedicate to cached content using the slider present on the pane.
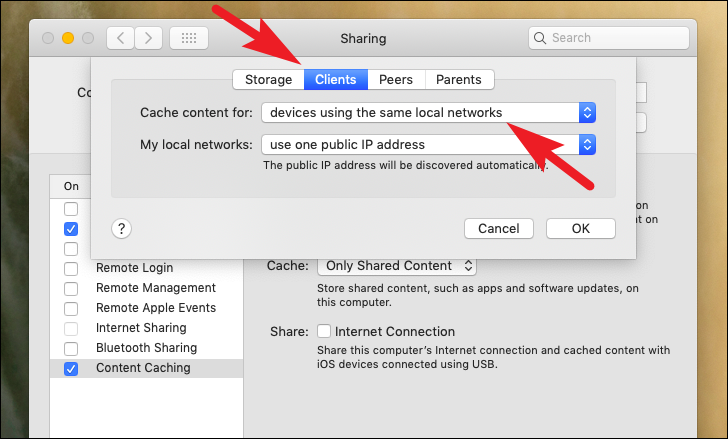
Now, if you wish to strictly specify the group of clients (iOS and iPadOS devices) that will be able to use Content Caching, click on the ‘Clients’ tab. Then, click on the dropdown menu following the ‘Cache Content for:’ option and select a suitable option. For your better understanding, below is a gist of the options:
- Devices using the same Public IP address: Only devices using the same Public IP address will be able to use the Content Caching.
- Devices using the same local network: Content will be cached for only the devices using the same local network as your macOS device.
- Devices using custom local network: Your MacBook will only cache content for devices on the local network sepcified by you.
- Device using custom local network with fallback: Content will be cached for devices on the local network specified by you and also for devices using the same Public IP address as your MacBook when their preferred Content Cache is not available.
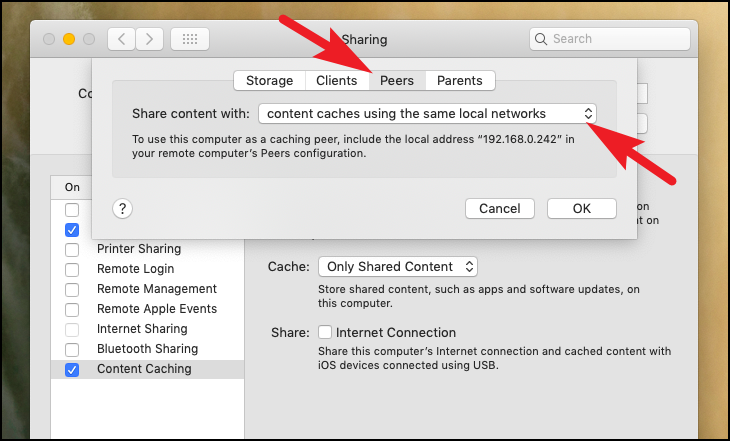
Then, if you wish to use your macOS device as a content caching client instead of a host, click on the ‘Peers’ tab. Then, click on the dropdown menu present right next to the ‘Share content with:’ option and select your preferred option as explained in the previous step from the list.
Note: Make sure you manually include the IP address of your device mentioned on the ‘Peers’ pane when configuring the Parent macOS device.
Now, if you have more than one macOS device on your local network you can also list out specific machines using the IP address to act as a parent device.
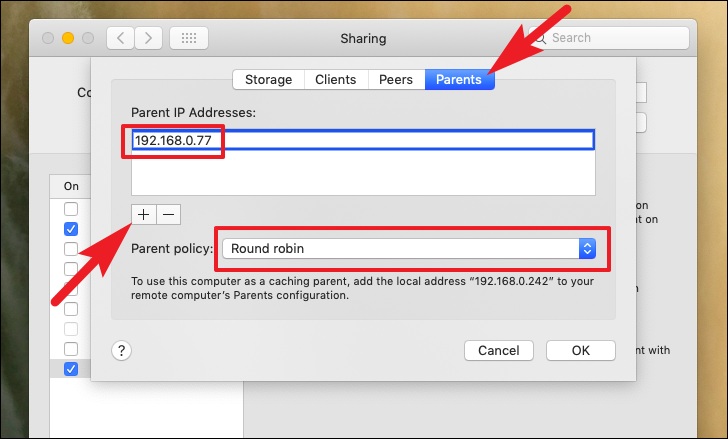
To do so, click on the ‘Parents’ tab and then click on the ‘+’ icon present on the window. Next, type the IP address of your parent device. To change the parent policy, click. on the dropdown menu situated right next to the ‘Parent policy’ option and select your preferred policy, in case you do not know which one suits you best, it is recommended to leave it at the default value.
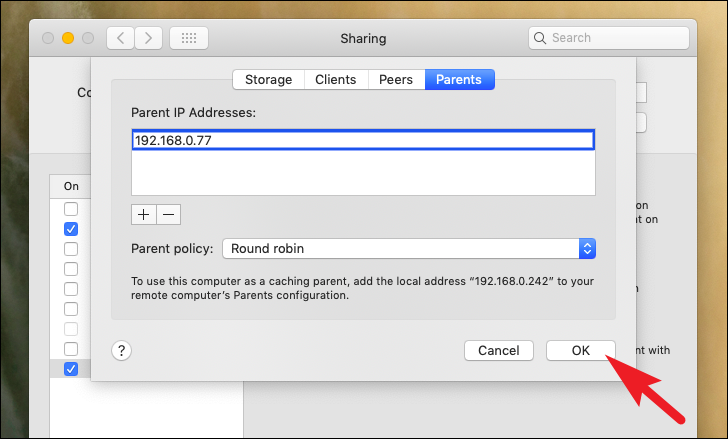
Once you are done setting up preferences, click on the ‘OK’ button to apply the settings and close the window.
You have now successfully enabled Content Caching for your Apple devices.
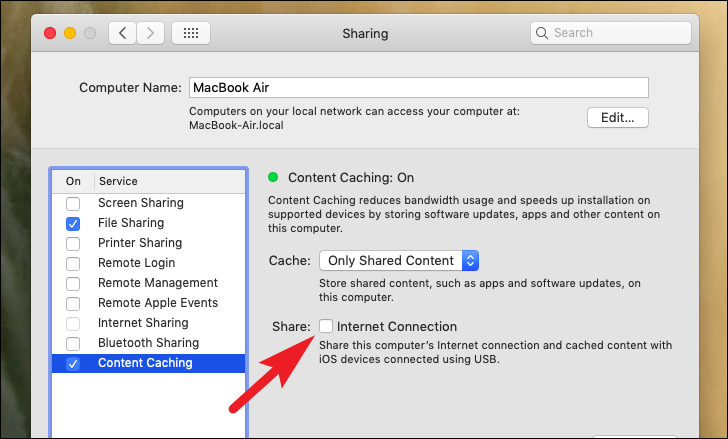
Moreover, if you wish to share the internet of your macOS device when you connect an iPhone, iPad device using a tethered connection, click on the checkbox preceding the ‘Internet Connection’ option.
Content Caching can prove to be really beneficial if you have multiple iOS, iPadOS devices as you will be able to update and share content across them faster without using additional cellular data or bandwidth.